How To Remove Background In Affinity Photo
Removing the background of an image is a ubiquitous task in photo editing that can be advantageous in several situations. It can help create transparent images, isolate objects from the background, or change the background altogether. Affinity Photo, a popular photo editing software, offers various tools and techniques for removing backgrounds with precision and ease. In the following sections, we’ll discuss the different methodologies to remove a background in Affinity Photo, including the Background Eraser Tool, the Selection Brush Tool, and the Pen Tool. Pro tips and tricks will also be shared to help you achieve immaculate and precise outcomes. This guide is enlightening for both beginners and advanced users and will help you master the art of removing backgrounds in Affinity Photo.
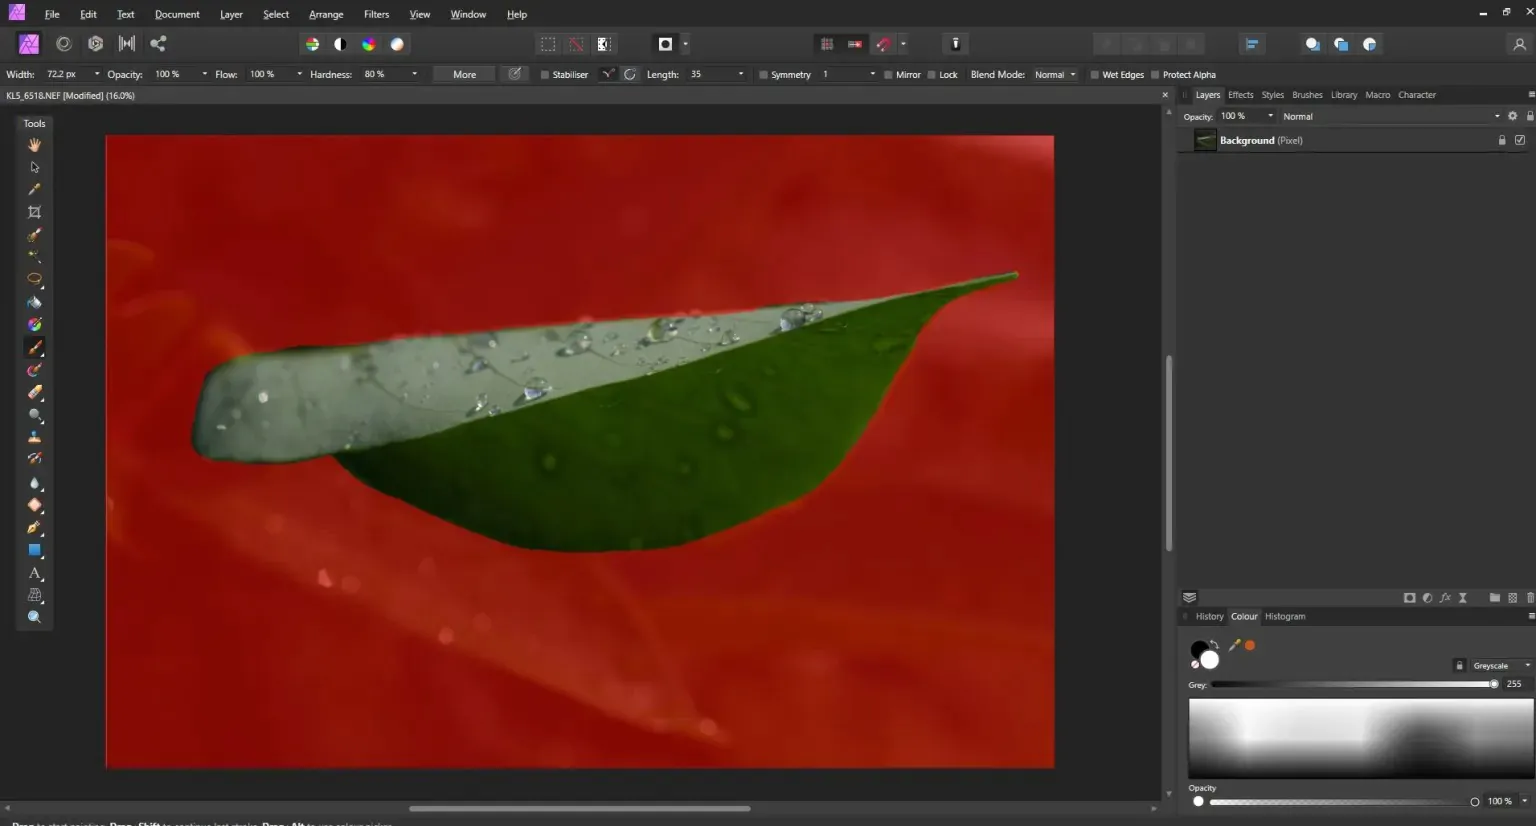
Background Eraser Tool:
The Background Eraser Tool is versatile in Affinity Photo for removing backgrounds from an image. It erases pixels matching the selected or sample color, leaving the foreground intact. The tool can be accessed from the Toolbar on the left-hand side of the screen.
Step 1: Open your image in Affinity Photo and click the Background Eraser Tool from the Toolbar on the left-hand side.
Step 2: Choose a brush size and hardness that suits your needs. Adjust the Opacity and Flow settings to fine-tune your brush strokes.
Step 3: Select the Sampling Brush Tool to sample a color from the background. This step is crucial for the Background Eraser Tool to distinguish between the background and foreground.
Step 4: Begin erasing the background by dragging the cursor over the desired area. If you accidentally erase part of the foreground, use the History Panel to undo your last action and try again.
Step 5: Additionally, you can adjust the Tolerance setting to control the range of color that the Background Eraser Tool removes.
Selection Brush Tool:
The Selection Brush Tool is another method for removing backgrounds in Affinity Photo. It works by creating a selection around the foreground object and removing the unselected pixels. The tool can be accessed from the Toolbar on the left-hand side of the screen.
Step 1: Open Affinity Photo and select the Selection Brush Tool from the Toolbar on the left-hand side of the screen. Choose a brush size and hardness that suits your needs, and adjust the Opacity and Flow settings to fine-tune your brush strokes.
Step 2: Select the foreground object by dragging the cursor over the desired area. Use the Add and Subtract buttons to refine your selection.
Step 3: Go to the Select menu and choose Invert. This action selects the background instead of the foreground.
Step 4: Press the Delete key on the keyboard to remove the background pixels. If you accidentally delete part of the foreground, use the Undo command to go back a step and try again.
Step 5: Use the Refine Selection Tool to fine-tune your selection.
Pen Tool:
The Pen Tool is a powerful tool in Affinity Photo for creating precise selections around objects in an image. It creates a vector path that can be manipulated to fit the object’s shape. The tool can be accessed from the Toolbar on the left-hand side of the screen.
Step 1: Choose the Pen Tool from the Toolbar.
Step 2: Click on the edge of the object you want to select to place a point.
Step 3: Continue placing points along the object’s edge until you create a path that outlines the entire object.
Step 4: Once you’ve completed the path, go to the Layers panel and click the Layer Mask button to create a mask.
Step 5: The mask will remove the background pixels from the image, leaving the foreground intact.
Step 6: Adjust the path by clicking on the points and dragging them to a new position. Step 7: Use the Convert Point Tool to adjust the curvature of the path.
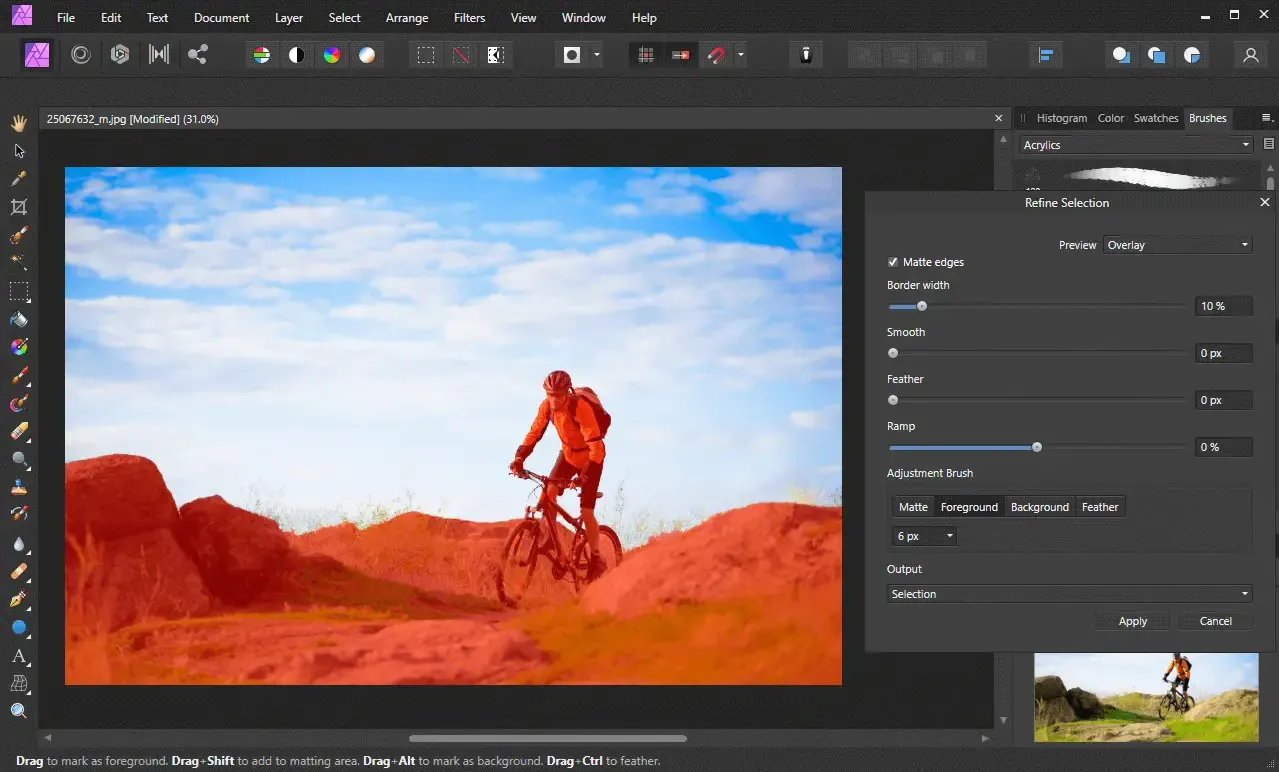
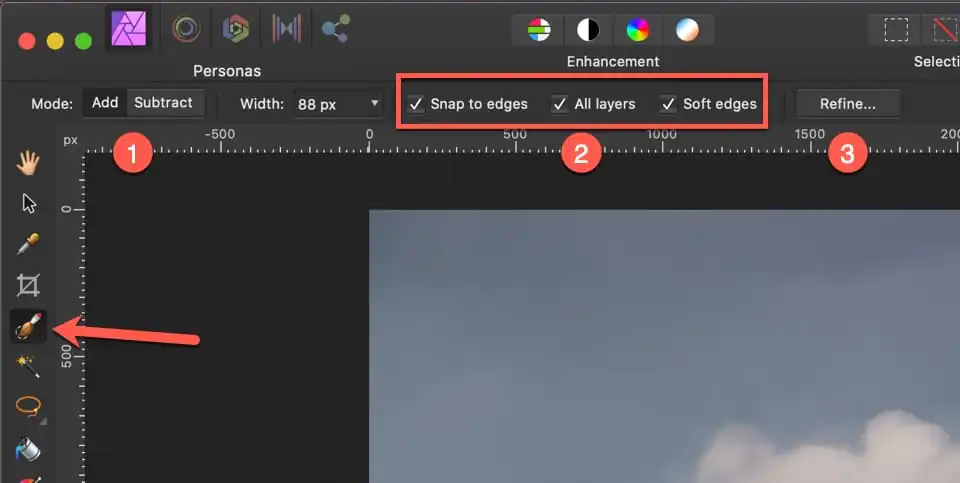
Refining Edges with the Refine Selection Tool
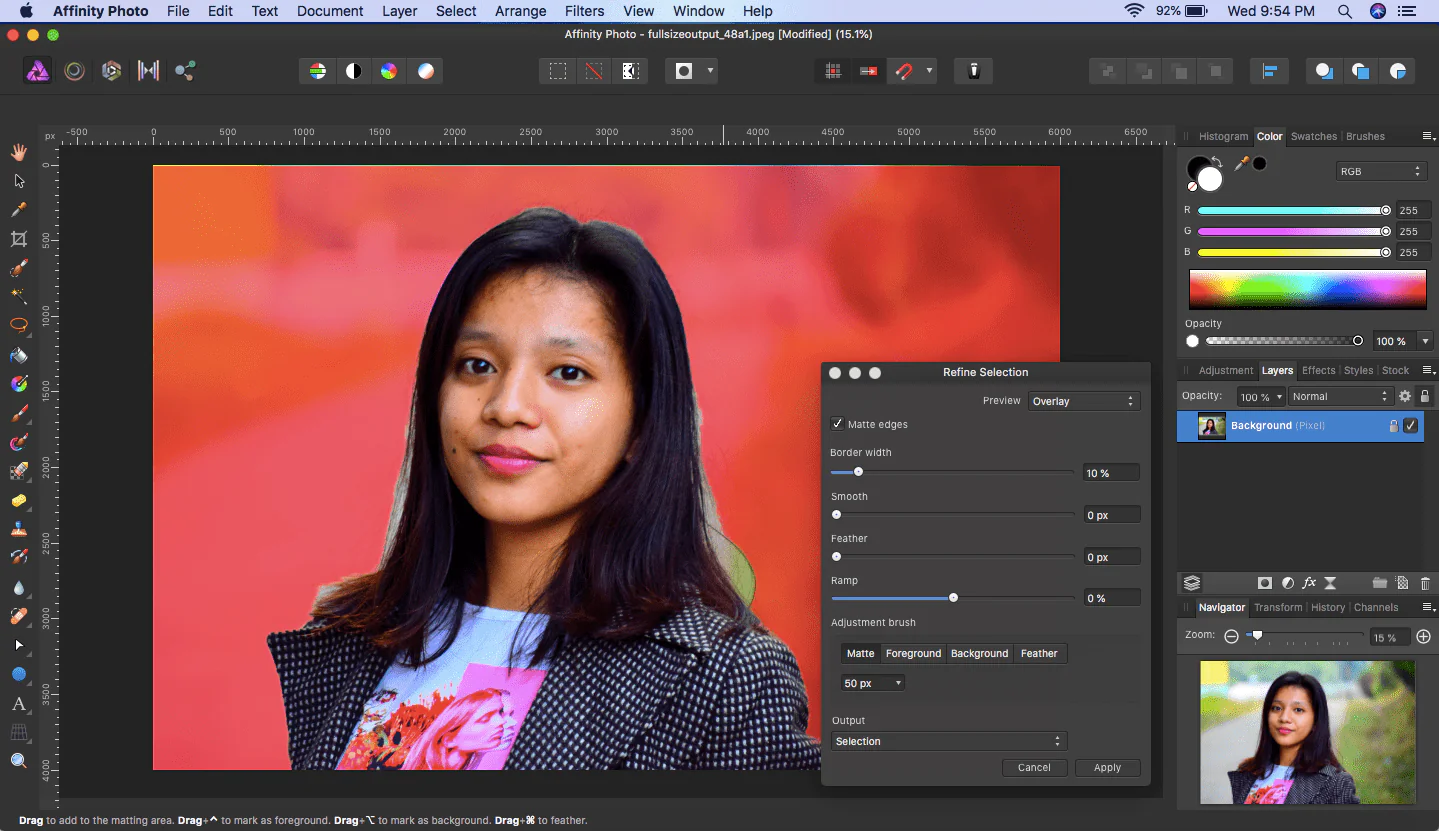
After using one of the methods mentioned earlier to create a selection, the edges of the selection could be cleaner and more precise. Fortunately, Affinity Photo includes a powerful Refine Selection Tool that allows you to refine your selection’s edges easily.
Step 1: Select the Refine Selection Brush Tool from the Toolbar, right-click on your selection, and choose Refine from the context menu.
Step 2: Use the tool to paint over the edges of your selection that require refining.
Step 3: Affinity Photo will automatically analyze the area around the selection and attempt to refine its edges.
Step 4: Adjust the refinement options, such as the smoothness or feather, using the options in the Refine panel.
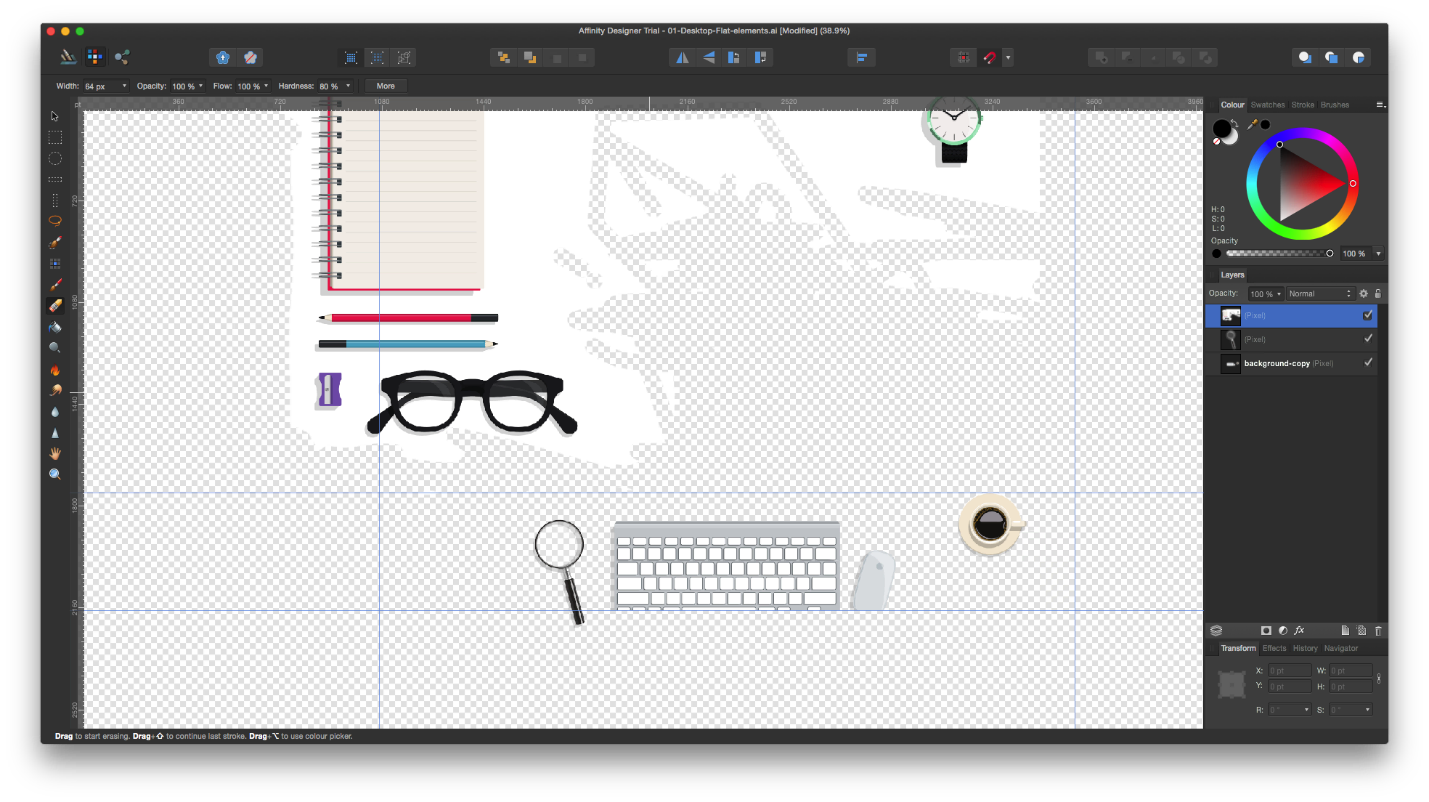
Using Masks for Non-Destructive Editing
One of the primary benefits of using Affinity Photo for removing backgrounds is that it supports non-destructive editing. That means you can edit your images without permanently altering the original data, allowing you to make changes and experiment with different techniques without fear of damaging your work. One of the most effective ways to take advantage of non-destructive editing in Affinity Photo is by using masks. Masks allow you to apply edits selectively to specific areas of an image, leaving the rest of the image untouched.
Step 1: Create a new layer from your selection by clicking the “New Layer” button in the Layers panel.
Step 2: Click the Layer Mask button at the bottom to create a mask linked to your new layer.
Step 3: With the mask selected, use the Paint Brush Tool to paint black over areas of the image you want to hide or white over areas you want to reveal.
Step 4: Use masks to easily undo changes and experiment with different edits until you achieve the desired result.
Exporting the Image:
Once you have removed the background from your image, you can export it in a format of your choice. Affinity Photo offers various export options, such as PNG, JPEG, TIFF, and more. To export your image:
Go to File > Export.
Select the format you want to export your image and adjust the settings as necessary.
You can also rename your file, select the folder you want to save, and choose the color space and resolution.
Once satisfied with the settings, click Export to save your image.
Pro Tips for Removing Backgrounds in Affinity Photo
Removing backgrounds in Affinity Photo can be time-consuming, but you can achieve immaculate and precise outcomes by opting right techniques and tools. In addition to the methods discussed earlier, here are a few pro tips to aid you in removing backgrounds in Affinity Photo with greater ease and accuracy.
Use the Zoom Tool
When removing backgrounds, use the Zoom Tool to zoom in on your image while selecting and refining edges. That will allow you to see details and create more precise selections. With a closer view, you can identify the areas that need more attention and focus on them accordingly.
Avoid Using the Magic Wand Tool
Avoid using the Magic Wand Tool when selecting complex objects with multiple colors and shapes. Instead, use the Pen Tool or Selection Brush Tool to create more accurate selections. The Magic Wand Tool may not work well with objects that have intricate details or edges.
Adjust the Tolerance Setting
When using the Background Eraser Tool, adjust the Tolerance setting to control how much of the background is erased. By adjusting the Tolerance setting, you can achieve a balance between removing the background and keeping the object intact.
Use Clone Stamp Tool or Healing Brush Tool
After removing the background, choose Clone Stamp Tool or Healing Brush Tool to remove any remaining imperfections or blemishes on your image. These tools can help you clean the edges and make the object look more polished and refined.
Use a Graphics Tablet
If you have a graphics tablet, consider using it to remove backgrounds. It can give you greater control over your brushstrokes and make the process more comfortable. You can work more precisely with a graphics tablet and achieve better results.
Use the Undo History Panel
The Undo History panel is your best friend when removing backgrounds. If an error occurs, you can use it to undo your actions and start again. The Undo History panel keeps track of your actions, allowing you to return to any previous state of your work.
Zoom In and Out
Zooming in and out of your image can help you work more precisely. If you need to remove small details, zoom in to make them more visible. If you need to see the big picture, zoom out for a better overview. Adjusting the zoom level allows you to work more efficiently and achieve better results.
Be Patient
Removing backgrounds can be time-consuming, especially when working on a complex image. Don’t rush it; take breaks, and return to it with fresh eyes if necessary.
Practice Makes Perfect
Finally, try different techniques and tools, experiment with images, and learn from your mistakes. With practice, you can achieve immaculate and precise outcomes when removing backgrounds in Affinity Photo.
Conclusion
In conclusion, Affinity Photo provides powerful tools and techniques for removing backgrounds from images. No matter your level of expertise, you can achieve precise and immaculate results with the right tools and techniques. Remember to take your time, experiment with different methods, and use non-destructive editing techniques to avoid permanently changing your image. Ultimately you’ll be able to remove backgrounds like a pro and create stunning images that capture your audience’s attention.
