How To Make A GIF In Photoshop
GIFs have become a prevalent means for people to express themselves online. These looping animations can grab our attention and convey a message entertainingly and engagingly, whether used to share humorous situations or highlight a product or service. Although numerous applications are available for creating GIFs, Photoshop is still preferred due to its adaptability and formidable editing features. We’ll lead you through making a GIF in Photoshop in this tutorial. Everything will be addressed, from selecting the right images and creating layers to applying effects and exporting the end product. This guide will provide you with the skills and information you need to produce your gorgeous GIFs, regardless of your level of Photoshop proficiency. So select your preferred photographs and begin creating your own GIF in Photoshop.
Step 1: Plan Your GIF
Before creating your GIF in Photoshop, you must know what you want to create. Consider the message you want to convey, the images you want to use, and your animation’s overall style and feel.
Consider creating a storyboard or sketch to help you visualize your GIF before working on it in Photoshop. That can help you identify potential issues or challenges before you start and give you a roadmap to follow as you create your animation.
Planning your GIF before you start can help ensure that you create a cohesive and effective animation that effectively communicates your message to your audience.
Step 2: Choose Your Images
Once you have a basic idea of what you want to create, it’s time to choose the images you want to use in your GIF. You can use your photos or illustrations or search for images online.
When choosing images for your GIF, selecting high-quality and visually exciting images is essential. Look for images that are bright, colorful, and have clear lines and shapes. Avoid too dark or blurry images, as these can be difficult to work with in Photoshop.
You can use multiple images to create your GIF but remember that each image will be a separate frame in your animation. Choose visually similar images that can be easily combined into a cohesive animation.
Once you have selected your images, it’s time to bring them into Photoshop and start creating your animation.
Step 3: Open Your Images in Photoshop
Next, open your images in Photoshop. You can do this by going to File > Open and selecting each image you want to include in your GIF. Alternatively, drag and drop your images directly into the Photoshop document.
Step 4: Create Layers
To turn your images into a GIF, you must create layers in Photoshop. Each layer will represent a frame in your animation.
To create a new layer, go to the Layers panel and click the “New Layer” button at the bottom. Then, select the first image you want to include in your GIF and drag it onto the new layer.
Repeat this process for each image you want to include in your GIF, creating a new layer.
Step 5: Create Your Frames
Creating frames is where the real magic of your GIF comes to life. In this step, you will use Photoshop to create each animation frame.
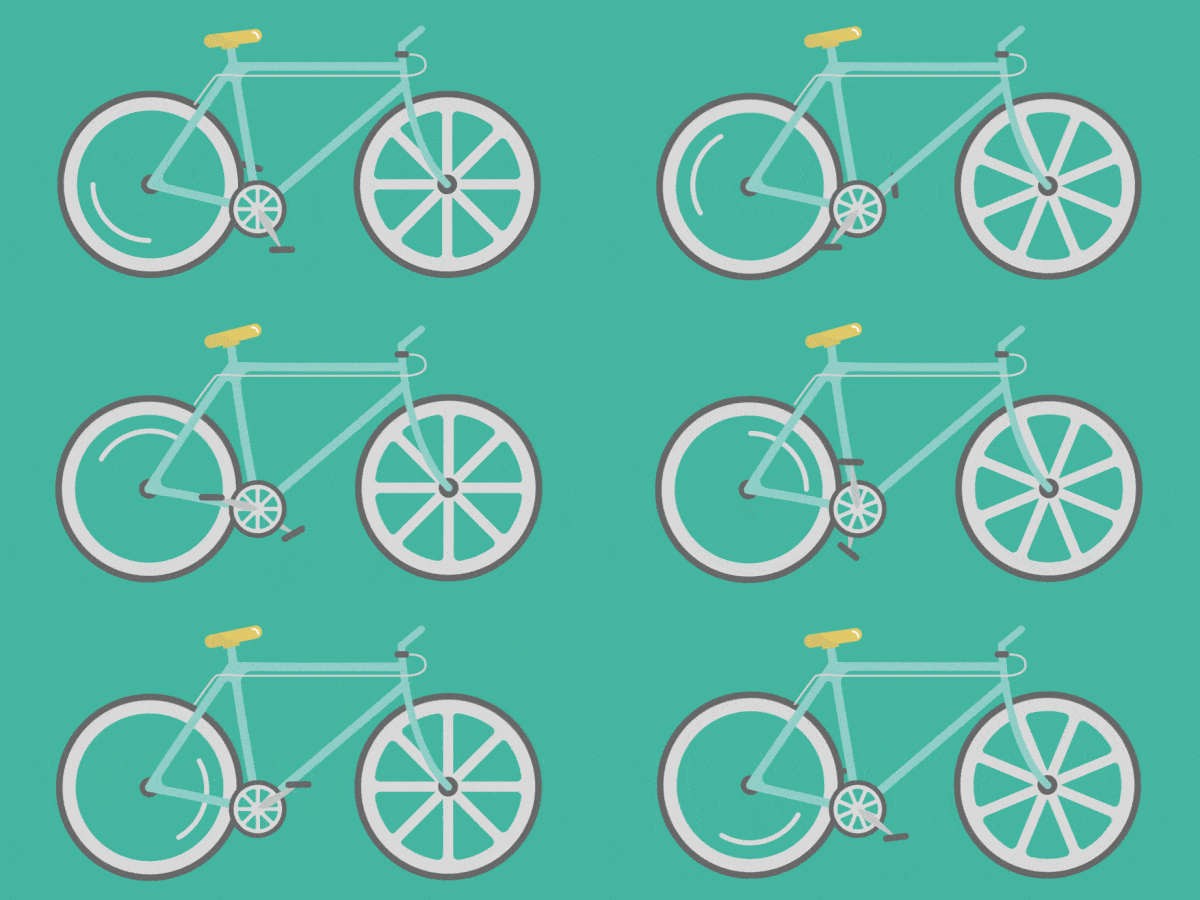
To create frames, you must duplicate your layers and change each layer to create the illusion of movement. That is called “tweening,” and it’s how you create the animation effect in your GIF.
For example, if you are creating an animation of a bird flying, you would duplicate your layer of the bird and move it slightly up, down, or to the side to create the appearance of movement. You would then repeat this process for each frame in your animation.
You can create infinite frames, but remember that the larger your file size will be, the more frames you have. You can also use the animation timeline to adjust the timing of each frame to create the desired effect.
By creating each frame of your animation, you can create a polished and professional-looking GIF that effectively communicates your message to your audience.
Step 6: Add Effects (Optional)
to add flair to your GIF, you can add effects to your layers. Photoshop offers a variety of filters, adjustments, and blending modes that can help you achieve the look you want.
To add an effect, select the layer you want to apply to and go to the “Filter” or “Layer Style” menus at the top of the screen. Experiment with different effects until you find the best ones for your images.
Step 7: Set Frame Duration
The next step in creating your GIF is to set the duration for each frame. That determines how long each image will appear on the screen before transitioning to the next one.
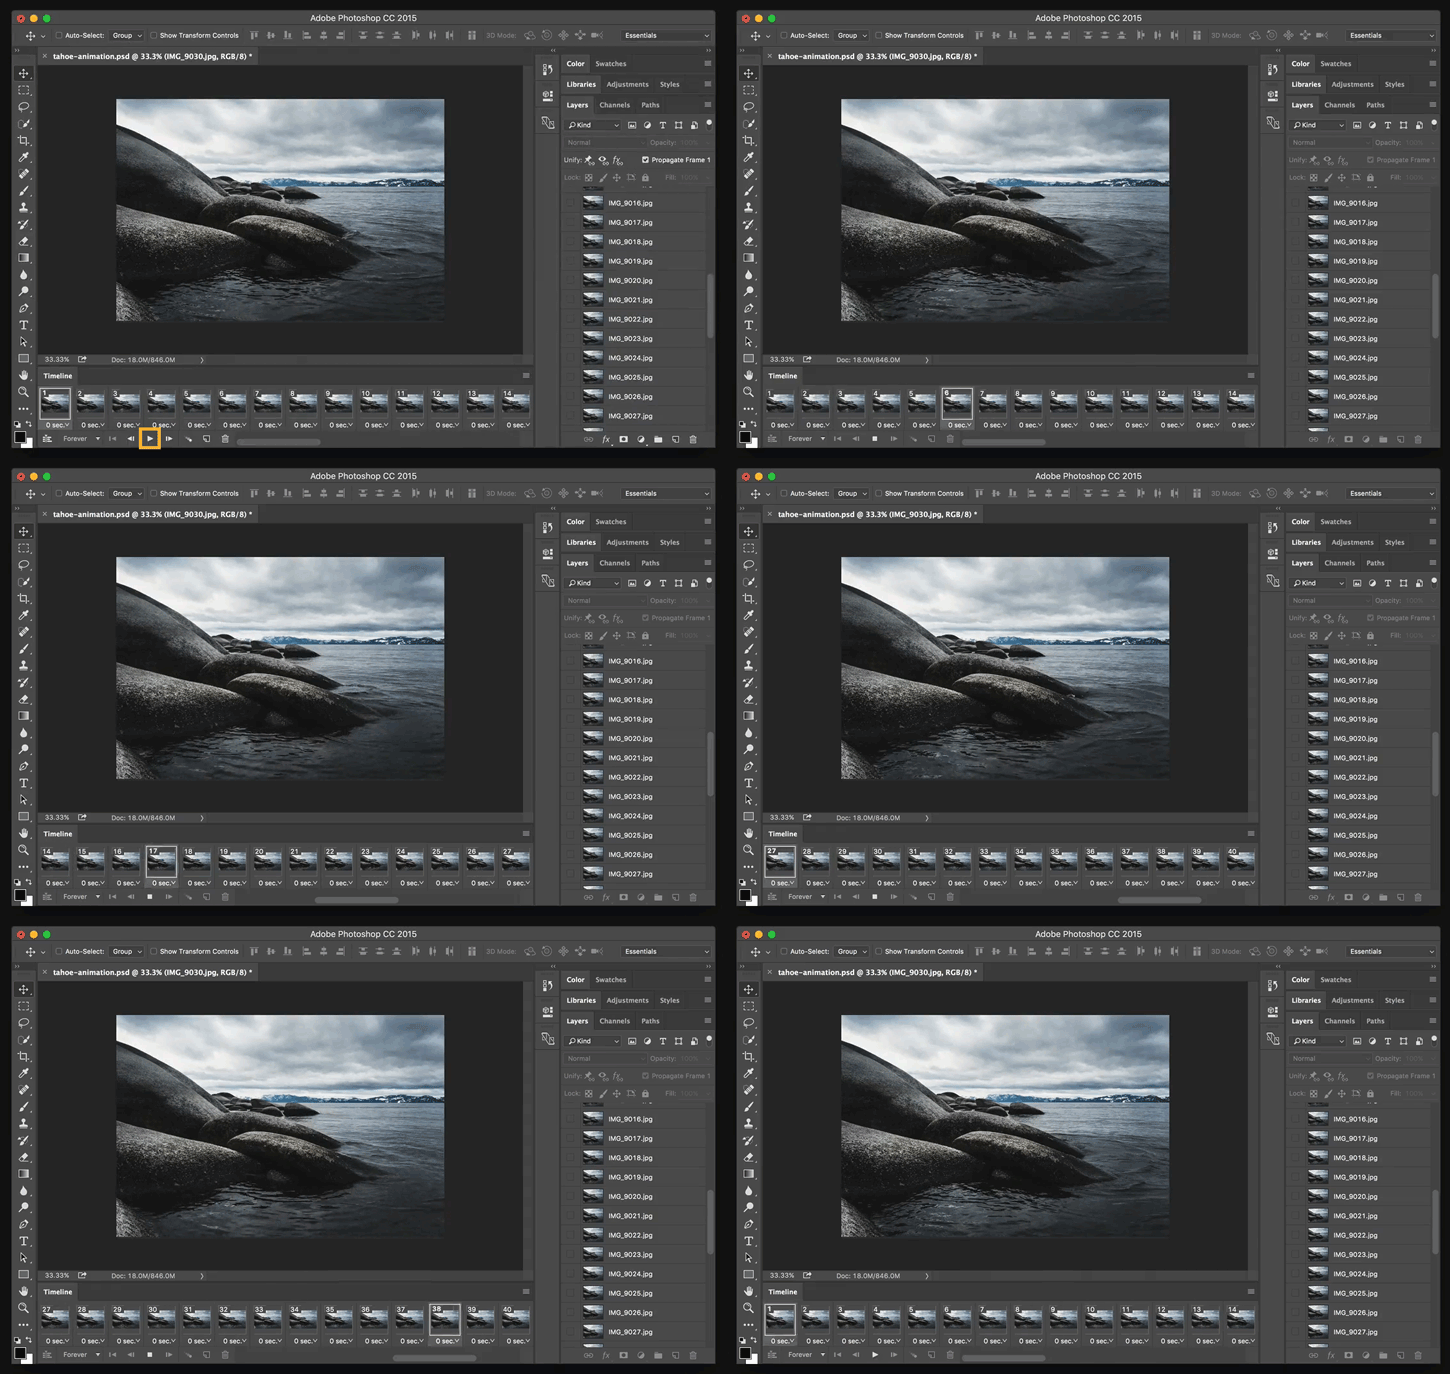
To set the duration, select all your layers in the Layers panel by clicking on the first layer, then holding down the Shift key and clicking on the last layer. Then, go to Window > Timeline to open the Timeline panel.
In the Timeline panel, you will see a timeline with each of your layers represented as a frame. Click on the first frame to select it, and then click on the “0 sec” dropdown menu to set the duration for that frame. Repeat this process for each frame in your animation.
Step 8: Save Your GIF for Web
After you have finished creating your GIF in Photoshop, it’s time to save it for web use. That will ensure your GIF is optimized for quick loading and smooth playback.
To save your GIF for the web, go to File > Export > Save for Web (Legacy). That will open a new window to adjust the settings for your GIF.
This window lets you adjust your GIF’s file format, quality, and color settings. You can also adjust the size and playback speed of your animation.
Remember that the larger your file size, the longer it will take to load on the web. Aim for a file size under 1MB to ensure quick loading times.
Once you have adjusted the settings to your liking, click “Save” to save your GIF for web use. You can then upload your GIF to your website, social media channels, or email marketing campaigns to share with your audience.
By saving your GIF for the web, you can ensure that your animation looks great and loads quickly for your audience.
Step 9: Preview Your GIF
Before sharing your GIF with your audience, it’s essential to preview it to ensure that everything looks as it should. That will help you catch any errors or issues before sharing your animation.
To preview your GIF, open the file in your web browser or image viewer of your choice. Play the animation a few times to ensure it plays smoothly and all frames are in order.
If you notice any issues or errors, return to Photoshop and make the necessary adjustments. Once you’re happy with your final product, you can confidently share it with your audience.
By previewing your GIF, you can ensure that your animation looks and performs as it should, helping you effectively communicate your message to your audience.
Step 10: Share Your GIF
Congratulations, you have successfully created a GIF in Photoshop! Now it’s time to share it with the world. You can upload your GIF to social media platforms like Facebook, Twitter, and Instagram or share it on your website or blog.
When sharing your GIF, remember that larger file sizes can take longer to load, so optimizing your GIF for the web is a good idea. You can do this by decreasing the number of frames, using a lower color palette, or reducing the image size.
Tips for Creating Great GIFs in Photoshop
Now that you know to create a GIF in Photoshop, here are a few tips to help you make the most of your animations:
Keep it Simple: The best GIFs are often the simplest ones. Focus on a single subject or idea, and avoid cluttering your animation with too many images or effects.
Choose the Right Size: Make sure your GIF is the right size for where you plan to share it. For example, a GIF that looks great on Instagram might not be suitable for a website header.
Pay Attention to Timing: The timing of each frame in your GIF is crucial. Experiment with different durations until you find the right balance between speed and clarity.
Use Effects Sparingly: While effects can add visual interest to your GIF, be careful not to overdo it. Too many effects can make your animation cluttered and distract from the main subject.
Consider Color: Color can have a significant impact on the effectiveness of your GIF. Use color to draw attention to your subject or to create a mood or atmosphere.
Conclusion
To sum up, creating a GIF in Photoshop is a fun and rewarding way to express yourself online. Whether sharing a funny moment or promoting a product, a well-crafted GIF can capture your audience’s attention and convey your message uniquely and engagingly. Following the steps highlighted in this tutorial, you can create your stunning GIFs in Photoshop. Experiment with different images, effects, and timings until you find the perfect combination for your animation. With some creativity and practice, you’ll create GIFs that wow your audience in no time!


