


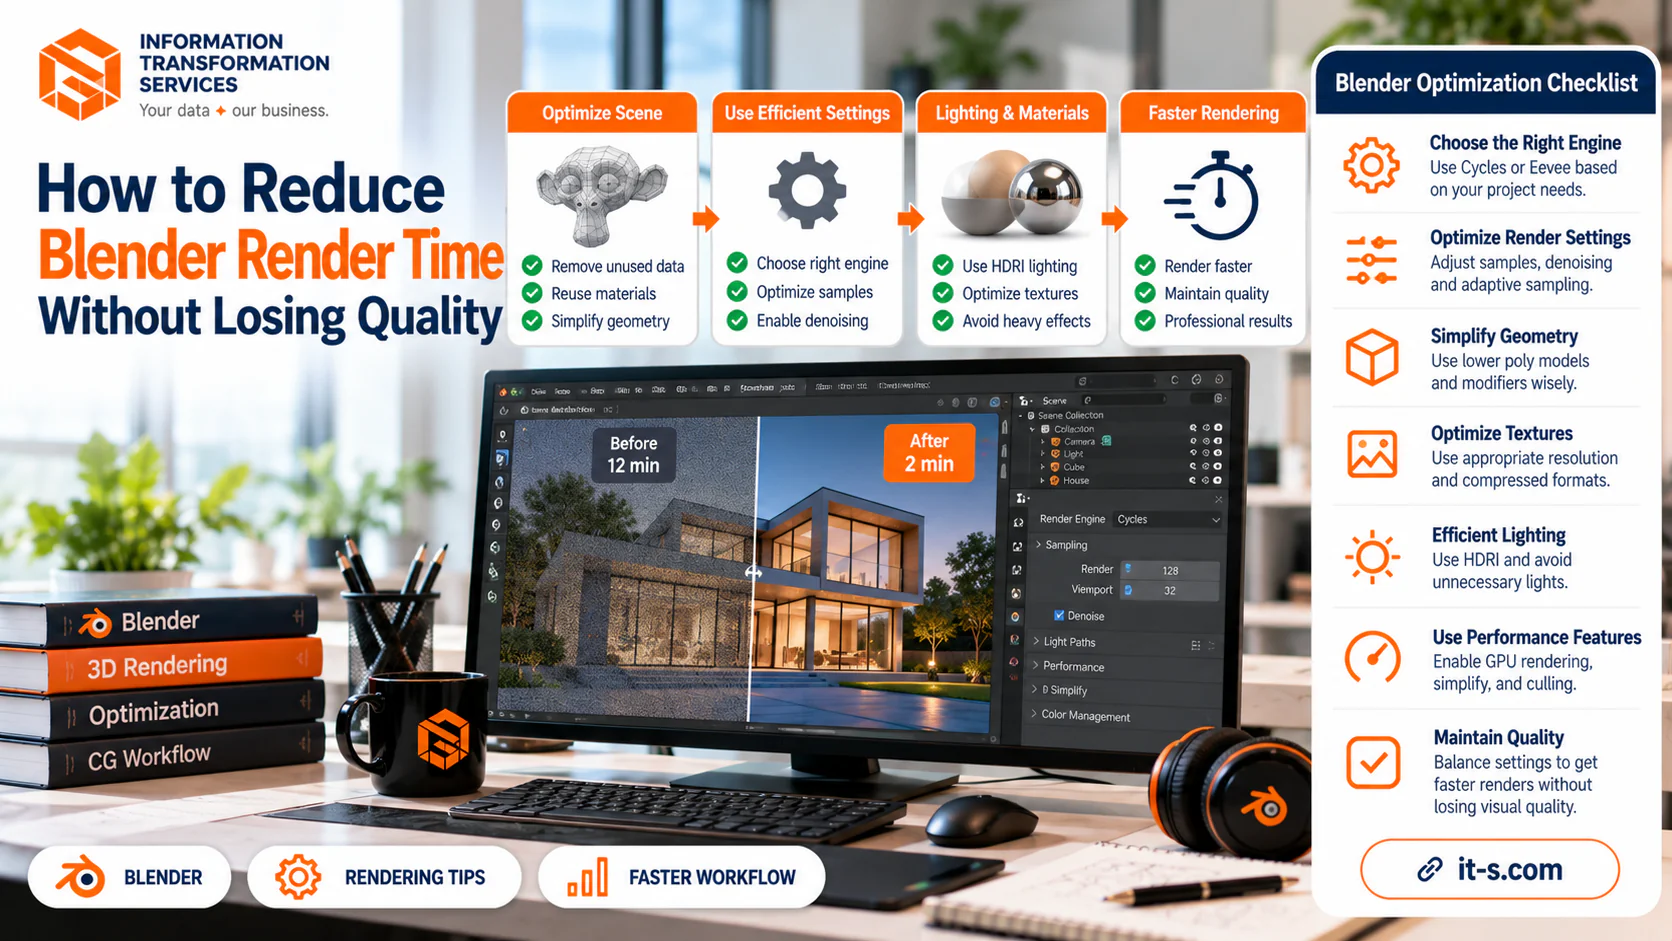
How to Reduce Blender Render Time Without Losing Quality
Blender render times can grow from a few seconds to several hours as a scene becomes more realistic. The usual reaction is to lower resolution or reduce samples until the image finishes faster, but that can introduce visible noise, weak reflections, soft shadows, or lost detail. A better approach is to identify what is actually consuming render time and remove work that does not improve the final image.
The most effective optimization usually combines smarter sampling, denoising, simpler light paths, efficient geometry, controlled texture sizes, cleaner materials, and correct hardware settings. The goal is not to make every scene lightweight at any cost. It is to spend rendering effort only where viewers can see the difference.
Measure the Scene Before Changing Settings
Render one representative frame and record the time before changing anything. For animation, choose a demanding frame with heavy geometry, reflections, lighting, or volumes. This creates a baseline. Without one, it is easy to change several settings and never know which adjustment actually helped.
Separate viewport slowness from render slowness as well. Dense geometry may make navigation difficult while final rendering remains acceptable, whereas a simple-looking scene can render slowly because of expensive shaders or light paths. A good 3D modeling workflow keeps geometry efficient, but rendering still needs its own review.
Use Adaptive Sampling Instead of Excessive Samples
In Cycles, a very high fixed sample count can waste time on areas that are already clean. Adaptive sampling lets Blender stop working on relatively noise-free areas while continuing to sample difficult regions. This is useful in product scenes and interiors where some surfaces are simple but glossy reflections or indirect lighting remain noisy.
Do not assume that more samples always produce a meaningfully better final image. Start with a moderate ceiling and inspect the result after denoising. If only one small area remains noisy, investigate that area instead of increasing samples across the entire frame. The guide on 3D product rendering provides broader context for building an efficient render workflow.
Use Denoising Carefully
Denoising can remove a large amount of residual noise from a moderately sampled render, allowing final images to finish sooner. It works best when the source render is already reasonably clean. If the image is extremely noisy, a denoiser may smear fine textures, remove small highlights, or create unstable detail between animation frames.
Test difficult materials such as fabric, brushed metal, hair, fine bump maps, and small reflections. Still images can often tolerate slightly stronger denoising than animations because there is no frame-to-frame flicker to reveal artifacts.
Reduce Light Bounces That Do Not Matter
Cycles can calculate diffuse, glossy, transmission, and transparency bounces. More bounces can improve realism, but each additional path adds work. Many product scenes do not need the same bounce depth as a room filled with mirrors, glass, and highly reflective surfaces.
Lower bounce limits gradually and compare the image after each change. Watch glass, bright interiors, mirrors, and areas lit mostly by indirect light. If reducing a setting makes no visible difference at the final output size, the previous value was probably adding unnecessary calculation.
Choose the Fastest Render Device for the Actual Scene
A supported GPU often renders Cycles scenes faster than a CPU because path tracing benefits from parallel processing. The advantage depends on the graphics card, memory, scene size, and configuration. Confirm that Blender is actually using the intended device rather than assuming GPU acceleration is active.
Very large scenes can exceed available graphics memory, and some projects may be more reliable on the CPU. Render the same representative frame with the available options and compare real times. The best device is the one that performs best on the scene you actually need to deliver.
Use Instances for Repeated Geometry
Repeated objects such as chairs, trees, bolts, shelves, ceiling lights, or products can consume unnecessary memory if every copy becomes independent geometry. Instances allow those objects to share underlying data while appearing many times in the scene.
Keep repeated assets instanced unless they genuinely need unique geometry. This is especially valuable in architectural scenes and product arrays, where hundreds of visually complex objects may be required but only a handful of unique meshes are actually necessary.
Remove Invisible Geometry and Excessive Subdivision
High polygon counts are not automatically harmful, but unseen geometry still consumes resources. Disable objects outside the shot when they are not required for reflections, shadows, or indirect lighting. Product scenes often contain hidden internal parts, duplicate packaging components, or objects behind the camera that do not contribute to the frame.
Subdivision should also match screen size. A high render subdivision level may be essential for a close-up hero object but wasted on a background asset. For meshes that need broader optimization, the guide on making low-poly models in Blender covers additional ways to reduce geometry while preserving recognizable form.
Match Texture Resolution to Visible Detail
Large textures consume memory and can slow scene loading and rendering, especially when many materials use multiple high-resolution maps. An 8K texture may be justified for a hero object close to the camera but unnecessary for a small prop in the background.
Review base color, roughness, normal, displacement, and mask maps separately. They do not always need the same resolution. Use enough detail to survive the final camera view, but avoid storing information the viewer cannot see.
Simplify Expensive Materials
Deep procedural node networks, multiple displacement chains, complex shader mixes, and volume components can increase render cost. Start with materials reused across many objects because improving one heavily used shader can affect a large part of the scene.
Bake complex procedural detail when it no longer needs to remain dynamic, remove nodes that do not visibly affect the result, and reserve expensive shading for surfaces where it matters. This same balance between realism and efficiency is central to photorealistic rendering.
Treat Volumes as a Separate Performance Budget
Fog, smoke, dust, and other volumetric effects can increase render time sharply because the renderer must calculate light through a three-dimensional medium. If a scene becomes slow after adding atmosphere, test one frame with the volume disabled. This quickly shows whether it is the main bottleneck.
Use only the quality needed by the camera. A subtle background haze usually does not need the same precision as a close-up light beam passing through smoke. Reduce volume complexity carefully while checking for banding, lost detail, or unstable animation.
Limit Expensive Caustics When They Are Not Important
Glass, water, polished metal, and small bright lights can create difficult paths that take many samples to resolve. If detailed caustic patterns are not important to the composition, reducing those calculations can save time without noticeably changing the image.
This should remain a visual decision. Jewelry, glassware, water, and transparent products may depend on those effects. In those cases, keep the important light behavior and optimize somewhere else. A faster render is not useful if it removes the feature that defines the subject.
Render Only at the Resolution the Output Needs
Resolution directly affects workload because more pixels require more calculations. Use smaller preview renders while adjusting lighting, camera framing, and materials, then switch to the final dimensions only after the scene is stable.
For animations and web graphics, match output resolution to the actual delivery platform. A small website component does not benefit from cinema-sized rendering. Keeping separate preview and final presets makes iteration faster and reduces the chance of spending hours on unnecessary pixels.
Use Eevee When Full Path Tracing Is Unnecessary
Not every project needs Cycles. Eevee can be a strong option for previews, stylized scenes, motion graphics, and projects where speed matters more than physically accurate global illumination. If the required look can be achieved with Eevee, a heavier renderer may add cost without enough visual benefit.
A practical workflow can use Eevee for layout and look development, then switch to Cycles only for final shots that genuinely need it. Compare the engines at the intended display size instead of judging only at extreme zoom.
Change One Setting at a Time
Render optimization becomes unreliable when many settings are changed together. Adjust one variable, render the same test frame, record the time, and compare the result. This creates a scene-specific profile showing which changes matter and which save almost nothing.
Keep separate preview and final presets once you find a good balance. That lets artists work quickly without rebuilding settings every time and prevents later revisions from returning to unnecessarily expensive defaults.
Conclusion
Reducing Blender render time without losing visible quality is mainly about eliminating work the final image does not need. Adaptive sampling, sensible denoising, controlled light bounces, the right render device, instances, appropriate subdivision, efficient textures, simpler materials, and careful volume settings can all shorten renders while preserving realism.
The safest method is to optimize from evidence rather than guesswork. Start with a representative frame, change one factor at a time, and judge the result at the size viewers will actually see. When every expensive feature earns its place in the image, Blender can render much faster without obvious compromises in detail, lighting, or material quality.