How To Produce A Holographic Effect In Photoshop
Photoshop’s holographic effect is a powerful tool for designers and artists to create spectacular, three-dimensional, futuristic visuals. It has a great aptitude to fascinate viewers and lend a touch of modernity and originality to many creative ventures in graphic design, digital art, and advertising. By utilizing gradients, patterns, and brilliant colors, the holographic effect gives a feeling of depth and dimensions while displaying the illusion of light reflecting off a holographic surface. Images with this lively and fascinating quality are visually appealing and attention-grabbing. The holographic effect is highly adaptable in various creative projects, including fashion, gaming, technology, and entertainment, where a contemporary and cutting-edge look is required. Using this effect in Photoshop is not a random process; instead, you must proficiently follow some essential guidelines and techniques to achieve the best holographic effect in your images. This blog post can solve all of your confusion related to producing holographic effects in Photoshop so that you can successfully add a holographic effect to your images, making them look astoundingly innovative.
Step 1: Select an Image or Create a Background

The first step in producing a holographic effect in Photoshop is to select an image or create a suitable background. The choice of image or background will set the foundation for the holographic effect and determine the overall look and feel of the final result.
If you already have an image to which you want to apply the holographic effect, ensure it is of high resolution and has good contrast. That will help the holographic elements stand out and make the effect more impactful. Consider selecting images that have interesting shapes, textures, or subjects that the holographic effect can enhance.
Alternatively, you can create a custom background using Photoshop’s tools and features. Gradients, shapes, and patterns can be combined to form a visually appealing backdrop for the holographic effect. Experiment with different color combinations and compositions to find the perfect background that complements the holographic effect you want to achieve.
Whether you choose an existing image or create a background from scratch, it’s crucial to have a clear vision of the desired outcome before proceeding to the next steps. That will ensure that your chosen image or background aligns with the overall aesthetic and theme of the holographic effect you intend to create.
Step 2: Prepare the Image for Editing
After selecting an image or creating a background, the next step is to prepare it for editing.
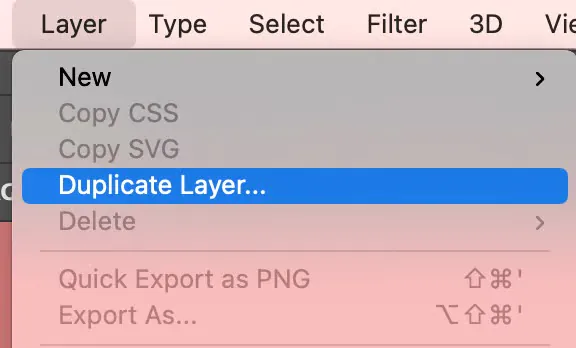
Start by duplicating the original layer. That allows you to work on a separate layer while keeping the original image intact. Right-click on the layer in the Layers panel, then select “Duplicate Layer.” Alternatively, you can drag the layer on the “New Layer” icon at the bottom of the Layers panel.
With the duplicated layer created, it’s essential to name and organize your layers for better workflow management. Double-click on the layer name and provide a descriptive name, such as “Holographic Effect.” It will help you keep track of different layers and effects as you progress.
Next, create a new layer on top of the duplicated layer. This layer will be used to apply the holographic effect. To create a new layer, click on the “New Layer” icon at the bottom of the Layers panel or use the shortcut Ctrl/Cmd + Shift + N. Position this new layer above the duplicated layer.
Step 3: Apply Gradient Colors
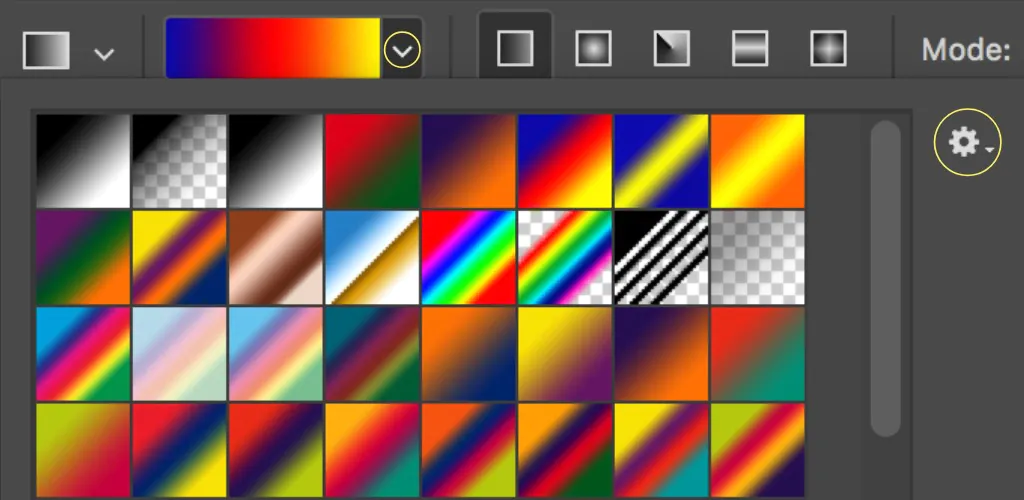
To begin, select the Gradient Tool from the toolbar on the left side of the Photoshop interface. It is represented by an icon resembling a rectangle fading from one color to another. Alternatively, you can quickly press the letter “G” on your keyboard to select the tool.
Choose a gradient that suits your desired holographic effect in the options bar at the top of the screen. Photoshop provides pre-defined gradients, or you can create your custom gradient by clicking on the gradient preview box.
Press your mouse on the canvas to apply the gradient to the new layer. Experiment with different directions and lengths of the drag to achieve the desired gradient effect. You can also hold the Shift key while dragging to constrain the direction to a straight line.
You can adjust its angle, scale, or opacity to customize the gradient further. These settings can be found in the options bar or the Gradient Editor window, which opens when you click the gradient preview box. You can create unique and visually striking holographic color schemes by tweaking these parameters.
Step 4: Add Texture or Patterns
You can incorporate texture or patterns onto the holographic surface to enhance the holographic effect and add visual interest to your image. This step will help create the illusion of depth and complexity.
There are several ways to add texture or patterns in Photoshop. One option is using the Texture Filter, found under the Filter menu. Experiment with different texture filters, such as the Texturizer or the Grain filter, to find one that complements the holographic effect you are aiming for. Adjust the settings to control the intensity and appearance of the texture.
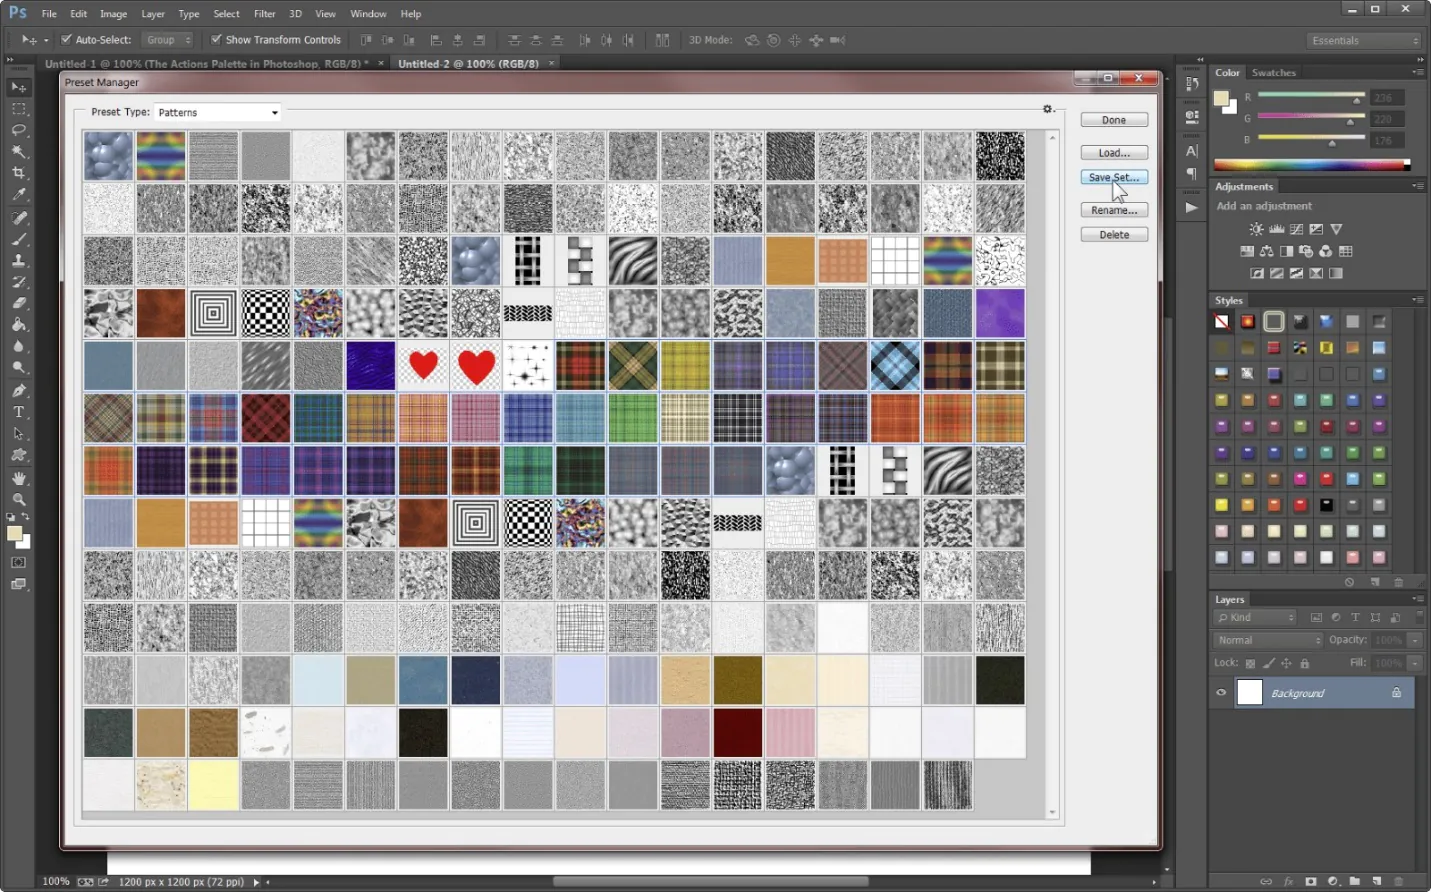
Another method is to apply a Pattern Overlay layer style. Double-click on the holographic layer in the Layers panel that opens the Layer Style dialog box. Select “Pattern Overlay” and choose a suitable pattern from the available options. Adjust the scale and blending mode to achieve the desired effect. You can also import custom patterns by clicking on the small gear icon and selecting “Import Patterns.”
You can search online resources or design asset platforms using pre-made holographic textures or patterns. Many websites offer free or paid holographic texture packs to download and apply to your image or background.
When adding texture or patterns, consider the areas with the most impact. Apply them strategically to emphasize certain parts of the holographic surface, such as curves, edges, or specific design elements. Use layer masks or blending modes to control the visibility and blending of the texture or pattern with the underlying layers.
Step 5: Create Light and Reflections
It is vital to create the illusion of light and reflections on the holographic surface to make the holographic effect more realistic and dynamic. This step will add depth and enhance the overall visual impact of the effect.
Start by selecting the Brush Tool from the toolbar on the left side of the Photoshop interface. Choose a soft-edged brush with a low-opacity setting to paint subtle highlights and reflections on the holographic surface.
Select a light color that complements the gradient colors used in Step 3. White or a light gradient shade often works well for creating highlights. Set the brush opacity to around 10-20% to achieve a subtle effect that gradually builds up.
Begin painting highlights and reflections on the holographic surface, focusing on areas where light would naturally hit and create a shine. These areas can include curves, edges, or specific design elements. Use light, sweeping brush strokes to imitate how light interacts with a reflective surface.
Experiment with different brush sizes and opacities to create variations in the intensity of the highlights and reflections. Vary the brush pressure to add more depth and realism to the effect.
Consider the light source direction in your image and paint the highlights and reflections accordingly. Consistency in the lighting will make the holographic effect more believable.
You can also apply blending modes or layer styles to the highlight and reflection layers to further enhance realism. Experiment with blending modes like Overlay, Screen, or Soft Light to see which works best for your image.
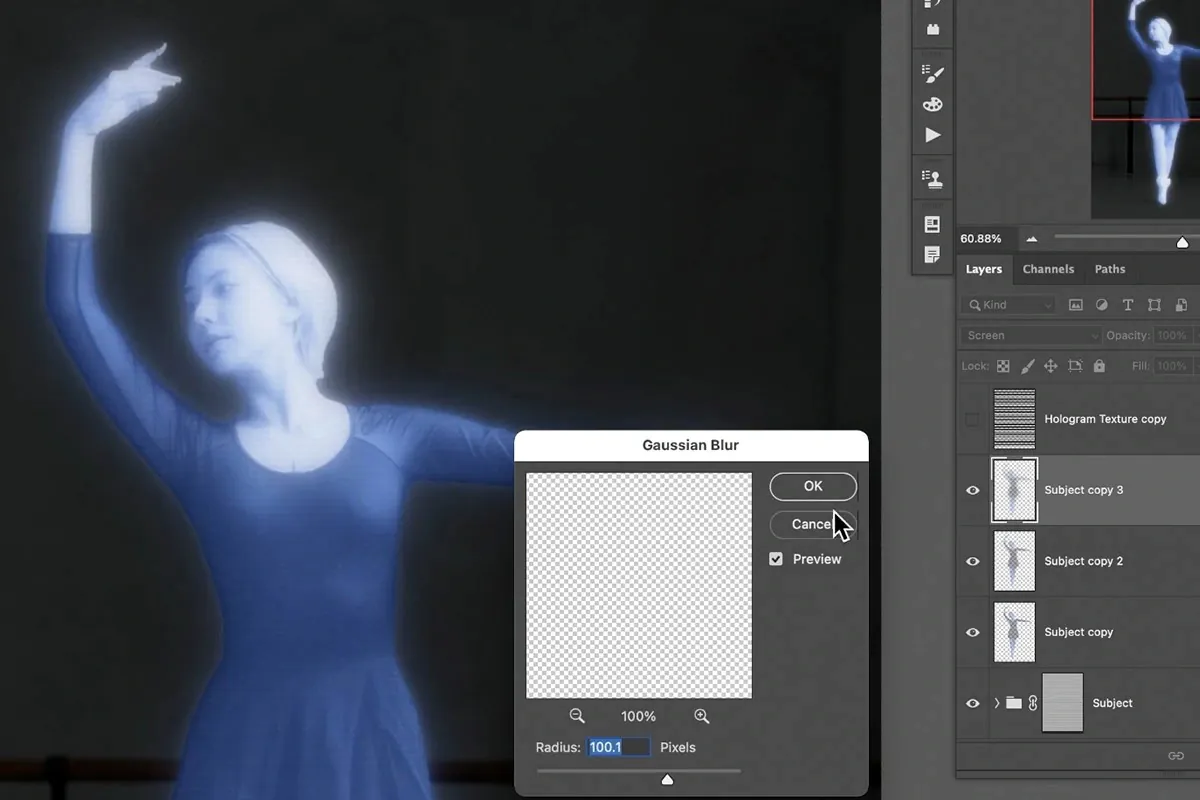
Step 6: Finishing Touches and Adjustments
One way to refine the holographic effect is by applying additional adjustments. Use adjustment layers such as Levels, Curves, or Hue/Saturation to tweak the image’s overall brightness, contrast, or color balance. Adjusting these parameters can enhance the holographic appearance and make it more visually appealing.
Experiment with Photoshop filters to further refine the effect. Filters like Blur or Sharpen can soften or enhance certain areas of the image, respectively. Apply these filters selectively to specific parts of the holographic surface to maintain control over the overall result.
Consider adding extra elements to enhance the futuristic vibe. That can include holographic icons, symbols, or text complementing the holographic effect. Place these elements strategically on the holographic surface to create a sense of unity and balance within the design.
Crop the image if needed or reposition elements to achieve a visually pleasing arrangement. Use the Transform tools to resize, rotate, or distort elements as necessary to fit within the holographic surface.
Finally, review the image and make any final tweaks or refinements based on your artistic judgment. Take the time to ensure that the holographic effect is cohesive, visually striking, and aligned with your intended aesthetic.
Once satisfied with the final result, save your work in a suitable format such as JPEG or PNG. Consider creating different image versions with varying adjustments or compositions to have options for different purposes or platforms.
Conclusion
Finally, applying a holographic effect to your images in Photoshop adds a contemporary and exciting touch to them. It is not simply a visual trickery; it can create awe and take viewers to a future universe. Following the six steps outlined in the above piece, you can produce gorgeous visuals resembling holographic surfaces. The holographic effect’s versatility, creative flexibility, and practical applications all contribute to its relevance in various industries. As technology and design trends evolve, the holographic effect in Photoshop will undoubtedly play a significant role in shaping the visual.
