How To Make Lightroom Presets
Presets are a shortcut to create your choice of modification in images with minimal time. These pre-defined settings include numerous aspects of image manipulation, including sharpness, contrast, colour balance, highlights, and many more. Instead of working on individual image-altering elements, you can set them all together using a single adjustment panel. Once you have created your distinctive presets, you can apply them to several photographs within seconds. Your software will overlay your image with your preset, giving you various kinds of images with a consistent temperament. Thus, your images become a signature of your creativity and appeal to the masses to peek into your mind. To create your own presets, you can use advanced image editing tools like Adobe Lightroom, which can adapt the transformations according to your requirements and make your editing process faster and smoother. The upcoming step-by-step procedure to make your own Lightroom presets will refine your skills to perfection.
Step 1: Navigate to the Develop Panel
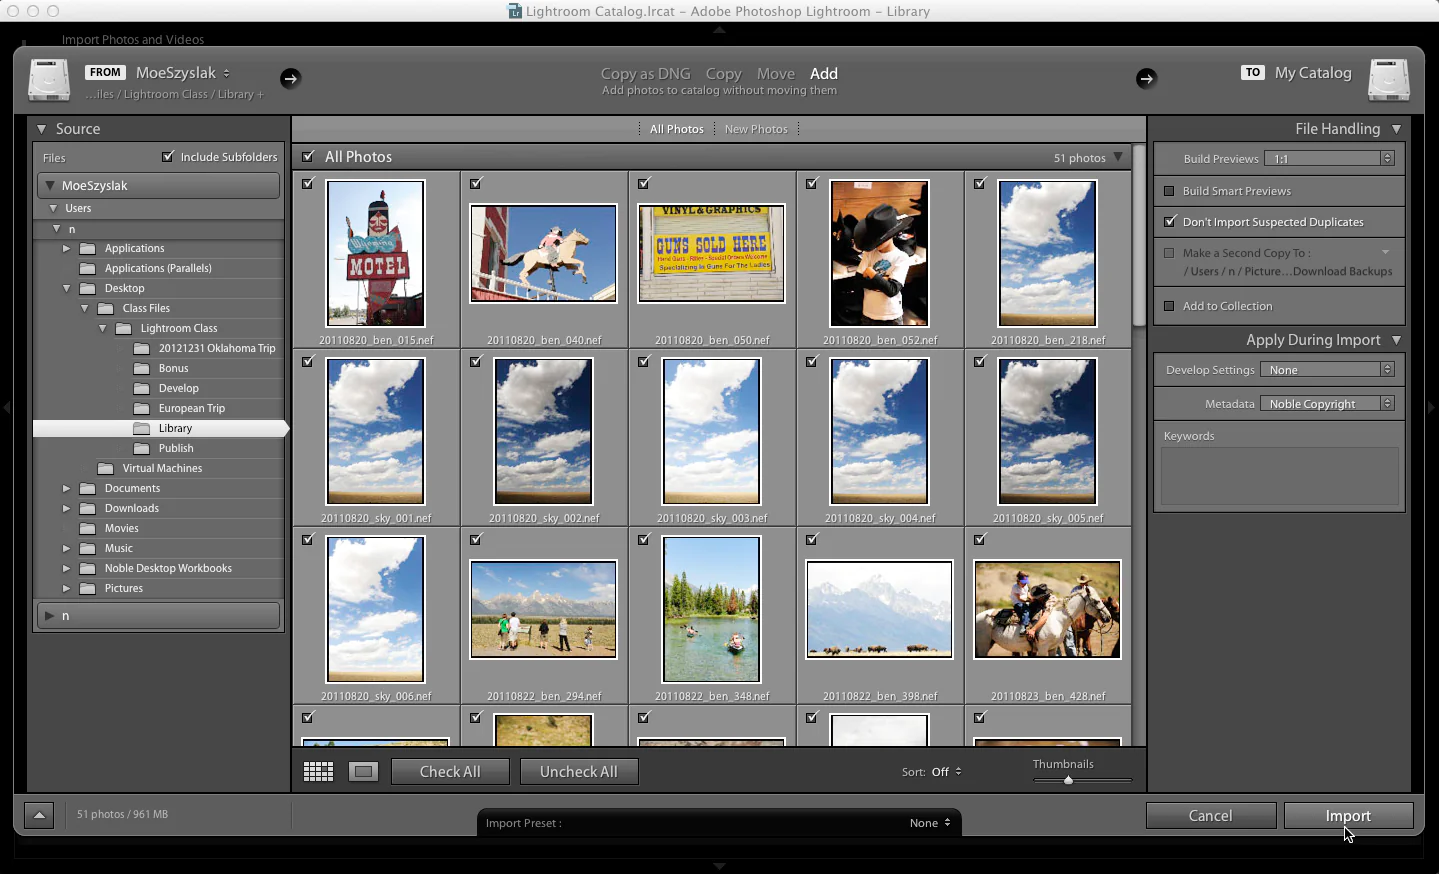
Open your chosen image in Lightroom’s Library module to initiate the preset creation. This module acts as your image management centre. After picking up your image, move to the top-right of the screen and find the “Develop” tab, or press the “D” key on your keyboard. This action will take you into the Develop module.
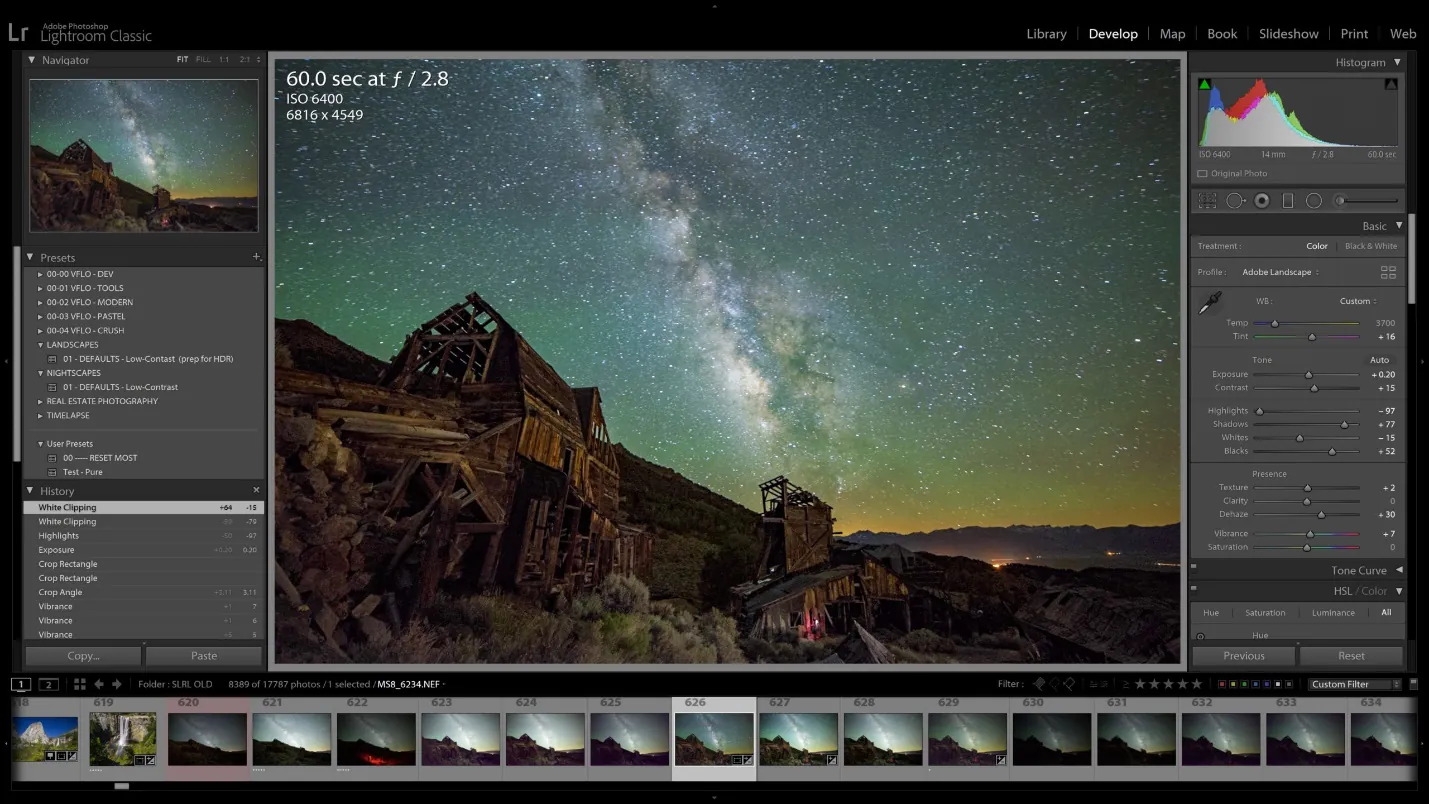
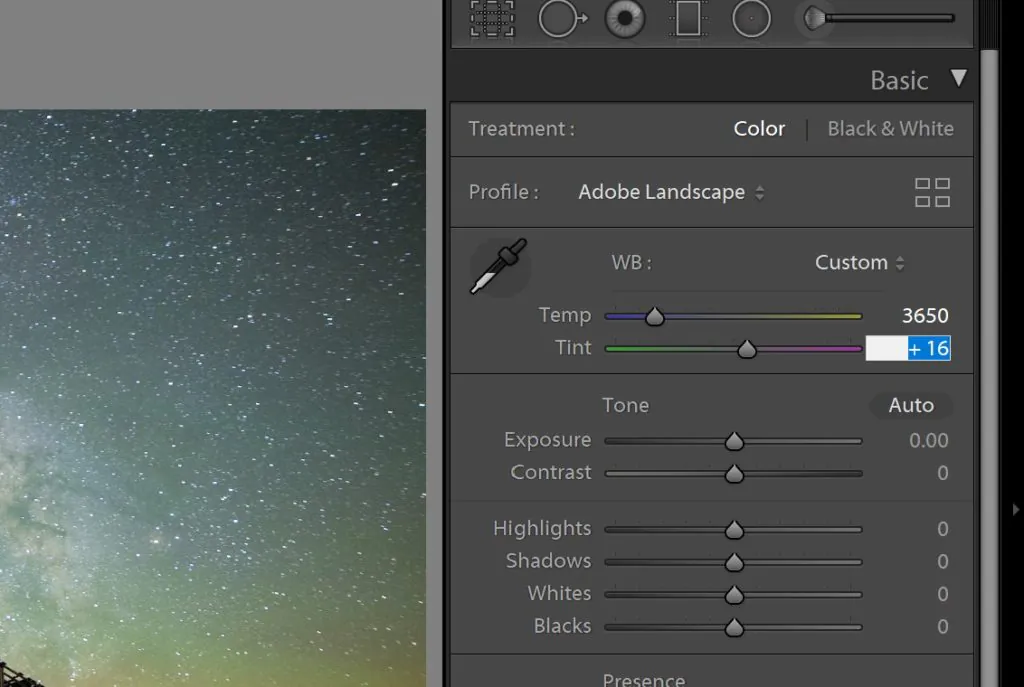
Inside the Develop module, you can approach several tools and controls that let you make particular adjustments to your image, including exposure and white balance, sharpness, and colour grading. This module is the place where the sorcery of image amplification occurs.
Step 2: Start with initial edits
After adjusting your image in the Lightroom Develop module, create your customized preset by performing initial edits. The initial changes are the basis for the specific look you want.
Start by working on the vital aspects of your photograph. Set the exposure to administer the overall brightness. Tune the contrast to increase the distinction between highlights and shadows. Regulate the clarity to foreground fine details or add vibrance and saturation to amplify colours.
Be confident enough to experiment and fine-tune these settings until your image reconciles with your creative idea. Remember that you do not have to achieve the final look at this stage but rather establish a vivid starting point.
Step 3: Shape your colors
Colours are pivotal for the atmosphere and style of your image, so they are used in making Lightroom presets.
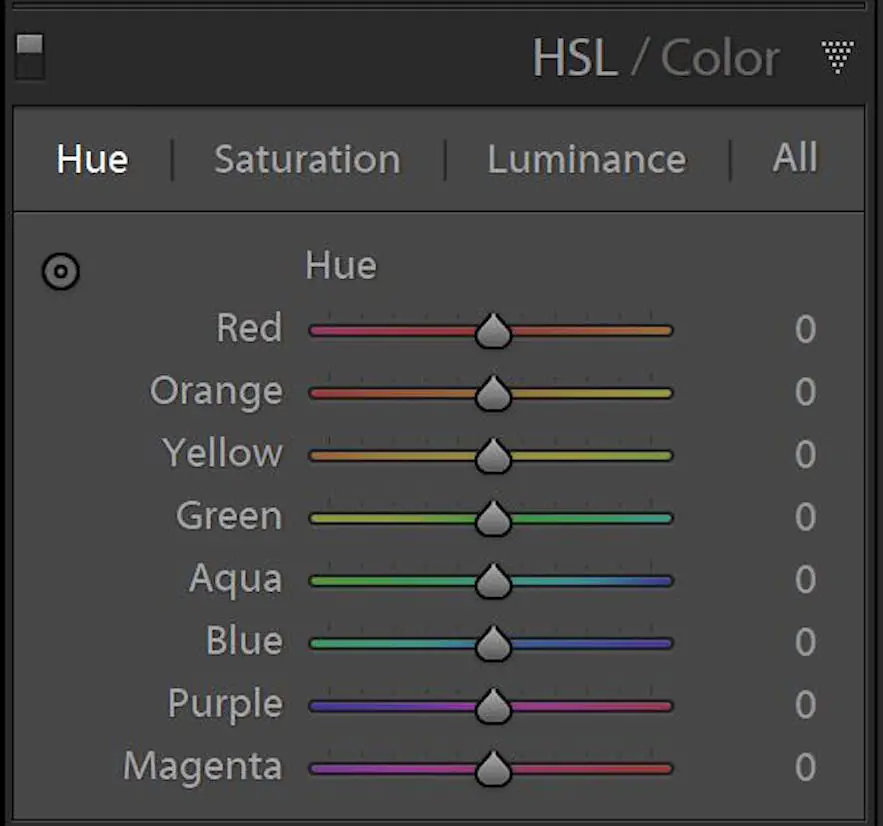
Explore the “HSL/Color” panel in the Develop module; you will see hue, saturation, and luminance level controls.
Manipulate the hues to change the colours in your image. You can make blues look more teal or oranges redder besides altering the overall colour scheme.
Control the saturation to make colours vibrant or more muted. Additionally, you can also expand or tone down specific colour constituents.
Tweak the luminance to brighten or darken specific shades. That can let you emphasize specific elements in your photo.
Keep experimenting with the colour settings until you can get impactful outcomes—restrain yourself from overdoing colour enhancements to not cause artificial looks.
Step 4: Improve the tone and contrast
Take a look at the Tone Curve panel. In this panel, you can fine-tune the sequence of tonal values by manipulating highlights, shadows, and midtones. You can produce various effects, like adding a matte look or maximizing the dynamic range.
Focus on the “Highlights,” “Shadows,” “Whites,” and “Blacks” sliders. These options make accurate adjustments to specific tonal regions. You can retrieve details in overexposed areas by reducing highlights or pop out hidden details in shadows by maximizing shadow values.
The “Clarity” slider is for mid-tone contrast increment, creating in your image depth and texture. Avoid overdoing it, as excessive clarity may cause annoying flaws.
Step 5: Plant special effects
Lightroom offers special effects for your photos to look more defined and charming. You can integrate various creative effects with the help of the “Effects” panel in the Develop module.
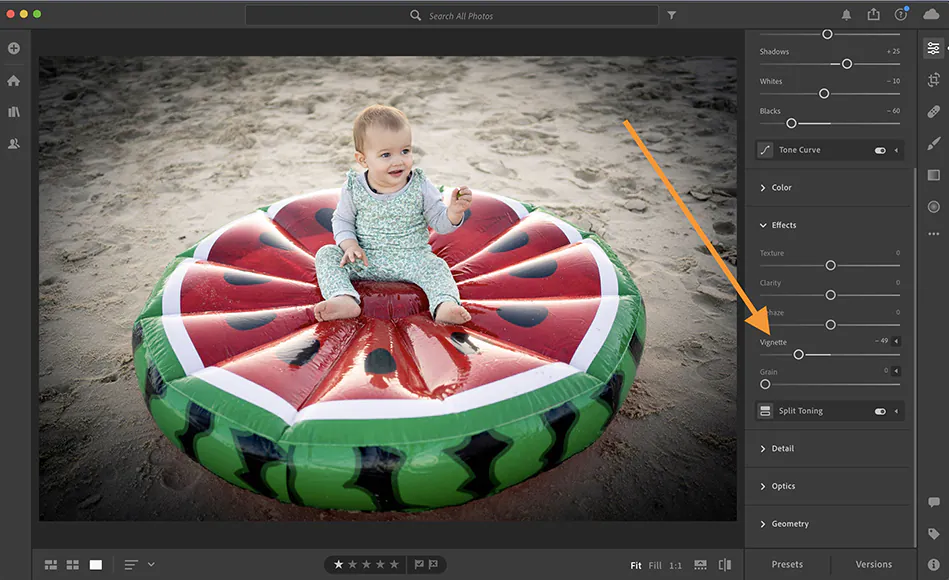
Apply vignetting to darken or lighten the edges of your image, drawing the viewer’s attention to the centre.
Add grain to bestow your photo with a film-like or vintage quality, enhancing character and texture.
Apply dehaze to cut through atmospheric haze or fog, enhancing clarity and detail.
Include split toning to fuse specific colours into the highlights and shadows of your image, producing a unique colour effect.
Play with these special effects to match your image with the mood or aura you have in your creative mindset.
Step 6: Develop and save your Lightroom presets
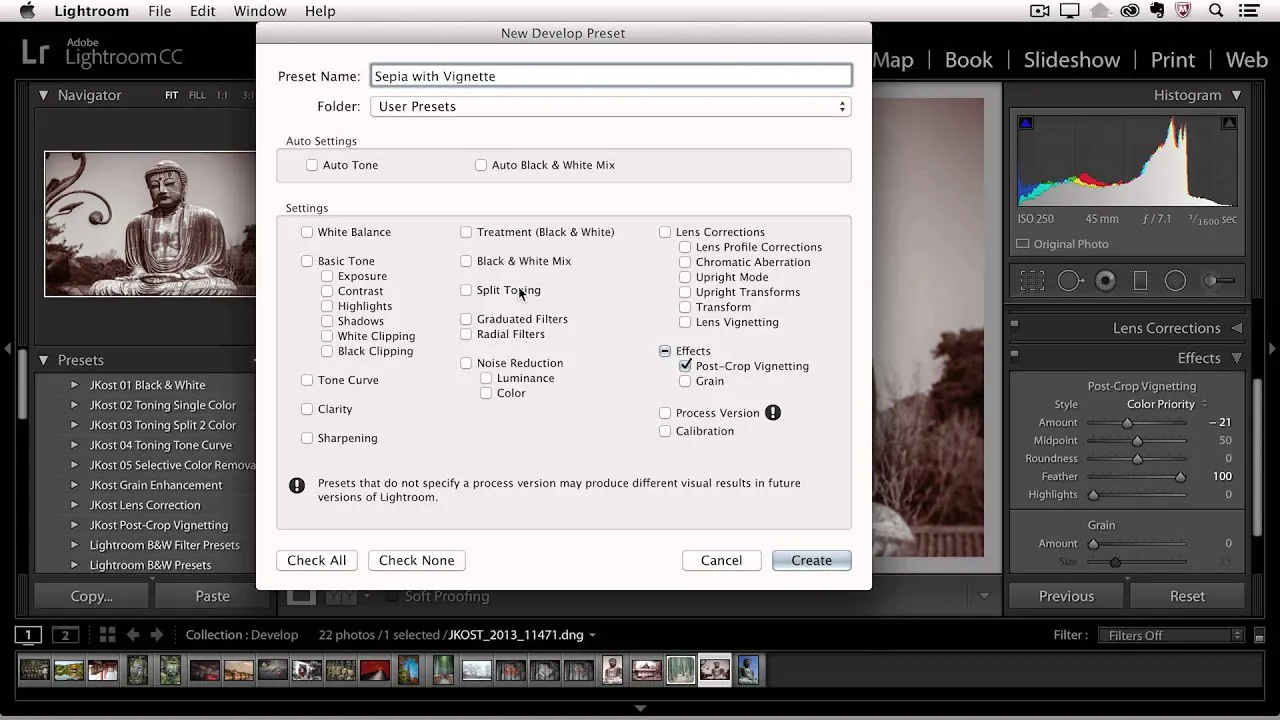
Make your preset by moving to the “Presets” panel in the Develop module. In that panel, press the “Create Preset” button, and a dialogue box will be opened so you can name your preset and choose the specific settings you want to incorporate.
Deliberately select the adjustments you’ve decided throughout the editing process. That covers exposure, tone curves, colour settings, and any creative effects you’ve used. Ensure to provide a significant and descriptive title for your preset that makes it easy to find in your collection.
After selecting and labelling your preset, click “Create” to save it. Your new preset is now in the “User Presets” section, available for applying to other photos.
Step 7: Assess your presets
Now that you’ve successfully created your distinctive Lightroom preset consider putting it into the evaluation phase.
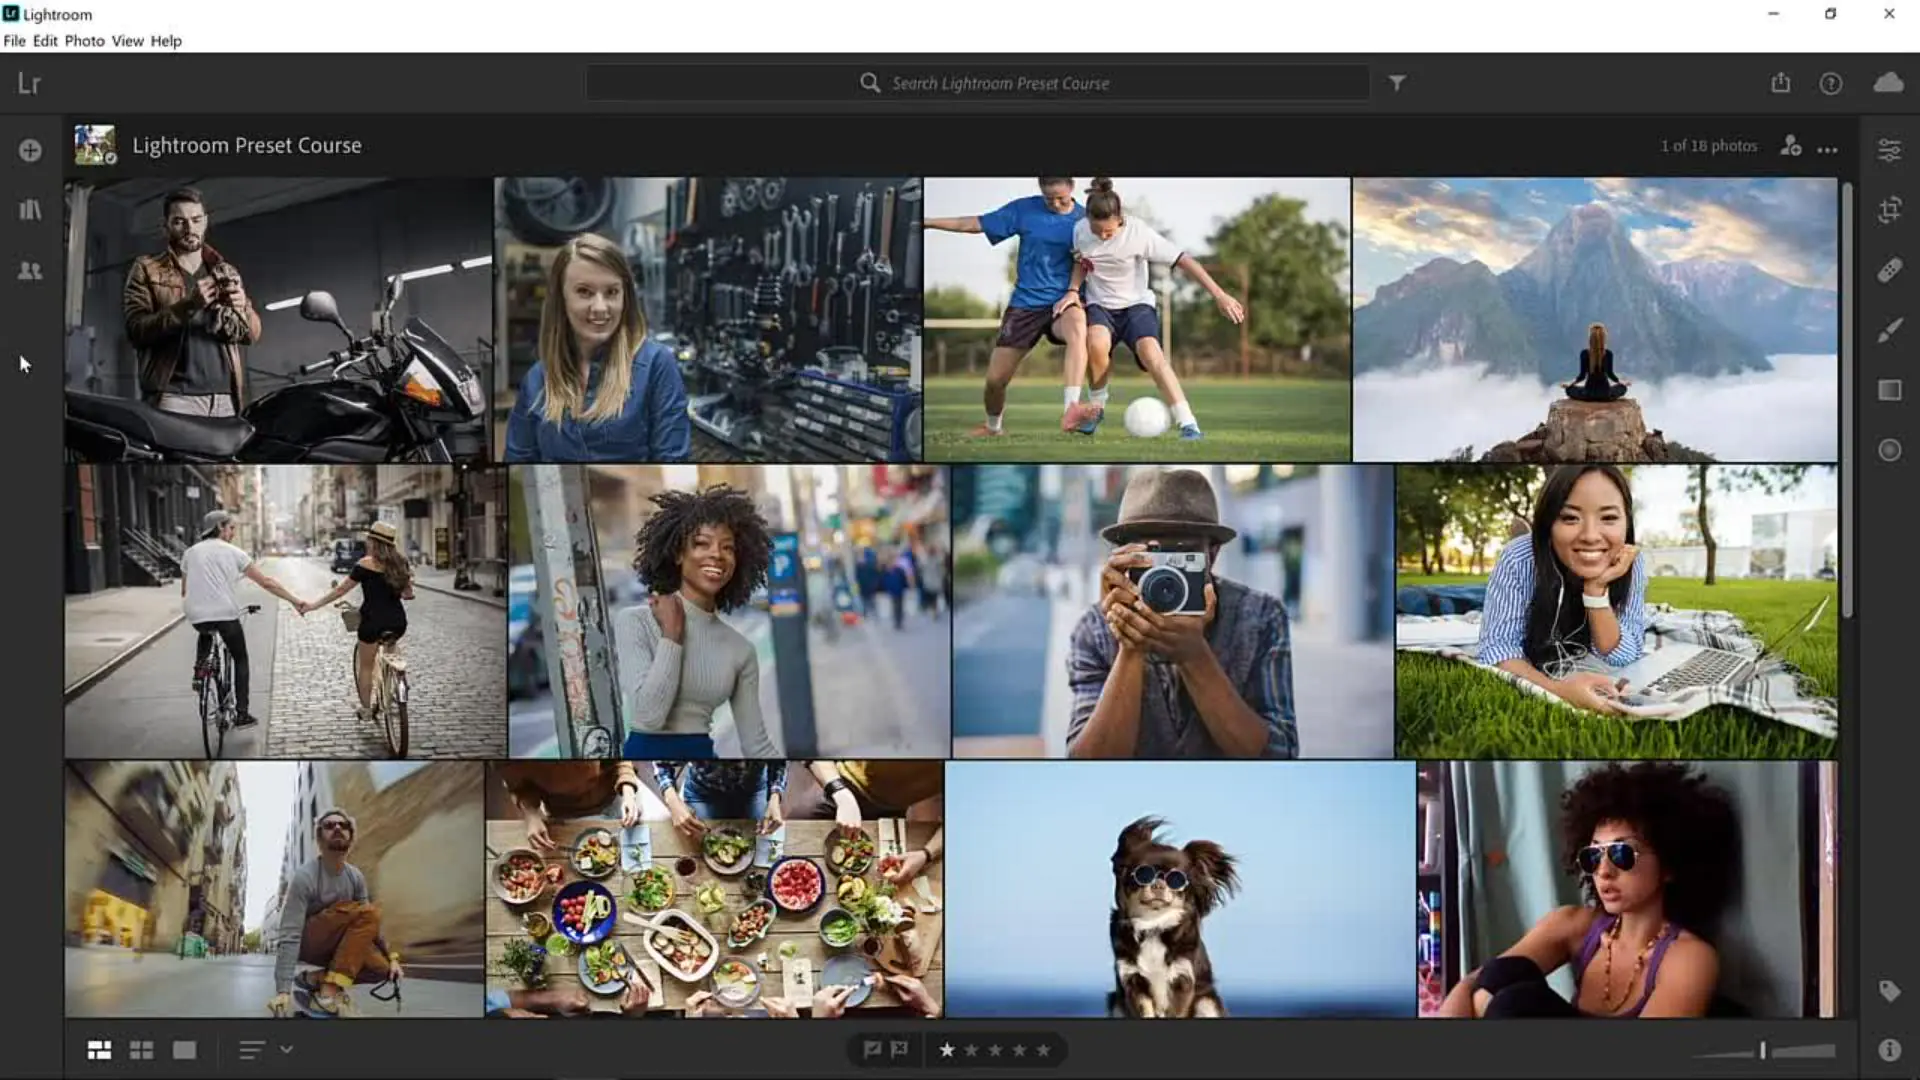
Start your evaluation by selecting various images, like portraits, landscapes, and subjects. Apply your fresh preset to them one by one with a single click. Observe how the preset influences each image and note down any must-have changes.
Check for features such as exposure, colour balance, and the overall spirit of the images. You’ll want your preset to strengthen the visual glamour while preserving a graceful style.
Review the preset in the Develop module if you find any flaws or aberrations. Reset the settings as necessary, ensuring they fit a broad range of images.
Step 8: Polish your presets
Scrutinize the images you tried in the prior step and consider any needed adjustments that could further boost the preset’s flexibility.
Consider producing variations of your preset to integrate diverse lighting conditions or photography styles. You will own a series of presets that keep your hallmark look while adapting to various situations.
In this phase, you must persistently assess and polish your preset. It would help to make your preset a powerful tool, consistently delivering superb results.
Finally, your Lightroom preset has sustained refinements and has become a priceless resource in your editing workspace.
Step 9: Assemble and share your presets
After testing and refining your presets, you must organize and groom them for sharing. Start classifying your presets into folders to quickly locate and apply them when needed.
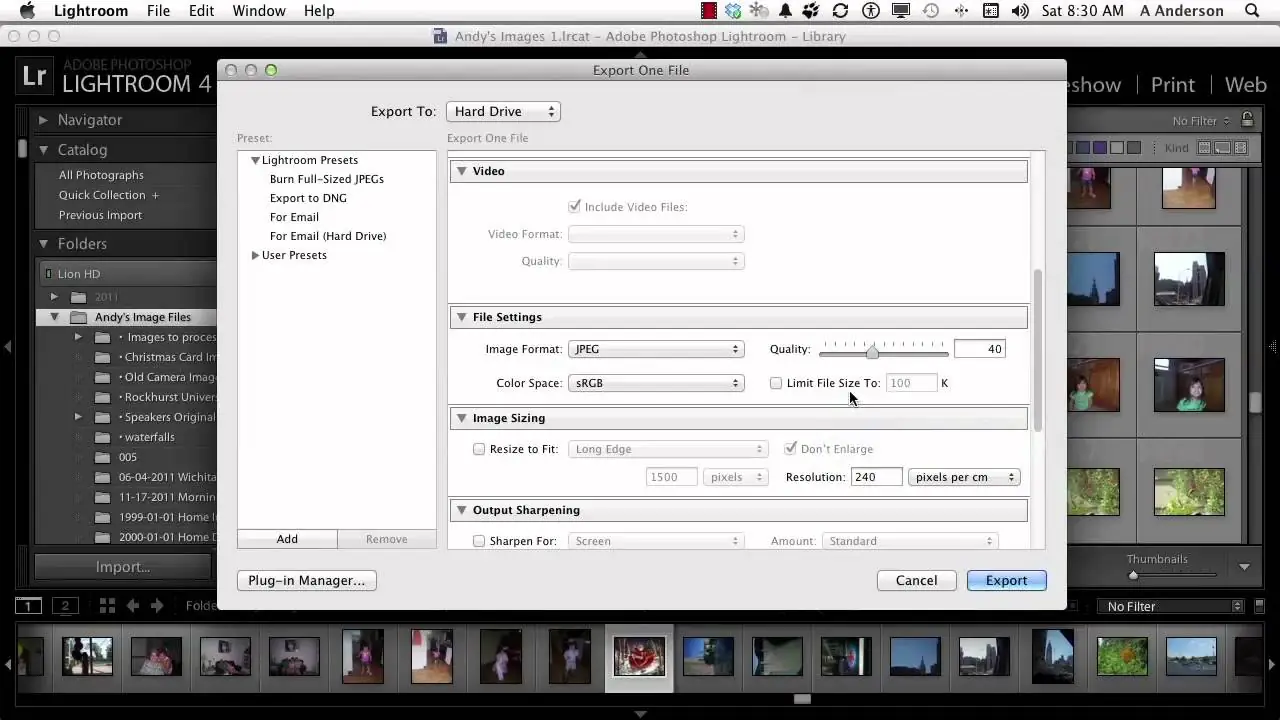
Navigate to the “Presets” panel and press the preset you want to export. Then, select the ellipsis menu and click “Export.” Save your preset file at your desired location.
If you wish to exchange your presets with others, you can send them the preset file. They then have to load it into Lightroom.
By arranging, exporting, and sharing your presets, you are making them permanently accessible and usable in your editing operations, and you’ll also be able to help fellow artists or designers.
Conclusion
Lightroom presets facilitate the photo editing process and produce consistent results, reducing time and effort. You just need to create it once with all specific modifications and adjustments, and you can use your preset specimen for several of your images. Your presets also become your identity as the audience associates each of your artwork with your distinctive creative vision. You have a starting point to kick start a fresh bundle of creative approaches, styles and tweaks. A single preset becomes a driving force to create hundreds more. Lightroom presets are dear to fresh artists and professional photographers in providing quick and professional assistance in transforming images into evenly refined pristine compositions.


