How To Make Light Leak Overlay Images
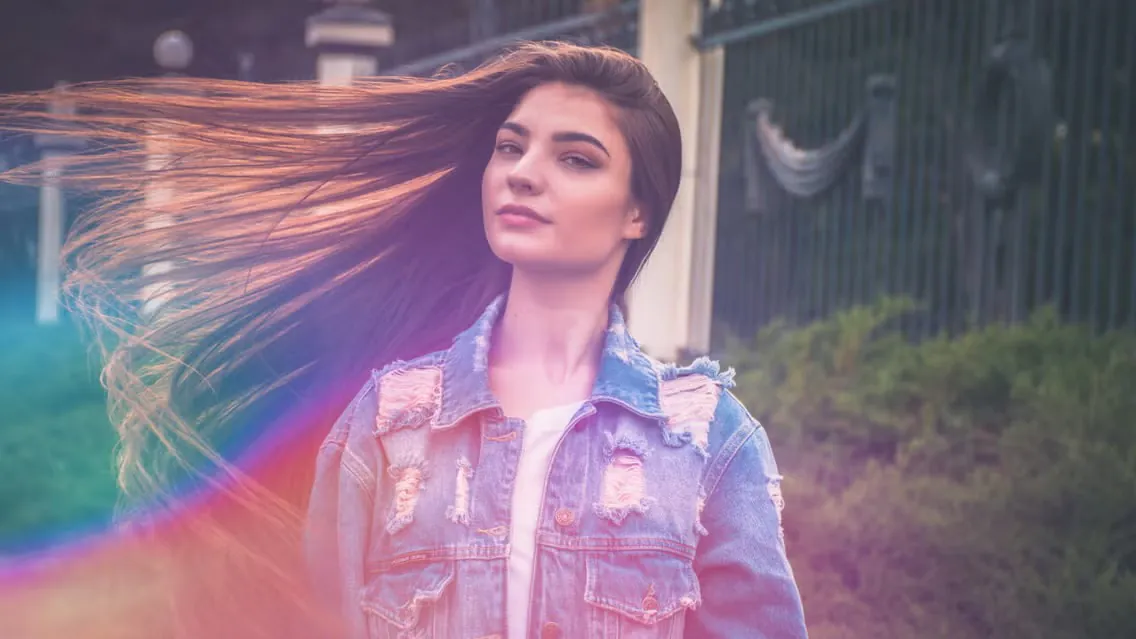
Though the unintentional light leak overlays are caused by camera fault, for example, gaps in its body and faulty seals can induce an abrupt flow of light across images leading them to become ruined and pathetic shorts. However, the intended application of light leak overlays to the photos can recreate minute or bold streaks of light of warm golden yellow or reddish hues that give photos an enchanting cozy glow. Light leak overlays grant pictures an organic and fluid sense, converting them into compelling art pieces. Light leak overlays are a creative tool that lets you personalize the aesthetic of your work. Because they are compatible with significant picture editing tools, it’s possible to customize light leak overlays using opacity, saturation, blending, and color grading adjustments to match your requirements. To make light leak overlays images, You can access any significant application, such as Adobe Photoshop or Lightroom, to apply it to your photographs and boost the atmosphere of photos by imparting them an antique or retro appearance and generating a hypnotic and mystical sensation.
Step 1: Prepare Your Workspace
Open your photo in Adobe Photoshop.
Generate a new layer by clicking the “New Layer” button in the Layers panel.
Find a suitable light leak overlay and drag it onto your workspace.
Resize and position the overlay using the Move Tool.
Change the blend mode of the overlay layer to Screen, Overlay, or Soft Light.
Adjust the opacity of the layer to control the intensity of the light leak effect.
Optionally, add a layer mask to apply the effect selectively.
Make additional adjustments to the image using adjustment layers if desired.
Once satisfied, save your edited image.
These steps will help you add a light leak overlay to your photo and customize it to achieve the desired effect.
Step 2: Find a Light Leak Overlay
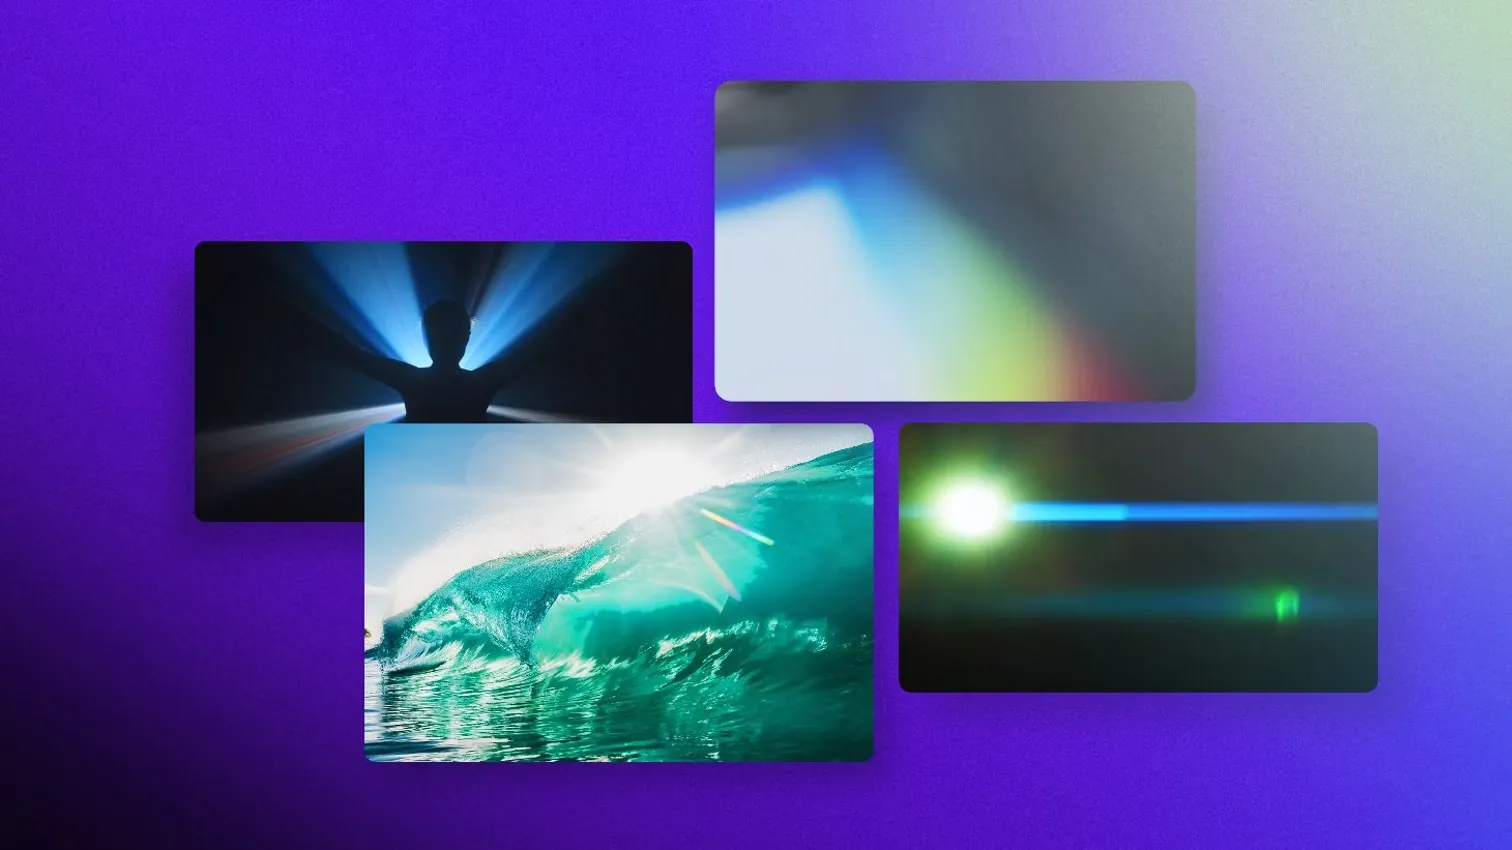
Search online for light leak overlays. Many websites offer free or paid resources. Search terms like “light leak overlays” or “transparent PNG light leaks” can be used to find suitable options.
Browse the available overlays and select one matching your desired style and aesthetic. Pay attention to factors such as colors, patterns, and intensity.
Download the chosen light leak overlay to your computer. Ensure it is in a compatible file format, such as PNG, to preserve transparency.
If the overlay is in a ZIP file, extract its contents using the appropriate software.
Organize your overlays in a dedicated folder on your computer for easy access during the editing process. Following these steps, you can find and prepare a light leak overlay for your photo editing software.
Step 3: Place the Overlay
Open and load the image you want to edit in Adobe Photoshop.
Move to the “File” menu and select “Place Embedded” or “Place Linked” to import the light leak overlay into your Photoshop document.
Navigate to the folder where you saved the light leak overlay, select it, and click “Place” or “Open” to insert it onto your canvas.
Use the transform handles to resize and reposition the overlay as desired. You can press the Shift key when ile dragging the handles to maintain the aspect ratio.
Press the Enter button or click the checkmark icon in the top toolbar to confirm the transformation and place the overlay in its new position. Following these steps, you can successfully place the light leak overlay onto your image and prepare it for further editing and blending.
Step 4: Resize and Position
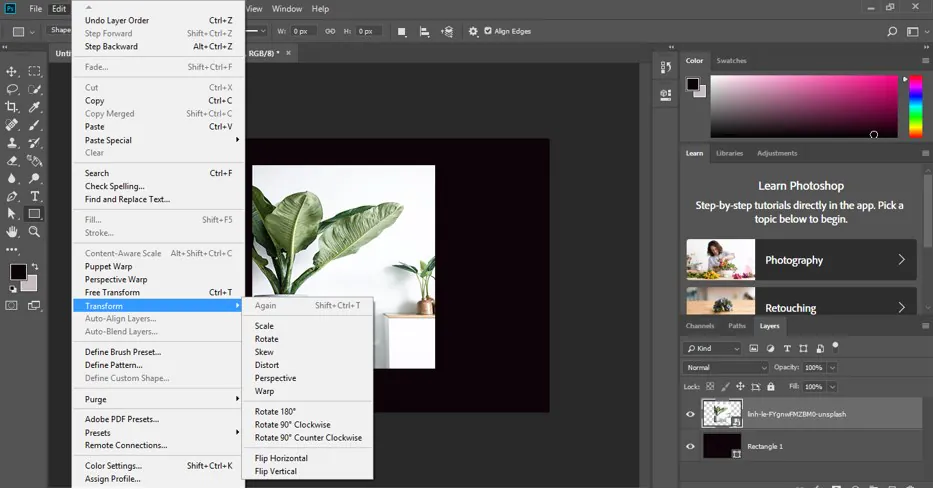
Select the light leak overlay layer in the Layers panel.
Activate the Transform Tool by pressing Ctrl+T (Windows) or Command+T (Mac).
You will see transformation handles around the overlay. Click and drag any of these handles to resize the overlay proportionally.
To resize non-proportionally, hold the Shift key while dragging a corner handle.
To reposition the overlay, click and drag within the transformation bounding box.
You can manually enter specific width, height, and position values in the Options bar at the top of the screen.
Once you’re satisfied with the size and position, press Enter (Windows) or Return (Mac) to apply the transformation. Following these steps, you can easily resize and reposition the light leak overlay to fit your image and achieve the desired visual effect.
Step 5: Blend Mode and Opacity
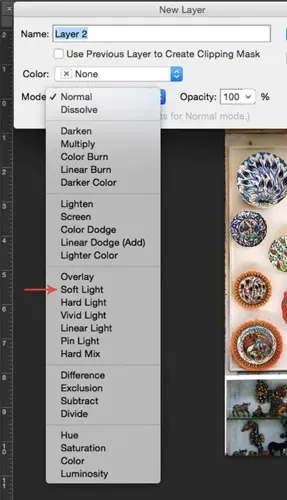
Select the light leak overlay layer in the Layers panel.
Locate the Blend Mode dropdown menu at the top of the Layers panel and click on it.
Experiment with different blend modes such as Screen, Overlay, Soft Light, or others to see which achieves the desired effect. Each blend mode produces a unique interaction between the overlay and the underlying image.
After selecting a blend mode, adjust the Opacity slider next to the Blend Mode dropdown to control the transparency of the overlay. Lower opacity values make the overlay more transparent, while higher values make it more opaque.
Continuously observe the image as you adjust to find the blend mode and opacity that best enhances the photo’s overall aesthetic. By following these steps, you can effectively control the blend mode and opacity of the light leak overlay, achieving the desired balance between the overlay and the underlying image.
Step 6: Layer Mask
Select the light leak overlay layer in the Layers panel.
Click on the “Add Layer Mask” option at the bottom of the Layers panel. A white layer mask thumbnail will appear next to the overlay layer.
Ensure the layer mask thumbnail is selected (highlighted in white) by clicking on it.
Choose the Brush Tool (shortcut: B) from the toolbar.
Set the brush color to black by pressing the ‘D’ key to reset colors in the foreground and background and then pressing ‘X’ to switch them.
Adjust the brush size and hardness for precise masking.
Paint over the areas of the overlay where you want to hide or partially hide the light leak effect. That will reveal the underlying image in those areas.
If you make a mistake, switch the brush color to white and paint over the areas you want to reveal again.
Continue refining the layer mask by alternating between black and white brush colors until you achieve the desired effect. Following these steps, you can add a layer mask to the light leak overlay, allowing for selective application of the effect to specific image areas.
Step 7: Adjustments
Select the light leak overlay layer in the Layers panel.
Go to the “Layer” menu to choose “New Adjustment Layer” to add adjustment layers like Curves, Levels, or Hue/Saturation.
Select the desired adjustment layer from the submenu. A new adjustment layer will be added above the light leak overlay layer.
Use the adjustment layer’s properties panel to adjust the image’s colors, tones, or other aspects.
Play with different settings to achieve the desired look. You can adjust brightness, contrast, color balance, or other parameters.
If needed, apply the adjustment only to the light leak overlay layer by right-clicking the adjustment layer and selecting “Create Clipping Mask.”
Continue making adjustments or add additional adjustment layers as desired to further refine the image’s overall appearance. Following these steps, you can adjust the light leak overlay or the overall image to fine-tune and enhance the visual effect.
Step 8: Finalize and Save
Review the overall appearance of your edited image, ensuring that the light leak overlay and any adjustments meet your desired outcome.
Make any final adjustments or refinements to the layers, blending modes, opacity, or additional effects as needed.
Once satisfied with the final result, flatten the layers if desired by right-clicking on any layer in the Layers panel and selecting “Flatten Image.”
Go to the “File” menu and choose “Save As” or “Export” to save your edited image.
Select the desired file format (e.g., JPEG, PNG) and choose the destination folder to save the file.
Provide a meaningful name for the file and select any additional options, such as quality or compression settings.
Click “Save” to finalize and save your edited image. By following these steps, you can ensure that your edited image is saved with the desired modifications and ready to be shared or used for its intended purpose.
Additional Considerations for Working with Light Leak Overlays
Try blending modes and opacity to find the perfect combination that enhances your image without overpowering it.
Use layer masks to selectively apply the light leak effect to specific areas or adjust the intensity in different image parts.
Customize the overlays by adjusting colors and saturation or applying additional effects like blur or distortion for a unique look.
Pay attention to the composition and storytelling of your image, ensuring that the light leaks contribute to the desired mood or atmosphere.
Take inspiration from photography and design communities to learn new techniques and adapt them to your style.
Experiment with different settings, styles, and overlays to develop your creative approach.
Save your original image separately to preserve the file’s integrity and avoid irreversible changes.
Conclusion
In conclusion, the intended addition of light leak overlays to your images can be a portal to endless potential. It builds an element of vagueness, intends to convey images with charm, and has a glowing beauty. The consequent retro touch of light leak overlays displays an atmosphere that was a specification of older-style film cameras. Light leak overlays can enrich several images, including wedding photography, portraits, landscapes, real-life settings, and digital creations. It is compatible with editing applications and may be customized to match the needs of artists.
