How To Get A Mirror Effect On Your Images
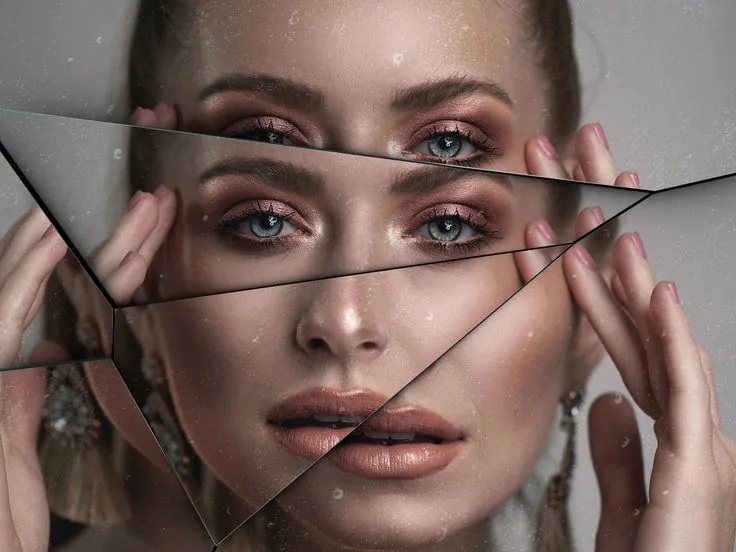
The mirror effect gives your images a polished and mirror-like appearance, giving you the impression that you are looking into a genuine mirror. Due to the rapid reflections, this effect can refresh and polish the current colors in a picture without changing its original colors. You can also create numerous kinds of mirror effects by changing textures and surfaces, resulting in visually stunning results. These modifications can create a sense of depth, making objects in the images appear positioned at different distances. The mirror effect’s layering aspect facilitates the perfect integration of foreground and background components, producing a highly engaging and coherent image composition that highlights people’s attention to them. To get a mirror effect for your photos, you need to understand how to choose suitable software and techniques to play with the intricacies of light and reflection phenomena. Ultimately you can equip your images with shiny a surface and delicate distortions that conjure an indelible mark on the onlooker.
Step 1: Choose the Right Software
The appropriate software is crucial for creating a mirror effect in your photos. Look for image editing software such as Adobe Photoshop, GIMP, or Pixlr that offer comprehensive toolsets and features. These programs provide the necessary capabilities to manipulate and enhance your images, ensuring you have the flexibility and control needed to achieve the mirror effect.
Consider factors such as user-friendliness, available editing tools, and compatibility with your operating system. Adobe Photoshop, for example, is renowned for its extensive editing capabilities and is widely used by professionals in the industry. GIMP, on the other hand, is open-source software that displays powerful features and is a great option for those seeking a free alternative.
Choose the software that aligns with your skill level and specific requirements. If you are a beginner, opt for software that provides intuitive interfaces and guided tutorials to help you navigate the editing process smoothly. For advanced users, software with advanced layering, masking, and transformation tools will allow for more intricate and precise editing.
Step 2: Select an Image
Choose a photo that you want to apply the mirror effect to. Consider selecting an image with interesting compositions, textures, or elements, as they will be emphasized in the mirrored reflection. Landscapes, architectural structures, or abstract patterns often work well for mirror effects, but feel free to experiment with various subjects to discover what resonates with your artistic vision.
Ensure that the chosen image is of high resolution and quality. Higher-resolution images will retain more detail and provide better results when applying editing techniques. That is especially important for intricate reflections or if you plan to print the final image in larger sizes.
Step 3: Duplicate the Image
After opening the selected image in your chosen software, duplicate the original layer. This duplication is a backup and ensures you can always revert to the original image if needed. Working on a duplicated layer allows you to experiment freely and make changes without affecting the original image.
Creating a duplicate layer is often as simple as right-clicking on the original layer and selecting “Duplicate” or dragging the layer onto the “New Layer” button in the layer panel. It’s recommended to name the duplicated layer appropriately to keep track of your editing steps.
Having a duplicate layer also allows for non-destructive editing, where you can easily toggle the visibility or make adjustments to the duplicate layer while preserving the integrity of the original image. That provides flexibility and freedom during the editing process.
Step 4: Flip the Image
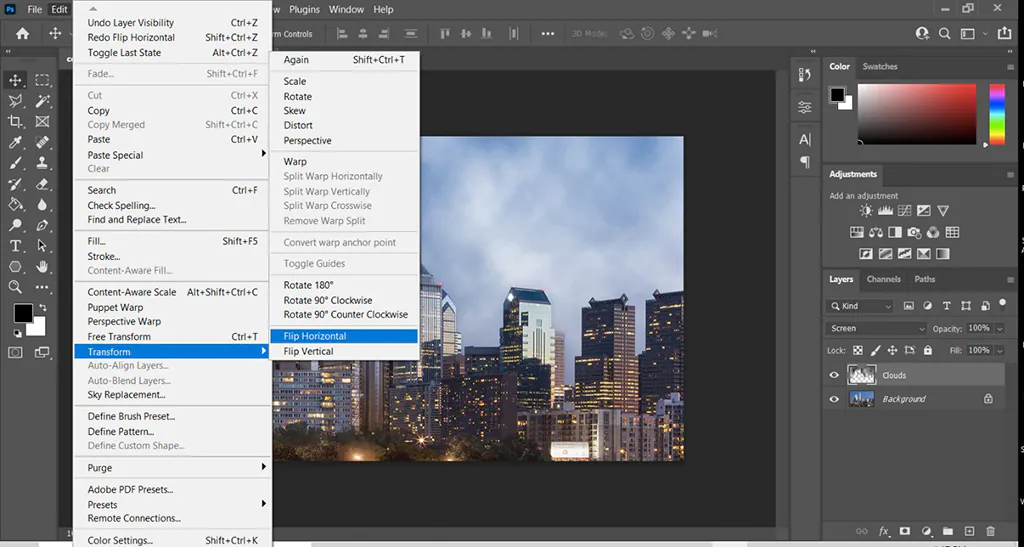
Access the software’s transformation tools to flip the image with the duplicated layer selected horizontally. This action creates a mirrored effect. In most image editing software, you can find the transformation tools under the “Edit” or “Transform” menu options.
Select the appropriate flip or mirror function, usually named “Flip Horizontal” or “Mirror Horizontal.” Once activated, the software will flip the duplicated layer, resulting in a mirrored reflection. This reflection will serve as the basis for the mirror effect in the final composition.
Pay attention to the positioning and alignment of key elements in the image to ensure a visually pleasing result. The flipped layer should align seamlessly with the original layer to create a cohesive and convincing mirrored effect.
By flipping the image horizontally, you emulate the appearance of a reflection as seen in a mirror. This action sets the foundation for further adjustments and enhancements to achieve a realistic and visually striking mirror effect.
Step 5: Align the Mirrored Layers
Position the flipped layer below the original layer, aligning them to create a seamless transition between the two. Pay attention to matching key elements in the composition to achieve a visually pleasing result. Use alignment tools or manually adjust the position of the layers as needed. This step ensures that the reflection appears natural and integrated into the composition.
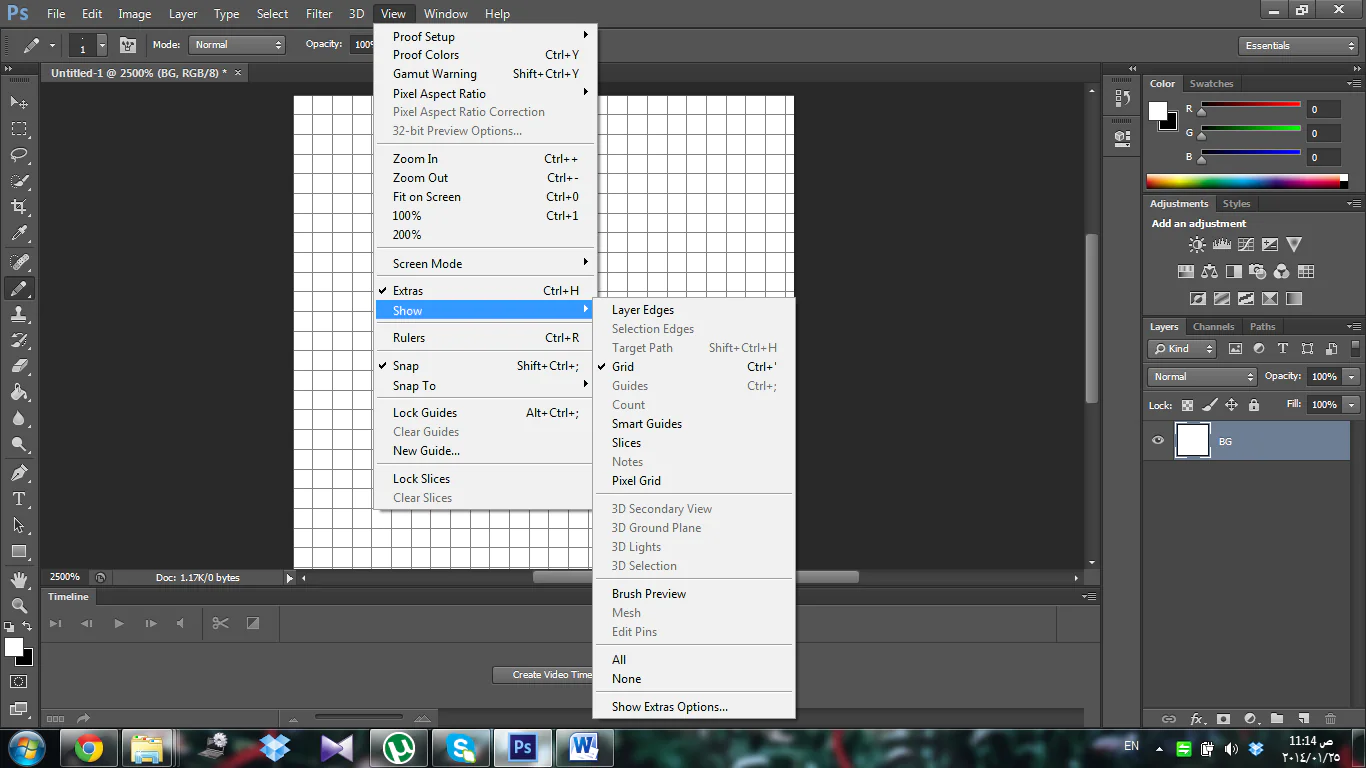
Maintaining proper alignment is crucial to create a convincing mirror effect. Adjust the position of the mirrored layer until it seamlessly aligns with the original layer. Consider elements like horizon lines, prominent objects, or symmetrical compositions. Use guides, grids, or snapping options provided by your software to assist in accurate alignment.
Step 6: Adjust Opacity
Fine-tune the mirror effect by adjusting the opacity of the flipped layer. This adjustment allows for a more realistic reflection, where the original image blends with the mirrored version. Experiment with different opacity levels to achieve the desired effect. Increasing or decreasing the opacity alters the intensity of the reflection, giving you control over its prominence.
Gradually adjust the opacity of the flipped layer to find the perfect balance between the original image and the reflection. A lower opacity can create a subtle and transparent reflection, while a higher opacity emphasizes the mirrored effect. Aim for a level that seamlessly integrates the reflection while still allowing the details of the original image to shine through.
Step 7: Refine the Reflection
Refine the reflection using erasers or layer masks to remove or reveal parts of the reflection selectively. This step ensures a seamless transition between the original and mirrored areas, enhancing the overall composition’s quality and coherence. Pay attention to details and carefully erase or reveal areas to create a polished and realistic reflection.
Zoom in and use erasers or layer masks to refine the reflection. Remove any unwanted artefacts or inconsistencies by erasing portions of the mirrored layer. Blend the edges of the reflection with the original image for a smooth transition. Take your time to achieve a seamless integration that mimics the behaviour of a real mirror.
Step 8: Add Distortions
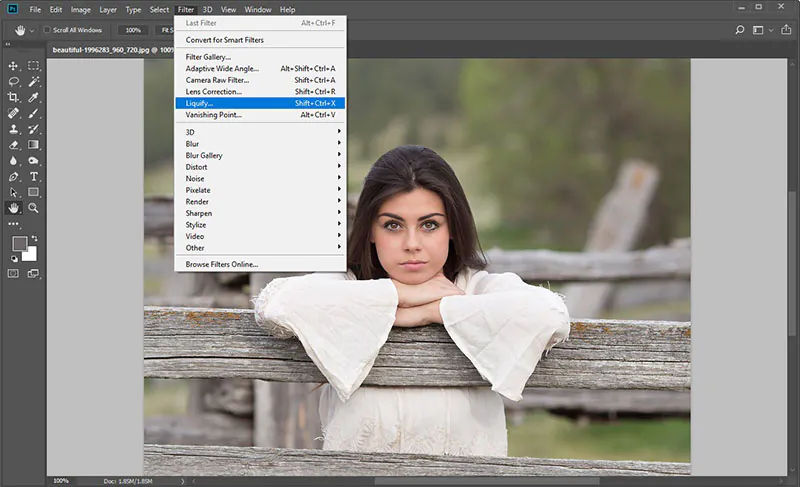
Consider adding distortions to the reflection for a more creative or surreal mirror effect. Utilize tools like the Liquify filter or transformation options to warp or manipulate specific areas of the reflection. Exercise caution to avoid overdoing it; subtle distortions often yield more pleasing results. The addition of distortions can introduce a unique and artistic touch to the mirror effect, adding depth and intrigue to the reflection.
Experiment with distortion tools provided by your software to add subtle or pronounced distortions to the reflection. Use them sparingly and selectively to maintain a visually appealing result. Consider incorporating distortions that enhance the overall composition and align with the creative direction you envision.
Step 9: Adjust Colors and Contrast
Harmonize the colours and contrast between the original image and the mirrored reflection. Utilize the software’s color correction and adjustment tools to make necessary modifications. This step ensures a cohesive look and feel throughout the composition. Adjusting colors and contrast helps to balance the visual elements, creating a seamless integration between the original image and its mirrored counterpart.
Adjust the colors, saturation, and contrast of the original image and the reflection to achieve a consistent and visually appealing balance. Pay attention to lighting conditions and ensure they match the two components. Use tools like levels, curves, or color balance to fine-tune the overall color harmony.
Step 10: Final Touches and Export
Review your image and make any final adjustments or enhancements. Consider adding additional effects like vignettes or gradients to enhance the overall composition. Once satisfied, save the image in your preferred format (e.g., JPEG or PNG) to preserve the mirror effect. This final step allows you to fine-tune the image and ensure it matches your artistic vision before saving and sharing it.
Evaluate the overall composition and make necessary adjustments to enhance the visual impact. Consider adding vignettes to focus attention on the mirrored reflection or gradients to create a smooth transition between the two layers. Strive for a cohesive and visually captivating image. Choose an appropriate file format and compression settings to maintain image quality when saving.
Following these steps, you can have a compelling mirror effect in your photos. Remember to experiment, fine-tune, and unleash your creativity to create unique and visually striking compositions.
Conclusion
In summary, Images with the mirror effect exude realism and authenticity, as if they were taken from a genuine mirror. The magnificent reflections generated in images by mirror effects, whether symmetrical or distorted, are intended to provide a creative impression while also showing different perspectives of the subject. Not only can it be used to glorify animate subjects, but it can also serve to glorify inanimate ones, such as abstract concepts, natural landscapes, or architecture, adding a new layer of interesting atmosphere and grandeur to them. Multiple reflections are an additional adornment to the mirror effect that can further optimize it.
