How To Make A Texture For A 3D Model?
3D textures are important to make the model look more natural and realistic in digital space. You can showcase your company product most efficiently by applying various 3D textures. You can add intricate details such as bumps, scars, cracks, and lighting effects including reflections to add a subtle touch to the product model. Since 3D texturing and rendering play a significant role in adding a photorealistic effect to the finished model. Both are equally crucial to creating a remarkable 3D model. In this blog, we will be discussing how to create 3D textures and how special software tools are employed to create them. 3D textures are categorized into 5 different types to carefully explain the development process.
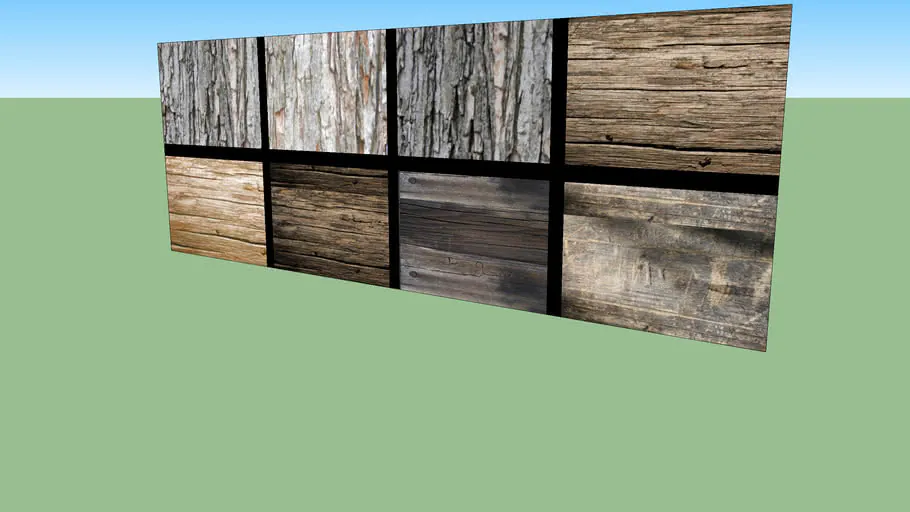
Nature
Initially let us discuss a more easy texture. For example, the flow animation is like lava, To drive the flow you need to use expose parameter from the Transform 2D node y-axis. Likewise, to carry out flow distortion, you can utilize the Directional Warp node combined with a blurred procedural map. To control the metallic map channels, base color, normal, emissive, and height you should use a Unix pattern. To counter the dry state of lava you should use exposed level nodes that are located on the base pattern.
Tips to Create Nature 3D Textures
Flowing pattern
To create a lava pattern successfully you can use Blend node to multiply two Grunge maps and then using Perlin noise easily distort them. You can apply the Transform 2D node before distortion. As a result, you will get a flowing pattern as the y-axis is shifted.
Lava stretching
For achieving the stretching lava effect, you should am to multiply the second pattern. To pull this off you can the 2nd Grunge map. To this, you can make an addition of the Transform 2D. Afterward, you can use the Blend node to multiple the second pattern before the distortion of effects. Finally to get your desired results you only have to shift the ‘bonus’ across the y-axis towards the second pattern. This will create an illusion effect of lava stretching.
Procedural textures
To develop procedural textures like the sun’s surface, for example, you can make use of two procedural textures with the help of a Substance Designer. At this point, you can easily blend them and perform distortion using the Perlin noise. After this, you can add any color using Gradient Map.
Flowing marks
If the lava appears to be in a dry state you can even make it look wet by adding flowing marks. You can do accomplish this by blending the filamentous pattern present in the Add mode.
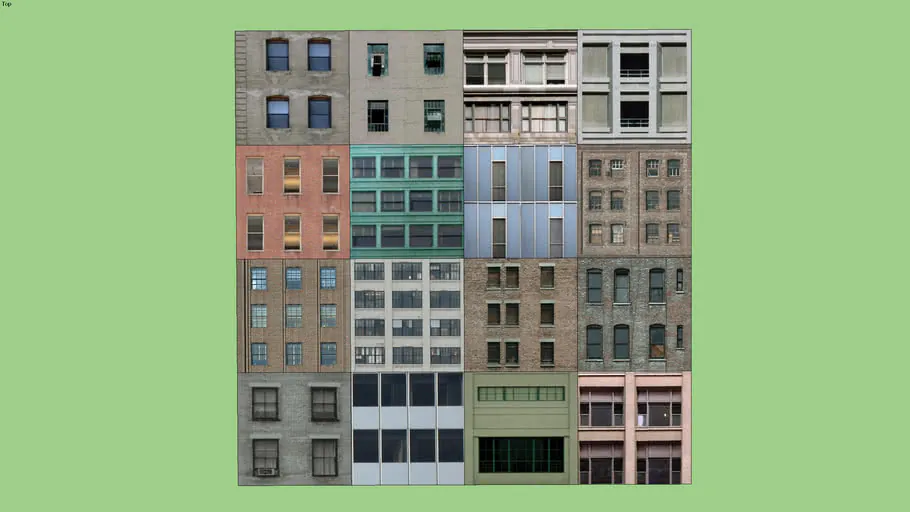
Urban
The first and foremost thing you need to create a substance is to make a to-do list of all materials and work the baseline for each of the steps which are to be performed during the process. As compared to other things it is more important to pay more attention to the masks and transitions that you need to put together. The second stage is blending. This is the most interesting phase in the entire procedure. You can easily blend almost any kind of material using special software tools. You can adjust various categories like environment, height, weathering, etc. To carry out smooth blending you need to get proper information regarding the curvature map, height map, and ambient occlusion map.
Tips to Create 3D Urban Textures
Floral designs
You can create solid floral designs using the base shapes. The same base shapes can be used to create splatters, circular tiling, warps, and symmetry to create various shapes.
Substance
If you ever get a chance to create a plaster-like substance then you will need to mask base shapes. The areas around the edges need to appear a bit broken. However, it will become comparatively easier to make relevant adjustments and blend any two materials.
Tools library
If you feel like blending two materials of varying heights, try blending with Pixel Processor.
Early optimization
If you wish to resolve faster you can utilize the full resolution node. It also helps to get blurred into your noise. For example, if you take 15 seconds to make a change you can make it in only 5 seconds using resolution optimization.
Stylized
Suppose you plan to make a hexagon world map for your next project. The map is loaded with information such as mountains, grass, forests, rivers, etc. all randomly placed. In that case, you can create several sub-materials for every element. Later on, you can layer them by accomplishing sensible masking.
To ensure that mountains and forests are not cut off and appear closely connected. You can try masking them by blurring and expanding the effect. Try overlapping around the borders to make the surface appear more natural. For this, you need to use Mark erosion and Vector Wrap node.
Tips to Create Stylized 3D Textures
Hexagon Mask
Another good way to develop a hexagon mask is to do it through Tile Sampler. Also, you can determine visible titles using the Noise node. It is important to note that adding smooth noise will provide a natural feel as compared to a random placement.
Dilation and Erosion
To simulate erosion and dilation, you can use the Histogram Scan node and Bevel node. It is very effective when you need to expand the mask or shrink the mask.
Vector Warp
The Vector Warp node can be combined with a noise on the mask to blur the borders effectively.
Dynamic Gradient
This node is best if you wish to create wood-like textures. In addition, you can shape the line of trees like the forest.
Edge Detect
To visualize the input mask skeleton, you should use a Bevel node with some negative distance. To create a river-like mask you can also use the same Bevel node alongside an Edge Detect node. In the end, for final touches mask the center.
Fantasy
Fantasy textures are commonly used in moves and games. Suppose you want to create a slab made out of stone but by using metal frames. Around the edges, there is some rune inscribed in the stone. To complete the project you should get your hands on the closest reference image you can find. Make use of the Substance Designer to lift off the gradient from different parts of the photograph. This step will ensure that you have the same color variations. Lastly, use the Brick Generator to create different shapes of the tiles and runes from the same node.
How ITS Can Help You With Photorealistic Rendering Service?
Information Transformation Service (ITS) offers notable Photorealistic Rendering Solutions to leading enterprises of all sizes starting from small residential projects to large scale corporations. Our professionals ensure that your photorealistic rendering projects look enticing and accurate to boost up your business sales. There are numerous categories to choose from along with customized packages that can be formulated according to your requirements by our celebrated artists. With over 30 years in service, our professionals are equipped with knowledge and equipment to create remarkable photorealistic rendered images which will make your company product look more real-life like and luxurious. Contact us today, to outsource ITS Photorealistic Rendering Services and get a free quote within one business day!
