How To Do Image Polarization
The polarization process drives elements and zones in images by maximizing their contrast levels. It aspires to supplement the transparency and liveliness of the environment by explicitly filtering light waves that are set in discrete positions. The basic strategy for image enhancement with polarization effect concerns employing polarizing filters. Such filters can indicate the selective blocking of light rays that sway in characteristic directions. Simultaneously, these filters allow other waves of light to pass crisscross freely. For the images captured without the notion of polarizing, the polarization approach can still be applied to them with digital tools and techniques. You can customize the contrast, sharpness, exposure color balance with many other variables and render your images with polarization transformations. Trendy software like Photoshop, Lightroom, GIMP, and Capture One furthermore offer ingenious filters and global adjustments stimulating the editing process and developing admiringly innovative and engaging compositions. This blog will spotlight the essential phases of image polarization with rich tools and features for a smooth workflow throughout your image manipulation process.
Step 1: The Introductory Preps
Launch your image editing program and import the photograph you want to polarize. Get to the file area on your PC or storage gadget and select the picture to import.
Adjust the imported image inside the software’s interface, validating a simple get-to and management all through the editing phase.
Audit the photo to comprehend its composition, lighting set-up, and potential zones for polarization upgrades.
Ahead of continuing with updates, consider creating a copy or backup of the initial picture record. That safeguards that you can return to the unaltered version as required.
To prepare the picture for polarization improvements, perform essential alterations, such as trimming for composition enhancement or minor introduction rectifications.
Step 2: Including Global Modifications
Tend to the overall quality and parity of the image with global adjustments that influence the whole photo.
Alter the exposure settings to achieve ideal brightness and contrast all across the picture. Tune up highlights, shadows, and midtones to reform overall tonal adjustment.
Assess the color temperature and tint of the image to attain natural and satisfying tones. Make alterations to rectify any color casts or disparities.
Rise or reduce contrast levels to include profundity and dimensionality to the image. Try getting a balance between highlights and shadows to expand visual interest.
Refer to global sharpening strategies to improve the subtle elements and progress overall clarity. Abstain from over-sharpening, which can cause artificial appearances.
Deal with any discernable noise or grain within the picture by applying global noise-lessening algorithms. Keep up symmetry between noise demotion and detail conservation to maintain image quality.
Step 3: Performing In-Depth Tweaks
Move into a more profound refinement and upgrading of the picture to address particular subtle elements and enhance realism and clarity to crucial components.
Utilize sharpening strategies to improve minute details and textures specifically. Focus on zones of interest while dodging over-sharpening in smoother areas.
Refine noise decrease settings to decrease graininess and keep up image clarity. Adjust noise demotion with detail conservation to maintain picture quality.
Upgrade textures and surface details to include abundance and dimensionality in the picture. Modify clarity and texture sliders to set up complicated patterns and exceptional structures.
Put in local contrast alterations to improve the recognition of detail and profundity in particular photo ranges. Access tools like clarity and micro-contrast settings to complement local highlights.
Adjust lens distortions, chromatic variations, and vignetting to guarantee optical devotion and progress overall image caliber.
Step 4: Improving Particular Zones
Concentrate on particular zones of the image to add targeted alterations, improve individual components, and rectify flaws.
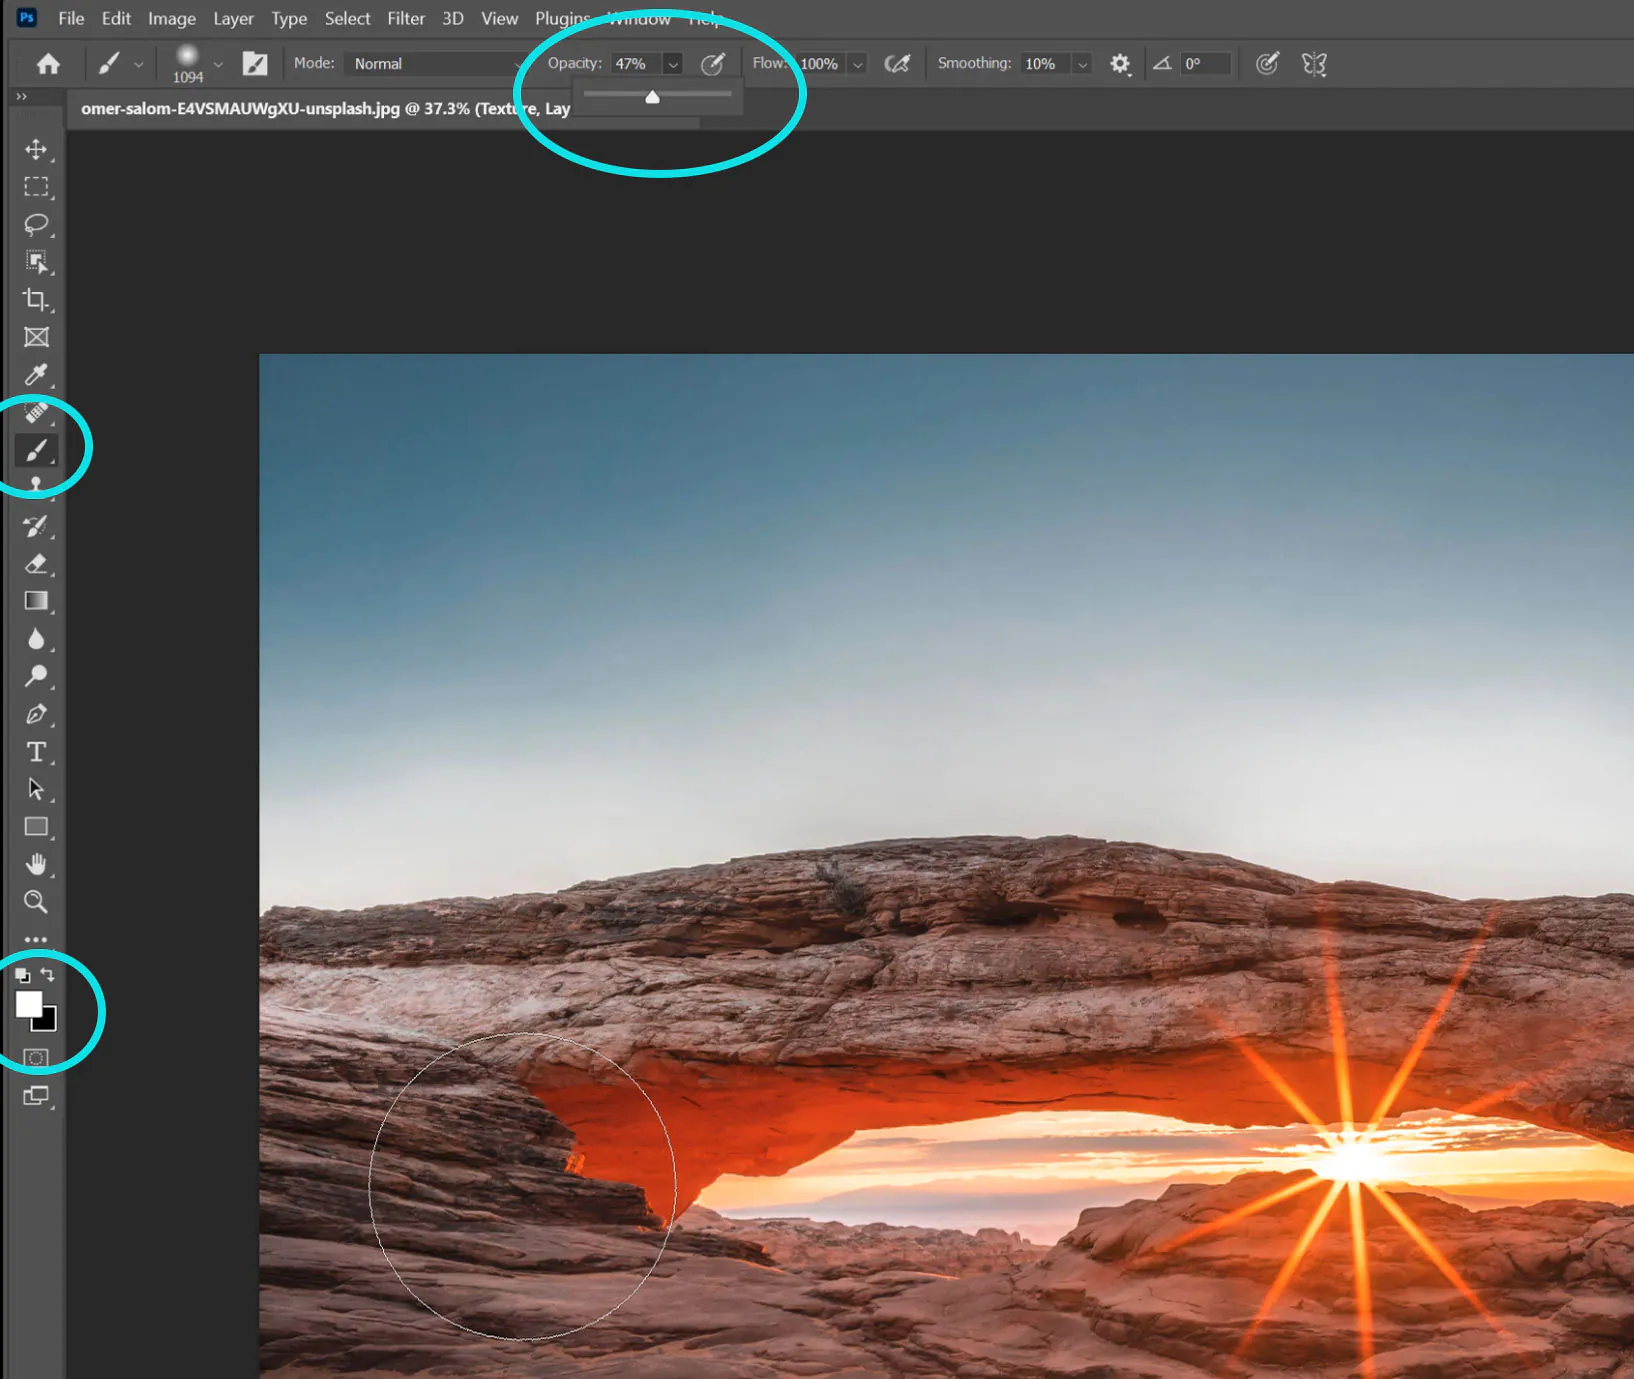
Utilize the brush feature to paint alterations onto particular areas of the photo. Amend parameters like exposure, saturation, and sharpness to fine-tune each range.
Go for gradient adjustments to shift effortlessly between distinctive zones of the shot. Utilize gradients to set exposure, color, and contrast over the scene.
Use adjustment layers for non-destructive alterations to particular parts of the image. Test with distinctive adjustment layers such as curves, levels, and hue/saturation to get wanted impacts.
Polish selections and masks to enclose components precisely for precise editing. Consider tools like the pen tool or refine edge highlights to make elaborate masks.
Play with blending modes to merge adjustments consistently into the composition. Select blending modes corresponding to the fundamental colors and tones for candid additions.
Step 5: Modifying Color Presentation
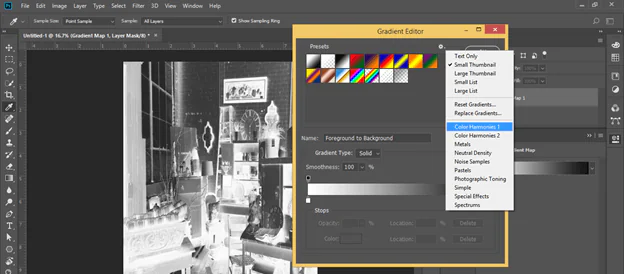
Edit the image’s color palette to inspire wanted feelings and build up a balanced visual fashion.
Attain a precise color depiction by modifying the white balance settings. Adjust any color casts and accomplish natural-looking tones all through the composition.
Refine the tonal range of the image to improve contrast and profundity. Revamp highlights, shadows, and midtones to form a fair tonal dispersion.
Synchronize colors over the image to make a bound-together visual effect. Adapt saturation, vibrance, and tint to attain a reliable color palette.
Take advantage of split toning strategies to autonomously include mild color casts to highlights and shadows. Seek out distinctive tonal combinations to improve temper and air.
Try out color grading presets or customize colors to attain the liked looks. Play with various styles and effects to discover the ideal color grading for your picture.
Step 6: Introducing Aesthetic Effects
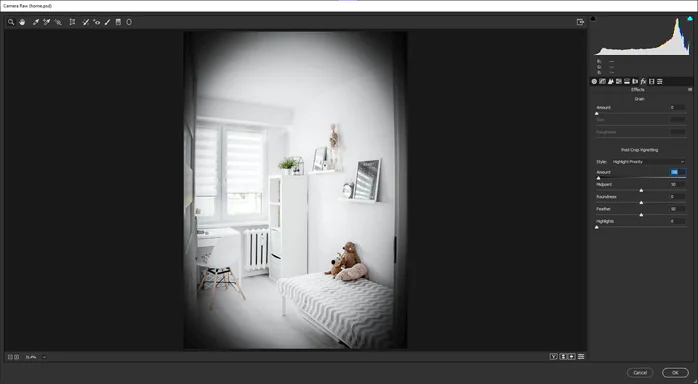
Present vignetting to draw center to the central subject and make a sense of profundity. Try with inconspicuous or sensational vignettes to upgrade visual effects.
Include texture overlays to include complexity and substance to your picture. Try with multiple surfaces and blending modes to attain pleasing effects.
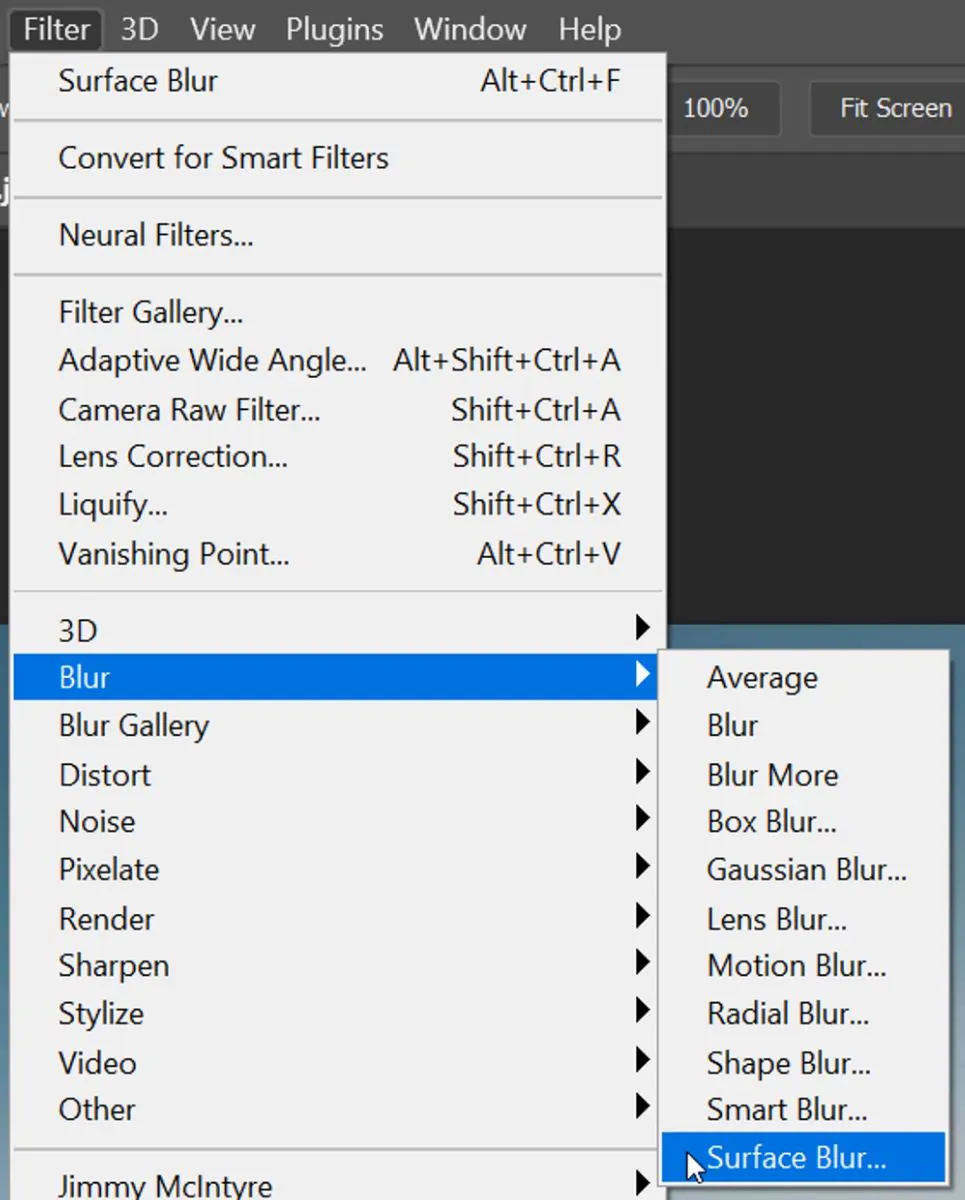
Utilize blur options to form the depth of field or recreate motion blur. Perform selective blurring in particular regions of interest and direct the viewer’s eyes.
Include light leaks, lens flares, or bokeh effects to imbue your picture with a sense of climate and temperament. Test with distinctive light sources and levels to attain wanted outcomes.
Check out inventive channels such as film emulations, grain effects, or stylized effects to improve the aesthetic expression of your image.
Integrate numerous images or components to make composite works of art. Play with blending modes and layering strategies to attain consistent unification.
Step 7: Performing A Conclusive Evaluation

Survey the composition overall, assuming the framework, disposition, and visual stream. Recognize any ranges that require more refinement or transition.
Establish consistency in color, tone, and layout all across the picture. Level up the distinctive components to make a cohesive visual story.
Elevate person components and textures to expand in general clarity and definition. Utilize selective sharpening and clarity options to amplify fine points of interest.
Even out moves between diverse components and zones of the composition. Focusedly consider blending and masking procedures to attain in-tune incorporation.
Do any milestone alterations to color grading and tonal range—perfect saturation, vibrance, and tone to attain the specified mood and climate.
Execute a careful quality check to guarantee the final image meets your benchmarks of excellence. Zoom in to examine for flaws, noise, or blemishes that can degrade the overall quality.
Save the ultimate prepared picture within the suitable file format and resolution. You can also make different versions optimized for distinct stages or purposes.
Step 8: Choosing Suitable Export Options
Select the fitting file format for your final photo based on its planning usage and distribution stage. Standard formats comprise JPEG for web sharing and printing, PNG for transparent backgrounds, and TIFF for premium printing.
Decide the ideal resolution for your picture based on its expected viewing size and medium. Adjust file size with picture quality to get the finest results.
Insert pertinent metadata such as copyright data, catchphrases, and portrayals to supply context and assurance for your picture.
Do a last survey of the exported picture to affirm that it precisely reflects your inventive vision and meets quality benchmarks.
Make backups of your finalized photo to protect against deletion or debasement.
Conclusion:
In summary, image polarization is a mighty mechanism for underscoring the visual mark of photos, enriching transparency, and implanting surroundings with a raised feel of chasm and spirit. By using the concepts of light manipulation, photographers can recast everyday shots into exquisite works of art that echo with onlookers on a more in-depth rank. Moreover, for the shots without polarization effects or camera filters applied, the image editing apps propose an array of creative functions and adjustments. Adhering to the plans cited in this blog, you can communicate the polarization approach in your images, like the original polarization photography.
