How To Add Text In Photoshop
Photoshop is a robust and versatile photo editing program with various tools and features. The ability to add text to an image is one of Photoshop’s most beneficial and frequently employed tools. Adding text can significantly improve your work, whether producing a graphic design, a social media post or simply putting a description to a picture. You can alter your text’s font, size, colour, style and where it appears on the image in Photoshop. Adding text in Photoshop is a simple procedure that you can finish in just a few steps, regardless of your level of expertise. This tutorial will demonstrate how to add text to an image in Photoshop, including how to make a new text layer, edit your text, and adjust where it appears on the image. You can elevate your photo editing abilities with practice and easily make stunning graphics and images.
Step 1: Open your image in Photoshop
The first step to adding text to an image in Photoshop is to open your image file in the program. To do this, launch Photoshop and select “File” > “Open” from the menu bar. Navigate to the location of your image file, select it, and click “Open.” Your image will open in the main Photoshop workspace.
Once your image is open, saving a copy before adding any text is a good idea. This way, you can always return to the original image if you make a mistake or want to try a different approach. To save a copy of your image, select “File” > “Save As” from the menu bar, choose a name and location for your file, and click “Save.”
Step 2: Create a new text layer
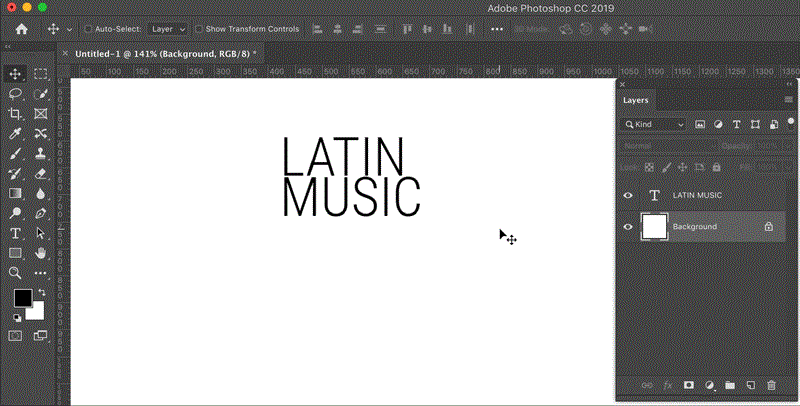
Once your image is open in Photoshop, you must create a new text layer to add your text. To do this, select “Type Tool” from the toolbar on the left-hand side of the screen. This tool looks like a “T” and can be found near the middle of the toolbar.
Once you’ve selected the Type Tool, click and drag your cursor on the image to create a text box. This text box will determine the size and shape of your text, so make sure it’s the size and shape you want before moving on to the next step.
Step 3: Customize your text
Now you can begin customizing your text. First, choose the font you want to use by clicking on the “Font” dropdown menu in the options bar at the top. That will display a list of available fonts; click on the font you like to apply to select it.
Next, choose the size of your text by entering a value in the “Size” box in the options bar. You can also adjust the colour of your text by clicking on the colour swatch in the options bar and selecting a colour from the colour picker.
Once you’ve customized your font, size, and colour, you can start typing your text into the text box. Photoshop will automatically wrap your text to fit within the boundaries of the text box, so you can continue typing until your text is complete.
Step 4: Adjust your text placement and alignment
After you’ve added your text to the image, you may want to adjust its placement or alignment. To do this, click and drag the text layer to move it to a different location on the image. You can also use the alignment tools in the options bar to align your text to the left, centre, or right of the text box.
If you want to adjust the spacing between letters or lines of text, use the “Character” and “Paragraph” panels. These panels are in the “Window” menu at the top of the screen. Select the text you want to adjust, then use the sliders and dropdown menus in the panels to adjust the spacing as needed.
Step 5: Apply layer styles to your text
If you want to add visual interest to your text, you can apply layer styles such as drop shadows, strokes, and gradients. To do this, select the text layer in the Layers panel on the right-hand side of the screen, and then click on the “Layer Styles” button at the bottom of the panel. That will display a list of available layer styles; click on the style you want to apply to your text.
Once you’ve applied a layer style, you can customize it by adjusting the Layer Style dialog box settings. This dialog box can be accessed by double-clicking on the layer style in the Layers panel.
Step 6: Save your image
Once you’re happy with your text and any layer styles you’ve applied, it’s time to save your image. To do this, select “File” from the top menu and choose “Save As.” Choose a file format and location for your image, then click “Save” to save your image with the text layer.
Step 7: Experiment with text effects
Now that you know how to add introductory text to your images in Photoshop, you can experiment with different text effects to create more dynamic and eye-catching designs. Following are a few ideas to get you started:
Add a stroke to your text: A stroke is a line that surrounds the outside of your text and can be used to make your text stand out against busy backgrounds. To add a stroke, select your text layer and then click on the “Layer Style” button at the bottom of the Layers panel. Choose “Stroke” from the layer styles list and adjust the settings.
Create a text mask: A text mask allows you to clip an image to your text, creating a unique visual effect. To create a text mask, create a new layer above your text layer and then fill it with an image or pattern. Select your text layer and click the “Layer Mask” option at the bottom of the Layers panel. Choose “Clipping Mask” from the options that appear.
Add a gradient to your text: A gradient is a smooth transition between two or more colours that can add depth and dimension to your text. To add a gradient, select your text layer and then click on the “Layer Style” button at the bottom of the Layers panel. Choose “Gradient Overlay” from the list of layer styles and adjust the settings to your liking.
Step 8: Practice and experiment
The key to mastering any skill in Photoshop is practice, so don’t be afraid to experiment with different text effects and techniques. You’ll feel more comfortable as you practice adding text to your images, and your designs will be more creative and unique.
In addition to practicing on your own, you can also find inspiration and guidance from online tutorials, forums, and communities. Countless resources are available for learning Photoshop, so use them to improve your skills and expand your knowledge.
Some Additional Considerations:
Adding text to images in Photoshop is a powerful way to enhance your designs and convey information to your audience. To ensure you create the best possible design, keep these essential points in mind:
Choose a legible font that contrasts nicely with the background. A good practice is to use a sans-serif font for a modern look or a serif font for a more traditional look. Ensure the text is easy to read and stands out against the background.
Adjust your text’s size, spacing, and colour to fit the image and purpose. Use the Character panel to adjust the size and spacing of the text. Experiment with different colours to see what works best with your image. You can also apply layer styles, such as shadows and strokes, to add depth and dimension to your text.
Use layer styles like drop shadows, strokes, and gradients to enhance your text design. Layer styles make your text stand out and add visual interest to your design. Experiment with different layer styles to see what works best with your image.
Add texture or pattern to your text using layer masks and blend modes. Layer masks and blend modes can add texture and patterns to your text. Experiment with different textures and patterns to create unique designs.
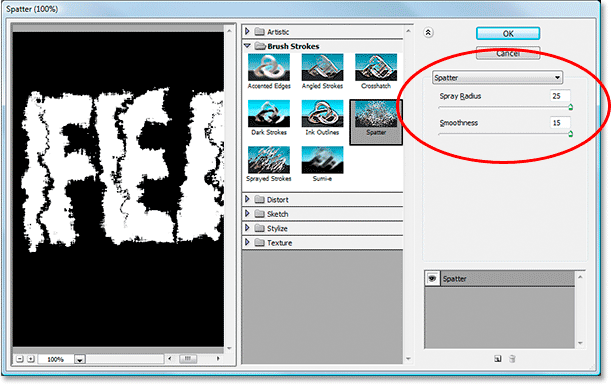
Experiment with filters to create interesting visual effects, such as adding texture or changing the colour or tone of your text. Filters can be used to create interesting visual effects on your text. Experiment with filters to see what works best with your image and text.
Proofread your text before finalizing your design to ensure accuracy and readability. Check for spelling errors and grammatical mistakes. Read the text aloud to ensure it flows naturally and is easy to read.
Conclusion:
Adding text to images in Photoshop is a valuable skill that can enhance your designs and make your images more engaging and informative. With this guide’s tools and techniques, you can easily add text to your images, customize their appearance, and apply various effects to create unique and dynamic designs. Remember to practice and experiment with different techniques to build your skills and develop your style. With a bit of perseverance and creativity, you can advance your photo editing skills and create stunning designs that capture your audience’s attention.


