
How To Hyperlapse Images
In the hyperlapse technique, a series of images of the same scene at diverse points are shot, which are later grouped to refer to different moments simultaneously. The moments captured in each shot are organized in a flow with the help of editing applications so that many hours or even a day seem to be compressed into keyframes of just a few seconds, giving the power to rule over time. Nevertheless, if you cannot access the photography apparatus required for taking hyperlapse shots, you can also achieve this effect in your existing series of photos. For this purpose, you can pick images that are either of the same scene or have some symbolic relevance to each other, and then you can meticulously align them using any of the advanced image editing tools. The result will be an exciting and dynamic keyframe animation that translates your still images into a perception of movement, life, and energy. The following blog includes steps you can effectively adopt to create hyperlapse images from your existing photo collection.
Step 1: Selecting and Importing Shots
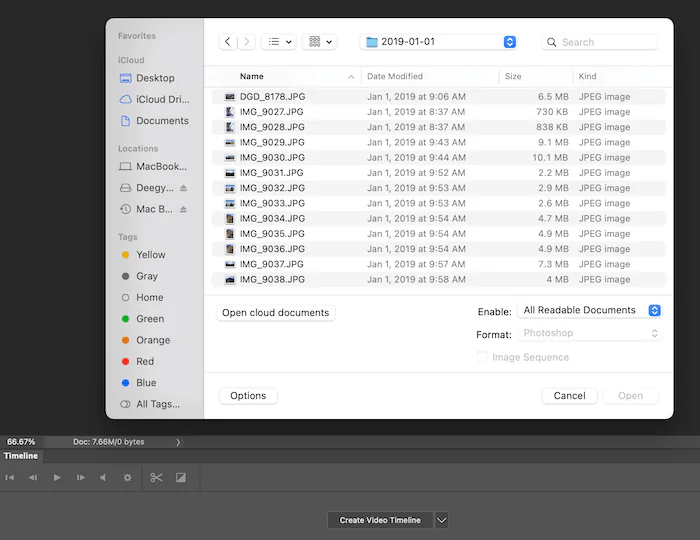
Start the hyperlapse creation process by launching Adobe Photoshop, a compelling image editing program known for its flexibility.
Open a new project and head to the “File” menu to start the import of your chosen arrangement of photographs.
Select and transfer each photo into the project, guaranteeing they are in an order that reflects the required chronological or thematic movement.
Watch the layers panel, where each imported photo will be shown as a partitioned layer, setting up the establishment for your hyperlapse project.
Take a minute to appreciate the instinctive interface of Adobe Photoshop, which encourages a consistent workflow as you set out on the effort of changing still photographs into an energetic visual story.
As each photo becomes a layer, perceive the potential for narrating as you move forward in making a captivating hyperlapse through the taking-after steps.
Step 2: Organizing Images Layers

Advance to the layers panel in Adobe Photoshop, where the imported photographs are stacked as separate layers awaiting organization.
Purposely organize these layers, ensuring they adjust with the aim of chronological or thematic movement of your visual story.
Employ the inherent adaptability of Photoshop and smoothly drag and drop layers to fine-tune the arrangement with accuracy.
Check the virtual get-together of your photographs, a process associated with organizing the frames of a cinematic reel, setting the foundation for an energetic hyperlapse.
Control the pacing and beat of your visual story by altering the layer arrangement, a significant step in making a consistent flow.
Consider this organizing stage as a canvas where the brushstrokes are the layers, each contributing to the perfect work of art of your hyperlapse creation.
Observe the advancing composition on your digital canvas, recognizing the potential for change as you consistently advance to the consequent steps.
Step 3: Identifying the Keyframes

In this step, you can choose the most vital moments in your photo story. Browse through your layers and select frames that genuinely stand out, like critical scenes in a motion picture.
Utilize Photoshop’s zoom and pan tools to induce a closer look at each photo. That helps you choose which moments ought to be the stars of your hyperlapse.
In case you need to see how frames blend, alter the transparency of each layer. It’s like putting one photo on top of another to see how well they fit together.
Experiment with a few plugins or scripts made for hyperlapse in Photoshop. These tools can include additional highlights and make your work simpler and more inventive.
Utilize Photoshop’s timeline feature. It’s like a visual outline of time. Move your keyframes around until they tell the story in the way you need.
Play with blending modes. These modes can give your hyperlapse a remarkable appearance, including an aesthetic touch to your pictures.
Let Photoshop do a few of the work. Play with the automated alignment tools to ensure that your keyframes fit together superbly.
Step 4: Using Layer Masking
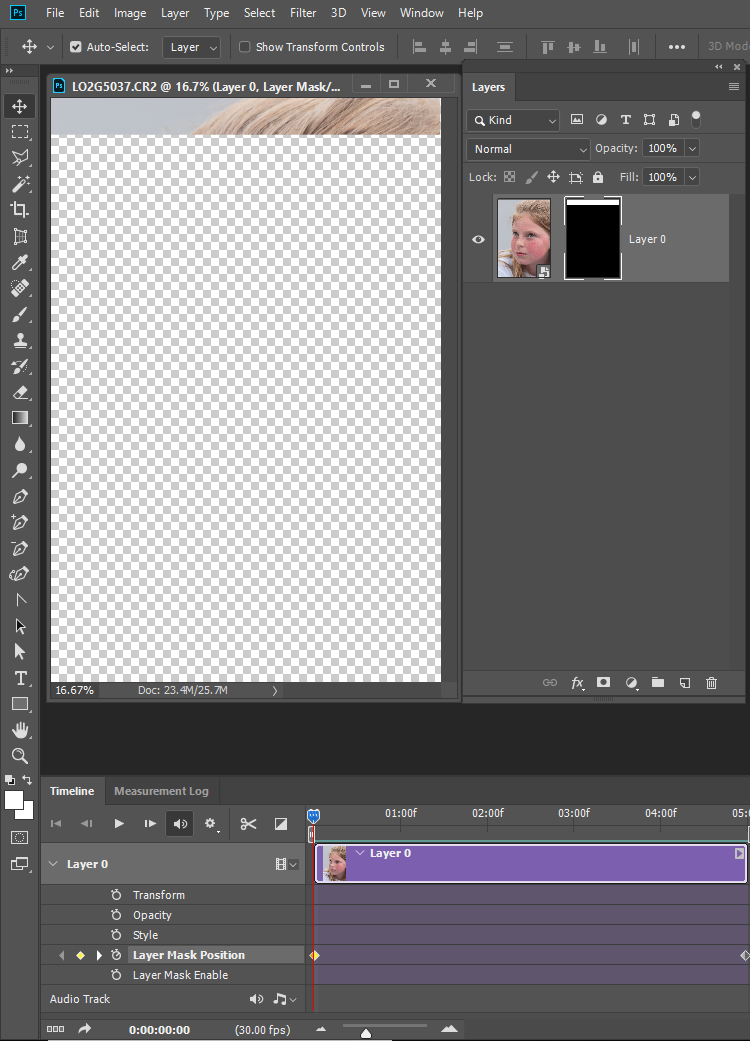
Move on to layer masking and utilize the power to uncover or cover up parts of each photo.
Utilize layer masks to interface your keyframes easily and connect your pictures for a consistent flow.
Consider that your layers are like sheets of paper. Layer masking lets you cut out particular parts, naturally blending them.
Be creative and choose where the transitions between keyframes ought to be smooth or include a touch of mystery by continuously revealing subtle elements.
Play with the brush tool on layer masks and paint with transparency, allowing you to control which parts of each frame sparkle through.
Avail the flexibility to fine-tune your hyperlapse. Layer masking gives you the control to shape how your story develops, guaranteeing an outwardly attractive encounter.
Layer masking is your creative instrument, letting you shape and mold the moves between keyframes. Grasp this step as your chance to lend artfulness to your energetic visual account.
Step 5: Integrating Transition Effects
Include transition effects to keep your hyperlapse extra cool. It involves adding unique moves to your photo narrative.
Consider fade-in and fade-out effects to effortlessly introduce or exit a frame, giving your hyperlapse a prime and proficient touch.
Alter the timing of your transitions, choosing when one keyframe blurs into another. It’s your way of controlling the rhythm of your visual story.
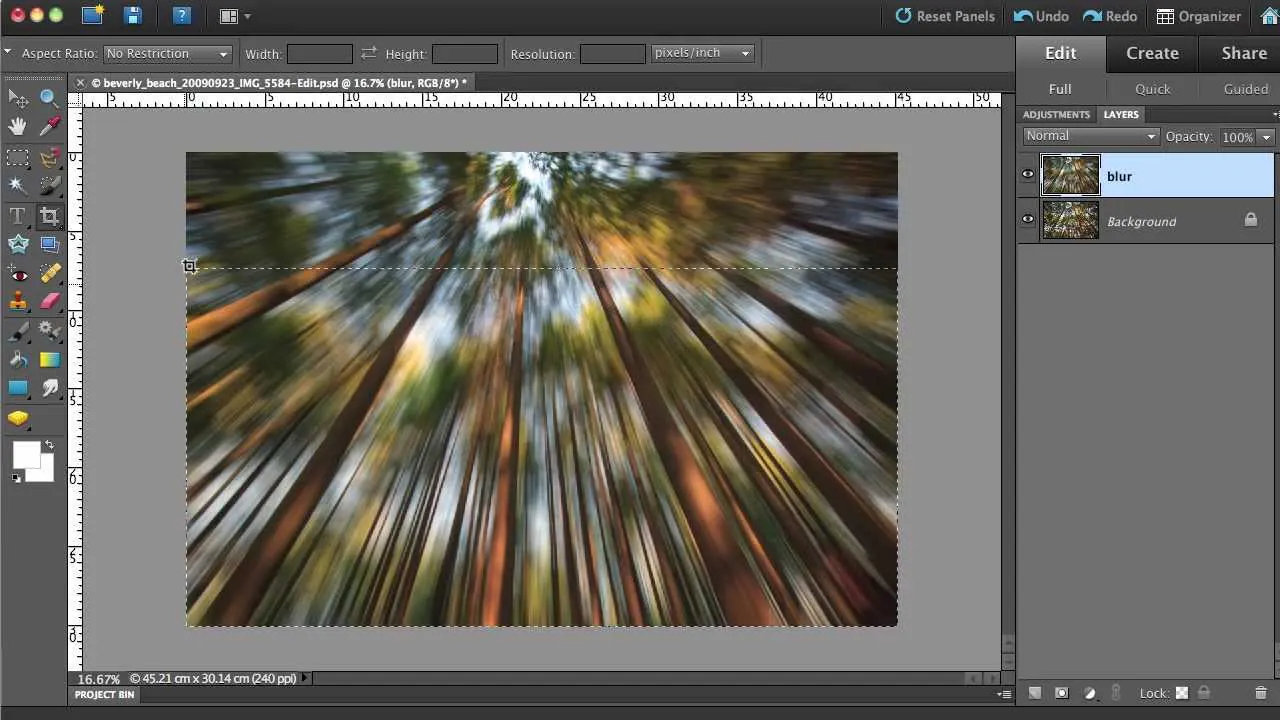
Experiment with other creative effects. Try with zooms or blurs between keyframes. Each effect offers a thrilling flavor to your hyperlapse, making it uniquely yours.
Feel free to play around with these effects until your hyperlapse tells the story the way you want it to.
Keep it simple or go wild; these moves are exclusively to set the pace for an energizing encounter.
Appreciate this step as your hyperlapse picks up identity. Move impacts bring your photographs to life, turning them into an appealing, energetic story.
Step 6: Creating Animation
Create your hyperlapse move by getting to the timeline in Photoshop; it’s where the enchantment happens.
Make a frame animation. Each outline is like a depiction of your story. Organize frames within the timeline to choose when they appear.
Imagine it like a flipbook. Your hyperlapse evolves frame by frame, and the timeline assists you in organizing frames flawlessly.
Set how long each frame lasts. You’re the boss—choose how much time each minute gets before smoothly moving to the next one.
Observe your hyperlapse play out within the timeline. Frames group up to form a moving picture that tells a story with a stream.
Manipulate time settings and keep experimenting until it feels fair, making your hyperlapse a visual story that is smooth and pleasant.
Take advantage of the simplicity of the timeline and have control over how quick or moderate your hyperlapse experience goes.
Step 7: Regulating Each Frame’s Duration
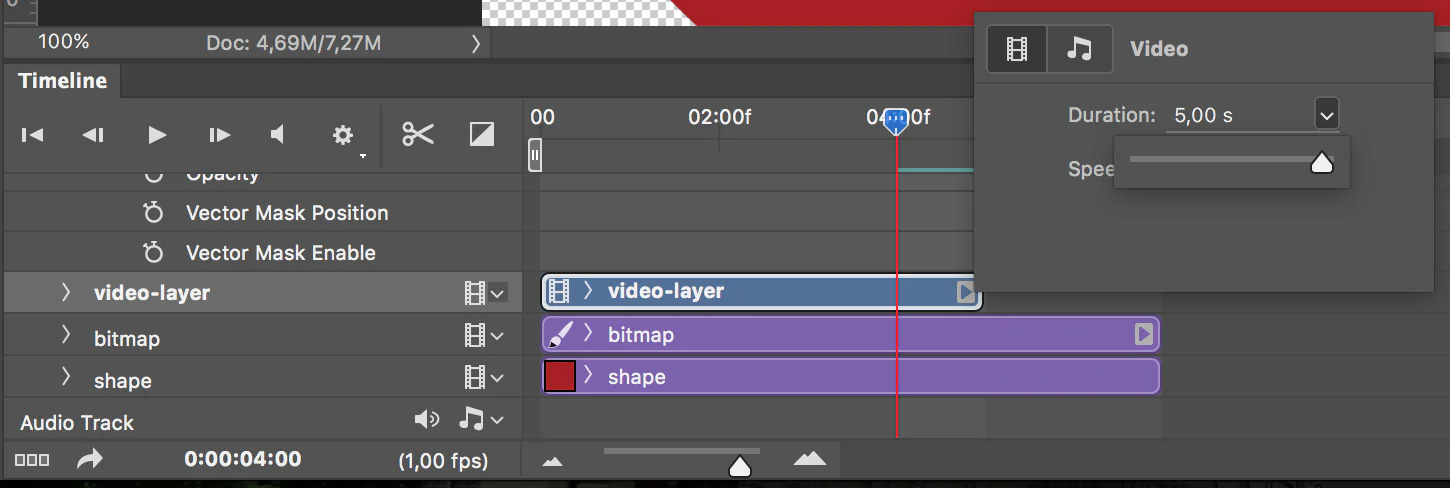
The Photoshop timeline includes features that ensure you control the length of each frame.
Tap on each frame and choose its time within the highlight. Some moments require more time to sparkle, whereas others can move swiftly.
Think of it like controlling the rhythm. You get to set the pace of your hyperlapse, making sure it feels precisely fitting for your visual story.
Try out durations until your hyperlapse runs in a way that draws the viewer in. It’s all regarding finding the sweet spot for each moment to develop.
Try until your hyperlapse tells a story with a rhythm that keeps your audience intrigued from the beginning to the end.
Since you have control over time, changing the frame duration is akin to changing your hyperlapse’s pattern to ensure that it occurs in time with your narration.
As you conclude this step, conjure up your hyperlapse with its carefully tuned durations, prepared to provide a captivating encounter where each moment gets the time it merits.
Step 8: Exporting and Sharing
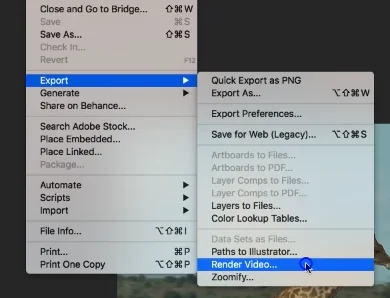
To share your cool hyperlapse, proceed to “Export” in Photoshop and make your work a video that everybody can see.
Choose MP4 as the format because it offers the most natural viewing experience for your hyperlapse on all devices.
Select where to save it, typically on your computer or an external drive, depending on where to keep your fantastic creation.
Assign a catchy title that tells people what your hyperlapse is about, giving it a distinctive personality.
Reassess everything, confirming that it looks great before you click on the export option. It’s like making sure your hard work is finished superbly before presenting it.
Tab on “Export” and witness your photographs turning into a video, like turning the pages of a photo album, but way more fun!
Communicate it with everyone by posting it on social media, sending it to your companions and family, or preserving it as a wonderful memory. Your hyperlapse is all set to stand out.
Conclusion
In conclusion, the hyperlapse approach, instead of enhancing a single shot, benefits your collection of images. It converts your everyday photographs into a memorable and vibrant framework that makes them dearer to you. Furthermore, when it comes to exhibiting your art skills before a broad group of viewers, the hyperlapsing images can create exciting storylines in which each image is both apparently and thematically related to the other. This collaboration of photos enhances each shot and results in an intriguing and thought-provoking piece of digital art, making your editing efforts more deserving of recognition.
