How To Apply Voronoi Diagrams To Your Photos
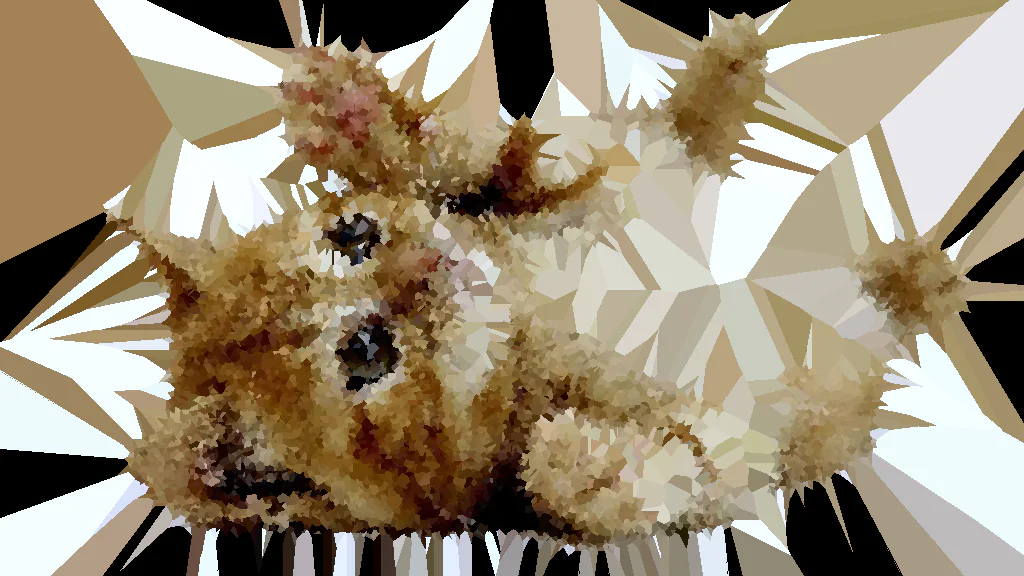
Introducing Voronoi diagrams to your images stimulates a structured and organized enhancement, giving them exciting textures. The cellular shapes within Voronoi diagrams aid in experimenting with color, texture, and pattern variations, which can help spotlight distinct zones or objects within the photo. Moreover, Voronoi diagrams’ natural and abstract components make them incredibly impactful in digital designs, cultivating advancement and innovation. The flexibility of Voronoi diagrams implies they can be connected to different genera of photographs, offering a range of inventive possibilities for photographers and designers. Eventually, applying Voronoi diagrams strengthens the visual dialect of your pictures, making them visually attractive and educational as an exploration of numerical concepts in a likely visual setting. This blog will highlight the fundamental steps to using Voronoi diagrams in your images to expand their innate features. Let us consider Adobe Photoshop as a vital tool for introducing this effect in the image.
Step 1: The Key Point Identification
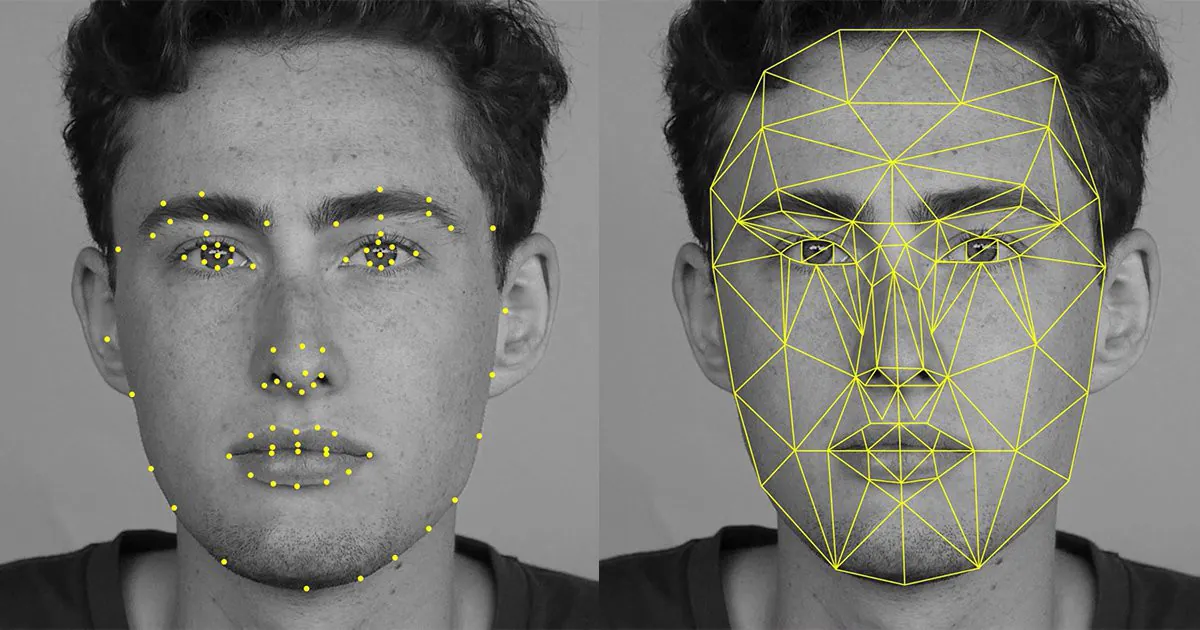
Commence by carefully looking at your preferred photo to distinguish key focuses or highlights that will dock the Voronoi graph.
Select specific elements within the image that you need or around which you want to make the geometric design.
Consider the distribution of these critical focuses, thinking about how their arrangement will impact the general spatial partitioning of the Voronoi diagram.
The selection process includes a mindful examination of the image’s substance to confirm that the chosen focuses contribute to the required visual result.
Points can be from conspicuous points of interest to appealing surfaces or critical objects, depending on the impact you need to attain.
This beginning step establishes the consequent creation of the Voronoi diagram, setting the stage for an outwardly compelling and inventively improved photo.
The purposeful choice of key focuses will play a significant part in forming the one-of-a-kind style of the ultimate Voronoi effect connected to your photo.
Step 2: Voronoi Diagram Creation
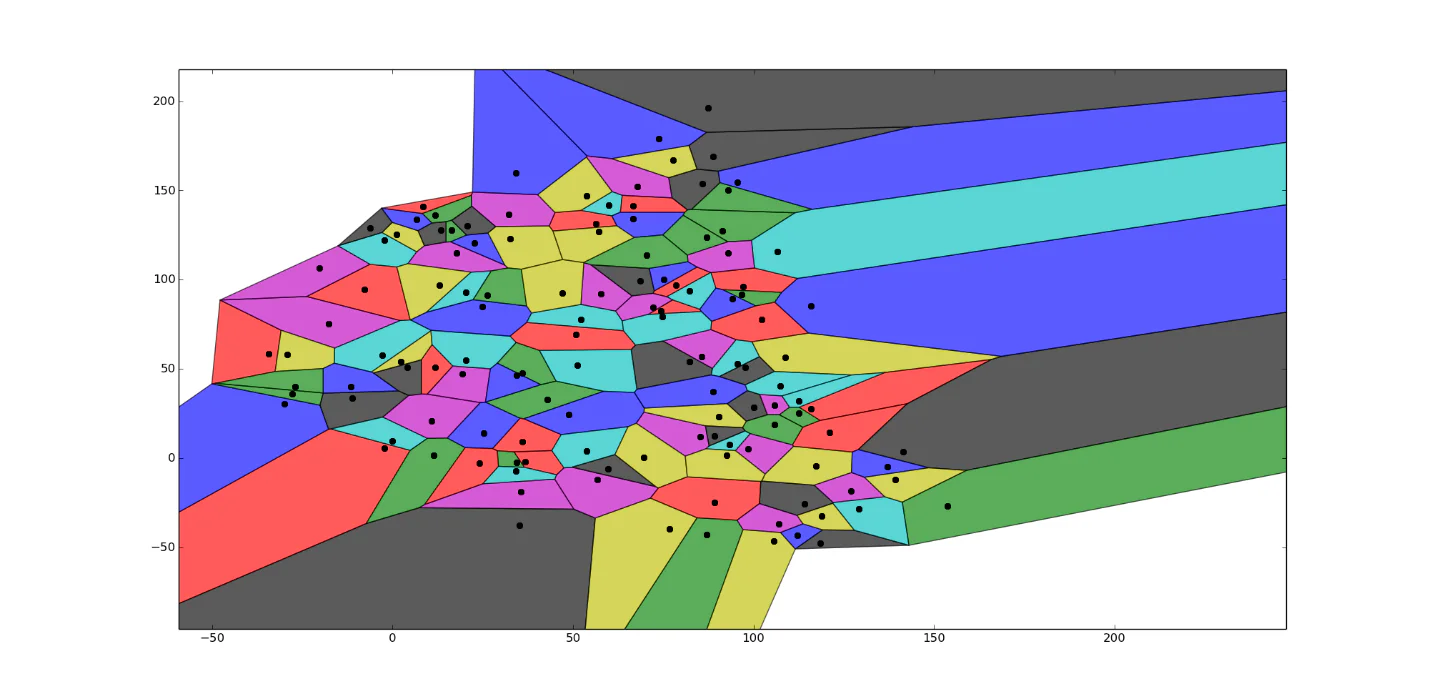
Taking after the selection of key focuses in your photo, utilize an appropriate tool for Voronoi diagram generation based on your inclinations and capability.
If utilizing Python, utilize the scipy.spatial.voronoi module for computational productivity and ease of usage.
In Matlab, use built-in capacities such as voronoin to form Voronoi diagrams centered around the recognized key focuses.
You can also explore online generators, which offer an intuitive interface for inputting points and getting Voronoi diagrams.
Execute the chosen tool’s algorithms or capacities to compute the Voronoi cells precisely, corresponding to the spatial dispersion of the chosen focuses.
Confirm that the resulting Voronoi diagram is saved or exported for integration into your unique photograph afterward.
This step builds up the geometric establishment that will be overlaid onto the photo, starting the picture transition with the Voronoi impact.
Step 3: Overlaying Voronoi On the Image
In this step, we will use Adobe Photoshop to integrate the Voronoi diagram into the initial photo consistently.
Open your source photo and the Voronoi diagram in Adobe Photoshop.
Make a new layer in Photoshop for the Voronoi diagram by selecting “Layer” > “New” > “Layer.”
Position the Voronoi diagram layer over the photo layer. Alter the scale and alignment to guarantee an appropriate overlay.
Play with blending modes such as “Overlay,” “Multiply,” or “Screen” to harmonize the Voronoi layer with the base photo. Select the mode that best suits your anticipated visual impact.
Tune the transparency of the Voronoi layer by altering the opacity slider. This step regulates the intensity of the Voronoi pattern over the photo.
Find out additional adjustments such as color correction, saturation, or contrast to strengthen the by and large visual impression of the combined photo.
Save your progress and continue with the subsequent steps in Photoshop.
Step 4: The Cells Individual Customization
After your Voronoi diagram is successfully overlaid, work on customizing the appearance of individual Voronoi cells.
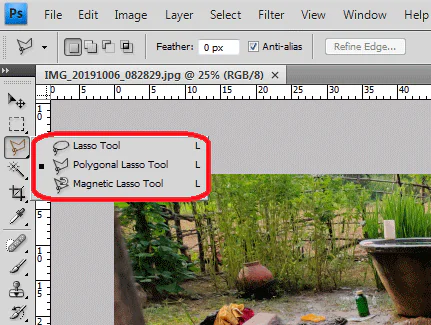
Select the Voronoi layer and select the “Polygonal Lasso Tool” or “Magic Wand Tool” to separate particular cells for customization.
Try with differing color schemes, gradients, or designs for each chosen Voronoi cell. This step presents imaginative flair and visually differing qualities to the geometric design.
Utilize Photoshop’s “Layer Styles” to include effects such as shadows, glows, or strokes to individual cells, improving their visibility and overall development.
Keep reiterating the method over different Voronoi cells, making an energetic and visually engaging mosaic that interacts concordantly with the fundamental photo.
Adapt the colors and styles until you get the required appearance, ensuring a cohesive and engaging integration of the Voronoi effect with your photo.
Save your development and consider additional refinements or improvements in the ensuing stages of your picture editing workflow.
Step 5: The Transparency Regulation
Start the refinement setup by returning to the transparency settings of the Voronoi layer. Alter the opacity slider to fine-tune the general intensity of the Voronoi design over the photo.
Carefully analyze the interaction between the Voronoi cells and the underlying subtle elements of the picture. Try for an optimization that improves the visual lure without dominating fundamental components.
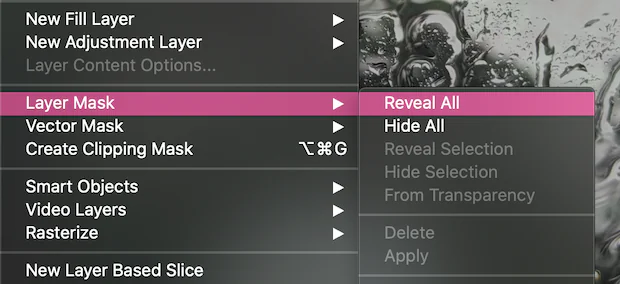
Utilize layer masks in Photoshop to uncover or conceal particular ranges of the Voronoi design specifically. This detailed approach permits focused alterations, guaranteeing ideal integration with the photo.
Play with diverse levels of transparency for person Voronoi cells, including profundity and dimension to the general composition. This step contributes to a more nuanced and visually energetic result.
Persistently survey the effect of transparency alterations on the overall look, making iterative changes as required. The objective is to attain a cohesive and visually satisfying blend of the Voronoi impact with the photo.
Spare your refined work and follow subsequent stages for extra improvements or inventive alterations as needed.
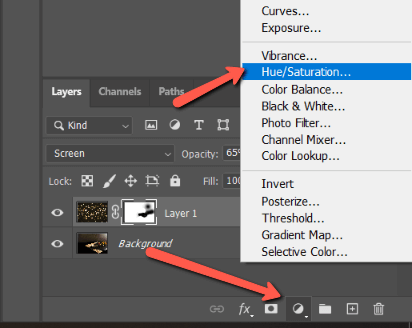
Step 6: The Final Tweaks
Turn your focus to additional enhancements that can hoist the overall effect of the Voronoi effect on your photo.
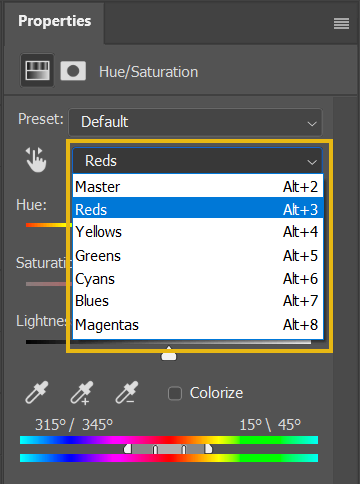
Play with Photoshop’s adjustment layers, such as “Hue/Saturation” or “Curves,” to improve the color tones and contrast of both the Voronoi design and the primary photo.
Think of applying selective blurring or sharpening strategies to particular regions, bringing out key points of interest, or consistently blending the Voronoi cells with the photo.
Look into the conceivable outcomes of including supplementary elements or graphic overlays to complement the Voronoi plan, cultivating a cohesive and integrated visual story.
Perfect the composition by tweaking the brightness, contrast, or saturation to attain a symmetrical result.
Be attentive to points of interest so that the Voronoi impact improves the image’s story or concept without overpowering its unique substance.
Save your finalized work, considering the image’s expected usage for digital art, social media, or print, and guarantee it meets your inventive vision and objectives.
Look back on the complete altering process, acknowledging the aesthetic choices made along the way and appreciating the improved and unique aesthetic accomplished through applying Voronoi diagrams in Photoshop.
Step 7: Formatting and Sharing
As you wrap up the creative process of applying Voronoi diagrams to your photo in Photoshop, you need to save your work to preserve your efforts in creating a perfect piece of art.
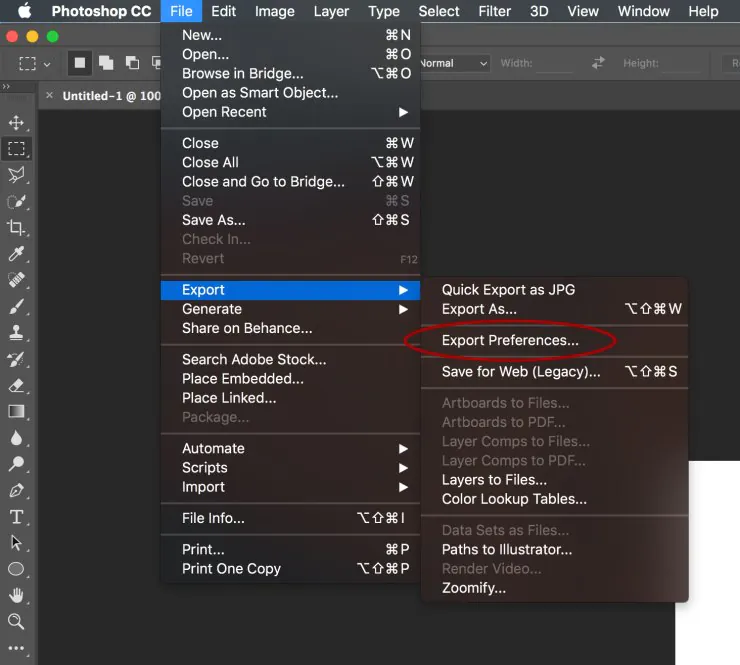
Select the suitable file format and quality settings for your expected purpose. Think about formats like JPEG for online sharing or TIFF for high-quality printing.
Save both the Photoshop project record (PSD) and the finalized image separately to safeguard the adaptability to return to and make future alters in case necessary.
Make a descriptive and vital title that corresponds to the substance of your Voronoi-enhanced photo, helping in simple identification and organization.
In case of sharing on social media or online stages, resize the picture to the ideal dimensions for the platform to provide an immaculate display and speedy stacking times.
Consider adding metadata or labels to provide context or data about the creative process, contributing to a wealthier experience for viewers.
Share your Voronoi-enhanced photo readily on your chosen stages, whether social media, online portfolios, or print, exhibiting the particular mix of geometric aesthetics and your unique photograph.
Accept feedback and interact with your audience, sharing tidbits of information about the innovative choices that went into the Voronoi effect and building a community around your artistic pursuits.
Conclusion:
To put it briefly, adding the geometric aesthetics linked to Voronoi diagrams to your photos elevates them visually and increases the number of views they receive. These defined patterns can make the vital zones of your photograph more illustrated and inviting to viewers by highlighting the intricate details and unique structures within the image. The technique can also bestow images with abstractness and surrealism that modify the original content and result in a fantasy portrayal of the image setting, thus enchanting the eyes. The resultant photos with Voronoi diagrams outshine their original versions, elevating themselves from conventionality to exquisiteness.
