How To Enhance A Photo Using Color Warmth
Color warmth addresses to the visual designation of colors as warm, consisting of red, orange, yellow, or cool, counting blue, green, and purple. Warm colors are habitually associated with essentialness, vitality, and warmth, while cool colors rouse estimations of calmness and collectedness. Both warm and cool colors are of the utmost importance in shaping visual diversity, affecting how we see and relate to images. Warm colors transmit a sense of boldness, excitement, and vitality. When strategically utilized in a photo transformation, these tints can express myriad sentiments, from vibrancy to comfort. On the other hand, cool tones like green and blue trigger sensations of peace and serenity. By understanding the effect of color warmth, you’ll be able to express unique messages or bring out expected responses from their gathering of spectators. This blog will direct you to utilize color warmth in your photographs to extend their inherent charm and interest. The essential step-by-step process is as follows:
Step 1: The Photo Choice

Selecting the correct image sets the tone and decides the potential effect of your edits.
The primary step is to consider the temperament you need to communicate. If you point for warmth and coziness, pick pictures with warm undertones or showered in natural daylight.
Cooler tones may be more appropriate for a peaceful or reflective temperament. With mood, also pay consideration to the composition and subtle elements.
Check that the components inside the image adjust with the required impact. Each class may benefit from particular color temperature alterations, whether it’s a portrait, scene, or still life.
Take note of the prevailing colors within the original photo, as they will intensely influence the warmth after altering. In substance, the correct picture acts as a collaborator in your editing handle, improving the enthusiastic effect.
An astute choice guarantees that your color warmth alterations reverberate along with your vision, making an agreeable and outwardly pleasing result.
So, think of your picture choice as the primary brushstroke in making a memorable visual tale.
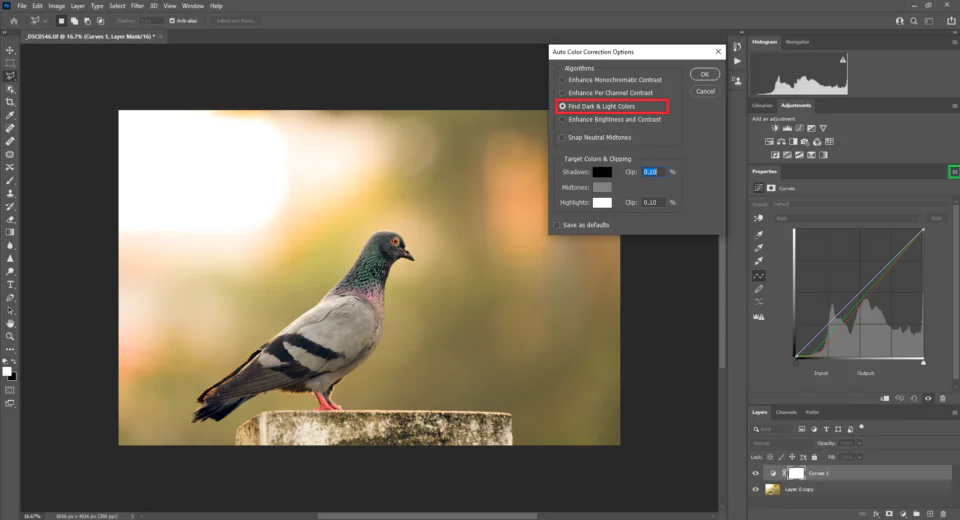
Step 2: The Software Launch And Familiarity
Opening your favored photo-altering tool is the second significant step in the process.
Here, you have the power to manipulate and transform your chosen picture.
Whether utilizing a proficient software program or a user-friendly app, this step marks the start of your inventive activity.
Spend a moment getting acquainted with the layout and options available. These are the tools that you will use to produce the visual story.
Keep in mind that each tap and tweak brings you closer to realizing the complete potential of your chosen picture. So, with your editing program open, you stand at the edge of imaginatively conceivable outcomes, prepared to breathe life into your visually perfect work of art.
Step 3: White Balance Setting
The third step includes setting the white balance in your chosen picture.
Alter the white balance settings to set the general color tone of the photo.
This alteration is significant because it helps neutralize any color casts caused by distinctive lighting conditions.
Point for a pleasing and natural look by guaranteeing that whites appear genuinely white.
Excessively warm or cool tones can affect the image’s visual concordance and perceived temperature.
Explore the white balance settings in your altering program, experimenting until you accomplish the specified modification.
This step lays the framework for consequent color warmth alterations, affecting your picture’s overall temperament and environment.
Take note of how this introductory alteration impacts the general composition and intense tone.
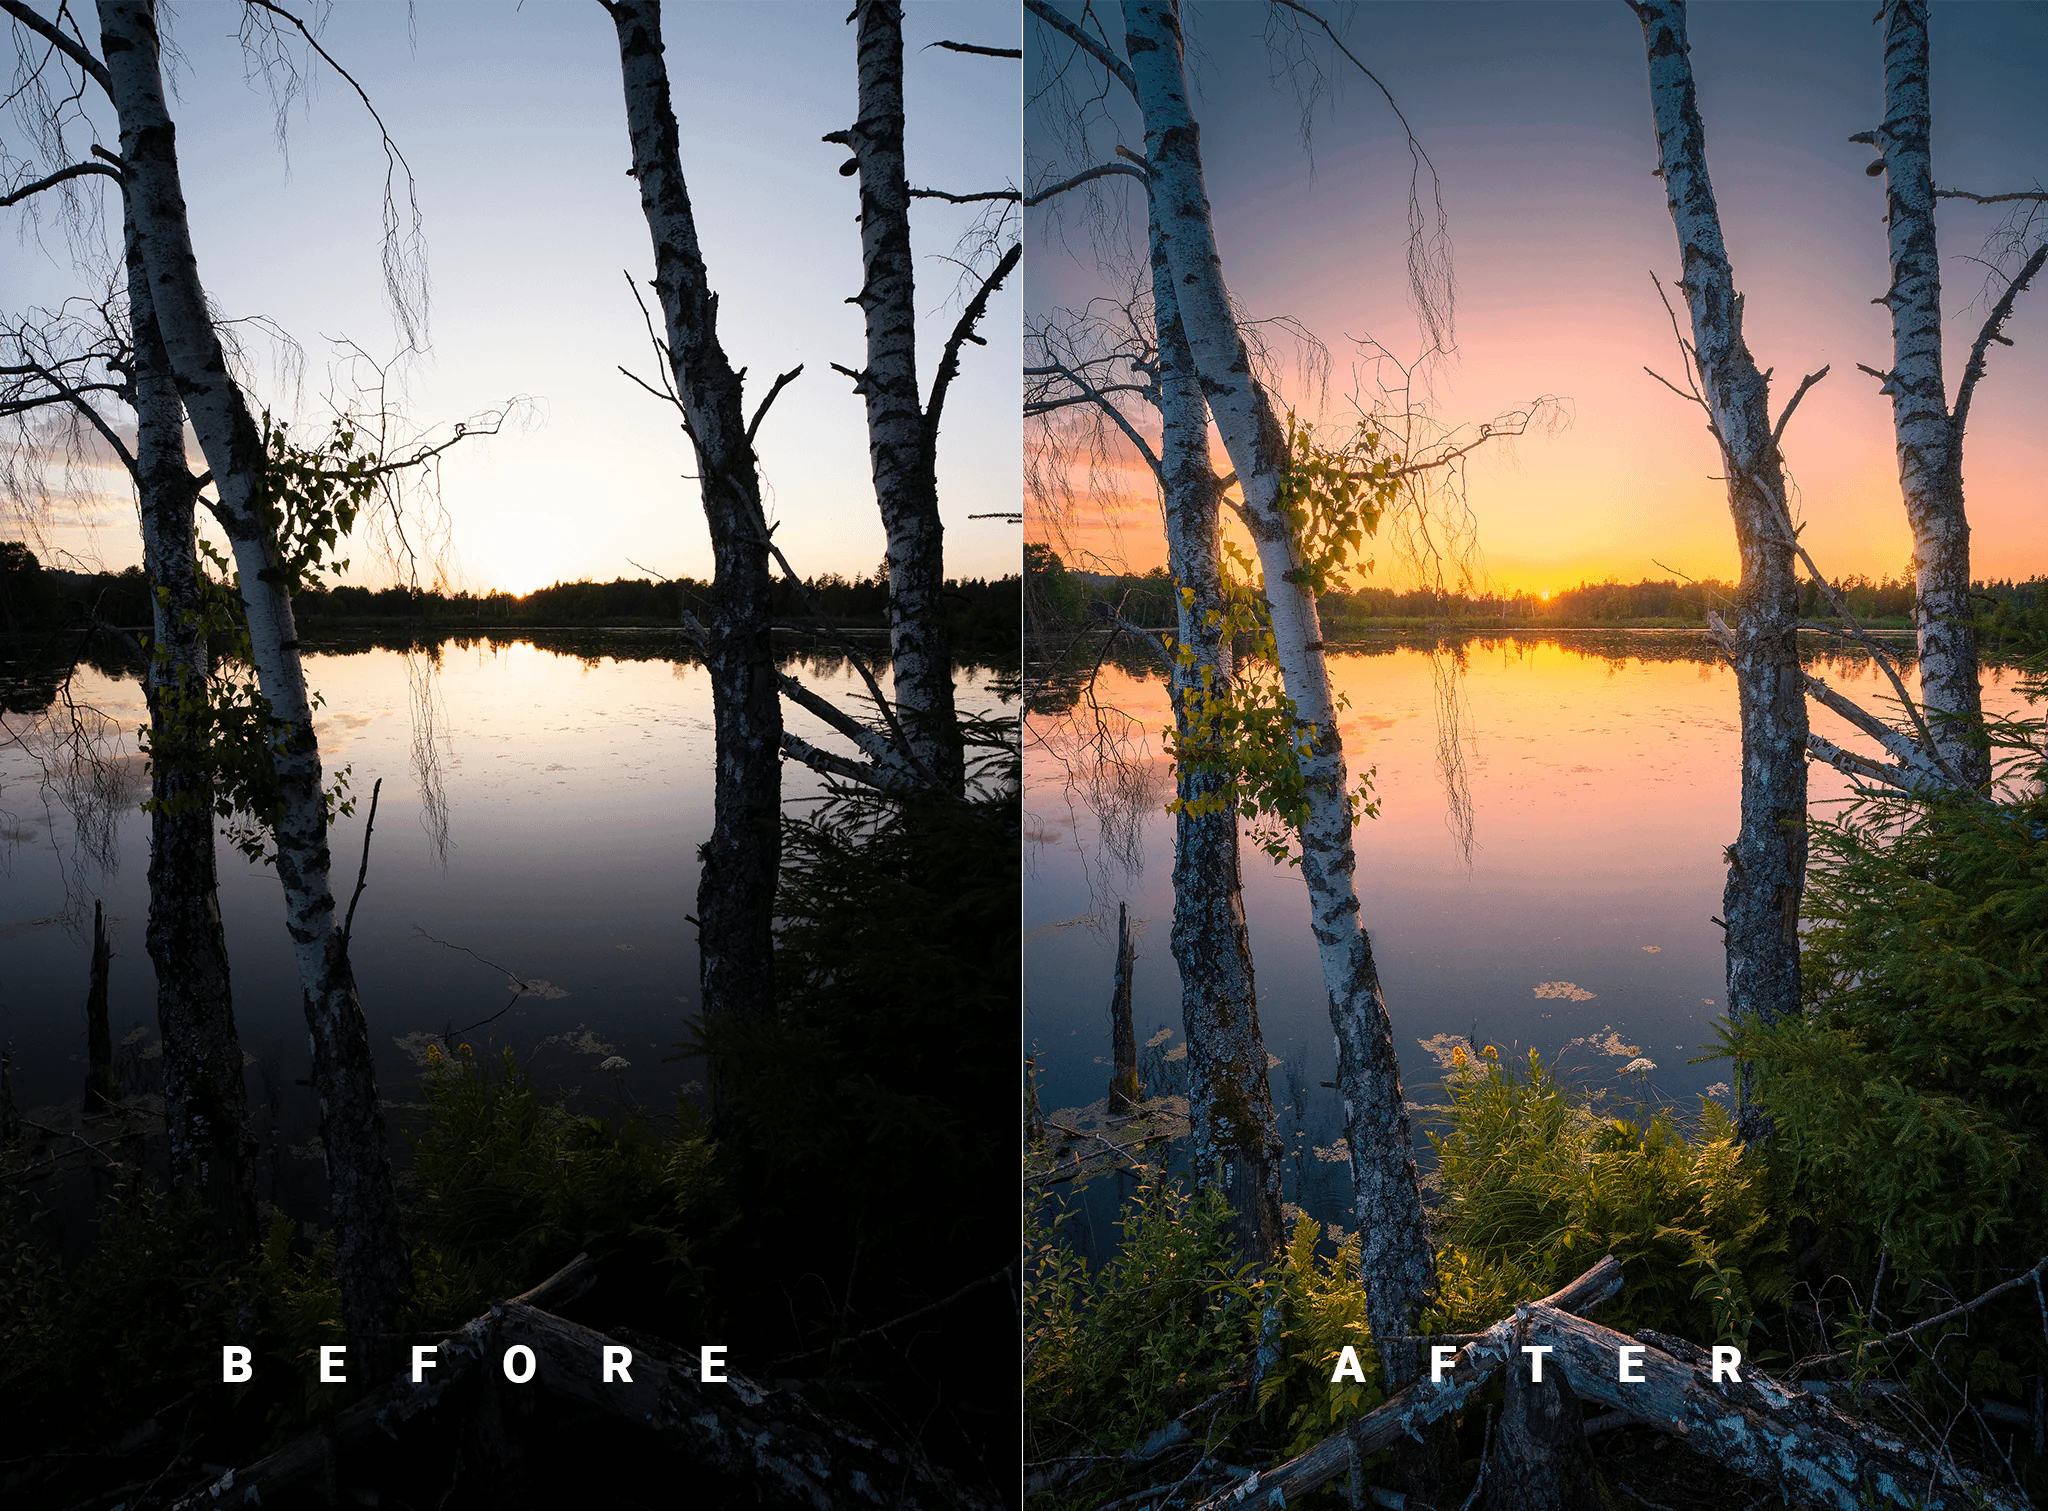
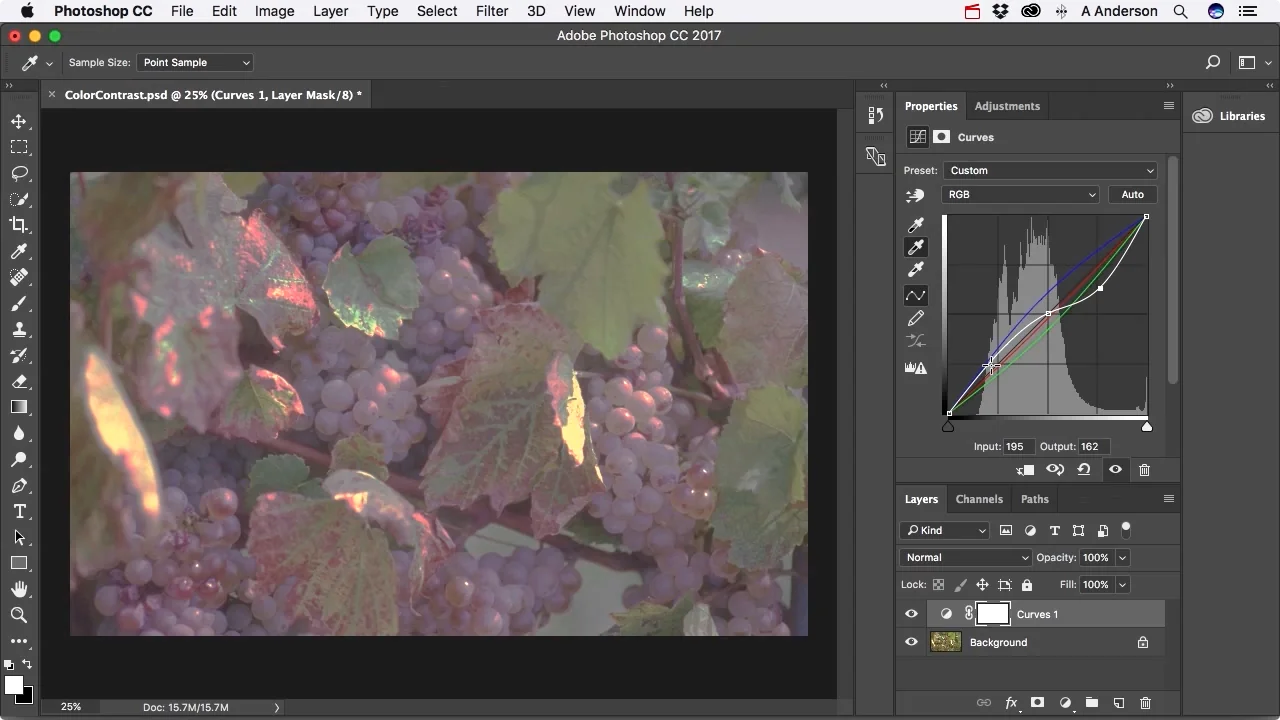
Step 4: Temperature And Tint Adjustment
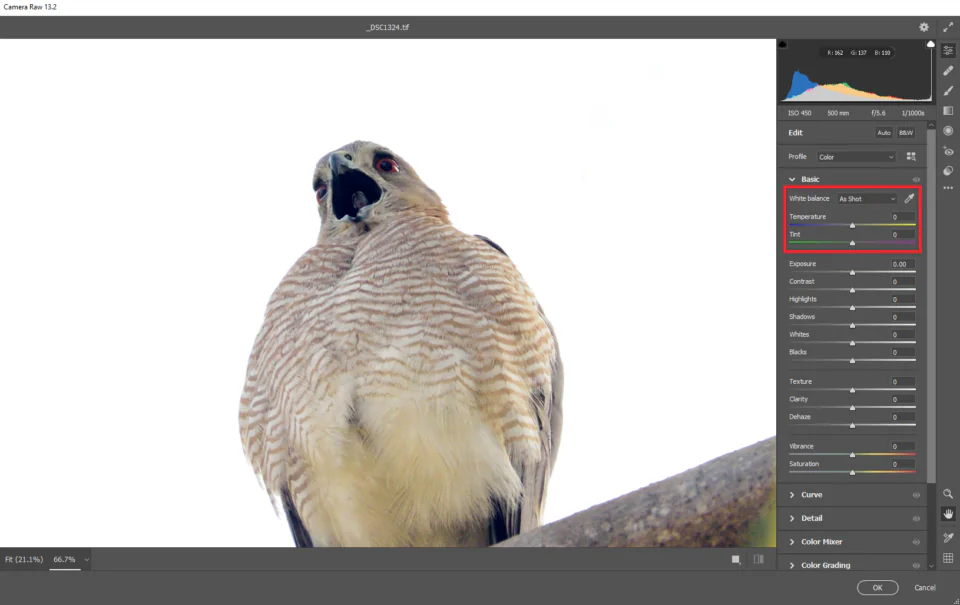
Within the fourth step, concentrate on modifying the temperature and tint of your picture.
Regulate the temperature to present warmth or coolness, pivoting on your envisioned impact.
This alteration specifically impacts the general color temperature of the photo.
Test with warmer temperatures for a cozy feel or cooler temperatures for a quiet vibe.
Simultaneously, refine the tint to preserve an even color representation.
Tint alterations help achieve a natural appearance, ensuring that the colors within the picture are true to life.
Adjusting temperature and tint contributes to the nuanced play of colors, setting the base for an outwardly engaging and candidly resounding result.
As you make these alterations, keep a sharp eye on the effect they have on the overall environment of the picture.
Step 5: Saturation Enhancement
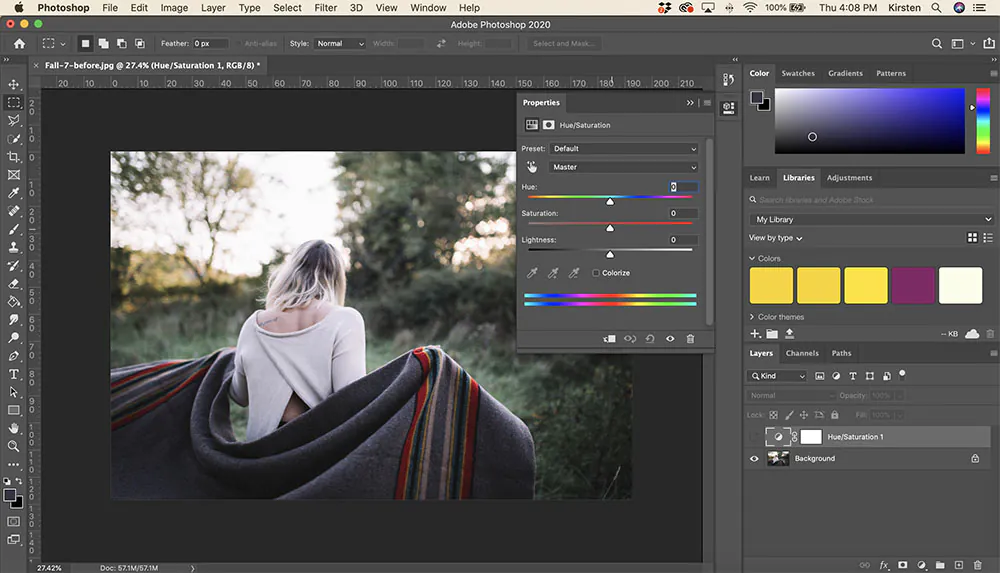
In this step, you have to work on boosting the saturation of your photo.
Increase the saturation to heighten colors and include dynamic quality.
This alteration improves the visual effect of your photo by making colors more striking.
Be careful not to exaggerate it, as excessive immersion can lead to unnatural commotion.
Try for an adjustment that complements the abundance of colors without compromising authenticity.
Saturation alterations are compulsory in bringing your image to life, making it outwardly compelling and luring.
As you make these improvements, watch how the expanded saturation contributes to the general vitality and dynamism of the composition.
The development of saturation in this step guarantees that your picture not only evokes thoughtfulness but, moreover, passes on a sense of profundity and imperativeness.
Step 6: The Contrast Optimization
Set the highlights and shadows to include profundity and broadness in your photograph.
Increasing contrast consequences in a more vibrant and visually arresting composition, making the bright areas brighter and the dull areas darker.
This step contributes to the general effect of your picture by bringing out points of interest and making a more immersive visual encounter.
Carefully optimize the contrast settings to attain the required level of show without relinquishing the general balance of the picture.
By improving contrast, you bring out textures and points of interest, upgrading your photo’s general clarity and visual appeal.
As you make these alterations, check their impact on the general temperament and air of the picture.
Successfully executing contrast in this step guarantees that your picture achieves riveting and well-defined visual intimacy.
Step 7: Gradient Maps And Filters Inclusion

Within the seventh step, experiment with gradient maps or filters to include inventive color warmth impacts.
Take advantage of these tools specifically to improve particular zones of your picture.
Gradient maps permit smooth moves between colors, including profundity and subtlety to your photo.
Filters can present unobtrusive or sensational shifts in color, contributing to the general temperament.
This step is an opportunity to imbue your picture with a one-of-a-kind look or symbolic color palette.
Explore different combinations to discover the correct balance that complements your vision.
Look at how gradient maps and filters connected with the existing colors, making a concordant and outwardly exciting result.
Acing this step includes an additional layer of imagination to your color warmth alterations, hoisting the overall stylish effect of your picture.
Step 8: The Final Tweaks
In the last step of adding color warmth to your photograph, you will survey your edits and save the final picture.
Take a minute to evaluate the all-around effect of your color warmth alterations.
Verify that the picture complies with your unique vision and wanted temperament.
Make any last refinements if required, paying regard to unpretentious points of interest.
Once you are delighted with the result, save the altered picture in your preferred format.
Consider keeping both the first and altered forms for comparison.
By completing this step, you finalize the transformation of your photo, displaying the complete potential of color warmth.
You can now share your updated photo with others to get an appreciation for the visual story you’ve made through mindful and imaginative altering.
Conclusion
In sum, color warmth has a strong influence on controlling the atmosphere of a photograph. It can evoke diverse feelings; either it is about stimulating an image’s vitality with red and yellow hues, or you want to add to the calmness and serenity using blue and green tones. Additionally, color warmth is also expanding its role in marketing and branding, where warm color choices can enhance the visual outcomes of product presentations, thus enhancing customer interest with a substantial emotional impact. Posts or promotions utilizing warm, attention-grabbing colors are more likely to stand out in a crowd of people, expanding the probability of client engagement.
