How To Do Image Rotoscoping
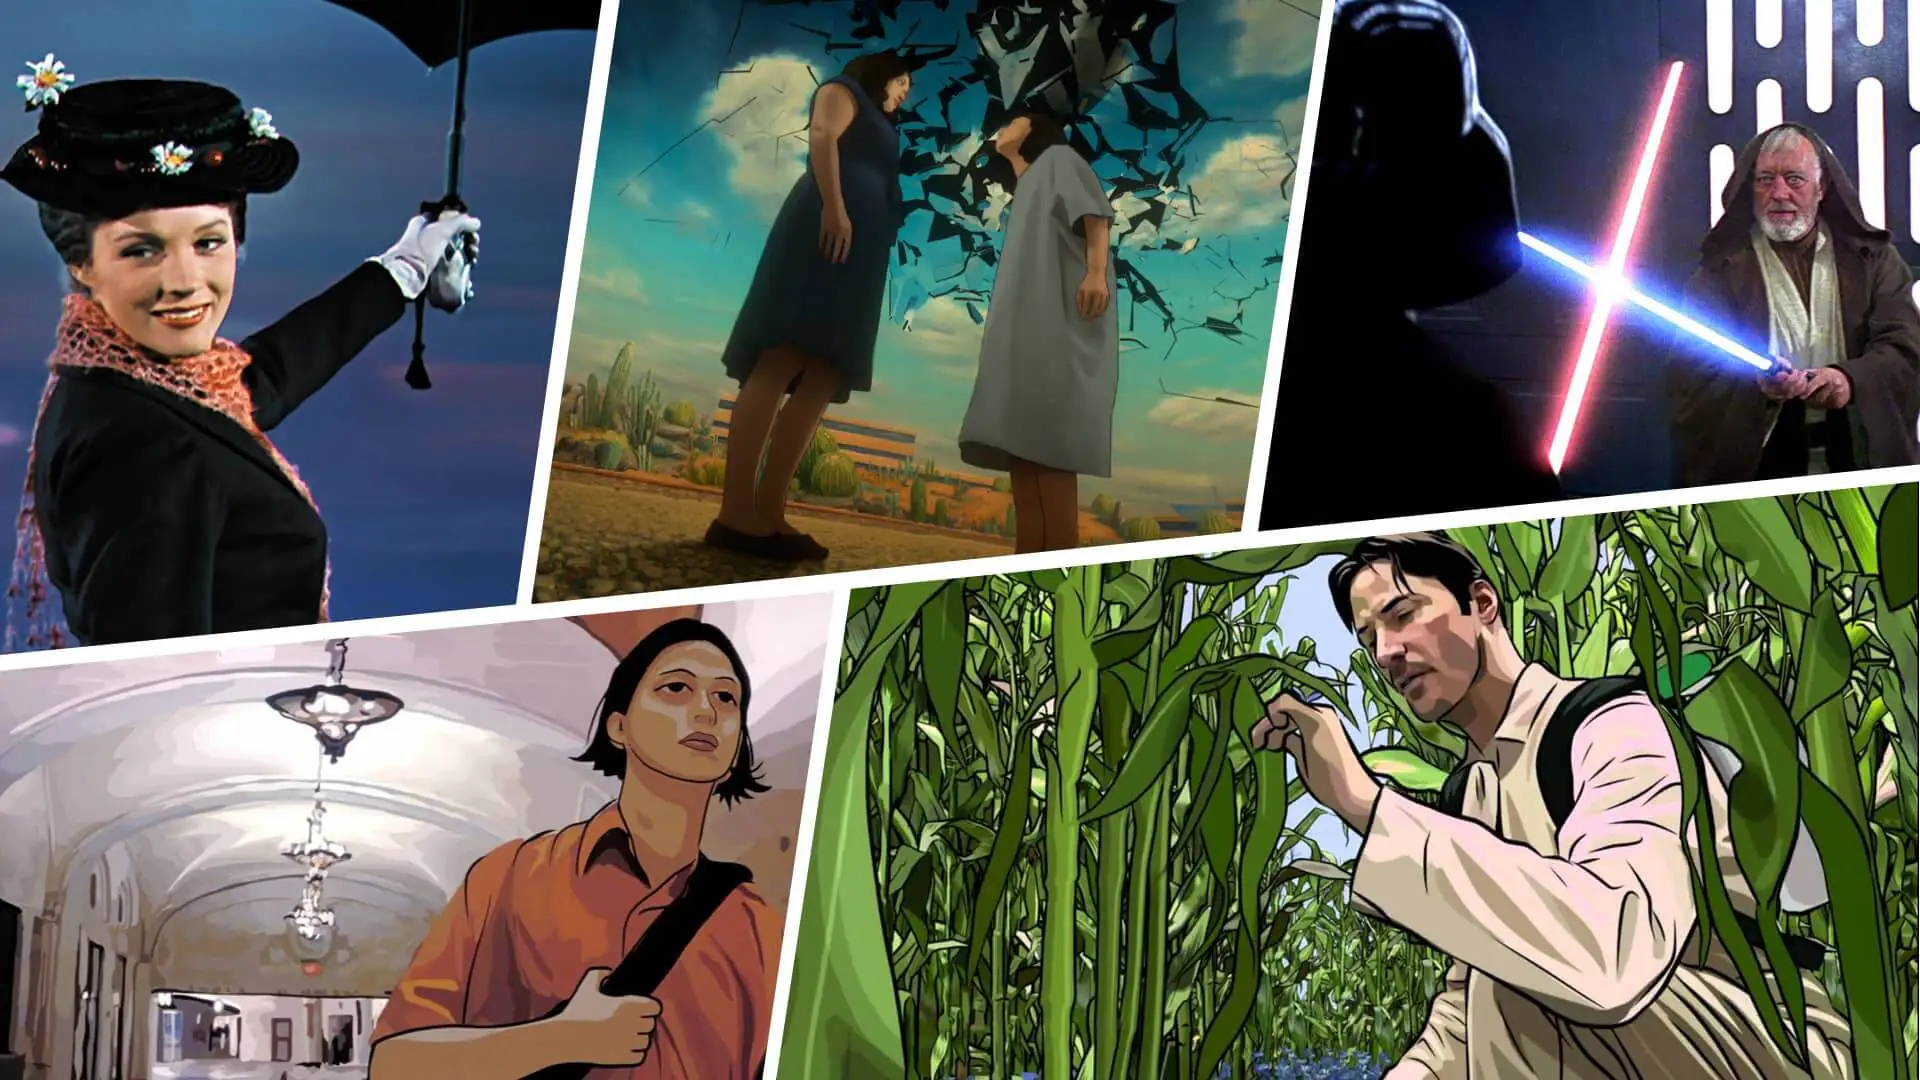
The rotoscoping approach is a real-time tracing over a video frame for strengthening animation effects and creating novel visual outcomes. It can escalate characters’ movements and actions, especially in films and other multimedia tasks. When invented in 1915 by Max Fleischer, an American animator, the technique was mainly associated with video frames and animation movement enhancements. However, with the revolution of visual effects in still images, rotoscoping is also now used; it creates distinct frames of a single image with tracing variation, giving a realistic feel of flow and activity. These series of frames can collaborate to form a fascinating visual tale by integrating digital techniques like shading, outlining, and sketching. Furthermore, alongside multiple framing, rotoscoping can also be applied to a single photograph, offering you a multitude of creative possibilities to maximize the visual appeal of your visuals and captivate the onlookers. This blog contains a step-by-step approach to creating rotoscopic images out of still shots.
Step 1: Make a selection about the base image
Selecting the proper image is vital for an effective rotoscoping venture. Start by choosing a photo that coincides with your inventive vision and has particular highlights for tracing. That might be a photo, illustration, or any visual content you want to improve or animate.
Review the complexity of the image and how it fits with your rotoscoping goals. Images with precise contours and well-defined points of interest function best, particularly if you’re new to rotoscoping.
Confirm that the chosen image is in a format consistent with your rotoscoping software. Depending on the app you’re utilizing, standard formats consist of JPEG, PNG, or GIF.
In working with animation or a grouping of images, guarantee that the outlines stream consistently and contribute to the overall story or visual effect you point to attain.
Once you’ve made your choice, continue to the next step confidently, knowing that your chosen picture gives a solid basis to the rotoscoping project. This keen choice sets the stage for a smoother and more compelling rotoscoping encounter.
Step 2: Load the chosen image
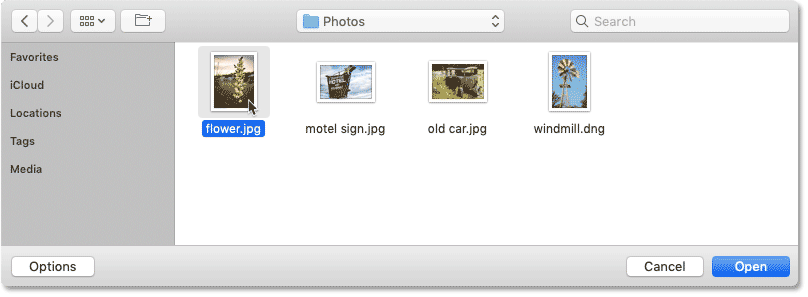
Upon wrapping up your base image selection, the second crucial stage is bringing it into your chosen rotoscoping software. You’ll begin by opening a new venture or canvas inside the program interface.
Search for and press on the alternative like Import or Open to browse the image record from your PC. Affirm that the program supports the record format of your chosen picture, such as JPEG or PNG.
Upon viable import, the program will display the chosen image inside the project workspace. This step gives the base for your rotoscoping assignment, giving an advanced canvas for your creative work.
Consider setting the file dimensions to arrange your chosen shot’s resolution and aspect proportion. That ensures that your rotoscoping errand alters reliably with the initial content.
By completing this step, you construct a workspace set for the rotoscoping. The imported picture is utilized as the framework for your inventive efforts.
Step 3: Make a new layer
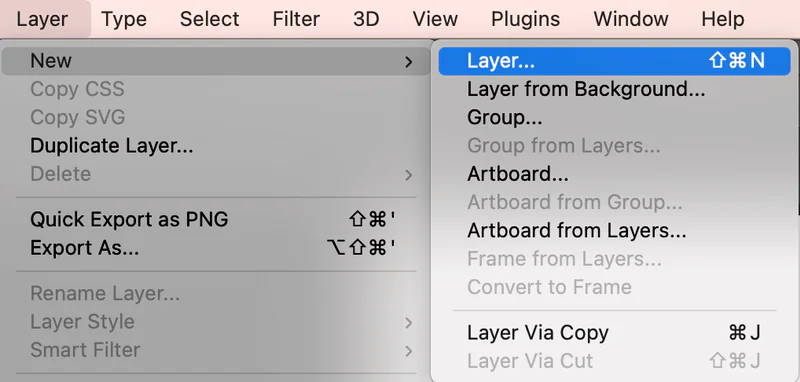
In this step, you must create a new layer within your rotoscoping program. Layers give you an organized and non-destructive way to work on your project, permitting you to introduce changes without changing the initial picture directly.
Start the layer creation process through the software’s menu, which you will usually see beneath “Layer” or a similar title. Click “New Layer” to ensure it’s situated over the base layer containing your imported image.
This layering approach encourages an orderly workflow. Your rotoscoping work will be done on this new layer, permitting you to toggle its appearance and make alterations freely.
Take utilization of the naming highlight to name your layers expressively, supporting the organization as your project advances. For example, you can title the new layer “Rotoscope” to recognize it from the base or background layer.
By setting up a separate layer for rotoscoping, you improve precision and hold clear refinement between your edits and the original file.
Step 4: Trace your preferred image components

With your layers set up, you can now move to the outlining. Use the pen or brush option in your program to trace the necessary components of the picture on the assigned layer.
Start outlining by distinguishing the foremost shapes and shapes of the subjects inside the photo.
Take consideration of the characteristic lines and points of interest, ensuring exactness in imitating the original shapes.
Close in on perplexing regions and concentrate on more subtle components to protect a steadfast representation. This step requires a cautious and contemplative approach to altering your traces reliably with the image’s highlights.
Take your time as you work through each zone, layout, or component, depending on the complexity of your venture. The objective is to form a well-defined outline as the premise for consequent improvements.
After critically tracing the shapes during this accuracy laying out step, you’ll move on to the detailed enhancement for the authenticity of the ultimate result.
Step 5: Assess and retouch your outlining
After outlining the critical elements of your composition, you can now improve your rotoscope effect’s precision and visual effectiveness.
Take a zoom view of particular ranges with the most critical details. Refine the traces, altering curves and smooth edges to dispose of any asymmetry and get a consistent integration of your rotoscoped components with the initial picture.
Give close consideration to subtleties such as surfaces, shadows, and highlights. Include or adjust details as required, keeping up a harmony between capturing the substance of the original and incorporating your imaginative touch.
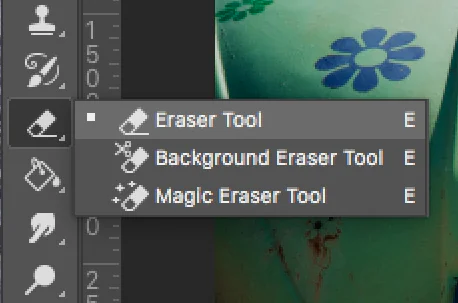
Consider precisely using tools like the eraser or blur tool to refine edges and transitions. This step is vital for accomplishing a polished and proficient display in your rotoscoped work.
Routinely compare your modification with the initial picture to confirm alignment and consistency. Make essential alterations to attain a concordant blend between the rotoscoped components and the background.
Step 6: Integrate color and shading for visual effects
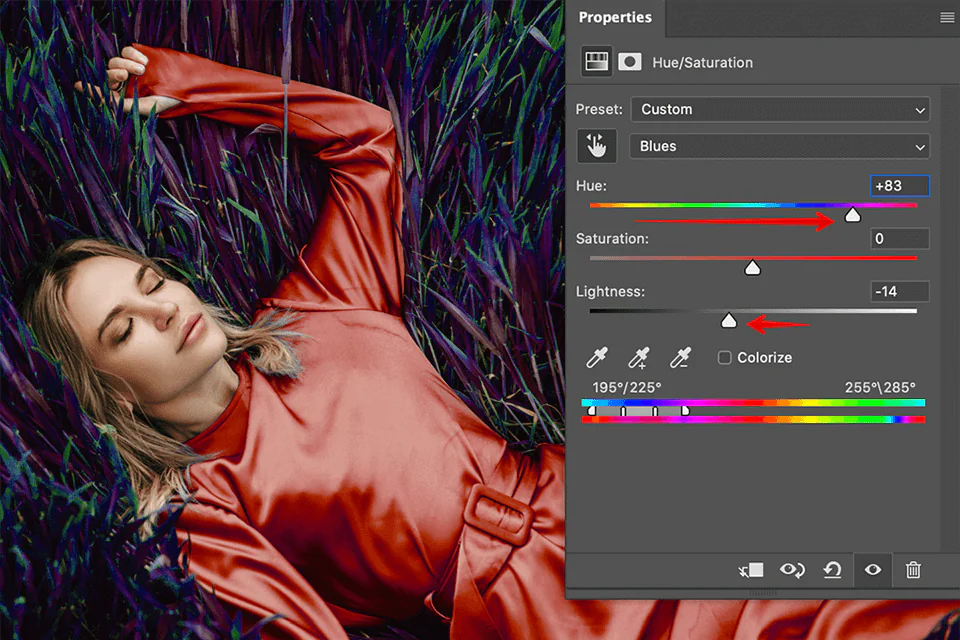
Move into the inventive stage by presenting color or shading to your rotoscoped work. This step permits you to implant profundity and dimension, improving the visual effect of your work.
Select suitable colors that complement the initial picture. Whether you point for authenticity or creative stylization, consider the lighting and climate within the source file to direct your coloring choices.
If your rotoscoped components require shading to coordinate consistently with the background, utilize gradients or shading tools to include profundity. Guarantee that the shading adjusts with the light heading within the original picture for a natural and cohesive appearance.
Play with blending modes and opacity settings to attain the required level of transparency or overlay. This step includes a link between preserving the essence of the initial and consolidating your imaginative enhancements.
Evaluate the overall composition, altering color and shading to preserve visual unity. Regulate your choices to make a rotoscoped image that documents the initial development and includes a layer of aesthetic expression.
Step 7: Take a final survey and make revisions
Start a comprehensive survey of your rotoscoped artwork, analyzing it with a rudimentary look for detail and coherence. This analysis guarantees that your imaginative augmentations consistently unify with the source photo, accomplishing the sought-after visual effect.
Carefully inspect each component, checking for fashion, color, and general composition consistency. Affirm that the rotoscoped layers adjust agreeably with the background, keeping a cohesive visual account.
Address any disparities or ranges that will require refinement throughout this survey process. Make mindful alterations to enhance the overall quality, ensuring that your rotoscoped components improve instead of occupying the initial picture.
Consider looking for feedback from others or taking a brief break before the ultimate assessment to pick up a new point of view. This outside input can offer profitable perceptions about the zones requiring extra consideration.
Step 8: Prepare your final composition for presentation
As you conclude your rotoscoping project, move your center to the ultimate step of exporting your work for presentation or integration into other projects. This step prepares your rotoscoped work for sharing, displaying, or consolidating into different multimedia endeavors.
Explore the export or save alternative in your rotoscoping software. Select a file format reasonable for your expected utilization, considering variables such as picture quality and compatibility with other applications.
If your rotoscoping program offers export settings, audit and alter them based on your inclinations and venture necessities. That may involve selecting a particular resolution, compression level, or color profile.
Assign your exported file a significant and graphic title, supporting swift recognition and organization. Consider including version numbers or dates in case you expect numerous iterations.
Before finalizing the export, perform a last visual check to guarantee that the exported photo holds the quality and characteristics you were looking for during the rotoscoping process.
Completing this step marks the summit of your rotoscoping creativity, displaying you with a pristine and optimized image prepared for the world to view.
Conclusion
In summary, rotoscoping is best used to make certain features of an image stand out among others. You can highlight the subjects or any vital areas you want viewers to concentrate on. Though it does not add new outlines or shapes but instead works on images’ existing contours and curves, it revitalizes their dimensions, giving each area a fresh look, which was initially not as eye-catching before as it became after rotoscoping touch. Additionally, you can strengthen the sense of realism and movement in your still image frames and renew your images, making them dynamic pieces of art with vitality.
