
How to edit Candid Photographs
Candid photos have sentimental significance since they freeze the as-it-is moment and reveal the participants’ thoughts through facial expressions. Similarly, you can take candid images of as many subjects and settings as you like, capturing fleeting moments and providing you with a glimpse of the past in the coming years of your life. Photographers also prefer candid photos to posed photos because of the creative element. Furthermore, candid images are vital for learning since they portray history rather than a posed snapshot. Candid photography exposes the true sentiments of people as they are unaware of the camera’s presence, giving the photograph genuineness and unscripted narratives. Though the central role in candid photography is shot capturing, even the best photographs have some imperfections. In that case, editing techniques and tools can help you achieve a flawless final candid image. This blog can provide you with the leading steps to adopt so that you can edit your candid photographs and get an ideal composition.
Step 1: Organize and Select Your Shots
To begin editing your candid photography, import the captured images into a photo editing software of your choice. Create a new project or catalog to keep your workflow organized. Take the time to review all of your shots and carefully select the ones that best capture the authentic moments and emotions you wish to enhance.
Consider composition, facial expressions, and overall storytelling value when choosing your images. It’s essential to focus on selecting shots that convey genuine emotions and encapsulate the essence of the candid moments you capture.
Organizing and selecting your shots at the outset lays the foundation for a streamlined editing process, allowing you to work with purpose and intentionality. This initial step sets the stage for bringing your candid photographs to life through the subsequent editing steps.
Step 2: Make Basic Adjustments
After selecting your candid photographs, it’s time to make basic adjustments to enhance their overall appearance. Adjust essential elements such as exposure, brightness, contrast, and white balance.
Use the exposure sliders to control the image’s brightness, ensuring it is neither too dark nor too bright. Fine-tune the brightness and contrast to highlight details and create a visually appealing balance. Adjust the white balance to correct any color casts and ensure an accurate representation of the scene’s lighting conditions.
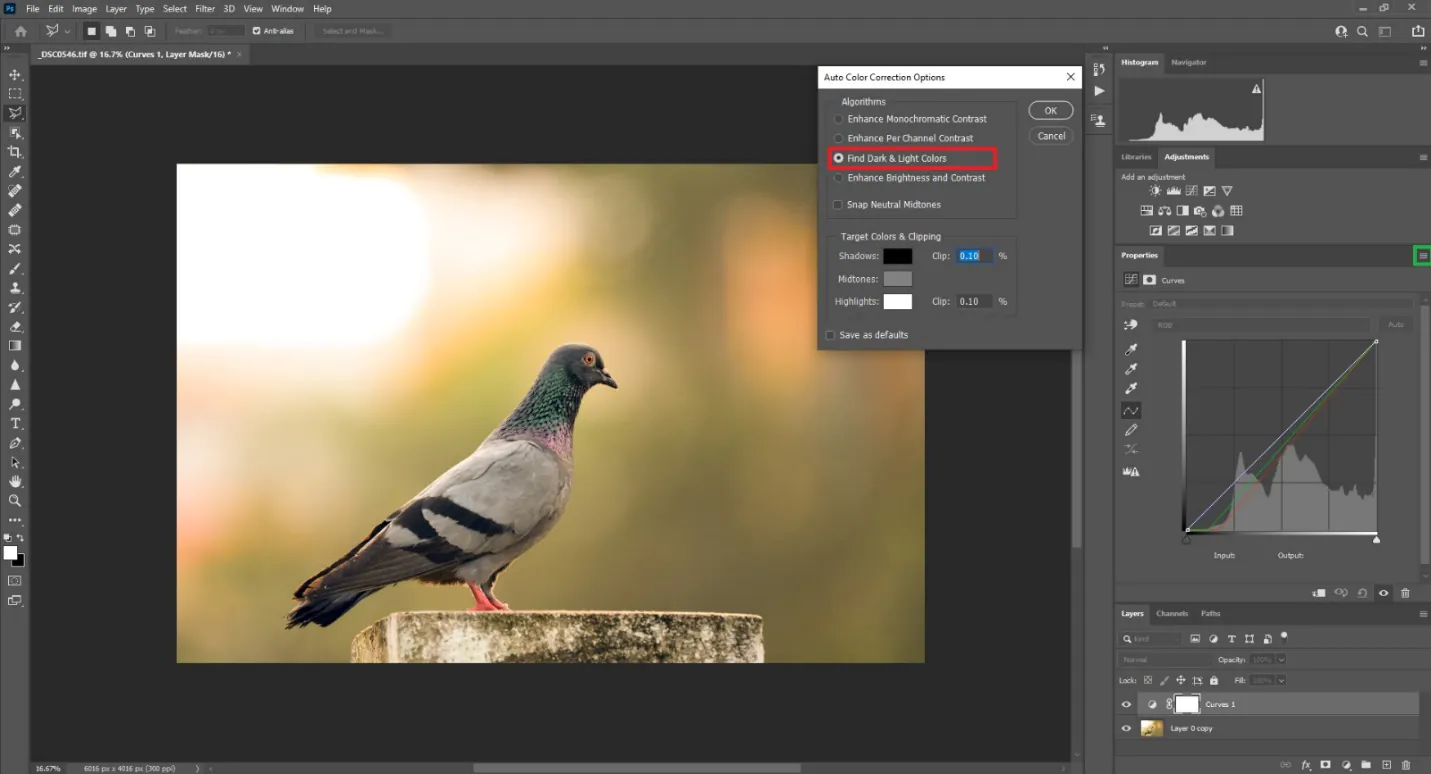
Take advantage of the software’s tools, such as histogram and tone curve adjustments, to refine the tonal range and contrast further. These adjustments help establish the foundation for your candid photographs’ desired look and mood.
Making these basic adjustments establishes a solid starting point for the subsequent editing steps, allowing you to build upon the captured moments and create a cohesive visual narrative.
Step 3: Enhance Colors and Tones
Now that you’ve made the essential adjustments, it’s time to enhance the colors and tones in your candid photographs. This step allows you to bring out the vibrancy and richness of the image, creating a captivating visual impact.
Experiment with the saturation and vibrancy sliders to intensify or mute the colors, depending on the desired mood and atmosphere. Find a balance that enhances the natural tones while maintaining a realistic look. You can also adjust sole color channels to fine-tune specific hues.
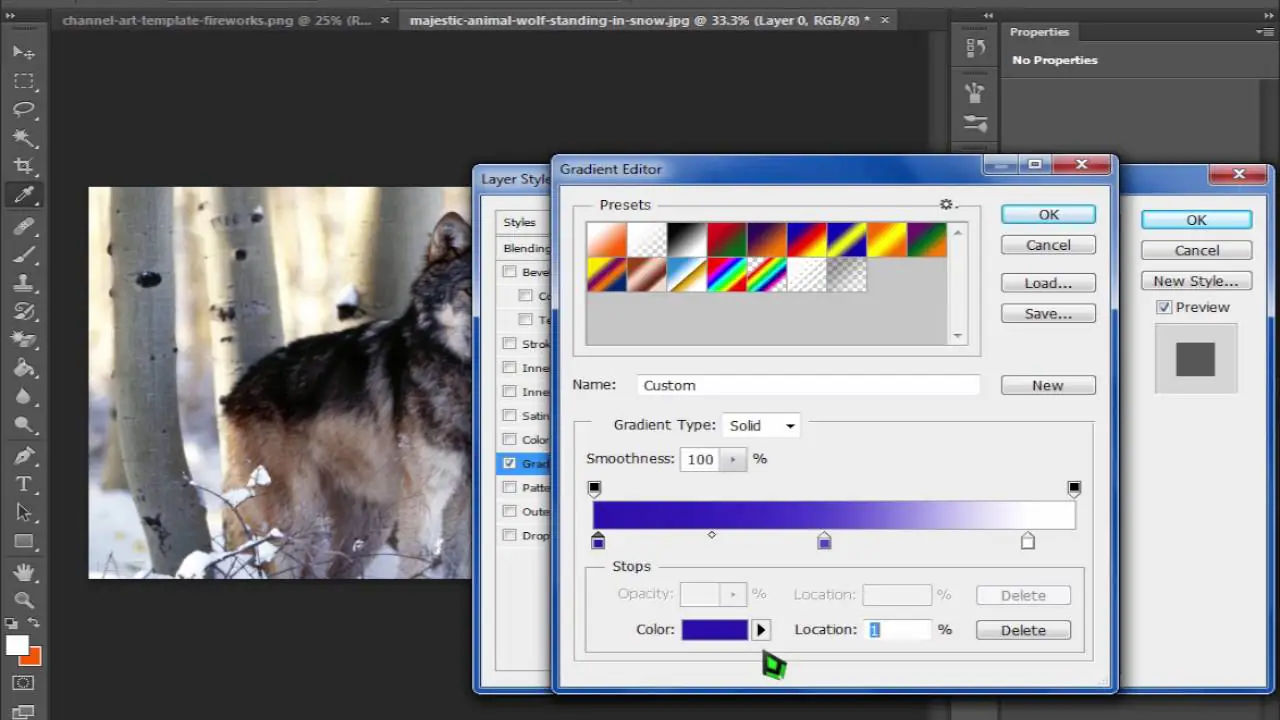
Consider using selective adjustments, such as gradient filters or adjustment brushes, to target specific areas of the image. That allows you to enhance or subdue specific colors, bringing attention to the critical elements in your candid photographs.
Remember to approach color enhancement subtly, aiming for a pleasing and harmonious result for the viewer. Strive for a balance that complements the emotions and narrative of the candid moments you capture.
Step 4: Crop and Straighten
Cropping and straightening your candid photographs can significantly improve their composition and overall visual impact. This step allows you to remove distractions, adjust the framing, and create a more pleasing design that enhances the storytelling aspect of the image.
First, analyze each photograph and identify distracting elements that detract from the main subject or the intended focus. Use the crop tool to remove these distractions, ensuring the subject remains the main interest.
Additionally, pay attention to the overall composition of the image. Consider the rule of thirds or other composition techniques to guide your cropping decisions. Experiment with different aspect ratios and orientations to find the best framing that supports the narrative and emotions captured in the candid moment.
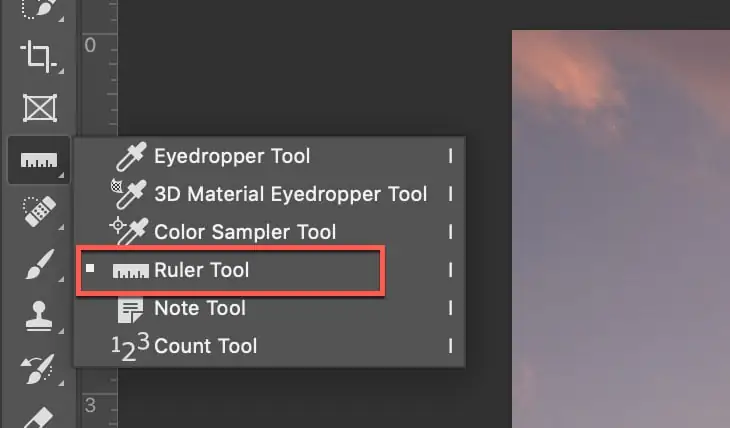
Moreover, check if the horizon line is straight in landscape-oriented photographs. Utilize the straighten or rotation tool to correct any tilting or crookedness in the image.
Cropping and straightening are powerful editing techniques that can significantly enhance the visual impact of your candid photographs. By carefully considering the composition and making these adjustments, you can ensure that the viewer focuses on the key elements and emotions within the frame.
Step 5: Retouching and Spot Removal
Retouching and spot removal are crucial in editing candid photographs to ensure a clean and polished final result. In this step, you can eliminate distractions, remove blemishes, and enhance the overall visual appeal of the image.
Start by zooming in on the photograph and examining it for imperfections or unwanted elements. Use tools like the spot healing brush or clone stamp to remove dust spots, minor blemishes, or distracting objects. Adjust the brush size and opacity to ensure your retouching looks natural and seamless.
When retouching, pay attention to preserving the authenticity of the candid moment. Avoid over-retouching or drastically altering the appearance of the subjects. Instead, focus on refining the image while maintaining the integrity of the captured emotions and expressions.
The goal is to create a polished image that highlights the key elements and emotions without sacrificing the natural look and feel of the candid moment.
Step 6: Enhance Details and Sharpness

Enhancing the details and sharpening the image is essential to make your candid photographs stand out. This step helps bring out the textures, subtle elements, and clarity, creating a more captivating visual experience.
Begin using the sharpening tool or applying specific sharpening filters in your editing software. Adjust the strength or intensity of the sharpening effect to your preference, being careful not to overdo it and introduce unwanted artifacts.
Pay close attention to areas of the image where details are crucial, such as the eyes, facial features, or intricate elements. Selective sharpening techniques, such as adjustment brushes or layer masks, enhance specific regions while leaving others unaffected.
Step 7: Adjust Shadows and Highlights
Fine-tuning the shadows and highlights in your candid photographs can significantly enhance their overall look and bring out important details. This step helps to balance the exposure and create a more visually appealing image.
Start by adjusting the shadow and highlight sliders in your editing software. Increase the shadow detail to reveal information in the darker areas of the image, bringing out hidden textures and enhancing the overall depth. Similarly, decrease the highlight intensity to recover details in overexposed areas and prevent them from appearing too bright or washed out.
Use a subtle approach when adjusting shadows and highlights, aiming for a natural and realistic look. Avoid pushing the adjustments to extreme levels, resulting in an unnatural or artificial appearance.
Step 8: Apply Creative Effects (Optional)
In this step, you can apply creative effects to add a unique touch and personal style to your candid photographs. While optional, creative effects can elevate the overall visual appeal and enhance the storytelling aspect of the images.
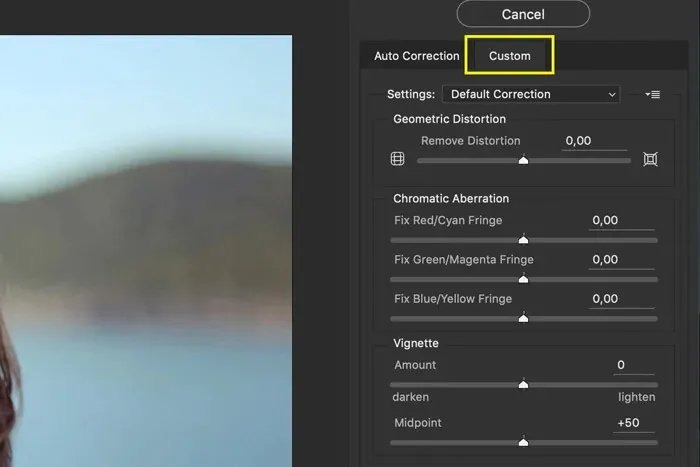
Experiment with various effects such as vignettes, film simulations, color grading, or creative filters. Vignettes can draw the viewer’s attention to the central subject and create a more intimate feel. Film simulations can replicate the look and feel of specific film stocks, adding a nostalgic or vintage touch.
Color grading allows you to manipulate the colors and tones, creating a specific mood or atmosphere. Play with saturation, hue, and color temperature to achieve the desired effect. Additionally, you can experiment with creative filters to add textures or unique visual elements.
Remember to apply these creative effects in moderation and with intention. The goal is to enhance candid photographs without overpowering or distracting from the captured moments and emotions.
Step 9: Finalize and Export
In the final step of editing your candid photographs, it’s time to review and finalize your edits before exporting them. This step ensures that your edited pictures are ready for sharing, printing, or use.
Take a moment to review the overall look and feel of the images. Make necessary adjustments or refinements to ensure consistency and cohesiveness across your edited set. Consider comparing the edited photograph with the original to evaluate the effectiveness of your edits.
Once you are satisfied with the final result, it’s time to export the images. Choose the appropriate file format and resolution based on your intended use. If you plan to share the photographs online, consider resizing them to optimize for web viewing. If printing, ensure the resolution is suitable for the desired print size.
Save a high-quality, uncompressed version of your edited photographs as a backup for future use or further edits.
Conclusion
To summarise, editing candid images is what’s needed to provide the best version of them. It also lets you put your creative touch to your pictures, making them more aesthetically striking and thought-jerking. You can boost your composition by tweaking various components such as color, exposure, shadows, and highlights, making your images appear more valued and appreciated by others. Strive to preserve the natural appearance and feel of the candid moments throughout the editing process.
