How To Apply A Torn Paper Effect To Images In Illustrator
The torn paper effect swiftly gathers the spectator’s attention by inducing energetic and tangible elements into an otherwise flat scene. Because of its organic and raw character, the torn paper effect facilitates your photographs to break away from the static structure of typical rectangular frames and make images more engaging and tactile. To apply a ripped paper effect in photos, Illustrator is one of the most incredible options since it enables you to customize the ripped edges by shape, scaling, and texturing them, giving you to come up with unique and personalized effects. It encourages you to experiment with new styles, emotions, and themes, giving your work a creative edge. Furthermore, Illustrator’s ripped paper effect gets applied to an array of pictures, including photographs, drawings, and digital collages. It is also adaptable to diverse subject matters, as it gives the tools and features required to bring your artistic vision to life and create aesthetically fascinating compositions with a distinct ripped paper appearance. Follow the following steps to apply a perfect torn paper effect to your images using Illustrator.
Step 1: Prepare Your Image
To apply the torn paper effect in Adobe Illustrator, open the software and create a new document. Then, import the image you want to work with by navigating to “File” > “Place” and selecting the image file from your computer. Resize and reposition the image within the document as desired.
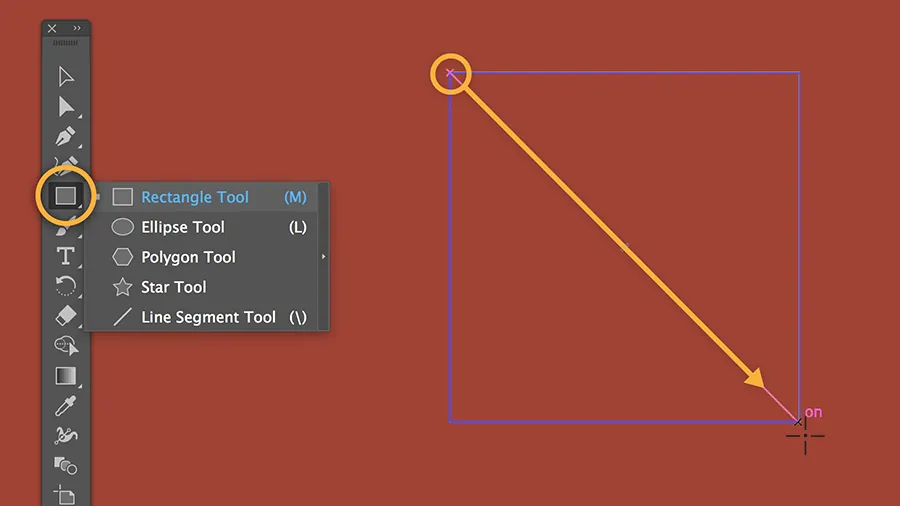
Next, create a background shape that will serve as the base for the torn paper effect. Select the Rectangle Tool (M) from the Tools panel and draw a rectangle to cover the entire canvas or the specific area where you want the effect to appear. Fill the shape with a color that complements your image, or choose a neutral shade that allows the torn edges to stand out.
By preparing your image and creating a background shape, you can move on to the subsequent steps in applying the torn paper effect in Illustrator.
Step 2: Create Torn Edges
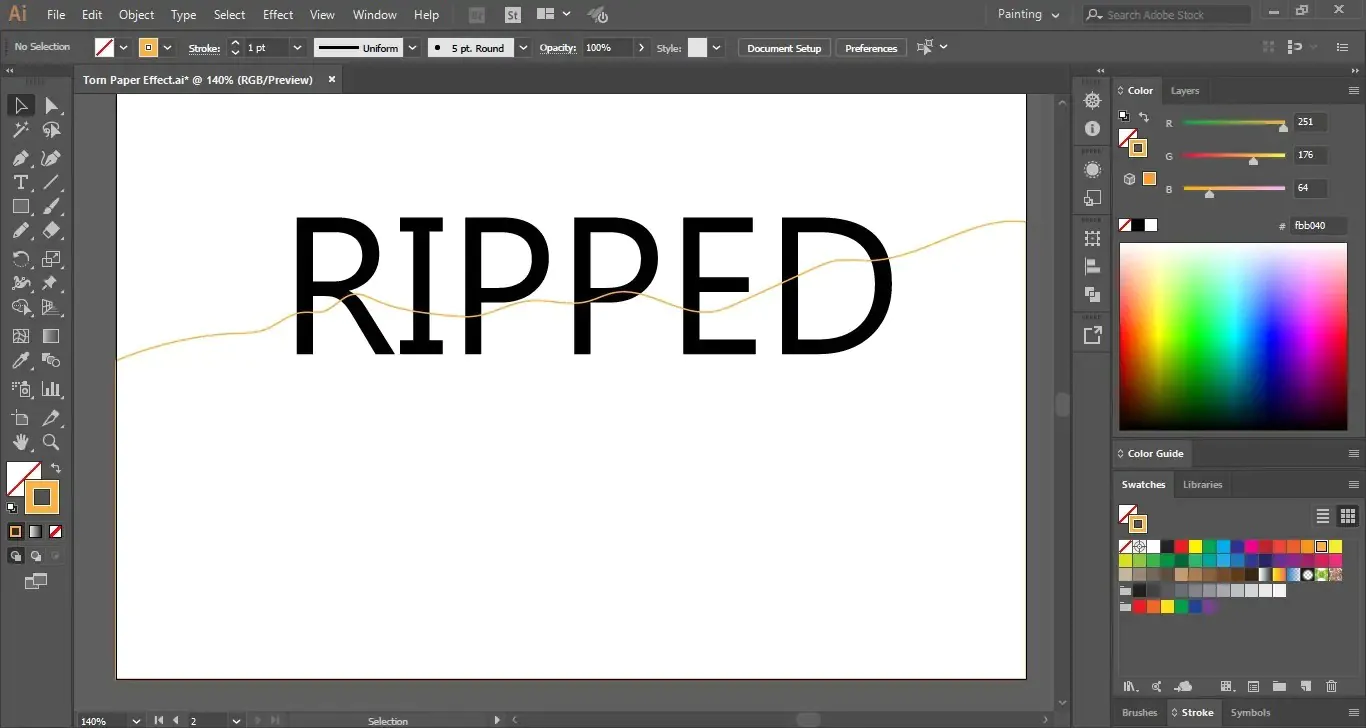
Once you have prepared your image and created the background shape, it’s time to complete the torn edges that will give the paper effect. Select the Pen Tool (P) from the Tools panel and make sure the background shape is selected.
Start drawing irregular shapes along the edges of the background shape to simulate the torn paper effect. Click on one point to start a shape, then click on the following points to create a jagged line or curve. Vary the lines’ lengths, angles, and shapes to achieve a naturally torn appearance. Continue drawing the torn edges along all sides of the background shape until you have completed the desired effect.
Don’t worry about perfection—the goal is to create organic, irregular shapes that emulate torn paper. You can constantly refine and adjust them in the next step.
Step 3: Refine and Adjust the Torn Edges
After creating the initial torn edges, it’s time to refine and adjust them to achieve the desired look. Select the Direct Selection Tool (A) in the Tools panel and click on an anchor point of the torn edges to manipulate it.
You can reposition the anchor points or drag the handles to modify the shape and curvature of the torn edges. Experiment with different adjustments to create a more natural and realistic torn paper effect. For instance, you can vary the size and spacing of the torn sections, produce uneven or asymmetrical tears, or make certain areas more jagged than others.
Select anchor points or segments to add more variation and apply the Warp Tool (Shift+R) from the Tools panel. Use the Warp Tool to distort further and manipulate the torn edges, giving them a more organic and irregular appearance.
Continue refining and adjusting the torn edges until you are satisfied with the overall torn paper effect on your image.
Step 4: Apply a Gradient Fill
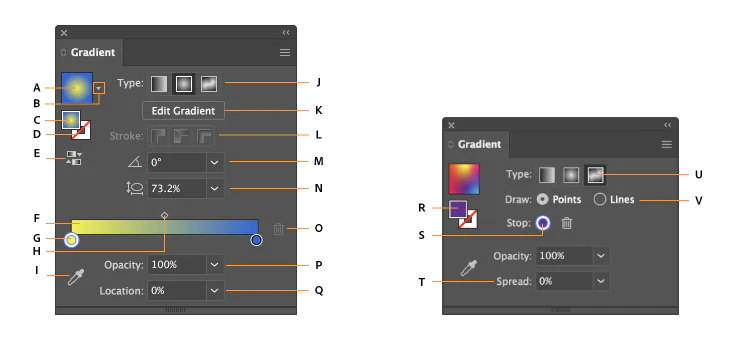
Apply a gradient fill to the background shape to add depth and dimension to the torn paper effect. Select the background shape, then open the Gradient panel by going to “Window” > “Gradient.” Choose a gradient type, such as linear or radial gradient, depending on the desired effect.
Experiment with different colors and opacity settings to achieve the desired look. You can adjust the position of the color stops on the gradient slider to control the distribution of colors. For a more subtle effect, consider using a low opacity gradient.
By applying a gradient fill, you can create a smooth transition of colors that adds visual interest and enhances the illusion of texture and depth within the torn paper effect. Take your time to fine-tune the gradient settings until you achieve the desired result.
Step 5: Add Texture to the Torn Edges
You can add texture using various methods to make the torn edges look more realistic and textured. One approach is to apply a texture image or pattern to the torn edges.
Import the texture you want to use by going to “File” > “Place” and selecting the texture file. Position and scale the texture image to cover the torn areas, ensuring it extends slightly beyond the torn edges.
Place the texture layer above the torn edges layer in the Layers panel. Then, select both the texture and torn edges layers, right-click, and choose “Create Clipping Mask.” That will confine the texture to the torn edges only, giving the illusion that the paper is torn and revealing the texture beneath.
Adjust the opacity of the texture layer as needed to achieve the desired level of texture. You can also experiment with blending modes, such as Overlay or Soft Light, to further enhance the integration of the texture with the torn edges.
Adding texture to the torn edges enhances the realism and visual impact of the torn paper effect, making it more convincing and engaging to the viewer.
Step 6: Integrate the Image
Now it’s time to integrate your image into the torn paper effect. Place your image layer on top of the torn edges layer in the Layers panel.
Position the image as desired within the torn edges, ensuring it aligns with the torn paper sections. To confine the image to the torn areas, select both the image and torn edges layers, right-click, and choose “Create Clipping Mask.” That will mask the image to fit within the torn edges, creating the appearance that the image is placed on the torn paper surface.
Adjust the position and scale of the image within the torn edges if necessary. You can also play with blending modes and opacity settings for the image layer to achieve the desired interaction between the image and the torn edges.
Take time to align the image with the torn edges and ensure it integrates seamlessly. The result should be a cohesive composition where the image appears to be naturally placed on the torn paper surface.
Step 7: Fine-tune and Refine
You can fine-tune and refine the torn paper effect to achieve the desired outcome at this stage. Adjustments can include altering the position and scale of the image within the torn edges, modifying the opacity of various layers to balance the overall effect, or experimenting with blending modes for different layers.
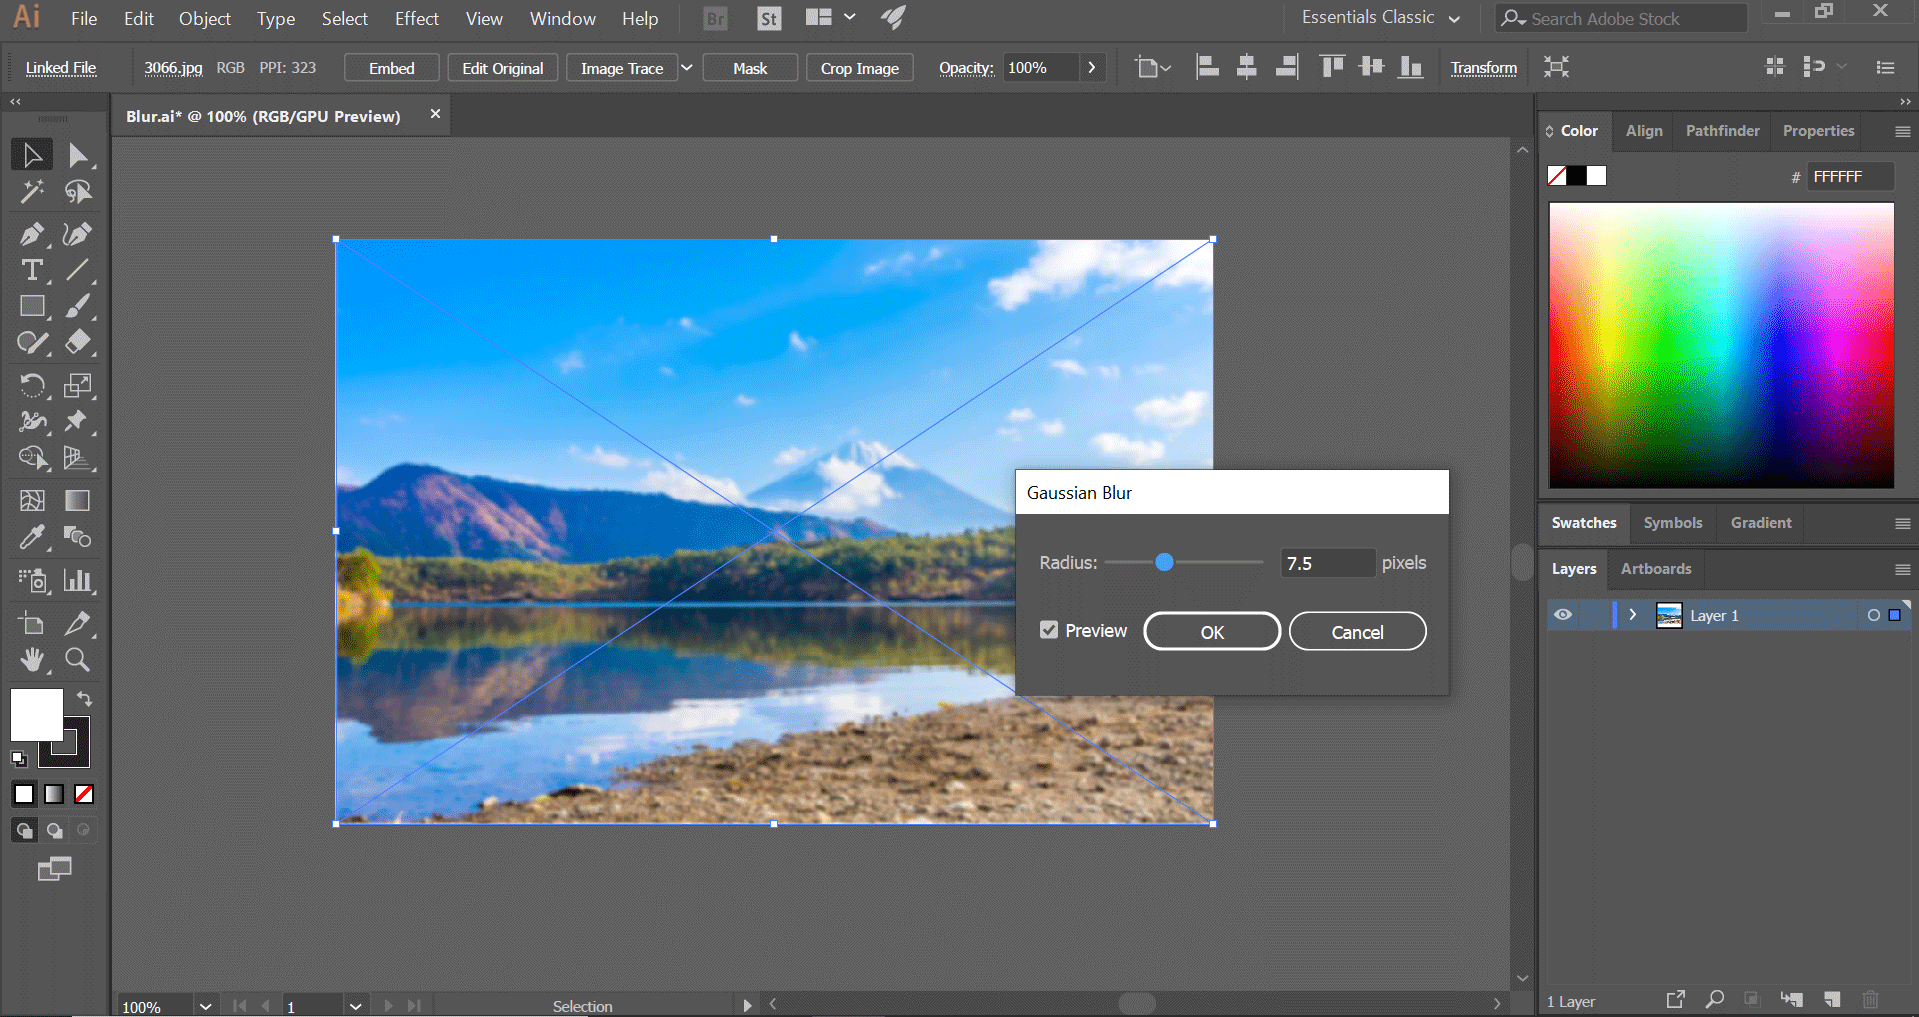
Consider adding additional effects to enhance the torn paper effect. For instance, you can create shadows beneath the torn edges to add depth and realism. Duplicate the torn edges layer, fill it with a solid color, reduce its size slightly, and place it below the original torn edges layer. Apply a Gaussian Blur effect to the duplicated layer and adjust the opacity to create a subtle shadow effect.
Furthermore, you can incorporate other design elements, such as text or graphics, to complement the torn paper effect and add further visual interest.
Take the time to explore various adjustments and effects until you achieve the desired appearance for your torn paper effect in Illustrator.
Step 8: Finalize and Export
Once you are satisfied with the torn paper effect in your image, it’s time to finalize and export your artwork. Review the composition as a whole, ensuring that all elements blend harmoniously and the torn paper effect complements the image.
Make any final adjustments or refinements, paying attention to details such as color balance, contrast, and overall visual coherence.
When you are ready to export your artwork, go to “File” > “Export” or “Save for Web” to choose the appropriate file format and settings for your intended use. Consider factors such as image resolution, file size, and color space based on your requirements.
Save your artwork and export it to your desired destination, such as your computer or a specific folder, and remember to choose a file name that reflects the content and purpose of the image.
Conclusion
Creating a torn paper effect using Illustrator gives you precise control and ensures that your skills in applying the torn paper effect are valuable and relevant. You can try different design elements, such as gradient fills, texture overlays, and blending modes, to obtain the desired style you want for your images. Illustrator’s layer base setting aids in the non-destructive alteration of your artwork, letting you modify different settings without indelibly affecting the original picture or ripped paper look. This adaptability encourages a progressive and experimental design process.
