How To Do Weather Manipulation in Image Editing
The transformative technique of weather manipulation can miraculously alter the climate a photo depicts, turning a sunny day into a rainy one or changing cloudy weather into a clear sky. The transition from clear sky to rain, sunshine to snowfall, or calm to tumultuous climate can completely modify the visual story of the image, assisting spectators to immerse themselves in the situation. To initiate water adjustments, you can apply editing tools and techniques to modify climatic elements, like removing clouds or, in contrast, producing clouds to cover dim sunrays. The addition of these novel, unique weather scenarios presented as a replacement for the very original weather condition of the photograph to be manipulated exhibits diverse photo effects, making your images close to nature. Even technology pays tribute to nature and its manifestations. The upcoming sessions of this blog article will explore the intricacies involved in manipulating the weather in your images. By being mindful of the specific strategies related to the process, you can recreate fascinating climate conditions, either entirely new or by readjusting the existing naturally captured weather effects in your photos.
Selecting An Ideal Image:
Weather modifications are initiated using a consistently ideal image with some specific attributes, including:
A strong composition with a clear focal point and lucid elements can effectively collaborate with weather elements.
High resolution is another essential compulsion for the image you choose to apply weather manipulations. It prevents quality degradation and pixelation.
The texture details and harmony of the original lighting with the surrounding elements are also crucial.
Emotional reverberation is another consequence when choosing images to handle the weather. Images that excite emotions with their original temperament are more likely for such transformations.
The images you choose should reflect your unique artistic perspective, helping to develop a recognizable visual identity.
Lighting And Contract Setting:
Examine the original lighting and contrast conditions of your chosen image.
Adjust the exposure setting for a balanced brightness. For giving an impact of a sunny day, consider increasing exposure or decreasing it accordingly.
Adjust the highlights and shadows to create the desired contrast. For foggy effects, you can reduce highlights and boost shadows for a softer, diffused effect.
You can increase or decrease your exposure level per your intended effects. For instance, you should lower the exposure to create rainy or cloudy scenes.
Next, adjust the white balance settings based on the weather transformation. Use cooler tones for snowy scenes and warmer tones for sunny ones.
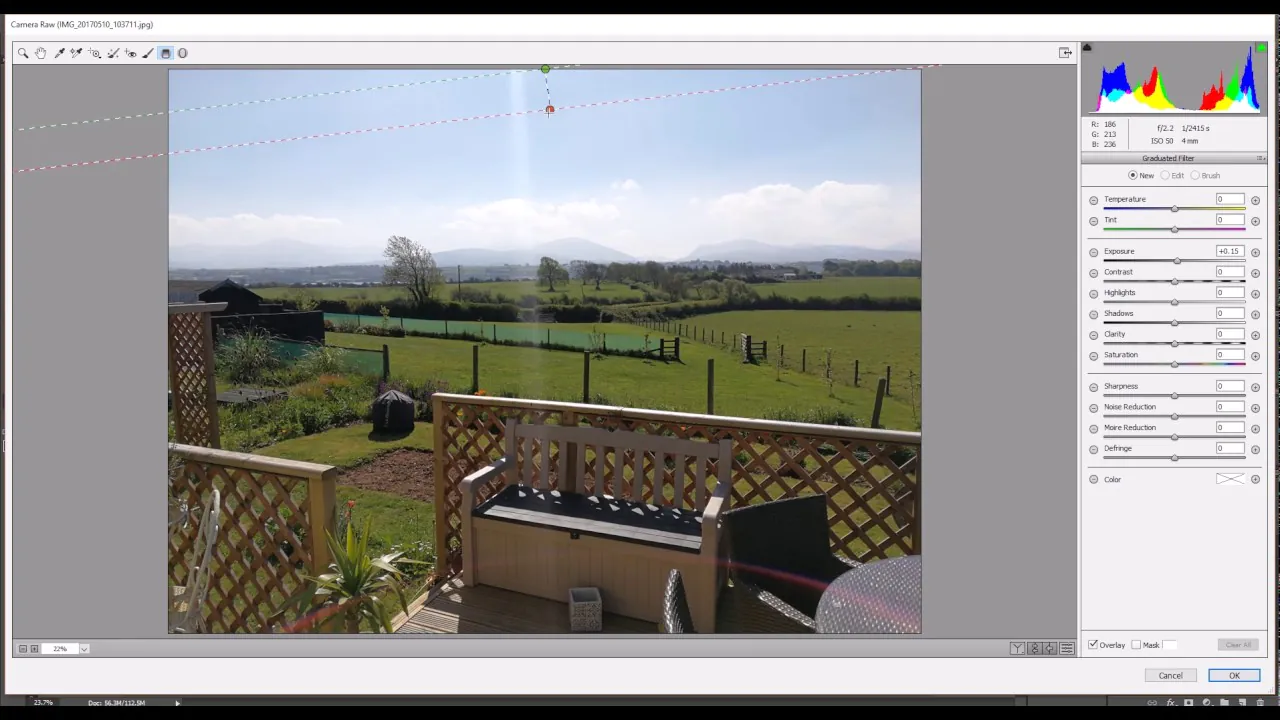
Use curve adjustments to fine-tune the tonal range for nuanced lighting. Add a subtle vignette to mimic weather-influenced lighting at frame edges.
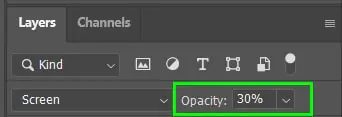
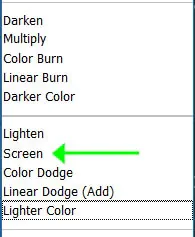
Apply graduated filters to adjust specific areas of the image. Experiment with different blending modes for a cohesive look.
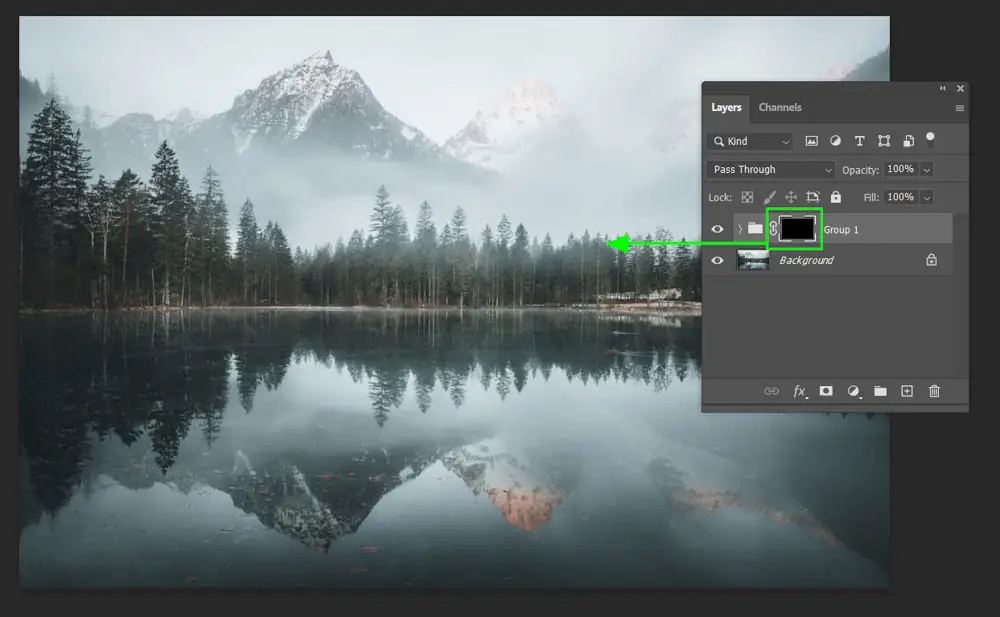
Finally, use layer opacity and layer masks to adjust specific areas selectively.
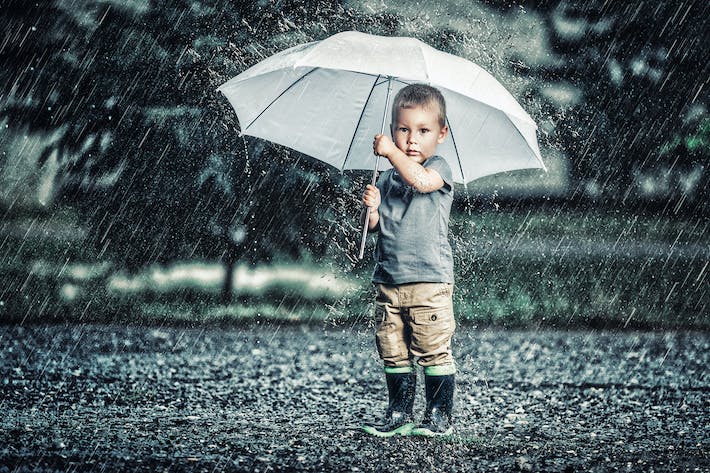
Creating The Charm Of Rainy Weather:
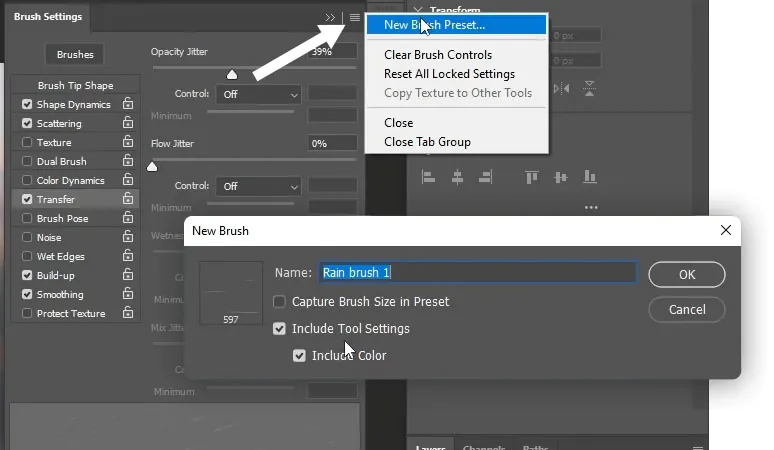
To present pragmatic raindrops in your image, duplicate the original layer in your editing software. Utilize raindrop brushes from your software’s library or trusted sources, trying various sizes and opacities to mimic authentic rain patterns.
Customize the brush settings, opacity, and size for different distances that raindrops would fall. Prevent repetitiveness by modifying spacing. Apply raindrops to random areas, such as surfaces, leaves, and objects. Foreground raindrops should be larger and more prominent.
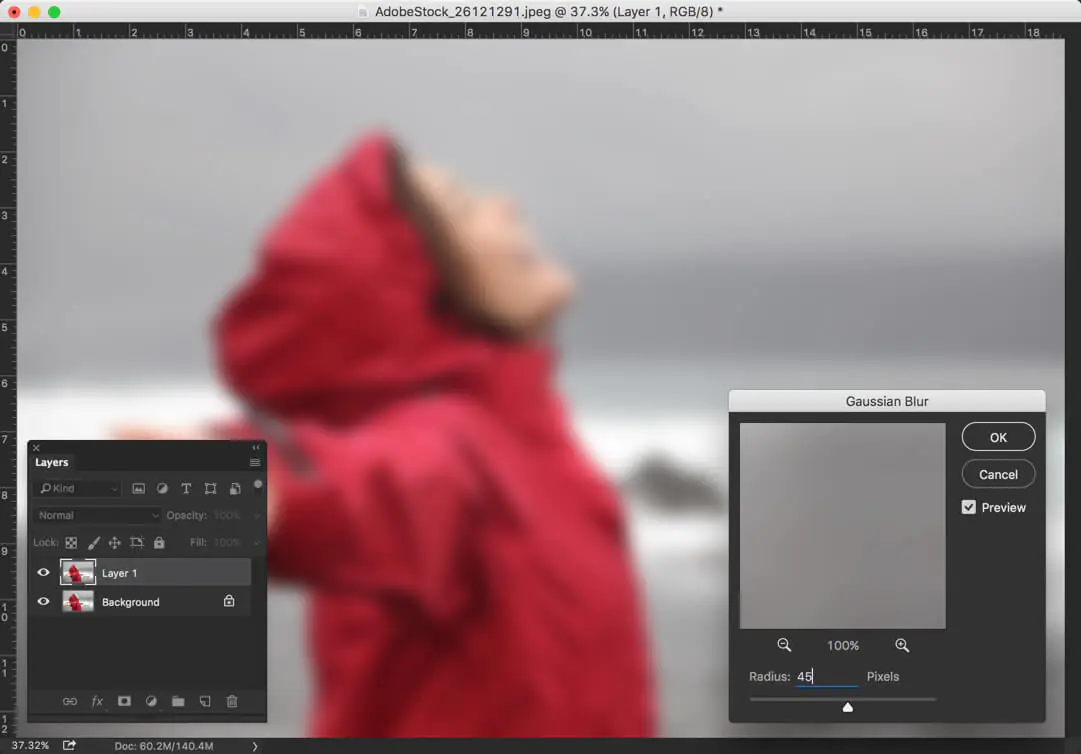
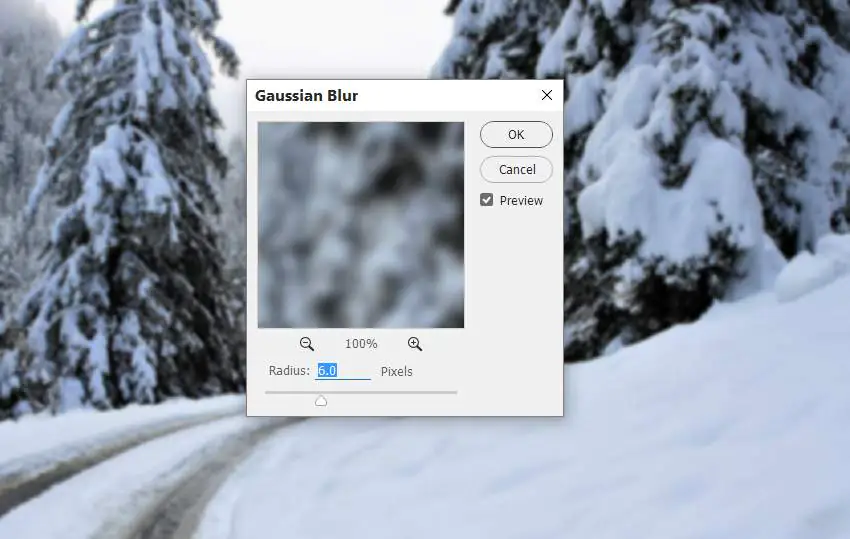
To depict the falling rain’s motion, use Gaussian blur on the raindrop layer, aligning the blur’s intensity with the rain’s strength. Refine layer opacity to attain the rain’s unevenness.
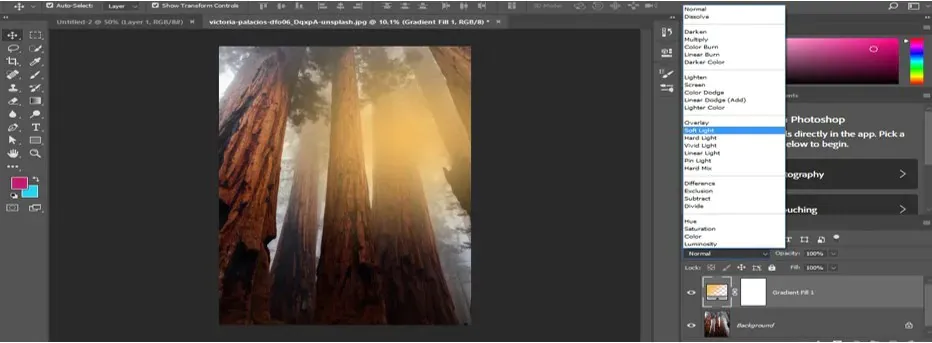
Use layer blending modes like “Overlay” or “Soft Light” to seamlessly integrate raindrops with the image. Apply global adjustments as needed, harmonizing rain effects with the image’s lighting and contrast. That brings up coherence in the manipulated rain effects.
Creating Magical Fog:
To create fog, duplicate the original layer to get a separate canvas for your fog effects.
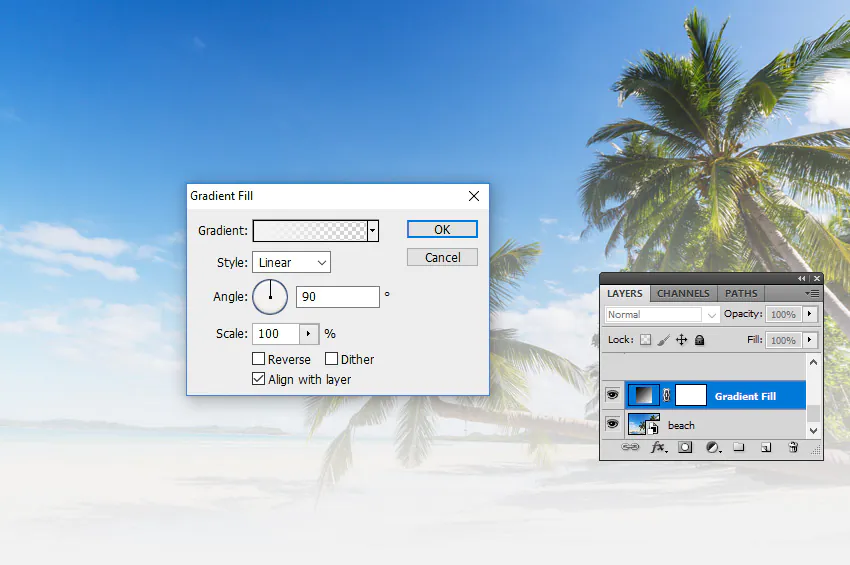
Make a gradient layer shifting from white to transparent on a new layer. Position the gradient in regions where the fog should manifest. Here, you get the base for the fog effect.
Select a soft brush in your application, moving for a light grey hue.
Set the brush’s opacity to about 20–30%. Paint fog onto the gradient layer using this brush.
Adjust the newly made fog layer opacity to refine the impacts. Lower opacity provides faintness, while higher opacities create vivid fog.
For delusional depth, apply Gaussian blur to the fog layer.
Refine fog dimensions and frequency using a layer mask.
Edit the size, opacity, and location to create different layers of fog.
Play with blending modes like “Screen” or “Overlay” to perfectly integrate fog with the image and apply subtle color adjustments.
Creating Snowy Weather:

To endue your image with the tranquility of falling snow, begin by duplicating the original layer, which creates a pristine space for snow manipulation while preserving the original version.
Select snowflake brushes from your software’s library. Explore the range of sizes and shapes for a bona fide snowfall effect.
Tune the opacity and size of the brush; ergo, use a large brush for sharper snowflakes on the forefront and a thin brush for fainter ones.
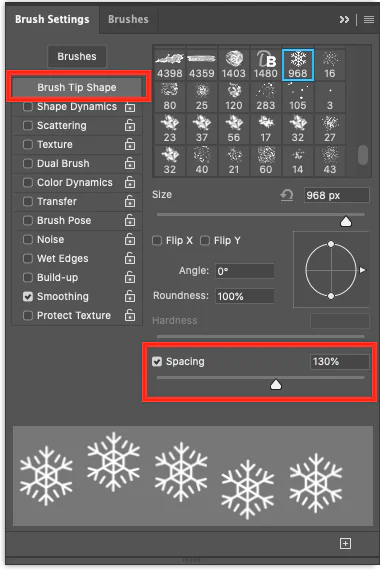
Set brush settings for spacing and scattering of flakes to avoid artificial patterns.
Next, paint snowflakes onto the new layer. Draw them to surfaces, branches, rooftops, and all areas where snow naturally amasses.
Add Gaussian blur and customize the radius of the blur to give the impression of distance and motion featured in natural falling snowflakes.
Refine the snowflake layer’s opacity and get the preferred density of snowfall. Play with blending modes to blend snowflakes with the scene.
Bring about symmetry by making global adjustments to match the snowfall’s lighting and contrast with the overall image.
To create a sense of heavy snow accumulation, reduplicate the snowflake layer to add extra snowflakes to ledgy exteriors. Keep adding layers with differing opacities until you achieve the natural impression.
Creating Stormy Dramatics:
Other than pleasant and pacifying weather effects, you can add vigorous effects like storms to bring a novel noisiness to your weather manipulation images.
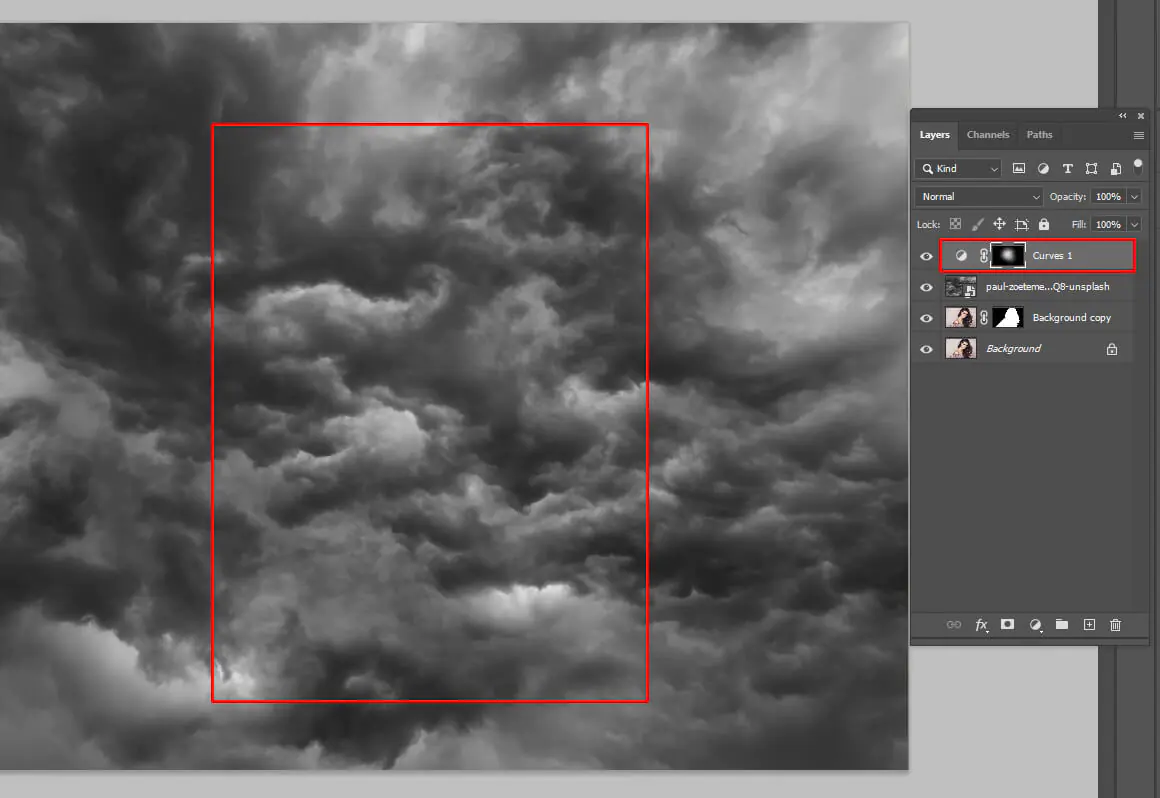
Proceed by copying the image layer onto a new one, preserving your base layer.
Select cloud brushes and adjust opacity and size to match the storm’s panorama. Foreground clouds should be large-sized and more defined than background clouds.
Set spacing and scattering for cloud brushes for equalization. That fleshes out realism by maximizing the heterogeneity of cloud positions.
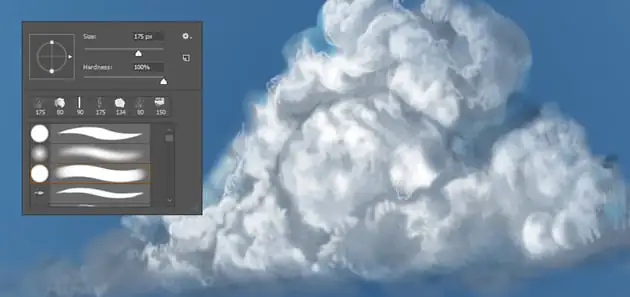
Use your chosen cloud brush to paint storm clouds onto the new layer, focusing on areas where storm clouds naturally gather, like the horizon or over specific objects.
Edit the cloud layer’s opacity for the desired cloud cover. Experiment with blending modes for cloud integration with the scene.
Accord cloud layer lighting and shadows with the overall image. Tune brightness and contrast for a cohesive blend.
Propagate movement by applying motion blur to the cloud layer. Adjust blur settings to mirror storm cloud direction and intensity.
To deepen the stormy mood, you can optionally add rain effects following precedent steps for rain overlay creation.
Finish up by making global adjustments to conform stormy weather with the image’s lighting, contrast, and color balance.
Creating Sunny Radiance:
Start by duplicating your original image layer, providing a dedicated space for your sunny edits while keeping the original intact.
Adjust the color temperature of the mirror layer to reproduce the inviting warmth of sunlight. Increase the temperature to create a sunny atmosphere.
Increase the highlights of the mirrored layer to simulate the illuminating effect of sunlight on objects. Use curves or levels to increase brightness in sunny areas. Combine highlights and sunbeams to enhance the feeling of being in the sun. Use the built-in lens brush or create your own by painting white streaks and applying a slight Gaussian blur.
Apply soft light to areas directly illuminated by the sun. Using a soft brush with reduced opacity, brush gently over these areas to create a smooth shine.
Capture skylights where sunlight penetrates objects or foliage. A soft brush with a modest opacity will create a realistic, subtle effect.
Improve vibrancy and saturation in sunny areas. Sunlight often complements colors so that these adjustments will enhance the realism of the effect.
Adjust the shadows on the duplicated layer to align them in the direction of the sunlight. Strong shadows cast by sunlight give realism and consistency to the depiction. Tweak the opacity of the copied layer to adjust the intensity of the sunlight’s impact.
Apply comprehensive adjustments to make the sunny effect match the inherent light and contrast of the image. That ensures an organic and convincing result.
Editing For Consistency:
Fine-tune layer adjustments, ensuring weather effects merge naturally with the original scene.
Maintain consistent lighting, shadows, and color harmony across layers, forging an integrated and realistic appearance. This tandem approach elevates your manipulation’s authenticity and establishes a foundation for the finishing touches.
Sharpen to magnify clarity, and use subtle textures to enrich surfaces.
Consider vignettes to guide focus and noise or grain for atmospheric texture.
Clasp color grading for mood and confirm dynamic range balance.
These finishing touches polish your image, shaping it into a refined and responding graphical tale.
Conclusion
In short, the weather manipulation technique holds the divine power to change the entire atmosphere of a photo. It can turn a calm scene into a raging storm or bask in the gentle warmth of sunlight. This art form involves the creation of compelling stories in which the atmosphere becomes a character, reinforcing the emotion and the story. Through conscientious editing, the image expedition becomes a documentation of the editor’s skill, summoning the incredible power of nature into the frame.
