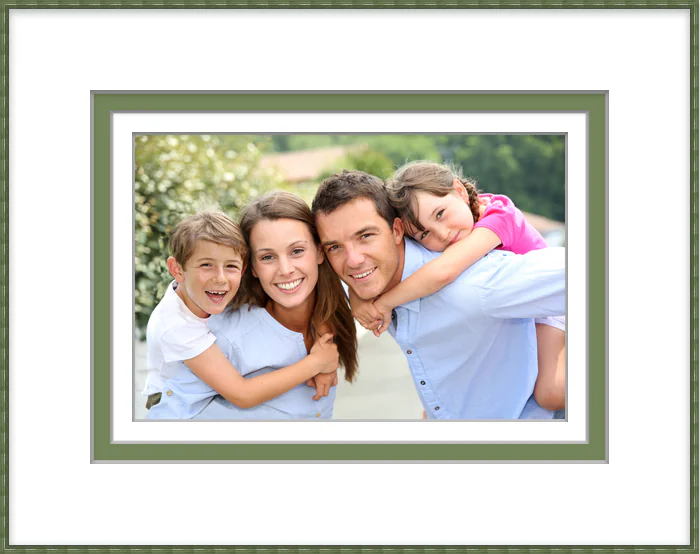
How To Do Picture Matting
Picture matting uses a border or a mat to frame visual content, such as photos or graphic designs, successfully bringing what is visually significant to the forefront. For digital images, matting refers to adding a transparent border, mask, or alpha channel around an image or any preferred elements. Later on, different colors and textures can be experimented with to find the best match for that particular visual content. Picture matting is also useful to highlight those key components that are visually impaired because of distracting surroundings or backgrounds. The technique is handy in embellishing the artwork with a solid foundation of a memorable mat in diverse styles, colors, and textures. With various advanced tools and software for image manipulation, it is feasible to customize the layout to reflect the mood or idea of an artwork. This blog will address the techniques and necessary tools that assist in making a gleaming mat for your photographs or designs. The following are the basic steps for picture matting:
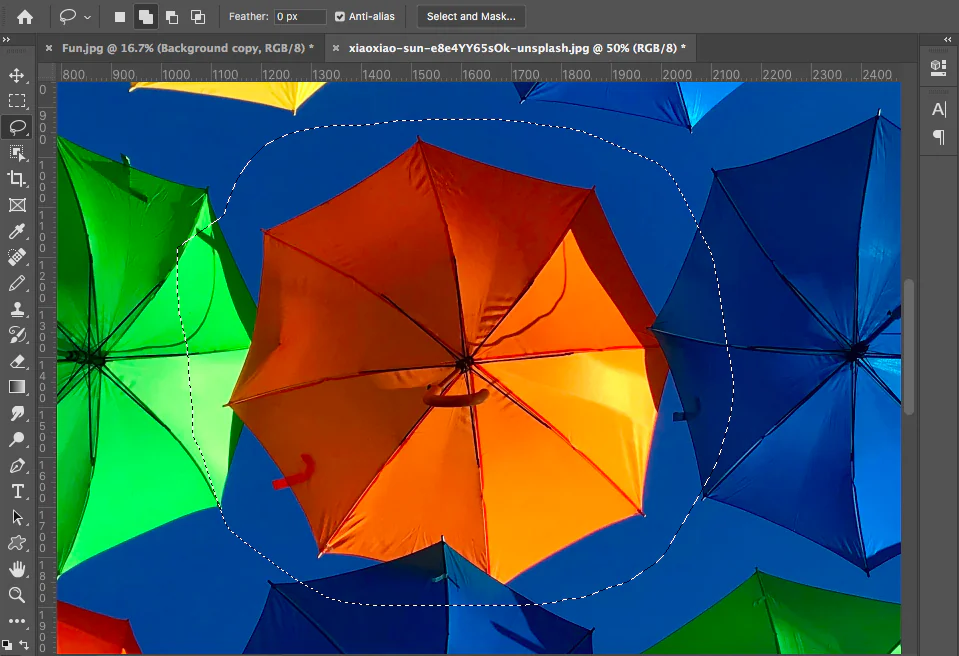
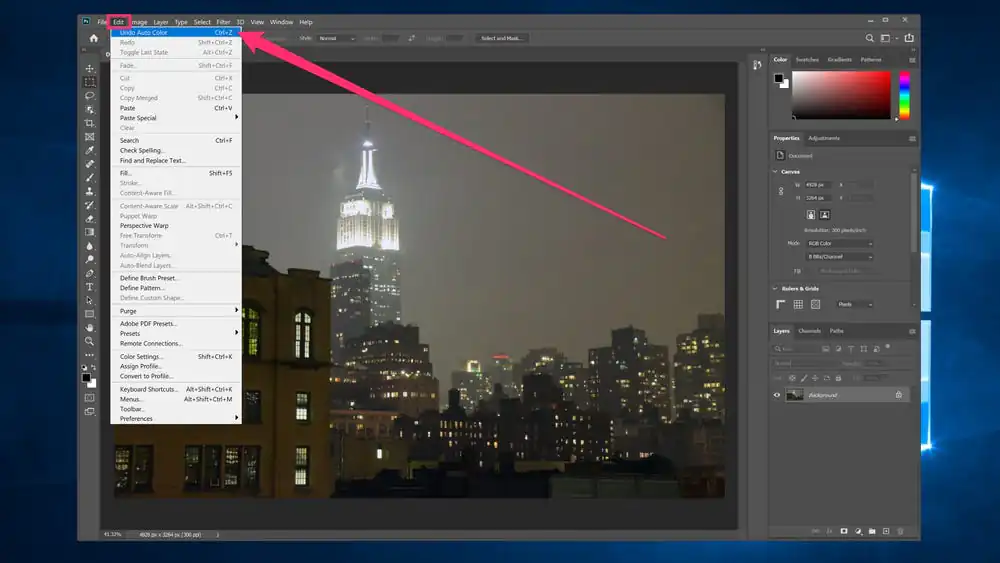
Step 1: Identifying the Key Components
![]()
Within the initial step of picture matting, you should recognize and select particular components inside an image that will be highlighted or surrounded by the mat. This process includes scrutinizing the visual substance to decide on critical parts or zones meriting emphasis.
Thoroughly look at the picture and recognize components contributing to its overall effect or account. That might incorporate central subjects, vital subtle elements, or visually striking highlights.
Once recognized, deliberately select these components as the matting process’s focal points. Consider the story or message passed on by the photo and pick components that adapt with the expected accentuation.
As per the complexity of the image, utilize editing tools to outline and confine the chosen components accurately. This step guarantees that the consequent matting phases precisely frame the aiming zones without superfluous consideration or prohibition.
Step 2: Expanding the Canvas Dimensions

Get to the canvas setting tools inside your editing software. Commonly found in menus like “Image” or “Canvas,” these tools permit you to alter the dimensions of the canvas.
Use options that empower exact adjustment of the canvas measurements. Keep up proportional scaling to protect the initial image’s aspect ratio, avoiding distortion amid the expansion.
Consider the dimensions of the mat you want to include. This thought guarantees that the expanded canvas gives adequate space around the image to fit the mat without outwardly crowding or overpowering the chosen components.
Numerous editing tools include a preview option. Operate this highlight to survey how the expanded canvas size interacts with the picture. Affirm that the expansion corresponds with your vision for the matting process.
Save your alterations before continuing to the following steps so that the extended canvas size is set as the establishment for the ensuing stages.
Step 3: Creating A Transparent Outline
Locate selection tools such as the Marquee, Lasso, or Magic Wand. These tools offer assistance in defining the zone around the image that will end up with the transparent border.
Consider creating a new layer devoted to the transparent border. This layer will establish the mat and permit better organization and control.
Alter the opacity settings of the chosen region to make it transparent. This step is fundamental in achieving the specified impact because it sets up a clear distinction between the picture and the encompassing transparent border.
Follow anti-aliasing options if accessible. Anti-aliasing smoothens the edges of the chosen range, resulting in a smoother transition between the image and the transparent border.
Refine the selection as required so that the transparent border precisely takes after the contours of the chosen image components. That can include tuning the selection utilizing tools like feathering or refining edges.
Utilize the software’s preview functions to examine the appearance of the transparent border. Confirm that it viably encapsulates the chosen components while sustaining transparency.
As the foundation for the subsequent matting steps, secure the transparent border now, sparing your energy.
Step 4: Integrating Colors and Textures
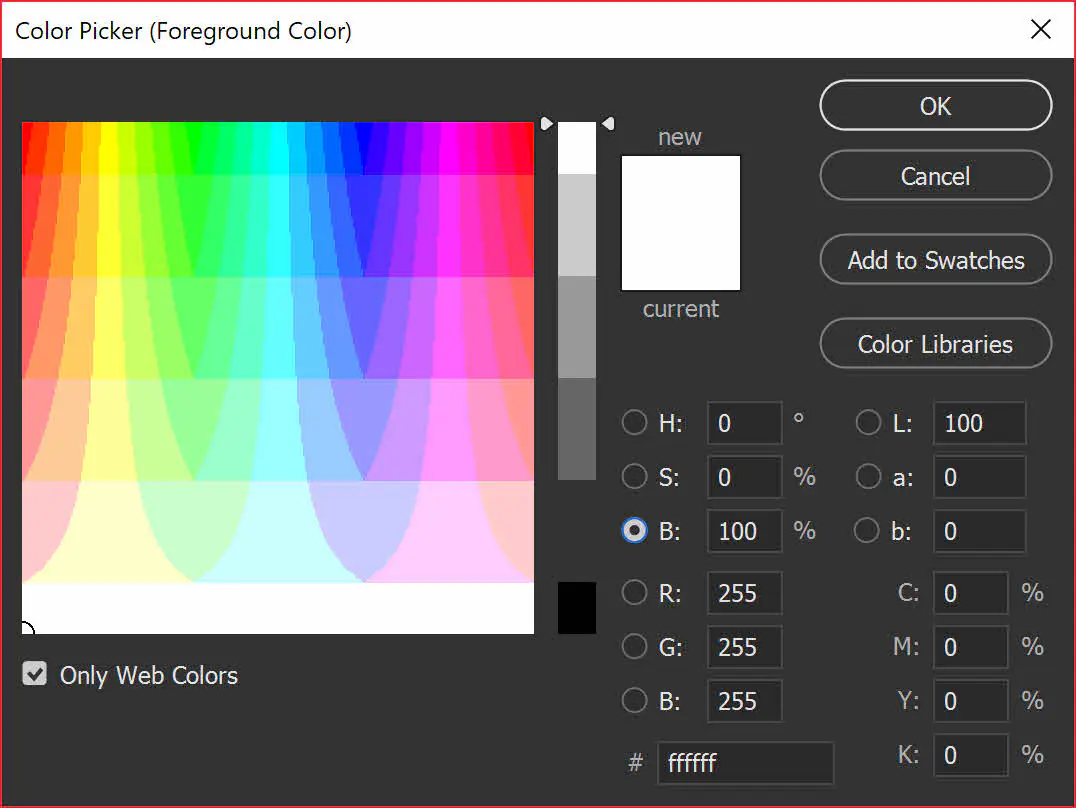
Get to color selection tools to select the particular color you need for the mat. Employ a color picker or a palette selection for exact customization.
If you are selecting a textured mat, locate texture application options. Import a texture file or utilize built-in texture highlights within the program.
If you work with separate layers for the image and the transparent border, alter the layer properties like blending modes and opacity to conform to the color or texture consistently.
Tune the application of color or texture utilizing brush tools for nitty-gritty alterations, guaranteeing that the mat complements the chosen picture components successfully.
Use the software’s live preview or experimentation highlights to evaluate distinctive color and surface combinations.
Ensure consistency in color or texture application throughout the mat and save your progress.
Step 5: Playing with Alternatives
Play with distinctive color shades for the mat. Utilize color alteration tools or palettes to discover the hue, saturation, and brightness fitting to the chosen image components.
If working with textures, look into various options to recognize the texture that improves the general style. Alter scale, intensity, or blending modes to attain the required impact.
Various image-altering tools offer a live preview highlight. Take advantage of this feature to see real-time changes as you try with distinctive color and texture combinations. This energetic preview helps in making informed choices.
Utilize the undo/redo feature to compare diverse iterations and quickly return to previous states.
Look for feedback or take a minute to step back and evaluate the visual effect of diverse combinations. Repeat the options, refining the choices based on the overall aesthetic objectives and the particular components highlighted by the mat.
Confirm that the tried color and texture combinations keep up consistency over the complete mat. This step guarantees a cohesive and concordant appearance.
Save your work, particularly if you’ve finalized a color and texture combination that adjusts with your vision for the mat.
Step 6: Using Brush and Layer Adjustments
Utilize brush tools to emphasize certain components inside the mat specifically. Alter the brush size, hardness, and opacity to attain exact highlighting.
If your mat is monochromatic or contains a prevailing color, emphasize particular subtle elements by intensifying or setting the color in those areas. This technique improves the overall visual progression.
Try contrast adjustments to form a visual division between the highlighted components and the rest of the mat. that enhances the overall clarity and effect of the chosen details.
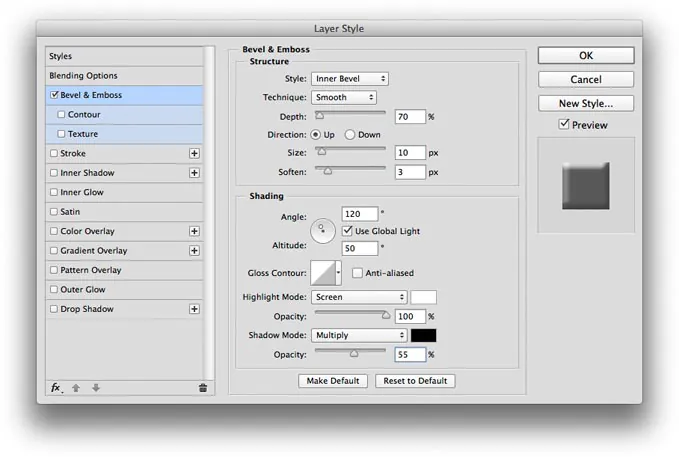
Look into layer styles or effects given by the software to include mild modifications. Incorporate bevels, glows, or shadows to exhibit a three-dimensional quality to highlighted components.
Regulate the opacity of the highlighted regions to strike the proper symmetry. That guarantees that the accentuation is recognizable without overwhelming the encompassing components within the tangle.
Utilize layer masking to polish the emphasized ranges for intricate control over the visibility of particular details.
Reaffirm that the highlighted components accommodate the overall look and tone of the picture for a cohesive appearance.
Save your work at this arrangement to protect the highlighted components inside the mat.
Step 7: The Final Refinement
Concentrate on exposure, saturation, and contrast alterations to universally distill the mat’s appearance.
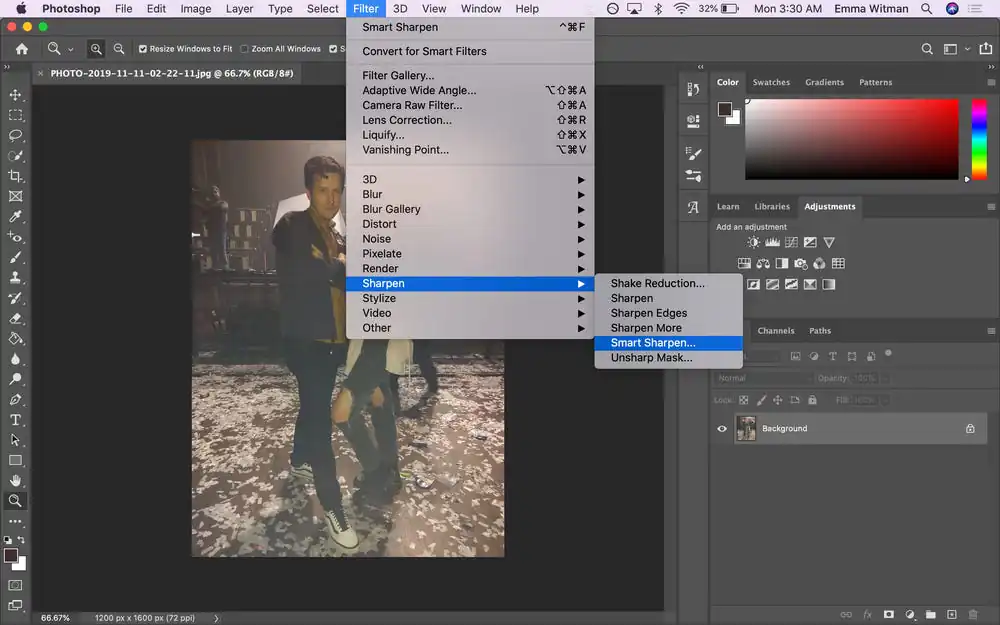
Employ selective blur or sharpen filters to upgrade particular zones, making profundity or drawing consideration.
Manage color inconsistencies with correction options for a concordant and harmonious color palette.
Give regard to mat edges and refining transitions with procedures like feathering or anti-aliasing.
Execute layer adjustments, counting blending modes and opacity for a cohesive visual stream.
Assess histograms to adjust tones and colors inside the mat for an outwardly satisfying result.
Utilize the undo/redo feature for iterative alterations, comparing diverse refinements.
Again, you can use preview highlights for real-time input on refinement changes.
Affirm refinements connect with the general vision, improving the picture without compromise.
Save your efforts to secure the refined mat, planning for the ultimate step of tuning the layout to suit the image’s concept.
Step 8: Evaluating Overall Composition
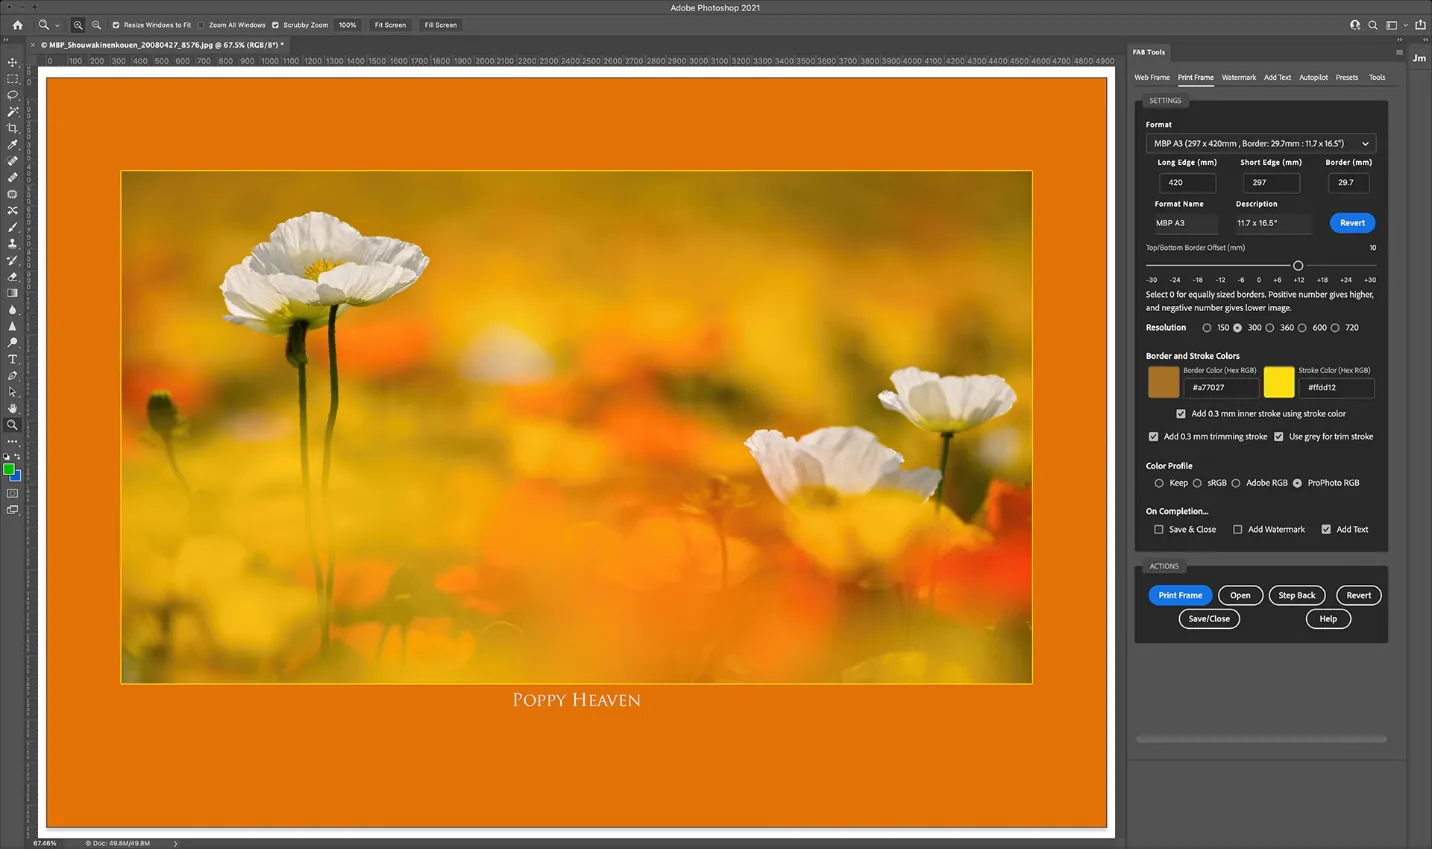
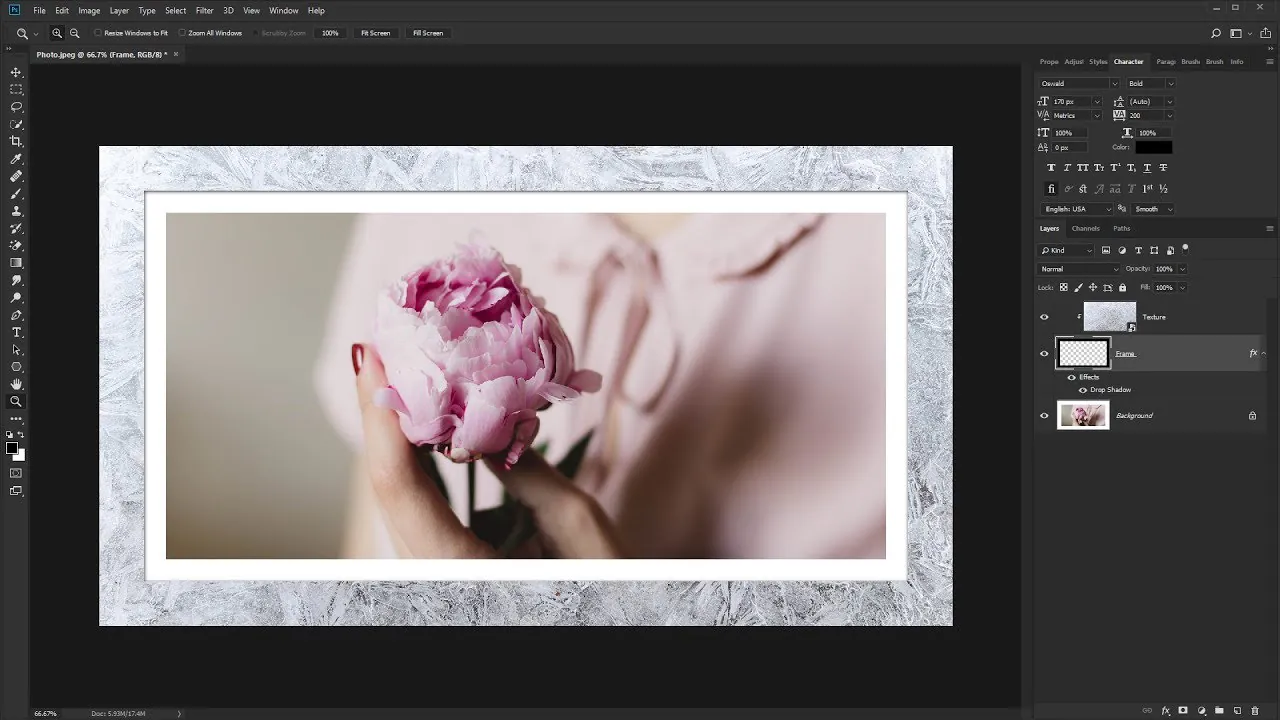
Utilize tools for resizing, positioning, and adjusting components to guarantee the mat blends concordantly with the final picture. This step includes altering the general canvas size or repositioning the surrounding components.
Fix the composition, considering the visual balance and dividing between the mat and the image. Evaluate the placement of pivotal components inside the framed zone.
If the image includes a background, guarantee that it complements the matting composition.
Alter background components or colors if essential to upgrade the general visual appeal.
Perform a last preview to evaluate the general composition and ensure that the matting effectively highlights key components without dominating the primary substance.
Affirm that the balanced layout adjusts with the image’s concept and the objectives set amid the prior stages of matting.
Once done with the tuned layout, save the ultimate composition, and the picture matting process is complete.
If you plan the image for particular platforms or formats, explore export alternatives to ensure the ultimate composition meets the specified details.
Conclusion
In conclusion, picture matting is an efficient aspect of image editing that can foreground the image elements, accelerating its viewer count. The addition of a unique colored and textured frame enclosing the visual contents renews the photograph and amplifies its general appearance. Furthermore, the cautious choice of colors and surfaces advances a customized and impactful display, making the picture emerge in an externally overwhelmed environment. Other than elegant modification, image matting also enriches the previously ordinary picture and gives it a tidy, pristine final feel.
