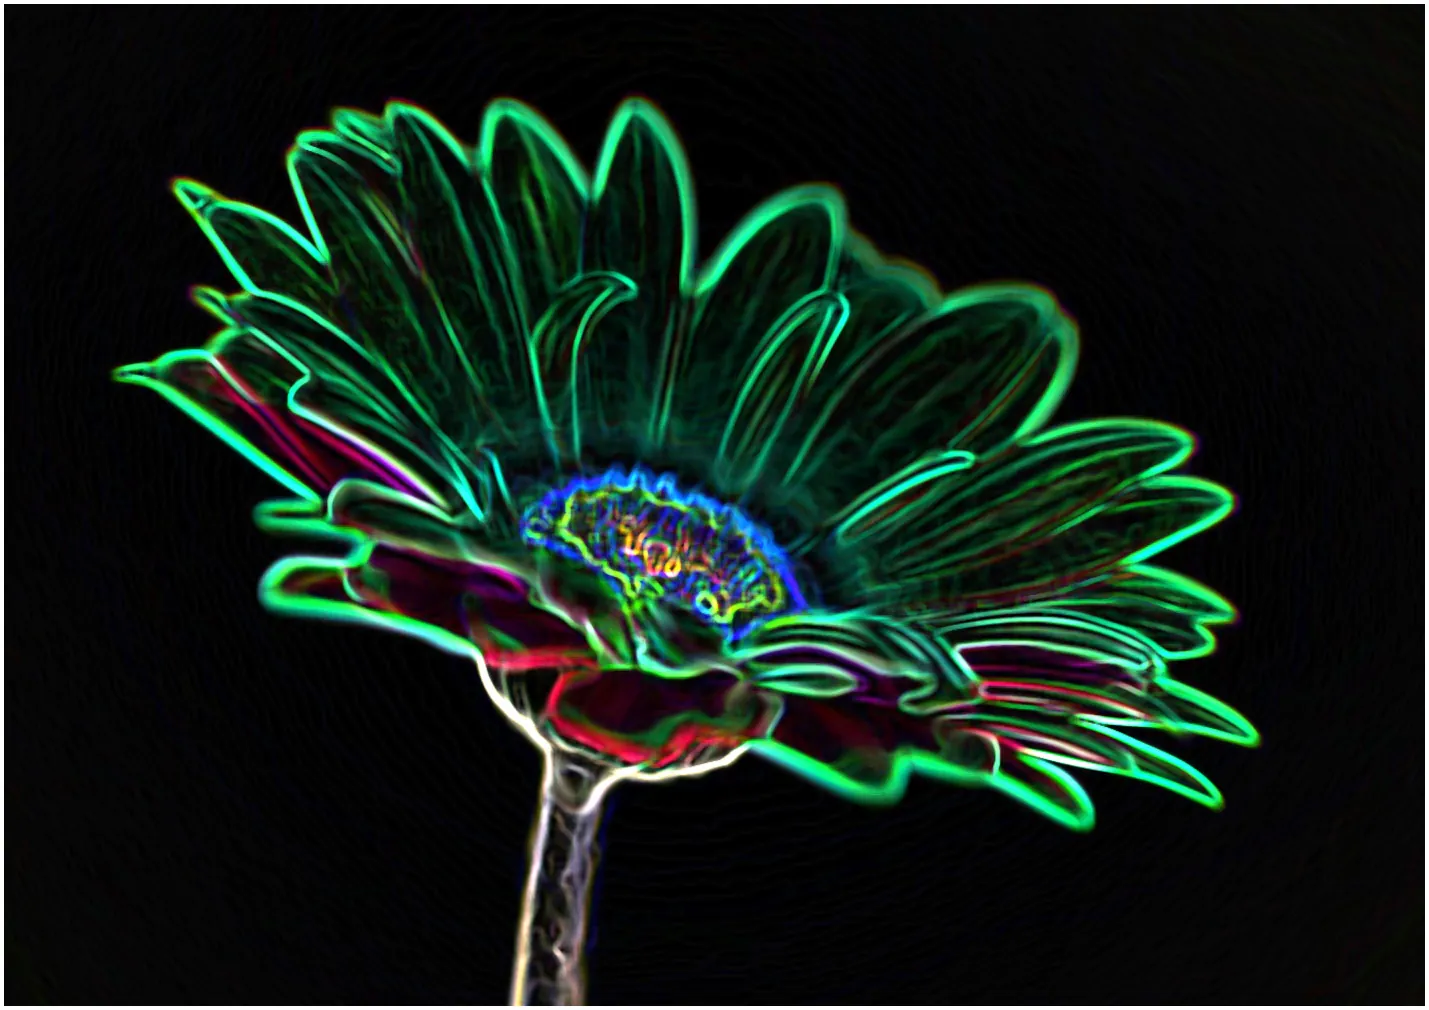
How To Create Diffusion Tensor Imaging Effect
Diffusion tensor imaging typically examines water molecules within medical images or MRIs. Because of its visual clarity, it is helpful for research and diagnostic purposes in determining the movement and magnitude of diffusion of water molecules in cells and tissues, particularly within the brain. However, as image editing effects have developed, scientific approaches such as diffusion tensor imaging (DTI) are finding a place in photo manipulation as artistic effects that provide viewers and artists with new perspectives. When incorporated into standard camera angles, the DTI effect evokes the aesthetic of those diffusion tensor imaging medical images, enhancing and revitalizing the images visually. The essential tools and settings found in advanced editing software, such as blurring, color gradients, highlights, and contrast enhancements, can be utilized to manipulate images to achieve the diffusion tensor imaging effect. The essential steps for creating a diffusion tensor imaging effect in a photograph are as follows:
Step 1: Image Import and Duplication
Open your chosen photo editing program, such as Adobe Photoshop or GIMP, to start the DTI effect creation process.
Import the particular photo you would like to manipulate into the software. This photo will serve as the base layer upon which the DTI effect will be connected.
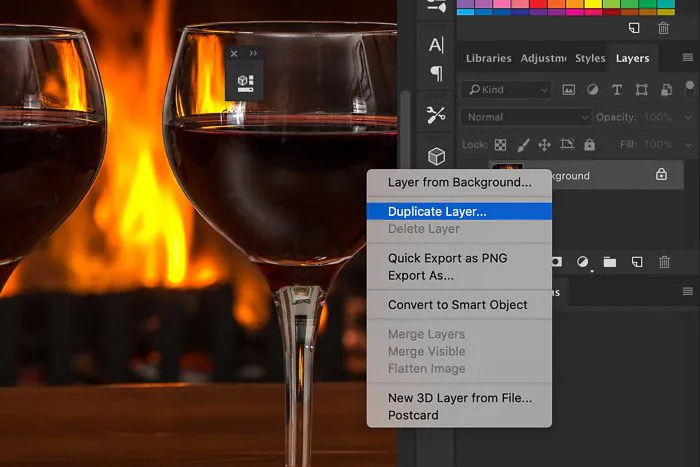
Navigate to the software’s layer menu and pick the “Duplicate Layer” or identical function. This activity produces a copy of the initial photo, setting up a particular layer for executing the DTI effect. This duplication guarantees that the alterations are made exclusively to this layer, leaving the initial photograph intact.
For clarity, consider allotting names to the layers. For example, name the initial layer “Background” and the copied layer “DTI Layer.” That helps keep track of the layers, mainly if numerous edits are included.
Momentarily conceal the first layer by toggling its visibility off. This step encourages a clear display of the changes in the copied layer. It is a preparatory measure to defend the initial picture during the alterations.
Step 2: Gaussians Blur Application
Make sure the copied layer is selected, then move to the “Filter” menu of your image editing software.
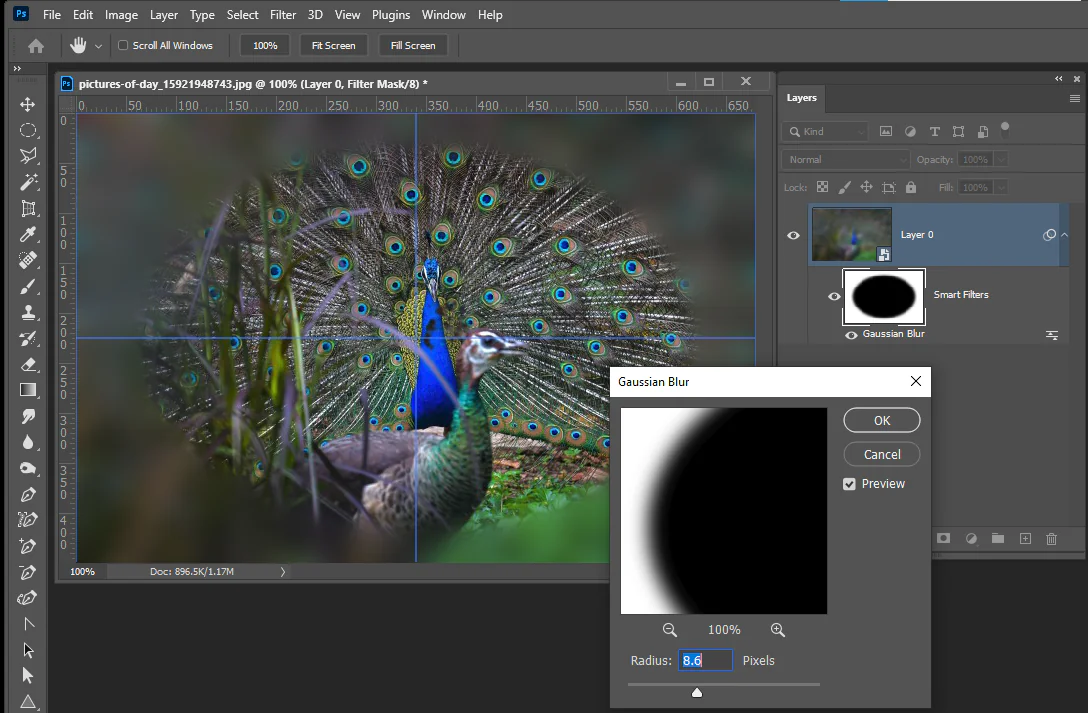
Inside the “Filter” menu, find and tab the “Blur” sub-menu. Select “Gaussian Blur,” starting the application of a Gaussian blur effect to the copied layer.
A dialog box will come up, letting you alter the blur radius. Play with diverse values to attain the specified level of softness. The Gaussian blur imitates the diffusion seen in DTI pictures, creating a smooth, blended appearance.
Most programs give a live preview alternative, empowering you to watch the changes in real-time. Affirm your selection when fulfilled with the degree of blur.
To regulate the impact, consider adjusting the opacity of the duplicated layer. Decreasing opacity softly blends the DTI effect with the first picture, making a more nuanced result.
Preserve your work at this phase to protect the moves made in applying the Gaussian blur. That permits you to backtrack or make encouraging alterations as necessary prior to continuing to the following steps in making the DTI-inspired effect.
Step 3: Blending Modes Adjustments
Locate your software’s “Layer” menu and select “Blending Options” or a similar highlight.
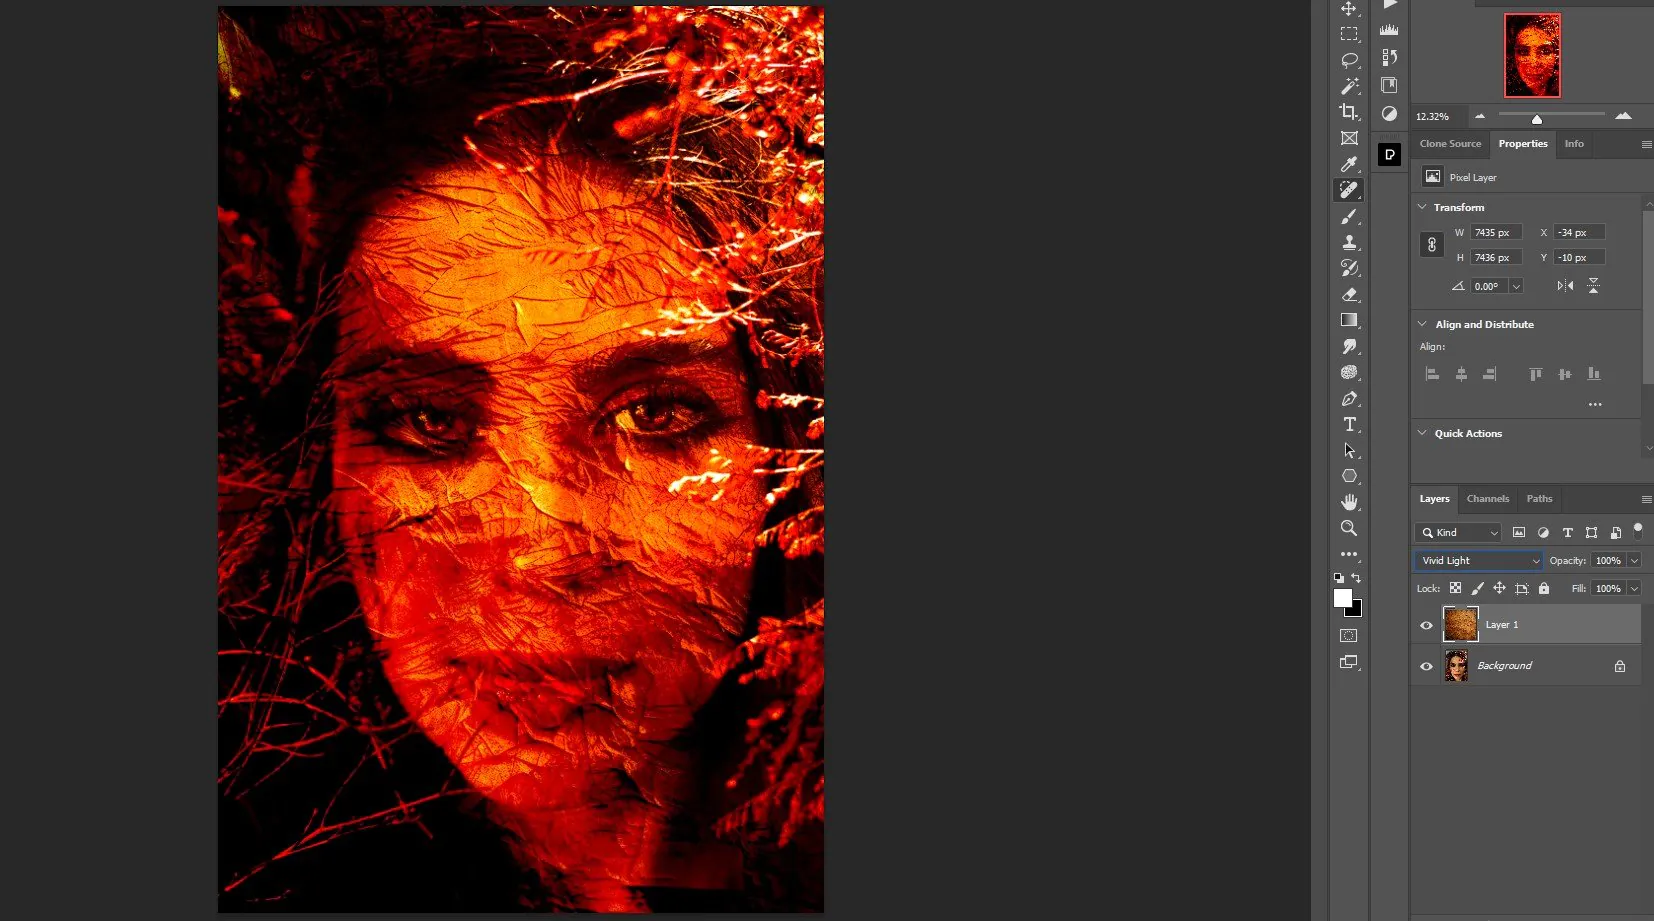
Explore and play with blend modes like Overlay, Soft Light, or Vivid Light inside the blending alternatives. These modes interact unexpectedly with the basic layers, improving contrast and depth to reenact the complexity seen in DTI visualizations.
Watch the changes in real-time as you cycle through different blend modes. Each mode gives an interesting visual effect, affecting how the blurred layer interacts with the first photo.
Set the overall appearance by adjusting the opacity of the copied layer. Bringing down the opacity integrates the DTI-inspired components calmly with the initial photo, attaining an accommodated and visually engaging result.
It is preferred to try different blend modes to find the one that best suits your expected DTI effect. Blend modes modify the way colors and tones are associated, contributing to the multidirectional appearance reminiscent of diffusion tensor imaging.
At last, save your work at this point to preserve the alterations made in blending modes so that you have a baseline to return to while refining the DTI effect further in the ensuing steps.
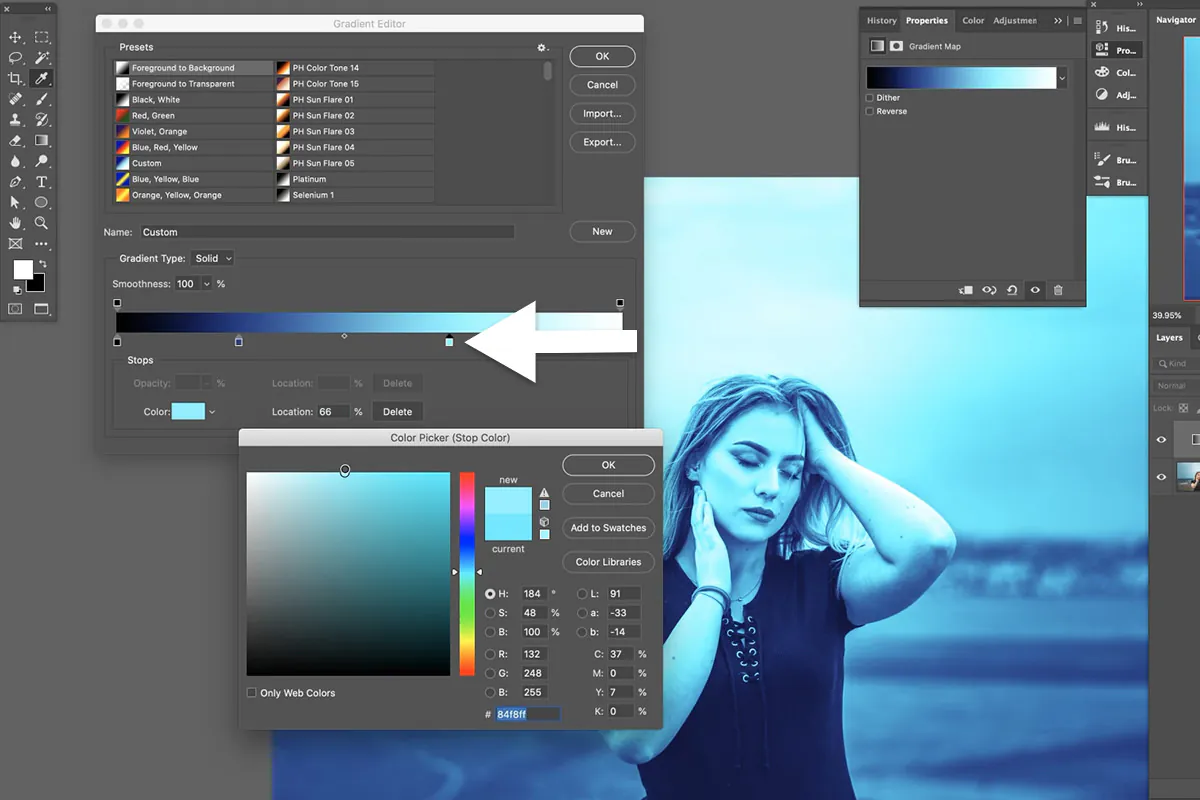
Step 4: Using Gradient Mapping
Continue to the “Layer” menu and select “New Adjustment Layer” or a comparable alternative.
Select “Gradient Map” from the adjustment layer choices. This tool lets you map colors to the image’s tonal range, reenacting the directional color varieties seen in DTI visualizations.
The default gradient map may at first show up in grayscale. Tap on the gradient preview to get to the gradient editor, where you’ll adjust and customize the color scheme. Consider utilizing warm and cool tones to present distinctive directions, imitating the color-coded data characteristic of DTI pictures.
Check that the Gradient Map adjustment layer is positioned over the copied layer within the stack. This scheme permits the color mapping to impact the entire composition, blending with the blurred layer underneath.
Set the effect by regulating the opacity of the Gradient Map adjustment layer. Test with blending choices and opacity settings to harmonize color-coded subtleties and the underlying photo.
Routinely preview the picture to assess how the color mapping conforms with your vision of the DTI-inspired effect. Refine the gradient outline as required to attain a compelling result.
Step 5: The Contrast Improvement
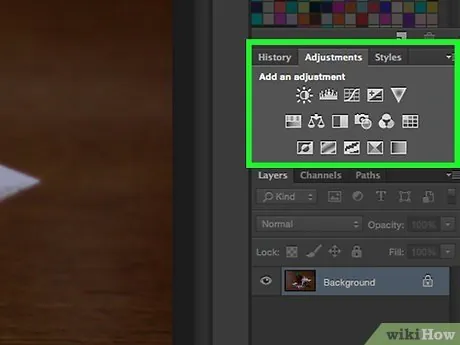
Get to the “Window” menu and open the “Adjustments” panel or a comparative highlight in your software.
Choose “Contrast” or “Levels” from the adjustments panel to include a contrast adjustment layer. This step points to subtle elements within the picture, mirroring the clarity watched in specific DTI visualizations.
Try the contrast settings within the adjustment layer. Operate on expanding contrast without losing significant image data. That improves the general look of the DTI-inspired impact.
If vital, include a layer mask to the contrast adjustment layer. That permits particular application of contrast for specific image ranges, giving more control over the ultimate appearance.
Fine-tune the contrast by altering the opacity of the contrast adjustment layer. This step empowers you to equalize increased details and create a cohesive all-around appearance.
Check out the image frequently to see how the maximized contrast influences it. Compare the altered version with the initial photo to verify that the alterations contribute positively to the DTI-inspired effect.
To keep your progress in improving contrast, save your work.
Step 6: Refining the Edges
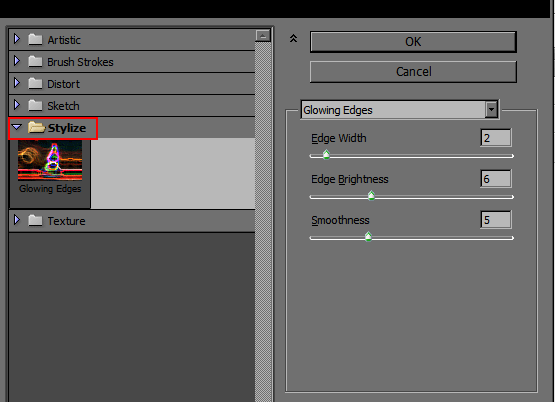
Continue to the “Filter” menu and find the accessible edge-detection filters in your software. Standard options are “Find Edges” or “Glowing Edges.”
Pick the suitable edge detection filter and apply it to the copied layer. This step complements edges and structures, improving the definition inside the photo to imitate the intricate, subtle elements frequently seen in DTI visualizations.
Tune the settings of the edge detection filter. Try parameters like radius or threshold to steer the intensity of the edge highlights. Try to get a balance that boosts details without presenting excessive artifacts.
Play with blending modes for the copied layer, which includes the edge enhancements. Overlay or Soft Light modes do work well to coordinate the highlighted edges with the underlying layers.
Adjust the visibility of the highlighted edges by altering the opacity of the copied layer. This way, the edge improvements contribute to the overall style without overwhelming other components.
Keep previewing the image to evaluate how the highlighted edges complement the DTI-inspired effect. Make alterations to attain an engaging adjustment between the edge definition and the whole composition.
To preserve the progress made in highlighting edges, save your work.
Step 7: Final Assessment and Export
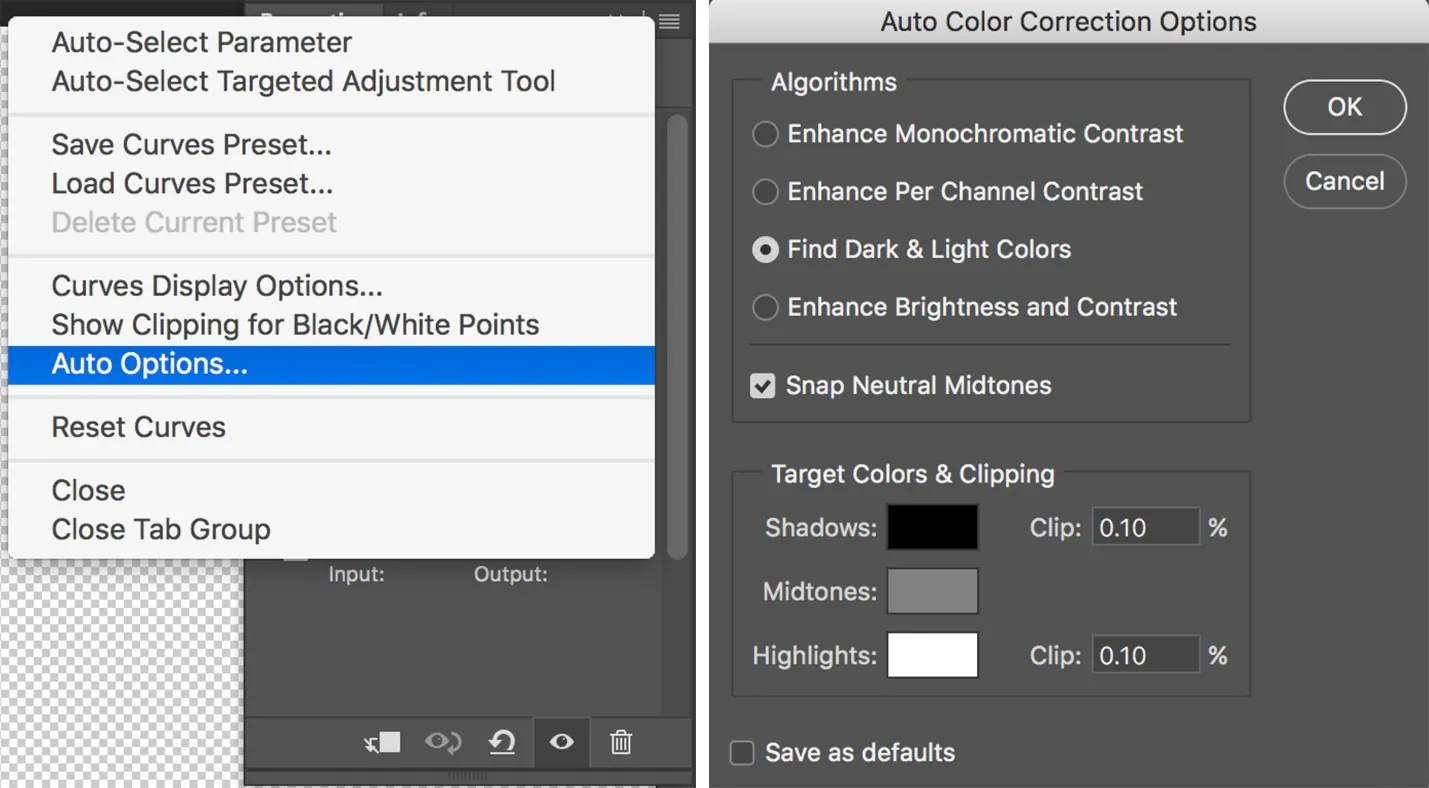
Get to the color correction options in your editing program. Alter the overall color balance, saturation, and tonal values to attain a cohesive outcome.
In case essential, perform selective color alterations to particular picture zones to improve or adjust the colors in certain zones, contributing to the overall energy.
Make conclusive adjustments to contrast and brightness so that the visual effect correlates with your vision for the DTI-inspired effect. Go for an adjusted composition that exhibits the recreated diffusion tensor imaging features.
Fine-tune each layer’s opacity and blending mode, including the copied layer with the DTI effect and any adjustment layers. That refines the integration of individual elements for a consistent and captivating result.
Frequently, preview the image and compare it with the initial photo. Guarantee that the aggregate alterations contribute positively to the specified DTI-inspired style. Make any extra refinements based on your visual evaluation.
Save your ultimate work, protecting the completed DTI-inspired artwork. Utilize a suitable file format to hold picture quality, and consider saving diverse forms if you need to compare different iterations of the impact.
Once you’re satisfied with the outcome, trade the picture or share it as you see fit. The DTI-inspired effect adds an exciting and enticing touch to your unique photo.
Conclusion
To sum up, an image’s charm is much enhanced by the innovative inclusion of scientific techniques, such as the diffusion tensor imaging effect, which lends an eccentric yet distinctive aesthetic. Today’s viewers, who already have access to several beautifying effects in image manipulation, greatly appreciate such artistically swaying images. To include inventive DTI effects, you can consider the steps highlighted in this blog and amplify the visual substance of your photos while enticing your viewers. Anyhow, when working on these photo editing techniques, remember that while the results may not be the same as actual diffusion tensor imaging, they still significantly improve your shots.
