
How To Do Crop Rotation Of An Image
The elemental technique of crop rotation of images is considerably advantageous in correcting the orientation of photographs or graphical content in image processing. The process includes revising the position of an image by revolving it around its centre point. It results in the proper alignment of the image, making it look perfectly oriented to viewers. The image processing during crop rotation conforms to various pursuits, varying from correcting unexpected tilting that occurred during photography to magnifying the visual inducement of an image. Photographs may not always be unquestionably even up to the hoped orientation due to factors like camera shake, mortal error, or environmental situations. Crop rotation lets editors manually set the resulting image’s unevenness, adjusting the orientation of the image to an ideal horizontal or vertical axis. Different image processing software, including Adobe Photoshop, Canva or GIMP, streamline users with tools specifically devised for crop rotation. Using these functions, you can smoothly rotate images by preset or custom angles to attain the preferred orientation.
Step 1: Image Importing
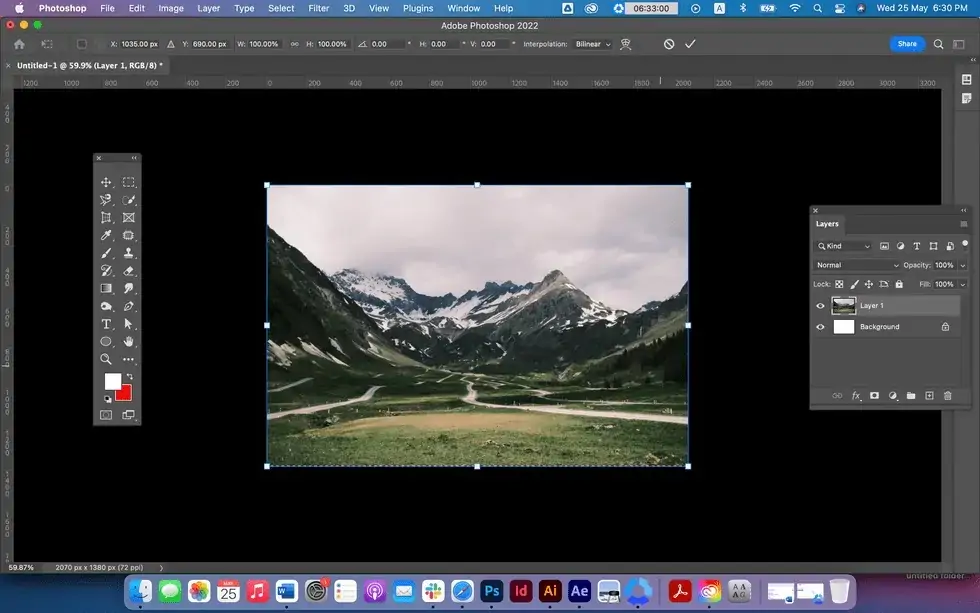
Initiate your favourite image editing program on your computer. You can consider Adobe Photoshop, GIMP, Canva, or any other software you’re comfortable utilizing.
On launching the software, go to the toolbar or menu where various editing features can only be found.
Seek for the choice to open an existing image file. This highlight is regularly labelled as “File” and can be accompanied by an icon resembling a folder.
Tap on the “File” menu or folder symbol to start opening a picture file.
A file browser window will show up, permitting you to head to the location on your computer where the image file is saved.
Scan your files and select the image you want to crop and rotate. Press on the image file to pinpoint it.
Once the required image is chosen, press the “Open” button or comparable command within the file browser window.
The chosen picture will, at that point, be imported into the image modification software and prepared for further altering and control.
After the image is loaded into the program, you’re ready to move on to the ensuing steps, cropping and rotating.
Step 2: The Crop Tool Selection
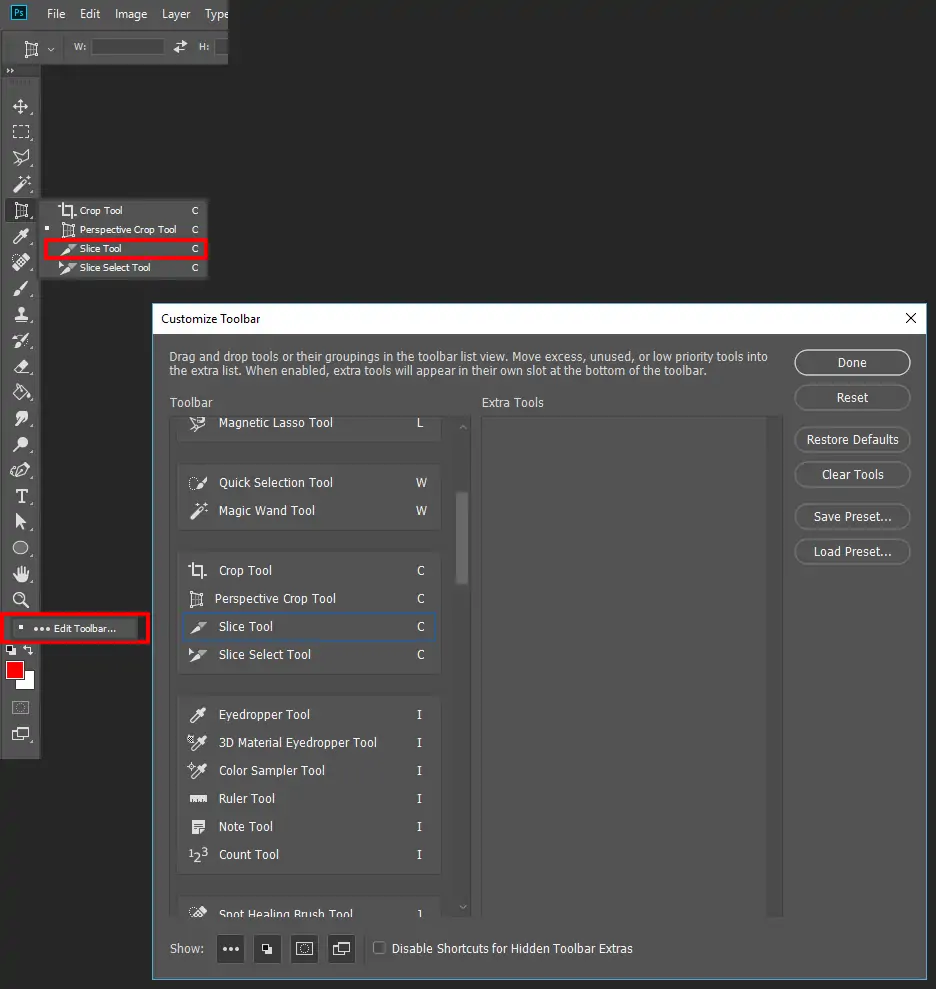
Find the crop tool that lets you specify the region you need to hold within the picture.
The crop tool is often located within the toolbar or menu of the software. Search for a symbol that looks like a cropping frame or square.
Press on the crop tool to actuate it. This activity musters the program for defining the cropping zone on the picture.
When selecting the crop highlight, your cursor may alter to a crosshair or a distinct symbol representing that the crop tool is in action.
Get to know yourself with any additional choices or settings related to the crop tool. Essential options include aspect ratio presets, crop guides, and cropping modes.
Further highlights like perspective adjustment, straightening, and content-aware cropping may be accessible within the crop tool, depending on your application.
To urge the suitable crop for your photo, make sure you know how to utilize these additional highlights.
Step 3: Crop Zone Specification
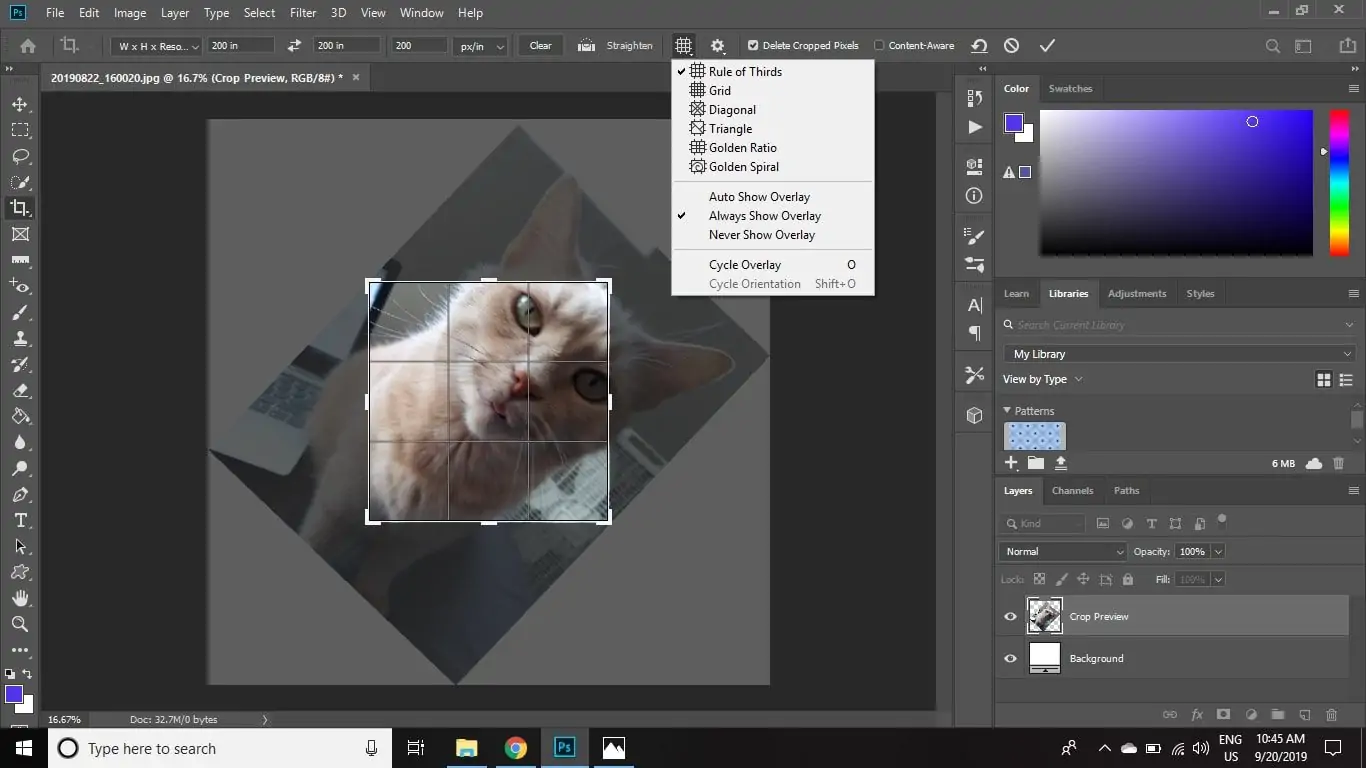
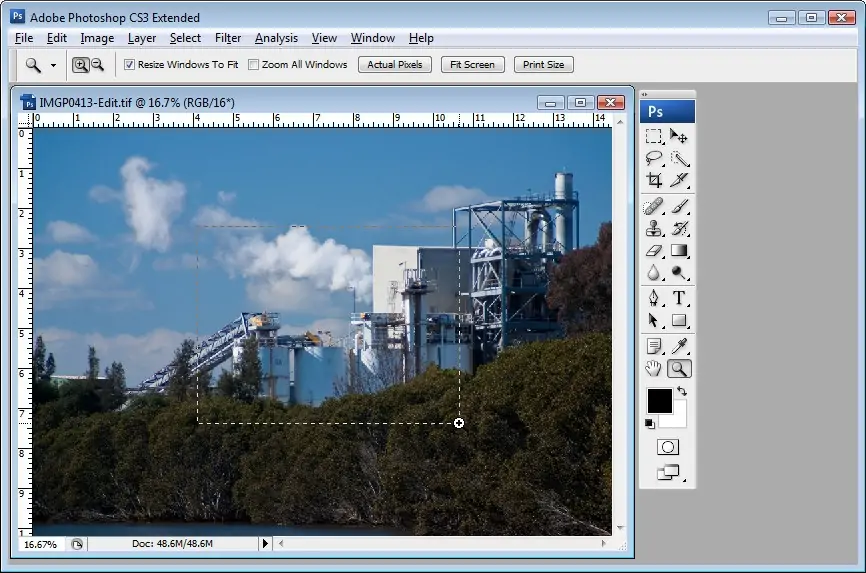
Tap and drag your cursor on the photo to make a crop box. This box refers to the range of the picture you need to keep after cropping.
Begin by situating your cursor at one corner of the region you want to hold. Tap and hold the mouse button to start dragging.
During your drag, the crop box will extend, permitting you to specify the boundaries of the cropped area. Tune the size and shape of the crop box as required to surround the necessary portion of the picture.
Attend to any guidelines or grids that will show up to help you adjust the crop box precisely.
Guarantee that the crop box covers the entirety of the region you need to keep within the final cropped picture. Any content exterior of the crop box will be deposed when cropping is carried out.
If essential, you can alter the position and measurement of the crop box more by clicking and dragging its handles or corners.
Take a few moments to adjust the crop zone, assuring that it precisely seizes the required content while prohibiting any undesirable components.
Step 4: Modifying Rotation Feature
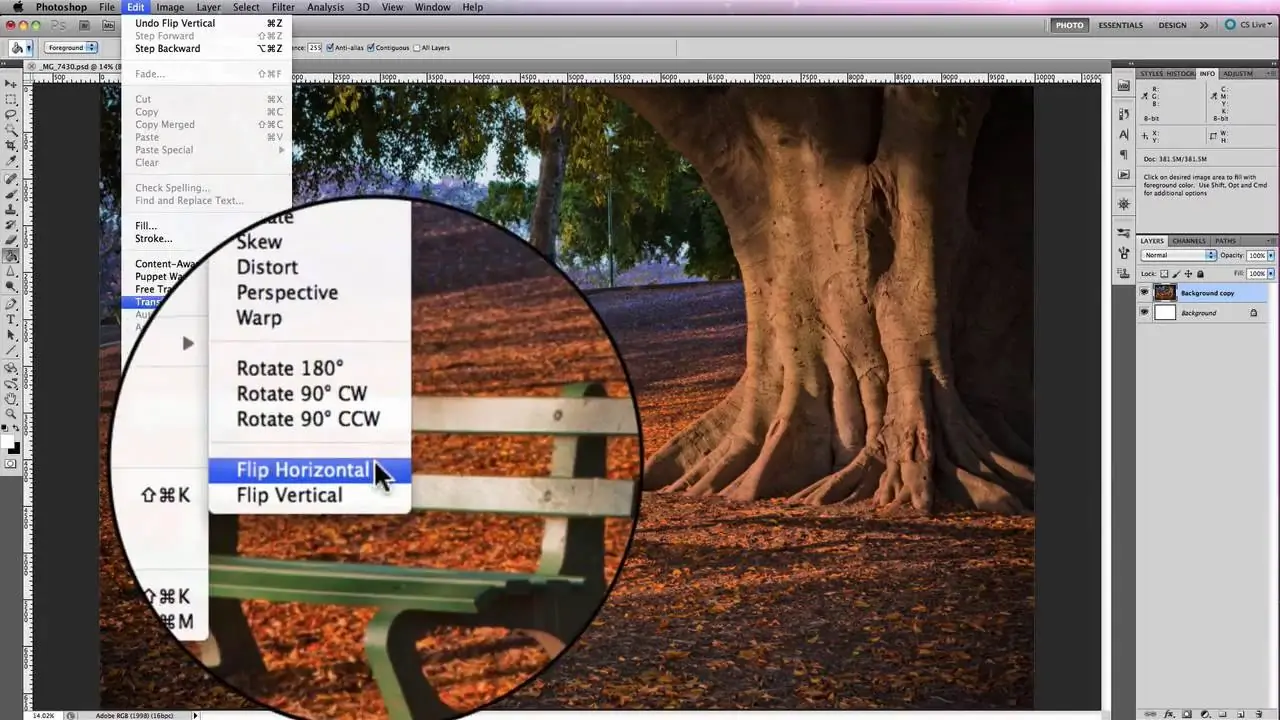
Next, to specify the crop range, find the rotation feature inside the crop tool or toolbar. This function empowers you to alter the orientation of the crop box.
Find rotation handles or buttons around the edges of the crop box. These handles may emerge as little squares or circles you can tap and drag to turn the crop box.
Then again, a few programs may give a particular rotation tool or command inside the toolbar or menu. You can turn the whole picture, including the crop box, to the specified point.
Tap the rotation handles or select the rotation device to start it up. This activity plans the software to vary the orientation of the crop box.
Comprehend to utilize any additional controls or settings related to the turn highlight, such as indicating the rotation angle numerically or utilizing preset rotation angles.
With the revolution choice activated, you’re all set to adjust the direction of the crop box within the following step.
Step 5: Steering Rotation Angles
Tap and drag the rotation handles or utilize the rotation apparatus to pivot the crop box. Observe how the crop box turns around its centre point.
Some programs may give precise controls for specifying the turn angle numerically. Use these controls to input the required angle specifically.
On the other hand, you can rotate the crop box freely by clicking and dragging it anywhere beyond the rotation handles—test from different angles until you have accomplished the specified orientation.
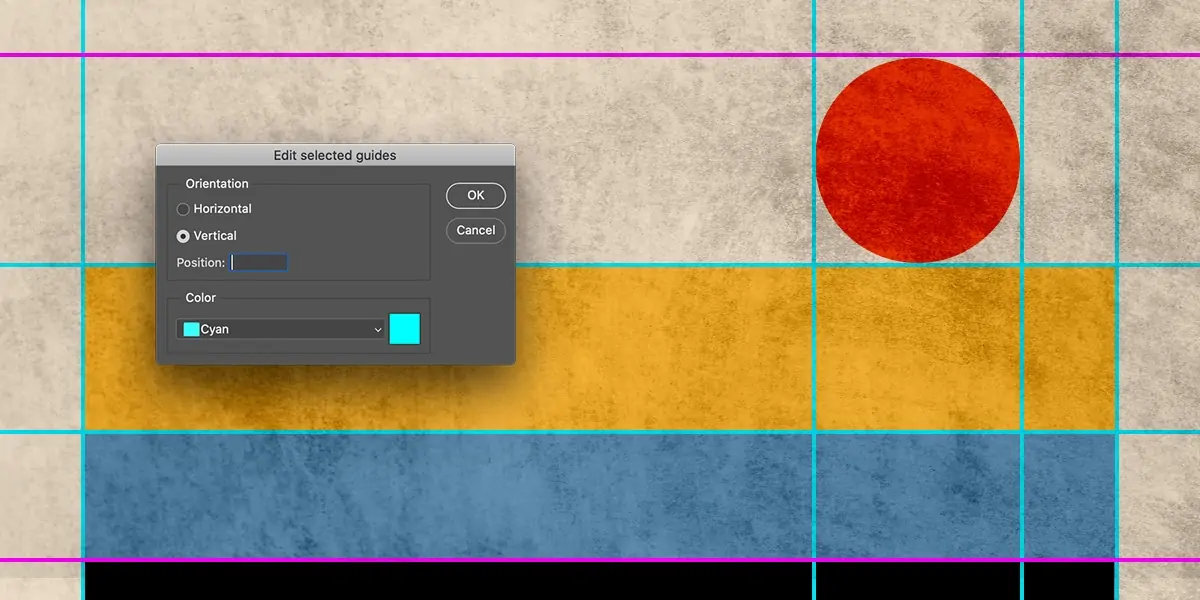
Assume any guidelines or grids that may emerge on the image to administer and align the crop box precisely. These aids can help you accomplish a straight and adjusted rotation.
Check that the rotation point precisely reflects the specified orientation of the cropped picture. See the rotation as required to affirm its arrangement along with your vision.
Alter the rotation point until the crop box is impeccably adapted to the image’s preferred orientation.
Step 6: Executing Crop Rotation
With the rotation angle balanced to your fulfilment, proceed to use the rotation to the crop box.
Discover an “Apply” or “Confirm” button inside the rotation tool or toolbar. This button finalizes the rotation and applies it to the crop box.
Tap on the “Apply” button to affirm the rotation. On the other hand, a few programs may apply the rotation once you discharge the mouse button after dragging the rotation handles.
As the rotation is applied, watch how the crop box alters its orientation appropriately. Confirm that the rotated crop box accommodates the image easily with the required orientation.
Give a thought to any alterations made to the image preview during the rotation phase. These settings may comprise straightening, resizing, or repositioning of the cropped zone.
Recheck the arrangement and orientation of the rotated crop box to guarantee it precisely mirrors the expected cropping and revolution of the picture.
After you’re upbeat with how the cropping and rotation turned out, you can survey the cropped and rotated picture for any final changes and alterations.
Step 7: The Final Evaluation
Before concluding the crop rotation, carefully survey the cropped and rotated photograph to confirm it meets your desires.
Take a minute to examine the picture for probable issues such as misalignment, distortion, or undesirable components inside the trimmed zone.
Utilize the zoom function to look at particular specifics of the cropped and rotated picture more closely, guaranteeing exactness and quality.
If any alterations are required, consider returning to prior steps to refine the crop or rotation point as vital.
Once you are pleased with the edited image, it’s time to save your work. Find the “Save” or “Export” function inside the software’s menu or toolbar.
Select a file format and quality settings for the saved picture. Standard choices are JPEG, PNG, TIFF, or PSD.
Select the destination folder or directory to save the ultimate picture on your computer.
Give an explicit filename for the picture to enable simple identification and organization.
Tap “Save” or “Export” to finalize the edits and make the cropped and rotated picture file. Your work is presently saved and all set for utilization in exhibitions, distributions, or sharing with others.
Conclusion
In conclusion, to resolve image defects like screwing, uneven horizons, or misaligned objects inside the frame, the comprehensive approach of crop rotation is proven to be worthy. Selecting suitable rotation choices and indicating the rotation point crop rotation can be utilized inventively to upgrade the composition of a picture. Apart from corrective aspects, Photographers and editors can also experiment with exceptional viewpoints, angles, and orientations to attain outwardly exhilarating impacts by rotating a photo. Eventually, rotating a picture askew or at an unconventional angle can include vitality, dramatization, or a sense of development to the composition, intensifying the expectant aesthetic or story.
