
How To Apply A Cyanotype Effect To A Photo
Cyanotype printing, used to create a cyan blueprint, had been continually utilized by engineers to duplicate drawings or blueprints. Ferric ammonium citrate and potassium ferricyanide are the two compounds used in the procedure. Nevertheless, this printing technique and its visual results are also becoming likeable as creative image transformation effects, which you can attain in your photos in Photoshop to acquire an identical visual outcome quickly. You can recast the outlines of additional objects, including plants, and even fonts to create an imitation of cyanotype design. This trendy approach can be used to make wall art, posters, postcards, old-fashioned pictures, and more. Picture editors can breed cyanotype prints’ absolute blue-toned stylish attribute by altering colours, contrasts, surfaces, and other visual components. Cyanotype themes integrate inside progressive design and image modification strategies, frequently utilized by artists, photographers, and designers to attain a particular visual fashion or bring out a wistful climate in their work. The following step-by-step process demonstrates the rudimentary steps of applying a cyanotype effect to your photographs.
Step 1: Loading the Initial Image
Set up Adobe Photoshop on your PC by double-clicking the Photoshop app.
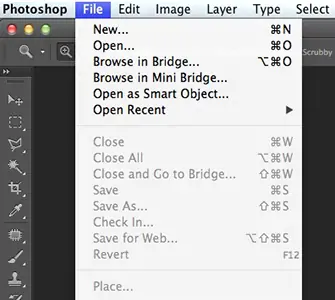
Get to the “File” menu at the top left area of the Photoshop interface.
With a simple tap on ‘Open’ inside the dropdown menu, a file explorer window will emerge, ready for you to select your desired photo.
Find the photo to integrate the cyanotype effect into the file explorer.
Select the photo file by clicking on it once to foreground it.
Press the “Open” button within the file explorer window to bring the chosen photo into Photoshop.
Hold up for Photoshop to load the photo onto the canvas. This process might take a few minutes, according to the photo’s measurement and your device’s performance.
After the photo is opened in Photoshop, you’re set to continue applying the cyanotype effect.
Step 2: Using the Adjustment Layers

Get to the “Layers” panel, often found on the right side of the Photoshop interface.
Pick the “Create new fill or adjustment layer” icon at the ground of the Layers panel. It appears like a half-filled circle.
From the dropdown menu that reveals up, select “Gradient Map.” That constructs a new Gradient Map adjustment layer over your photo layer.
A gradient bar that speaks to the tonal range can be seen within the Properties panel for the Gradient Map alteration layer.
Double-click on the gradient bar to unlock the Gradient Editor window.
Modify the gradient stops by clicking on them and pulling them to make a blue-to-white gradient. This gradient will depict the tonal values of your cyanotype effect.
Click “Ok” to execute the gradient settings and close the Gradient Editor window. Your photo will presently show the cyanotype effect resting on your assembled gradient map.
Step 3: Setting Gradient Map

Confirm that the Gradient Map adjustment layer is chosen within the Layers panel.
Examine the gradient bar to the tonal range within the Properties panel for the Gradient Map alteration layer.
Open the Gradient Editor window by double-clicking on the gradient bar.
Audit the existing gradient stops that characterize the move between colours.
To include a new colour in the gradient, press below the gradient bar to make a new gradient stop.
Double-click on the recently included gradient stop to open the Color Picker window.
Select a colour for the gradient stop, ordinarily a shade of blue for a cyanotype impact.
Alter the position of the gradient stop along the gradient bar to direct where the colour move happens.
Rehash steps 5 to 8 to include supplementary colours or regulate existing gradient stops as like.
Press “Ok” to apply the changes and shut off the Gradient Editor window.
See the result on your photo and make accessory alterations if necessary.
Step 4: Modifying the Blend Modes
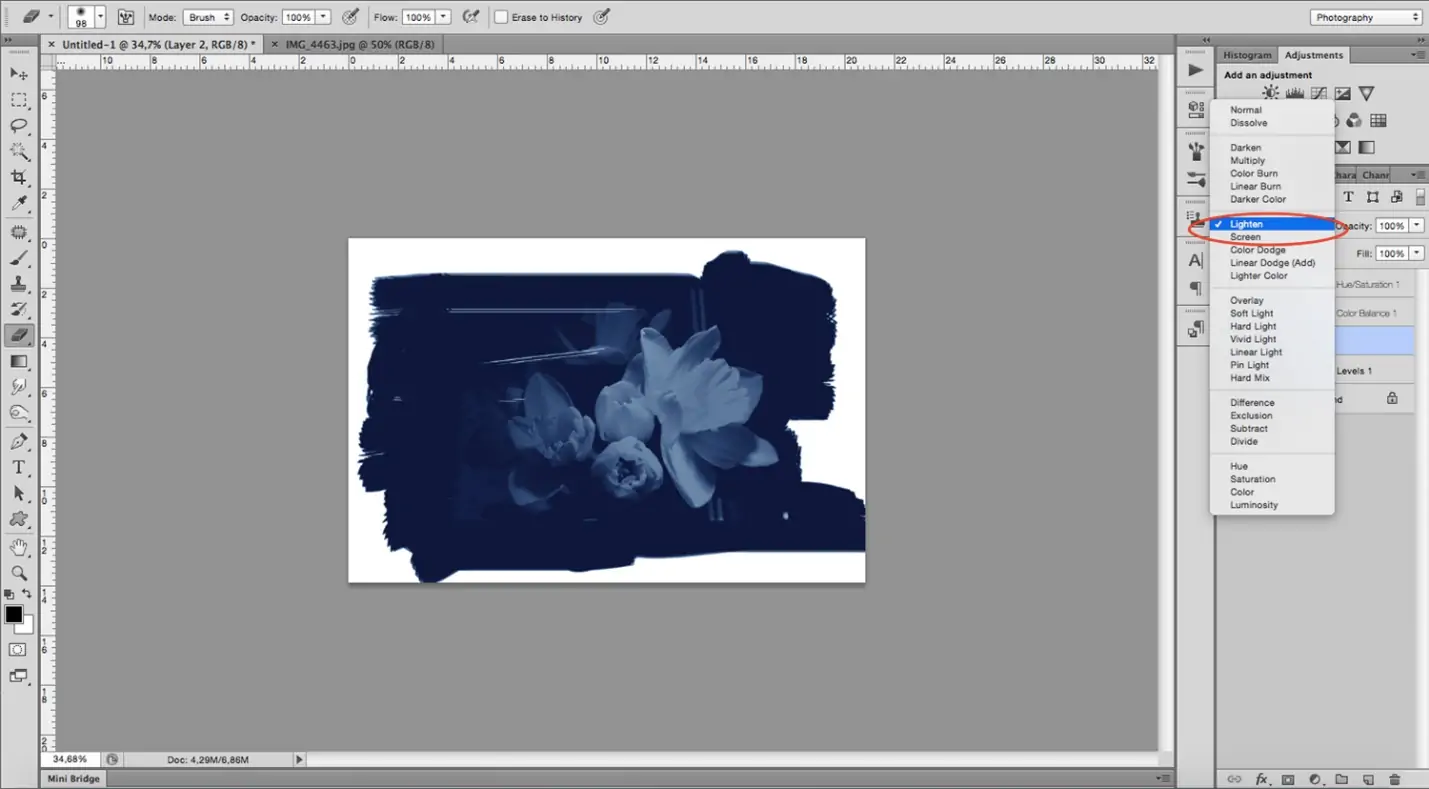
Select the Gradient Map adjustment layer within the Layers panel by clicking on it.
Find the “Blend Mode” dropdown menu within the Layers panel. It’s often set to “Normal” by default.
Tap on the dropdown menu and select “Multiply” from the list of blend modes.
On the other hand, you’ll get to the blend mode options by double-clicking on the adjustment layer’s blending mode symbol, which appears like a box next to “Opacity” at the top of the Layers panel.
Next to selecting “Multiply,” monitor how the cyanotype impact relates to the primary layers.
The “Multiply” blend mode obscures the elemental colours while taking care of the highlights, which improves the cyanotype effect.
Play with other blend modes to attain distinctive effects, although “Multiply” is commonly utilized for cyanotype impacts.
After you’re pleased with the blend mode selection, set the opacity and settings of the adjustment layer further to polish the cyanotype effect.
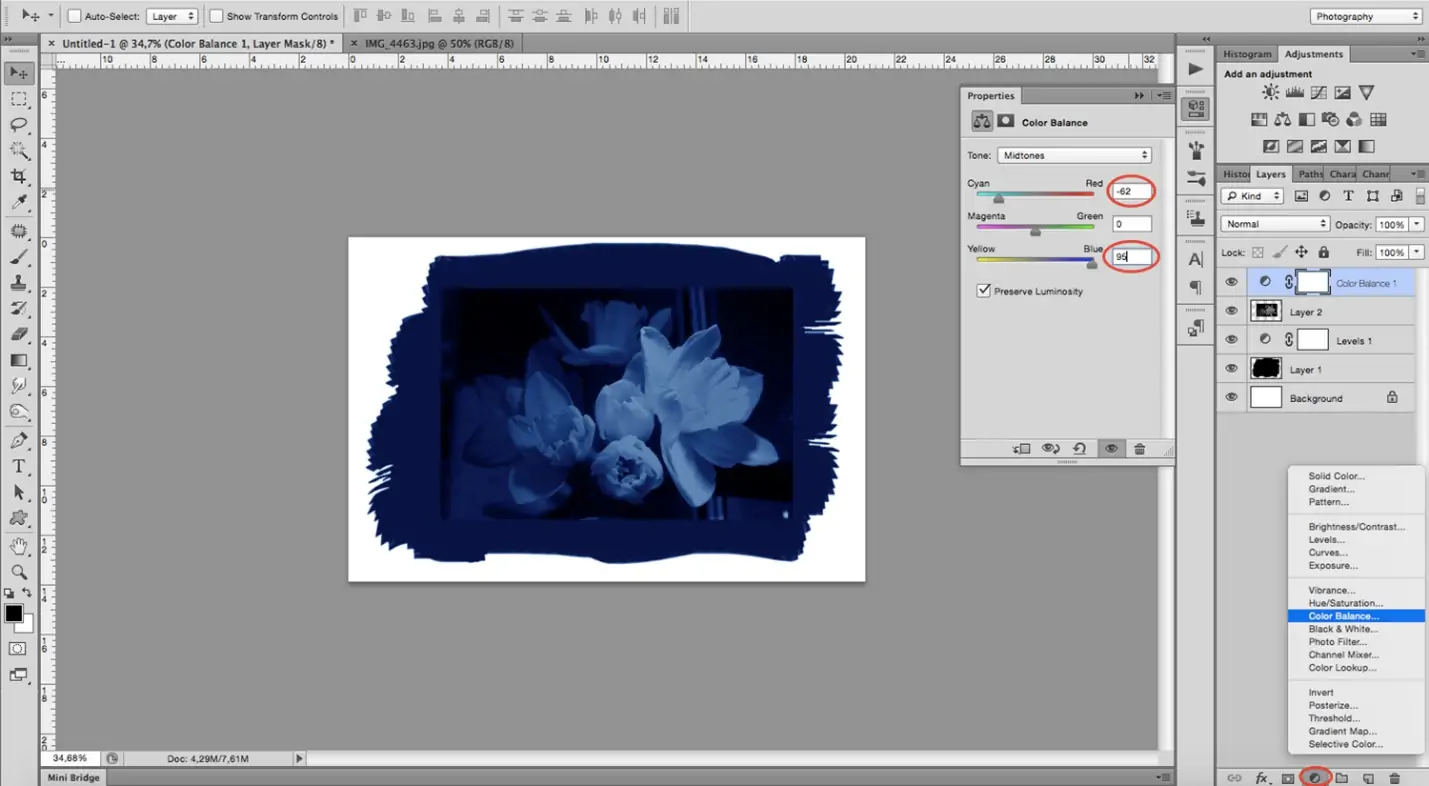
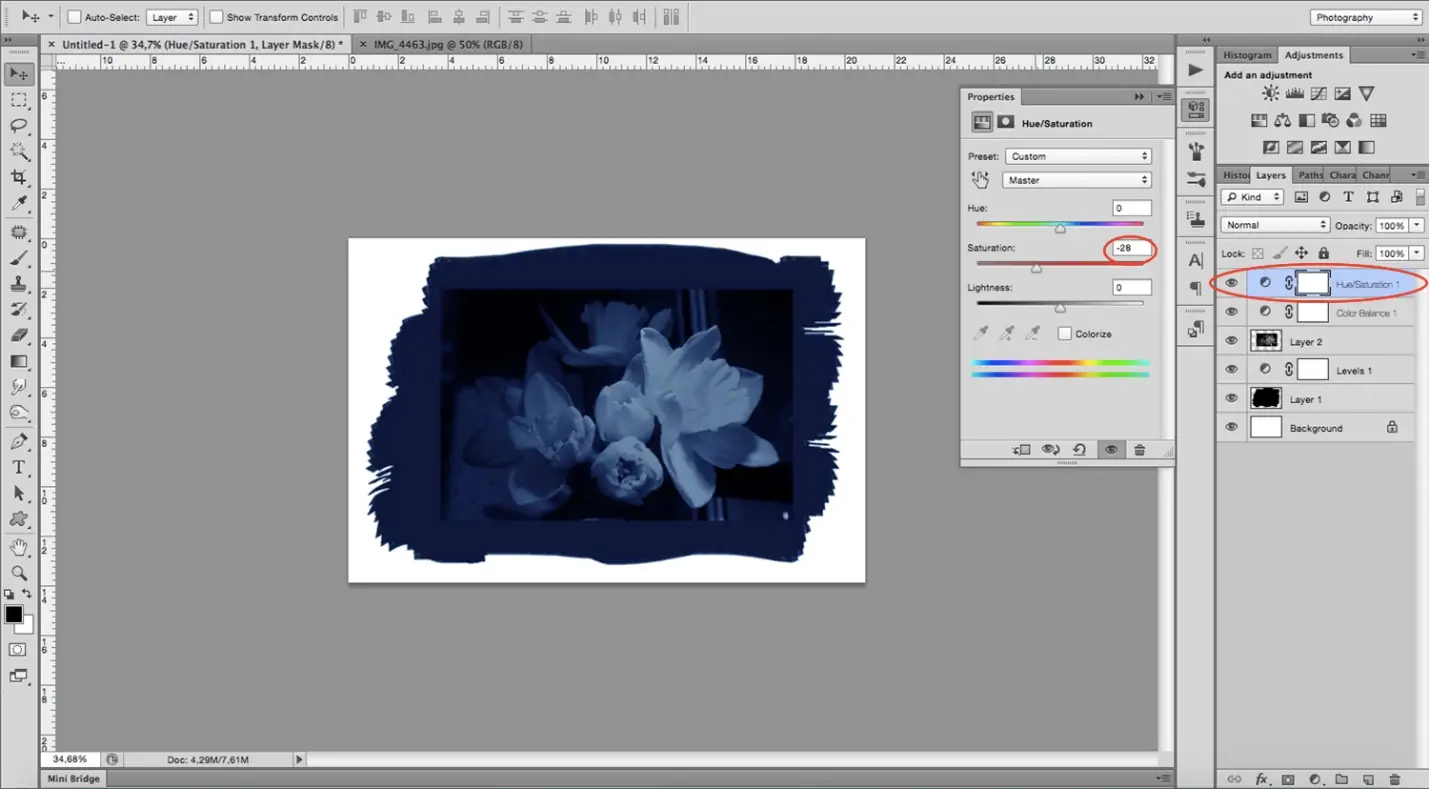
Step 5: Tuning the Colors
Evaluate the display of your photo with the connected cyanotype effect.
Move to the Layers panel and guarantee the Gradient Map alteration layer is chosen.
Alter the alteration layer’s opacity to retain the cyanotype impact level.
Bringing down the opacity decreases the intensity of the effect, whereas expanding it improves the effect’s eminence.
Test with distinctive opacity levels until you poise the cyanotype effect and the initial photo.
Also, consider including further alterations to refine the colours and tones of the cyanotype effect.
Discover other adjustment layers like “Hue/Saturation,” “Curves,” or “Color Balance” to regulate particular aspects of the cyanotype appearance.
To conform to your inventive vision, utilize these adjustment layers to revise the colours, contrasts, and overall see of the cyanotype effect.
Ceaselessly assess the changes you make and their effect on the general style of the photo.
After being fulfilled with the settings, continue to include any last touches to your photo before saving or exporting it.
Step 6: Utilizing Interesting Textures

See whether you need to improve the vintage feel of the cyanotype impact with a texture overlay.
Discover an appropriate texture picture that goes with the style and disposition of your photo. Textures simulating aged paper or grungy surfaces work well for this aim.
Load the texture image in Adobe Photoshop.
Click on the texture layer and drag it onto your cyanotype-affected photo file.
Rscale and arrange the texture layer over your photo as you like.
Adapt the texture layer’s blend mode to “Overlay” or “Soft Light” to incorporate it with the fundamental layers.
Alter the texture layer’s opacity to control its strength and how much it influences the look of the cyanotype effect.
Play with different blend modes and opacity values to discover the ideal combination that upgrades the vintage vibe without overpowering the photo.
If fundamental, consider setting the texture layer’s levels or hue/saturation to heighten its impression further.
Step 7: Executing the Final Tweaks
Take a minute to survey your photo with the connected cyanotype effect and any optional surface overlays.
Evaluate the image’s composition, colours, and temperament to guarantee it accommodates your imaginative vision.
Address the details such as contrast, saturation, and tonal harmony.
Zoom in on regions of the photo to check for any defects or blemishes presented by the editing process.
Make any essential alterations to polish the cyanotype effect or attend to any issues you recognize.
If wanted, look into applying extra editing strategies or effects to accelerate the image’s visual effect further.
After you are content with the ultimate result, save your altered photo in an appropriate format like JPEG or PNG.
Alternatively, keep a replication of the initial, unedited photo for reference or comparison.
Communicate your cyanotype-inspired immaculate work of art with others on social media, in a portfolio, or as printed artwork.
Reflect on your altering procedure and the development executed, and consider how you’ll apply equivalent strategies in future ventures.
Conclusion
In conclusion, the cyano-type effect replicates the impression or style comparing cyanotype photography. The creative use of soothing shades of blue and cyan gives an image or design a distinctive blue-toned aesthetic suggestive of this customary photographic approach. To evoke a vintage or artistic feel, you can use this visionary effect in diverse artistic contexts, including digital layouts, image modification, or other visual effects. Emphasizing the blue hue above other colours evokes a unique trance, ingraining the modern illustrations with the traditional charm of cyanotype prints. By clasping the strategies highlighted in this blog, you can remake your commonly coloured photographs into delicate blues and entice your audiences more soundly.
