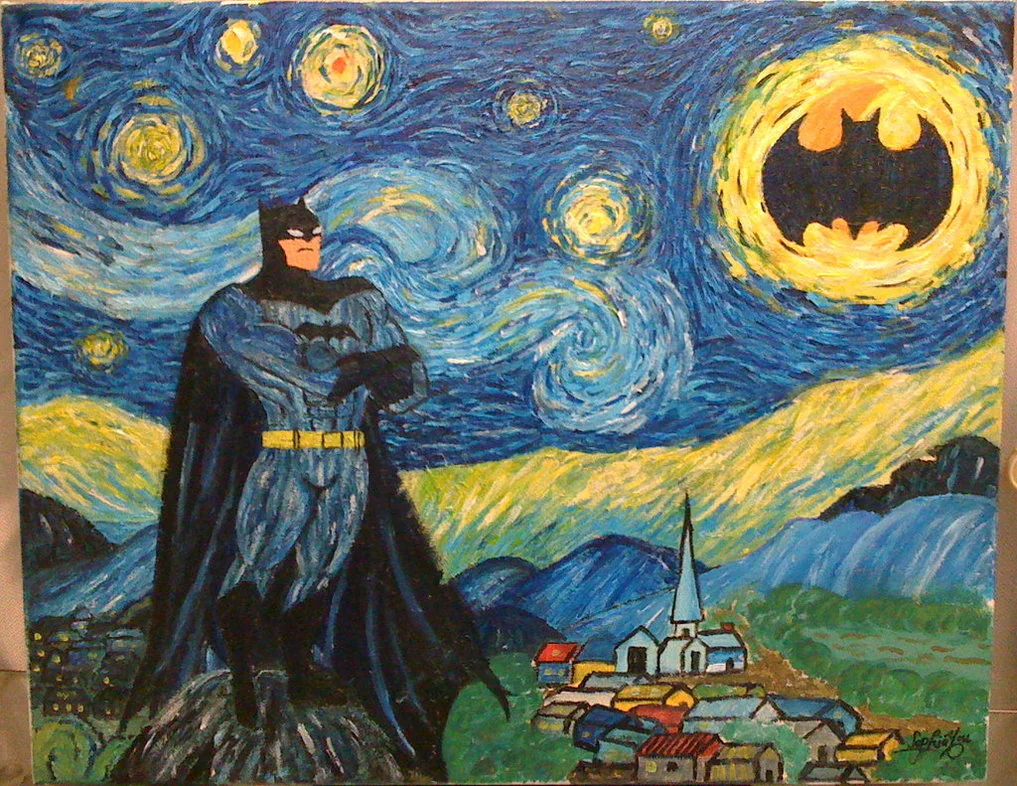
How To Create Post-Impressionism Art
After the original Impressionism movement in France, Post-Impressionism illustrated an elongation of Impressionism and a denial of that style’s ingrained constraints equally. It could competently lend any space a dazzling, eye-catching appearance. The approach retained aspects of the Impressionist style yet focused primarily on vivid colours and distorted shapes. Post-impressionism arose as a retort against Impressionism’s opticality and priority on conceptual qualities or symbolic subject matter. The movement represented the vision of numerous French painters who transmitted common concerns and frequently collaborated on exhibitions, resulting in a prosperous elaborateness of various trends and styles. Modern artists continue to take inspiration from post-impressionistic artworks excessively and demonstrate their innovative capacities in different art design and image enhancement areas. Creating artwork in the post-impressionist style is challenging. Still, paying attention to particular approaches only takes simple practices and skills to produce art that stuns viewers and fanatics. Following are easy-to-apply steps to create create Post-Impressionism Art.
Step 1: Software Preference
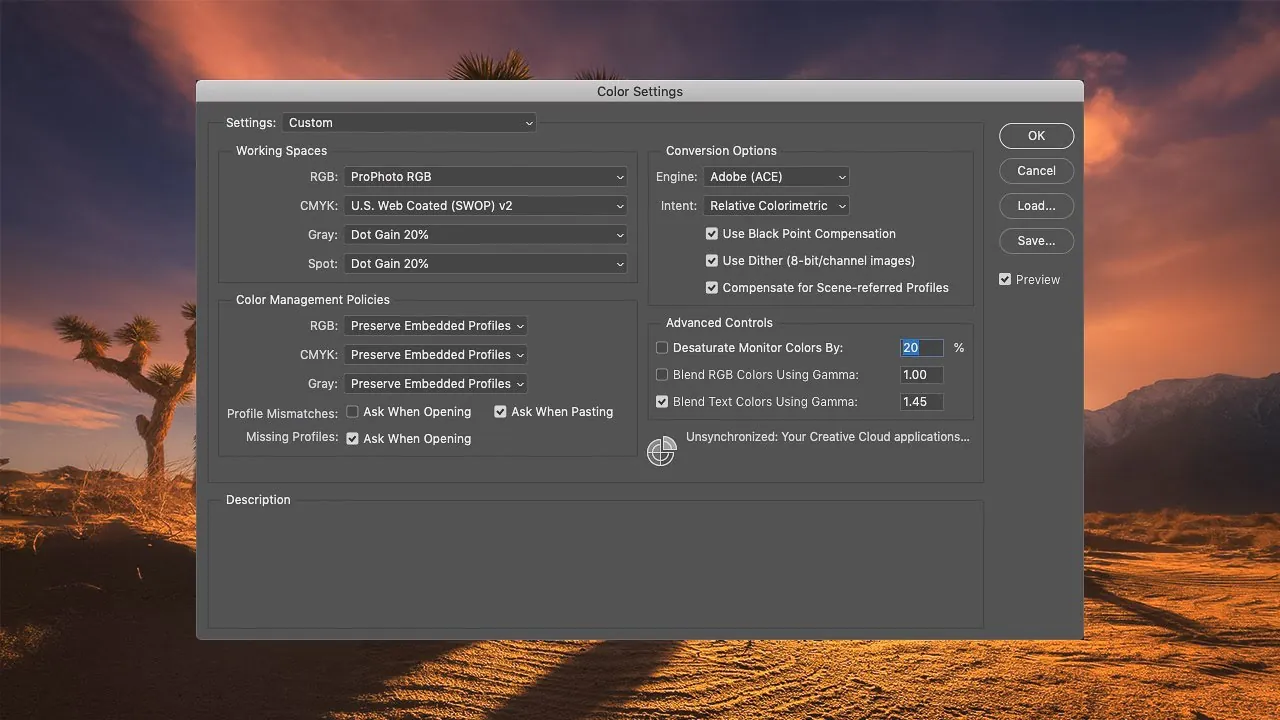
Determining the proper digital computer program is significant for making Post-Impressionism art. The most prevalent choices are Adobe Photoshop, Corel Painter, Procreate, and GIMP. While choosing any of these, you must have your inclinations, budget, and application goals. Each of these programs has its qualities and may cater to diverse viewpoints of your creative process.
Photoshop offers considerable tools for advanced painting, like brushes, layers, and blending modes. It is fitted for artists of all expertise levels but may have a more intense learning curve for starters.
Corel Painter is distinctive for digital artists and gives lifelike brushes and textures that imitate conventional media. Various proficient artists favour it for its pragmatic feel and extensive customization options.
Procreate could may be a user-friendly app outlined for iPad clients. It offers a smooth-running interface, responsive brushes, and an assortment of artistic tools, making it ideal for beginners and experienced artists searching for a convenient alternative.
GIMP is a free and open-source application which is open to artists on a budget. Whereas it may not have all the highlights of premium software, GIMP still offers competent traits for advanced painting and picture editing, making it an astonishing alternative for trainees and specialists.
Step 2: Researching on Original Approach
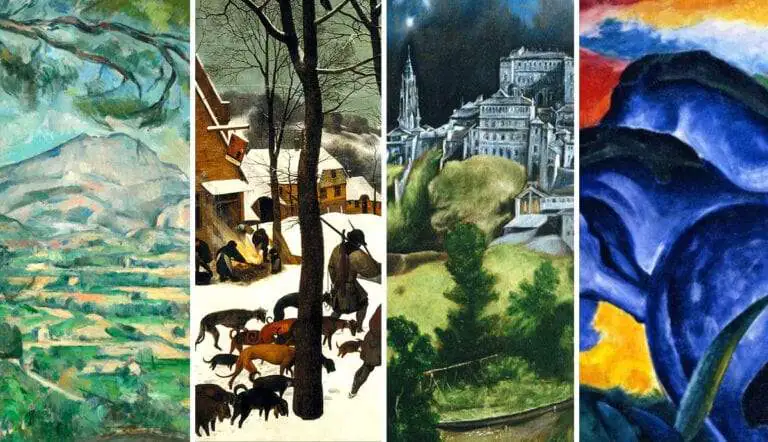
Before you begin your digital drawing, get motivation from Post-Impressionist specialists and their works. Scrutinize an assortment of sources, like art books, online exhibitions, and museum collections, to inundate yourself with the style and strategies of post-impressionism.
Research on the works of famous Post-Impressionist artists such as Vincent van Gogh, Paul Cézanne, Georges Seurat, and Paul Gauguin.
Think of how they grasp the subject matter, composition, colour, and brushwork. Strive to understand the sentiments and concepts they depict in their depictions and how they translate the world in a particular way.
Additionally, consider discovering modern artists who draw ingenuity from Post-Impressionism and fuse present-day components into their work. Examine how these artists revise conventional strategies and themes in a contemporary context.
By confirming motivation from manifold sources, you’ll develop your understanding of Post-Impressionism and discover interesting roads for communicating your inventiveness within the digital domain. Permit yourself to be propelled and impacted by the most prominent artists while imbuing your style and vision into your arrangement.
Step 3: Orienting the Canvas
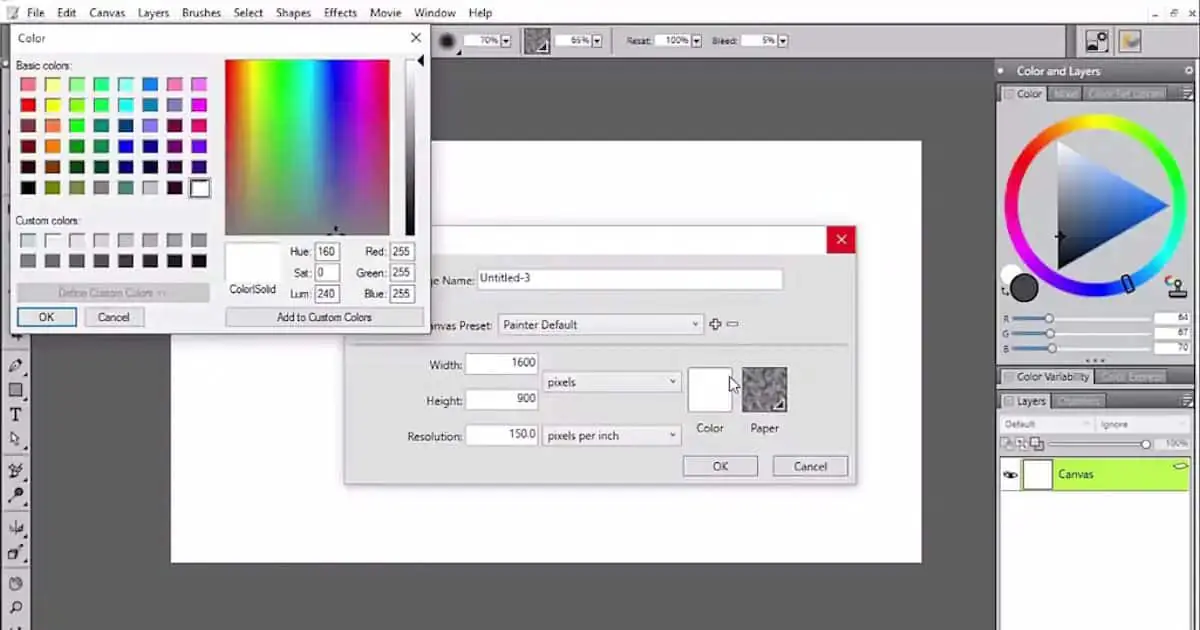
After you have envisioned the basic concept, you can now move to creating your digital canvas in your preferred program.
Decide the dimensions and resolution of your canvas according to your expected artwork. Check out components such as viewpoint proportion and final yield size if you opt to print your work.
Select between portrait or landscape orientation in conformity with the structure of your artwork. Consider the visual influence and correspondence of your composition inside the chosen orientation.
Pick a foundation colour or surface that goes with the temperament and subject of your work of art. You can select an intense colour, angle, or textured foundation to upgrade the overall elegance.
Make isolated layers for different illustration components, such as the foundation, frontal area, and individual subjects. It is for more adaptability and control during the process.
Save your canvas as a project file in your chosen program format. So that you can effectively make modifications to your painting as required.
Step 4: Creating Initial Outline
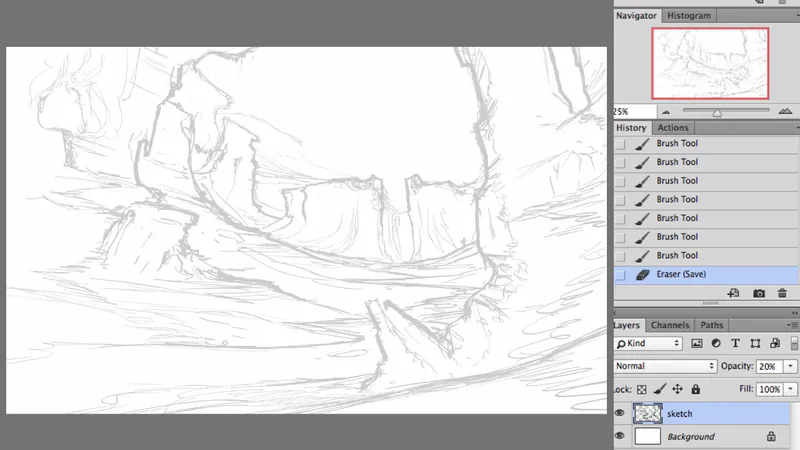
With your canvas set up, begin sketching out the major components of your design. Scan the situation of crucial objects, figures, or scenes per your motivation and imaginative vision.
Utilize straightforward shapes and lines to speak to the fundamental forms in your composition. Post-Impressionist artworks often include strong and streamlined shapes, so you should avert from creating much detail within the beginning outline.
Observe different compositions and positioning to discover the foremost outwardly appealing and expressive alternative. Consider the rule of thirds, adjustments, and central focuses to direct the viewer’s eye through the artwork.
Implant your outline with a sense of development and vitality. Post-Impressionist artists frequently passed on feelings and dash through brushwork, so go for demonstrative and gestural lines.
Feel free to rectify your sketch as you go. Alter proportions, test with distinctive poses or points, and ensure the general arrangement fits your aesthetic notion.
Step 5: Using Creative Brushstrokes
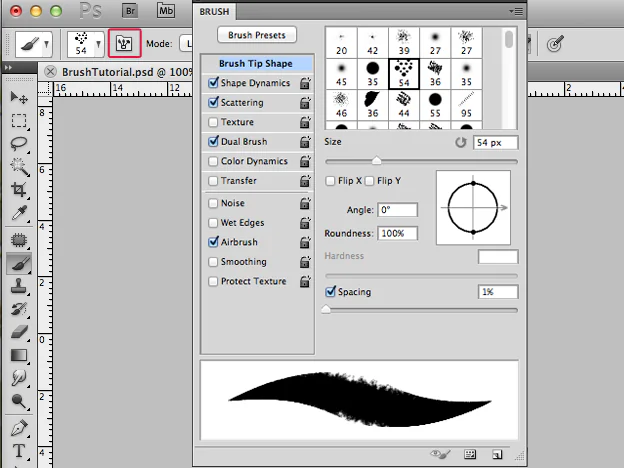
Access brush tools in your digital program that imitate the surface and stroke of conventional portray brushes. Play with unique brush shapes, sizes, and opacities to attain the specified effect.
Start by blocking in zones of colour utilizing broad brush strokes. Post-Impressionist works of art frequently include dynamic and contrasting colours, so do not be anxious to try out striking colour choices.
Utilize evocative and symbolic brushwork to include texture and development in your artwork. Shift the pressure and speed of your strokes to make energetic and inspiring effects.
Layer colours and surfaces to make profundity and dimension inside your composition. Think of how light and shadow are associated with distinctive components of your artwork, and utilize highlights and shadows to elevate volume and frame.
Though post-Impressionist artworks are known for their strong and expressive brushwork, they, too, contain unpretentious details that add to the general effect. Regard minute details and subtleties as you work, including profundity and composition allure.
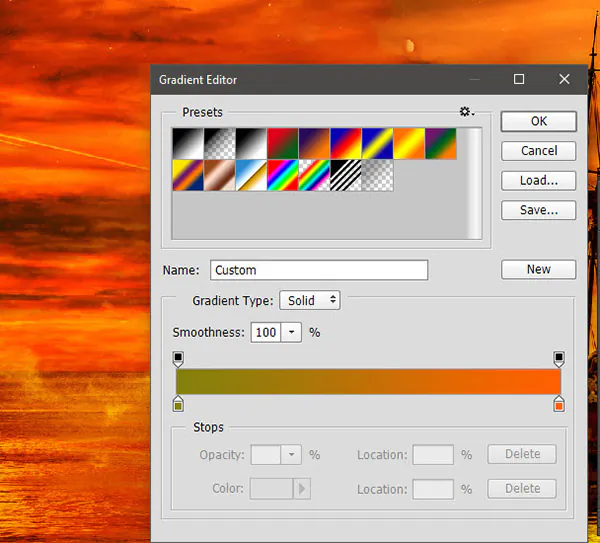
Step 6: Manipulating Colors and Light
Contemplate colour theory standards while you evaluate hue, saturation, and value. Post-Impressionist specialists frequently utilized lively and startling colour combinations to inspire feeling and environment.
Discover enormous colour palettes propelled by Post-Impressionist artworks and nature. Take note of warm and cool colour plans, reciprocal and closely resembling colour proportions, and the psychological impacts of colour on disposition and discernment.
Utilize light and shadow to make contrast and dramatization in your composition. Consider the heading and strength of light sources and how light networks with distinguishing surfaces and shapes.
Test with climatic effects such as fog, haze, and daylight to improve the temperament and sense of space in your artwork. Utilize subtle gradations and delicate edges to form a drift of profundity and atmosphere.
Assess the passionate effect you need your work of art to communicate and utilize colour and light to fortify this theme. Whether it’s bliss, despair, or tranquillity, let your colour choices and lighting choices reflect the enthusiastic tone of your composition.
Repeatedly emphasize and tune your colour and lighting choices as you work. Be relaxed to play with distinctive combinations and impacts once you execute the specified visual development.
Step 7: Concluding the Artwork
Grab a moment to survey your composition. Confirm that it complies with your starting vision and successfully communicates the feelings and ideas you expected.
Take a Zoom view and optimize points of interest inside your artwork. Attend to minute aspects, including brushwork, texture, and subtleties, to improve your piece’s overall quality and abundance.
Carry on testing with different strategies and tools in your program. Attempt diverse brushes, layer styles, and blend modes to find better approaches to including profundity and elaborateness in your artwork.
Audit the symmetry and arrangement of your layout checking that the visual weight is conveyed equally, and components are deliberately put to direct the viewer’s gaze through the artwork.
Think about any last touches or embellishments that can lift your artwork; consider edges, highlights, or additional components to improve the story and appeal.
After concluding and performing all necessary tweaks and additions, save and export your absolute composition in an appropriate format.
Conclusion
In outline, making digital Post-Impressionist artwork helps designers and artists engage themselves within the resounding and emotive globe of Post-Impressionism. Employing this classic painting style, they are suffusing their advanced artworks with vitality, sentiment, and chasm. The regenerative pith of this innovative art approach proffers experimentation and grace, thus equipping artists to develop their dexterities and imaginative thoughts persistently. Eventually, shaping digital Post-Impressionist depictions proposes an overwhelming and unlimited implies of lauding the movement’s legacy while simultaneously adapting to the prospects of trendy digital sketch fashions.
