How To Create A Laser Cut Effect
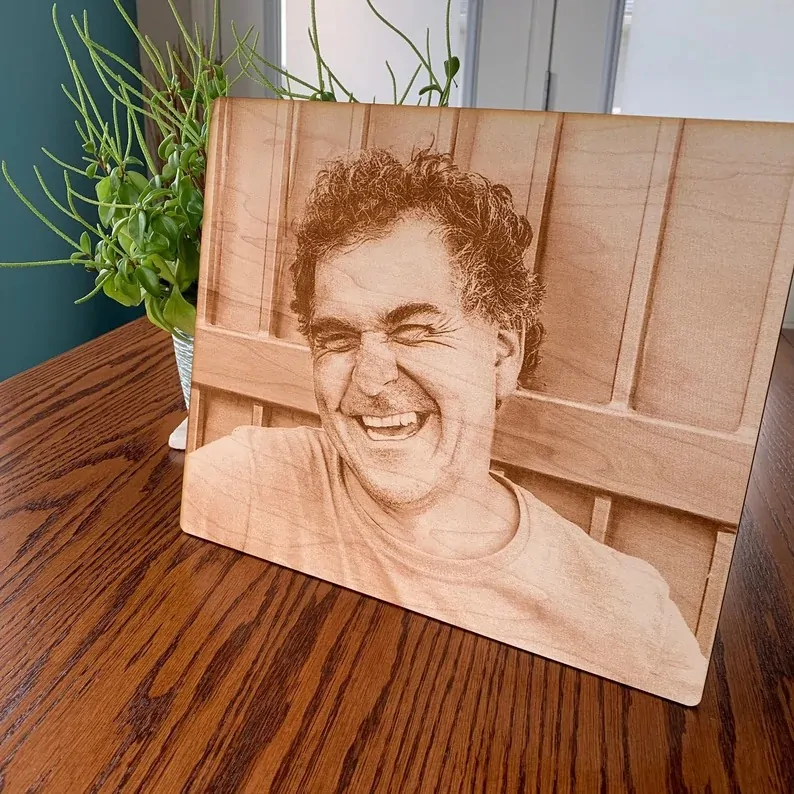
Adding a laser cut effect into images results in the appearance of materials like wood or metal that are engraved or cut using a laser beam. This visual art approach is prevailing in many areas, including photography, graphic design, digital art, product design, and even architecture. The laser cut effect makes the artworks and images reflect the dimensionality and depth witnessed in genuine laser cut works. The main components used to enhance images involve textures, masking techniques, edge-refining tools, shadow enhancement, dodge and burn tools, blend mode manipulation, negative space, and more. On the other hand, traditional laser engraving of photographs entails etching or engraving images onto a variety of surfaces, including metal, acrylic, glass, and wood, using laser technology. The laser beam is precisely regulated to erase or alter the material’s surface, generating a permanent impression that might last a lifetime. Though such tenaciously created works have their own innate charm, yet the art enthusiast looking to create works with the least resources and save time, digital techniques are equally substantial. The main steps to enhance images with a digital laser cut effect are as follows.
Step 1: Image Selection And Preparation
Choose a photograph containing clear lines or an outline. High contrast and defined forms work excellently for laser cut effects.
Choose what material you need to mimic like wood, metal or acrylic. It will impact the surfaces and colours you apply later.
Import your selected photograph using software like Adobe Illustrator or Photoshop. Be sure that the resolution is at least 300 dpi for way better detail.
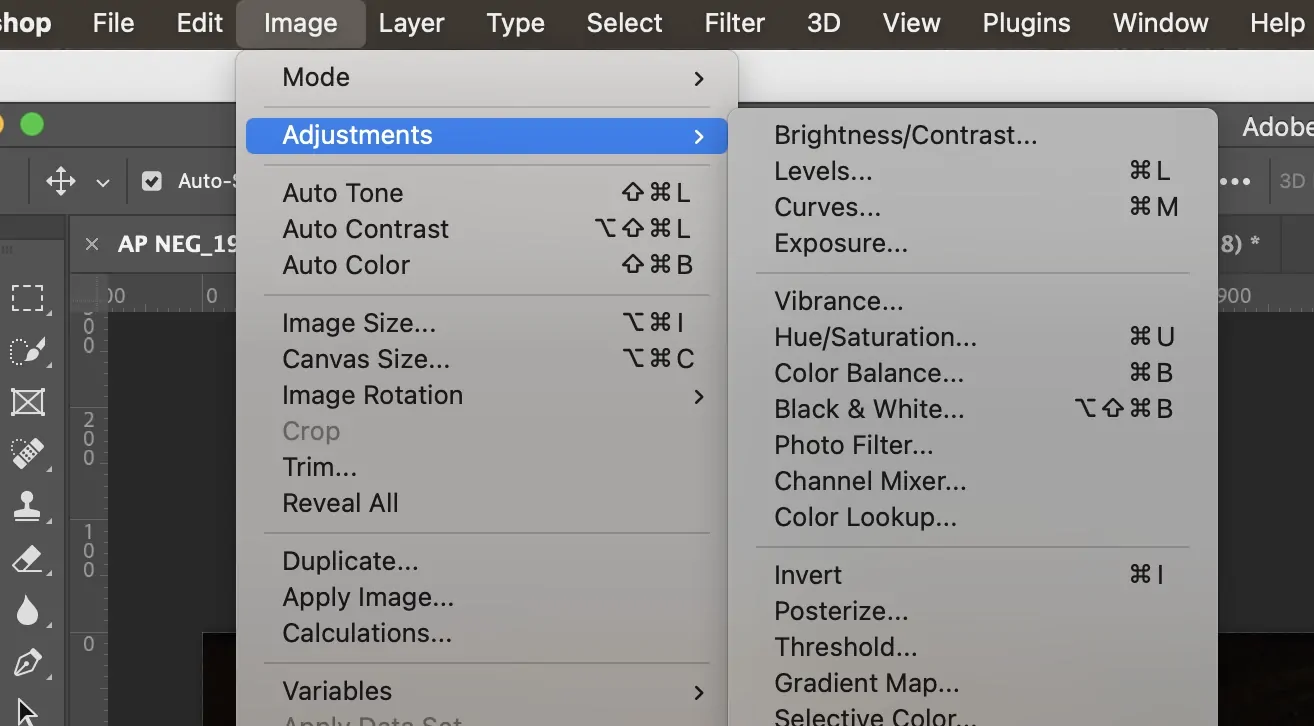
Upgrade contrast to characterize the foreground from the background. It will make it simpler to isolate the regions you need to cut.
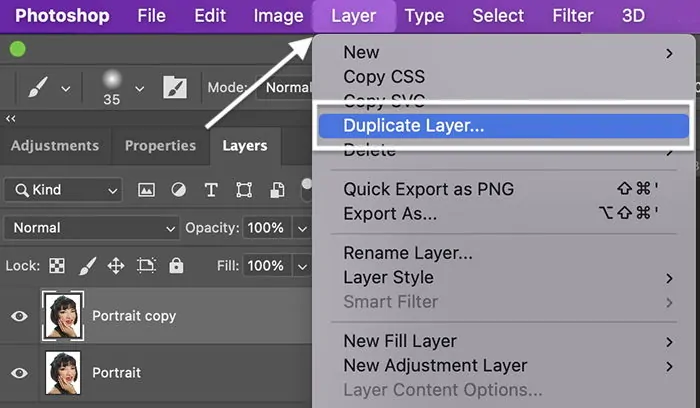
Make a duplicate of the base image for a non-destructive workflow, permitting you to reference the initial afterwards if required.
These initial preparations will guarantee that you have a strong foundation for your laser cut design.
Step 2: Creating Design Patterns
Choose on the style of the laser cut design like considering geometric forms, floral themes, or custom designs. Designs with intricate details will give a realistic effect.
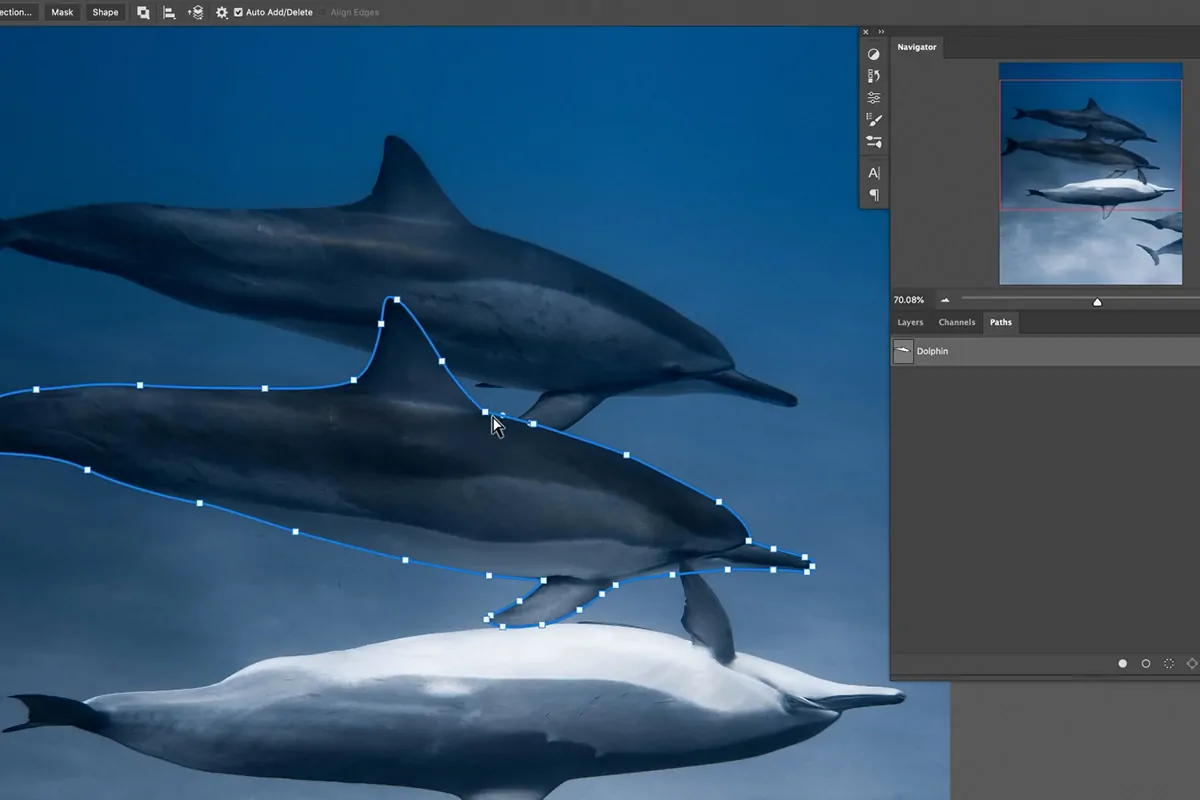
Make a new layer and outline the pattern instantly using vector tools such as the Pen Tool if using Illustrator or Shape Tool using Photoshop. On the other hand, import a pre-made vector design.
Place the design over the specified zone of the base image. Make sure that it covers the parts you want to cut out. Utilize guides to keep up arrangement and symmetry.
Change your shapes into closed paths in case they are not already. It confirms immaculate cut lines and helps mimic realistic laser cutting.
Make little cut-outs inside the design to imitate how genuine laser cutters leave gaps. Negative space improves visual contrast and profundity.
A structured design setup shapes the essence of the laser cut effect.
Step 3: Pattern To Vector Shapes Conversion
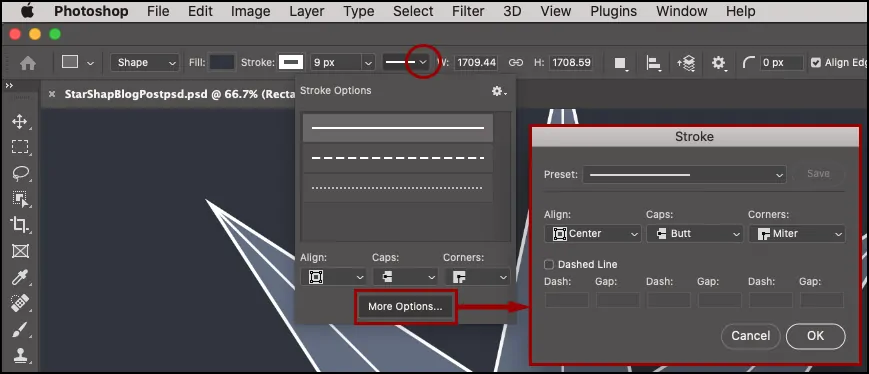
If using Illustrator or Photoshop, choose the pattern layer and outline all shapes. In Illustrator, utilize Object > Path > Outline Stroke to turn strokes into filled forms.
If using Photoshop, you must make sure that your design is a vector shape layer. Right-click and choose the option Convert to Shape to maintain scalability and accuracy.
Confirm that all paths are closed to avoid holes. Utilize the Direct Selection Tool to alter anchor points and close any open lines for neat cuts.
Decrease the number of anchor points utilizing Pathfinder tools in Illustrator or Simplify choices. It will keep the design immaculate and laser-ready.
Make a duplicate of the vector pattern to save a backup. Arrange layers by gathering similar shapes to preserve workflow efficiency.
Changing over to vector shapes guarantees that your design keeps up crisp edges and permits simple modifications in the coming steps.
Step 4: Cut Out Effect Application
Adjust your vector design accurately on the base photo layer. Make sure that it wraps the intended zone where the laser cut will show up.
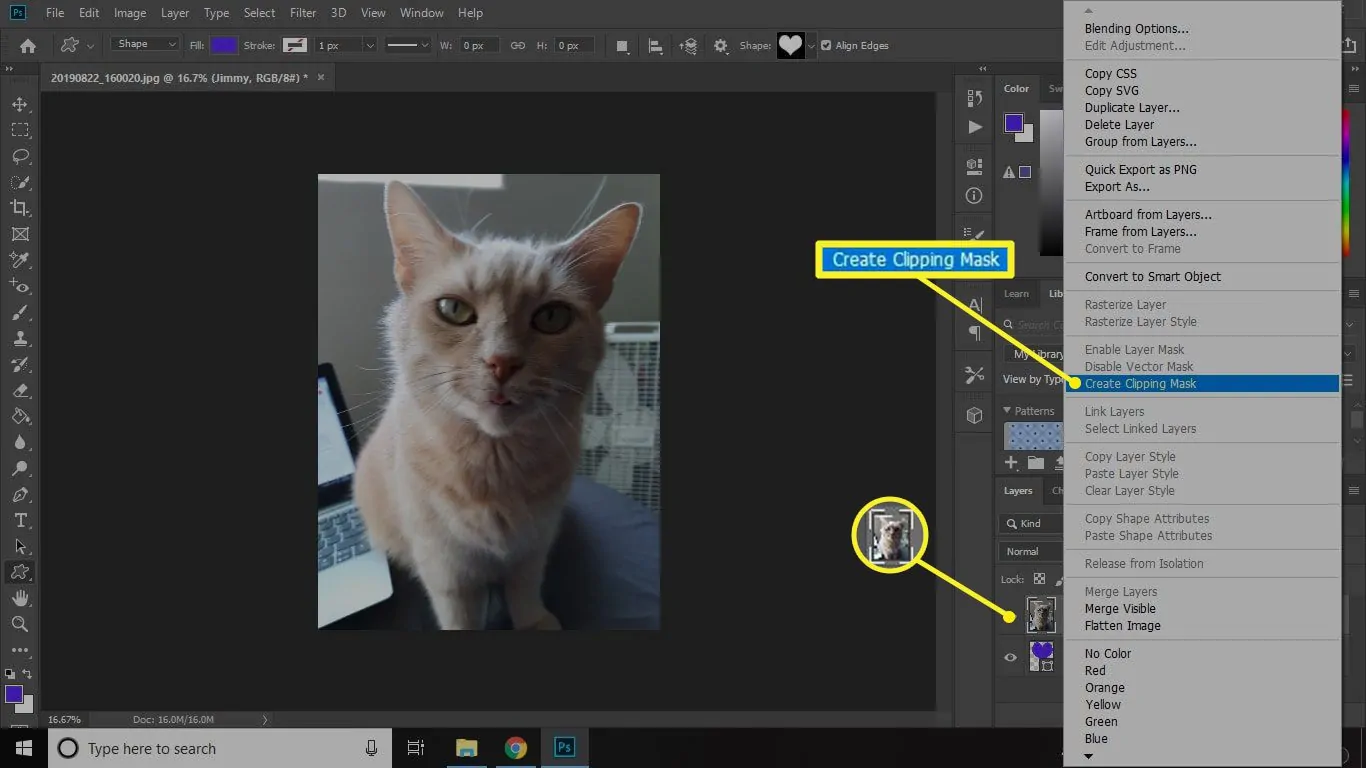
In the case of Photoshop, choose the pattern and base image layers, after that right-click and select Create Clipping Mask. It will mask the image into the shape of your design.
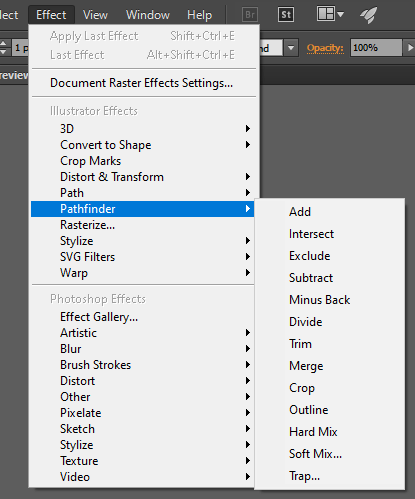
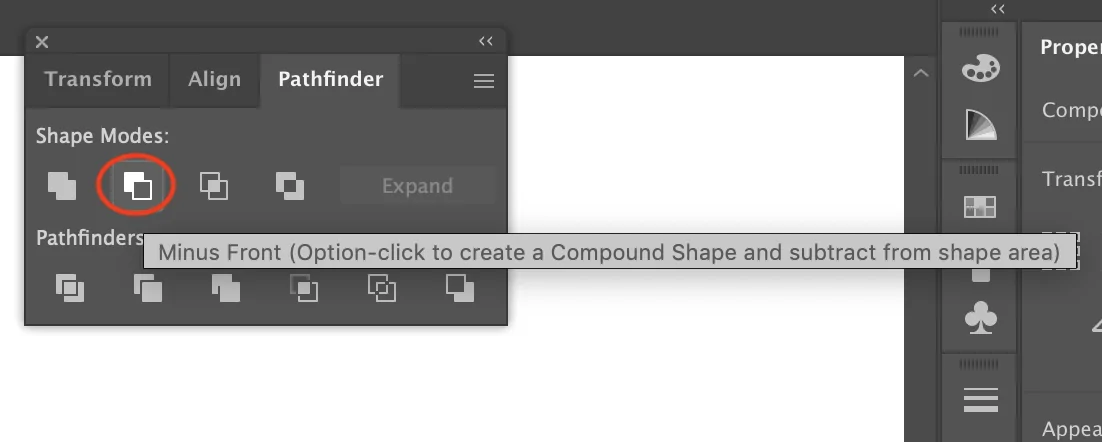
In Illustrator, utilize the Pathfinder > Minus Front tool to cut the pattern out of the picture. It will mimic the laser-cutting process.
Expel any excessive parts outside the pattern to ensure a pristine, defined cut-out appearance.
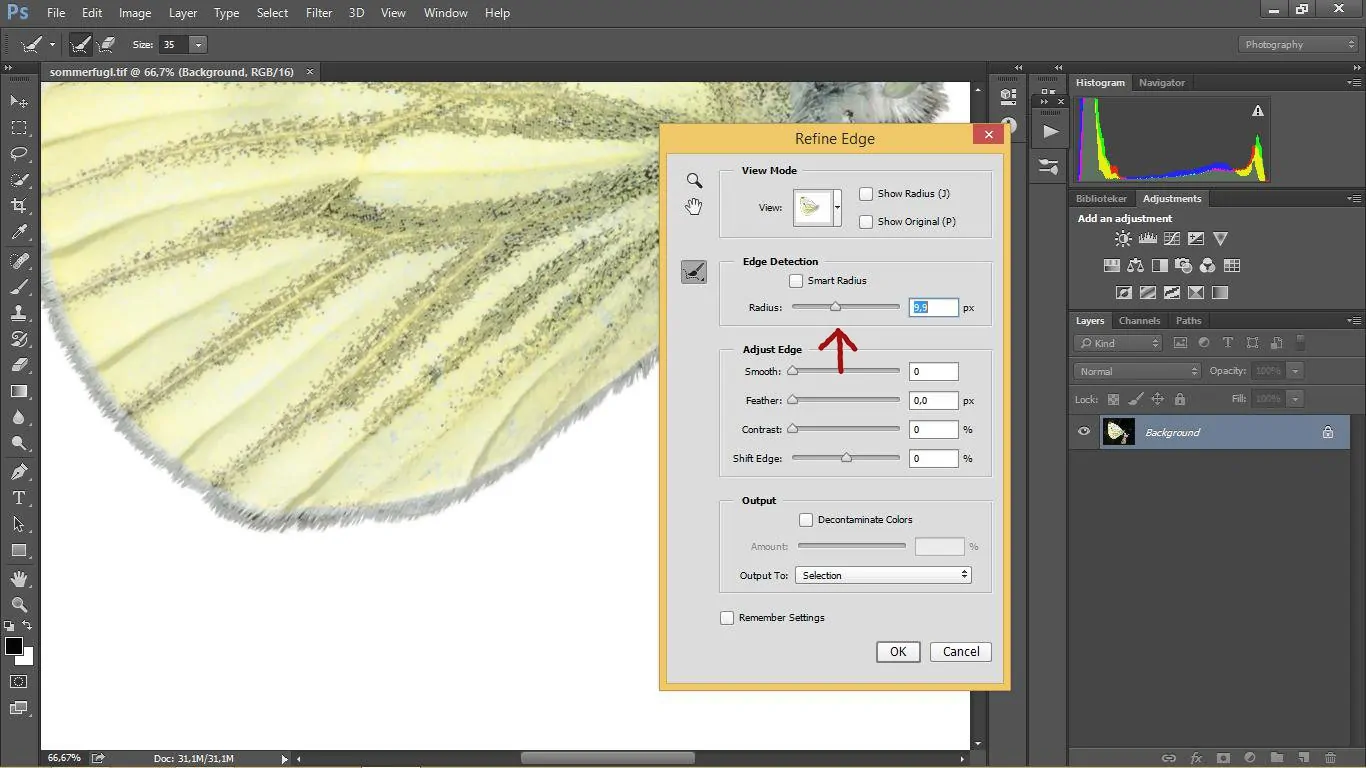
Use the Zoom in and assess the cut-out edges for smoothness Alter any rough regions with the Direct Selection Tool or Eraser Tool as required.
This step will make the visual imprint of a precise, laser cut design on your base picture.
Step 5: Shadow Layer Creation

Make a duplicate of the pattern layer. That copy will serve as the shadow layer, including profundity to the cut-out impact.
Drag the duplicated layer slightly downward and to the right side. That offset mimics the natural shadow cast by a genuine laser cut.
Alter the hue of the shadow layer to a dark gray or black. Decrease the opacity to around 40 to 60% for a realistic, nuanced shadow.
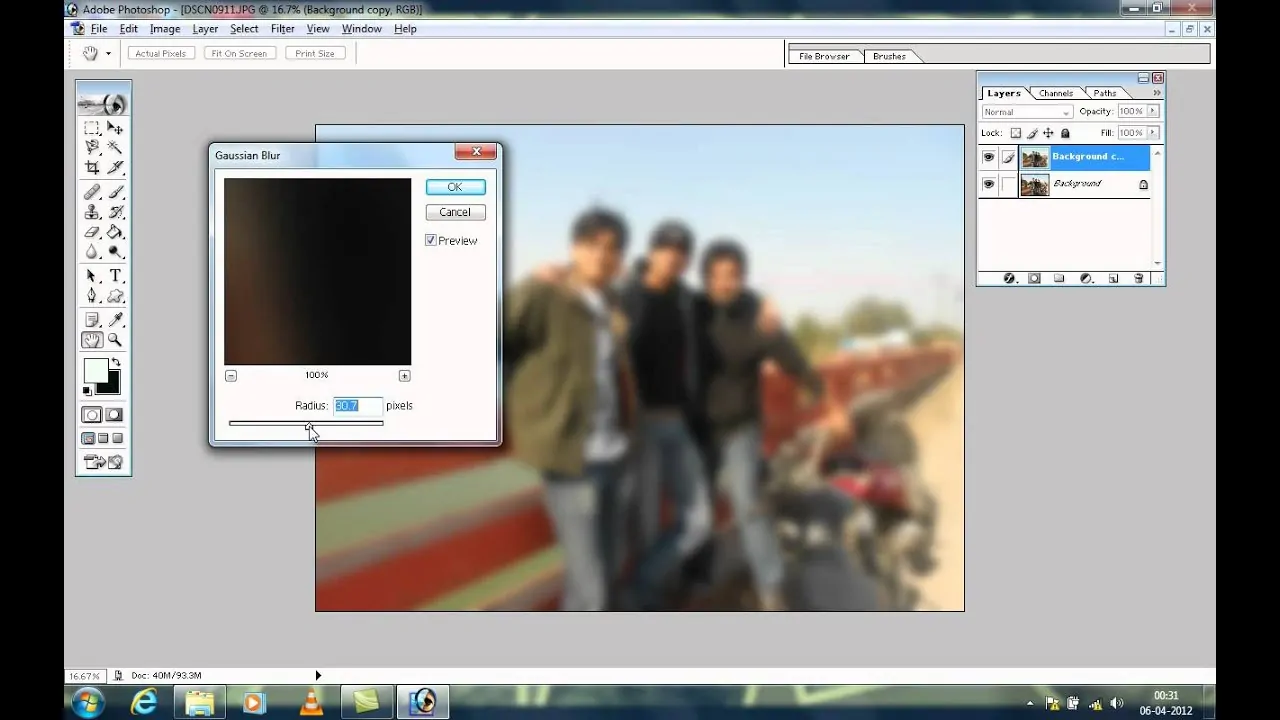
Utilize a slight Gaussian Blur of 1 to 2 pixels to the shadow layer to smooth the edges and make the shadow look more natural.
Put the shadow layer underneath the initial cut-out layer. Confirm that it doesn’t rise past the edges of the base picture.
Alter the shadow’s opacity or apply blend mode like Multiply, according to the material you are simulating.
This phase improves the 3D impression, making the cut-out design look as though it is raised from the surface.
Step 6: Material Texture Addition

Pick a surface that matches your chosen material like wood, metal, or paper. You can discover surfaces online or utilize built-in designs in Photoshop or Illustrator.
Put the texture layer above the base picture and design. Resize it to cover the whole layout.
Right-click on the surface layer and choose Create Clipping Mask. It will guarantee that the surface only applies to the cut-out regions.
Put the blending mode of the texture layer to Multiply or Overlay. Alter the opacity to attain a realistic formation.
For wood, include subtle grain lines and for metal, add reflections. Utilize the Dodge or Burn Tool for highlights and shadows.

Make a duplicate of the texture and clip it to the shadow layer, decreasing opacity for evenness.
At the end of this step, your laser cut design will attain a realistic, tactile quality that upgrades the visual mark.
Step 7: The Final Tweaks
Utilize the Pen Tool or Eraser Tool to groom up the edges of your design, ensuring sharp, smooth lines that imitate the accuracy of a genuine laser cut.
If you have mimicked materials like wood, you can simulate burn marks along the edges with a delicate brush or the Burn Tool. And if there is some kind of metal, include subtle scratches or wear for stimulating realism.
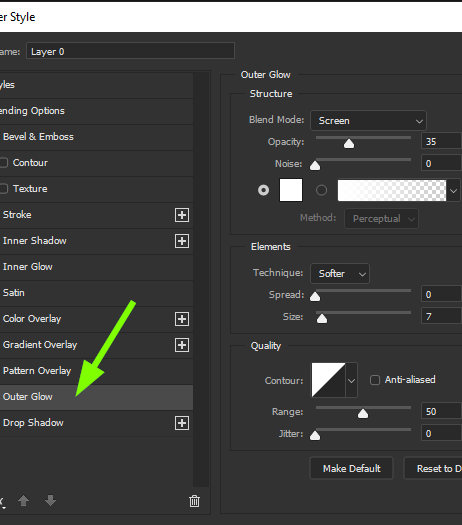
Include a soft light overlay or subtle glow around the cut-outs for presenting depth. Utilize the Outer Glow effect mode in Photoshop with a low opacity and light colour to reenact light mirroring off the fringes.
Regulate the contrast and brightness of the complete composition to let the laser cut impact stand out. It can bring more attention to the complex cut details.
Audit all layers, ensuring that they are properly accommodated and visually symmetrical. Alter any textures or shadows to polish the overall impression.
After you feel satisfied with the result, preserve your final image in a high-resolution format such as PNG or TIFF to protect detail for print or display.
These wrapping-up touches make the design ideal, making it appear more genuine and anticipatory for presentation.
Conclusion
In conclusion, a laser cut effect can be an excellent tool to highlight the primary elements of the image and add more detail. The shadow work, in particular, gives your photos a 3D characteristic that expands the visual story and transforms them into classic gems. This approach is ideal for a wide range of creative tasks, from standard photographs and illustrations to contemporary product designs. Eventually, you can turn your photos and illustrations into intricate, engraved artwork. This visual style also aids in expressing a more artistic and intimate vibe, which is ideal for compositions that must be distinctive.
