How To Create Underwater Effect
In addition to being a delightful hobby, taking pictures or videos underwater can be a highly helpful agency for scientific research. When researchers need to look closely at items on the seafloor over time, underwater imaging becomes quite convenient. The behavior of motile species, such as the interactions between mate pairs in butterflyfish or social behavior in seals, can be observed by underwater shooting. You may even utilize these images and videos to study underwater volcano explosions and hydrothermal vents. Underwater photography, for fun’s sake, is also an enjoyable adventure for both the subject and the photographer, who experience a sense of being visitors in the underwater realm of marine life. Nevertheless, it could be immoral as well as possibly injurious and disturbing to the animal if your sole purpose is to get an aesthetically pleasing arrangement. In that case, the image manipulation tactics can be your guide to setting your common shots into underwater effects. This blog will let you go through a step-by-step process of adding underwater effects to your common photographs without upsetting the activities of marine life.
Step 1: Color Enhancement
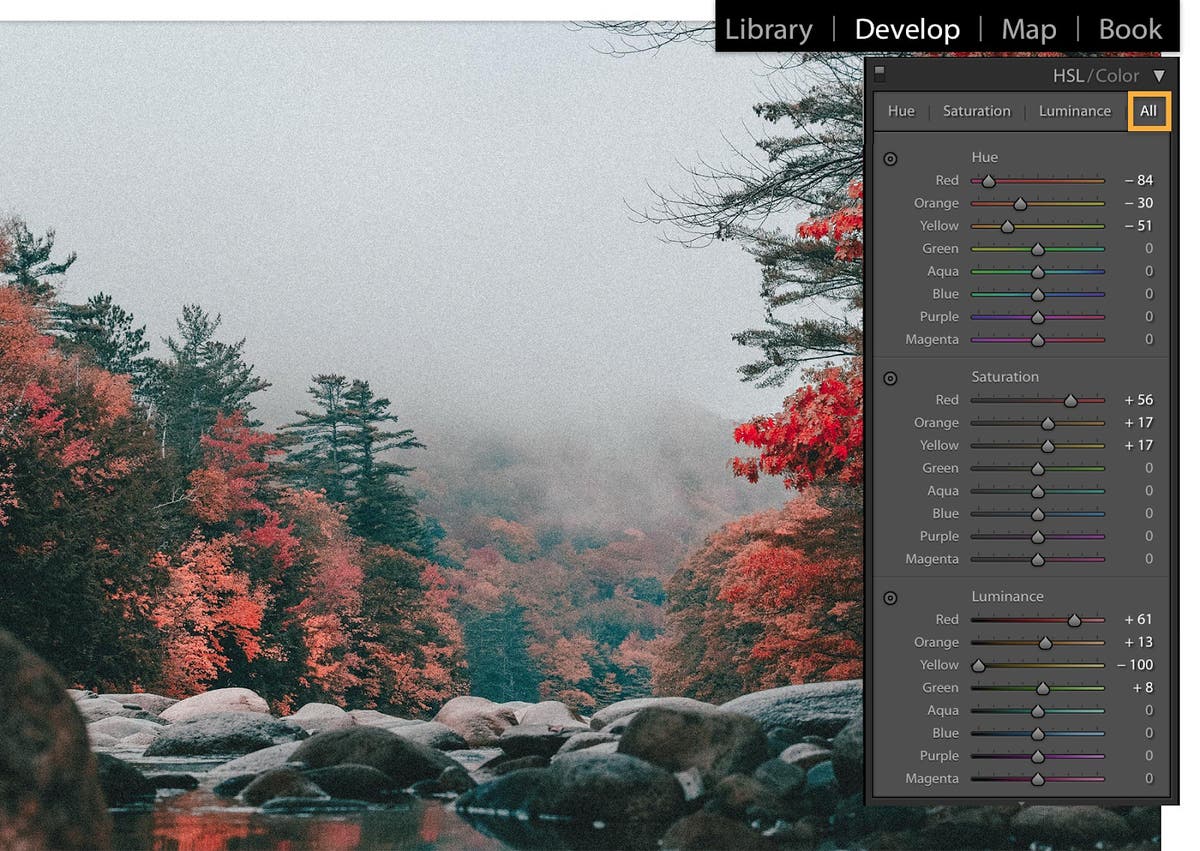
To attain an underwater effect, begin by modifying the color balance of your picture. Start with the hue/saturation options to alter the prevailing color tone. Underwater habitats often have a blue or green cast because of the way water filters light. To imitate this, move the hue towards cooler colors.
Lessen the reds and expand the blues and greens to simulate the natural color transition that happens underwater.
Think of including a slight tint to upgrade the effect; you can use a color overlay in a delicate blue or greenish-blue form. Revise the opacity to mix the color consistently with the initial photograph.
For more profundity, employ selective color modifications to tune up particular spots of the picture. Highlight cooler tones within the background and keep warm styles within the foreground to mimic the way light and color transform with profundity. This phase aids in making a persuasive underwater atmosphere and sets the establishment for further impacts.
Step 2: Applying Dull Lighting
In this step, you have to reenact the underwater light effect and utilize gradient overlays or vignettes to emulate the way light decreases with depth. Start by making a new layer and applying a gradient that shifts from a light color like a delicate blue or greenish blue to a darker tint. Put the gradient layer in a blending mode like Overlay or Soft Light and alter the opacity to blend it easily with the fundamental image.
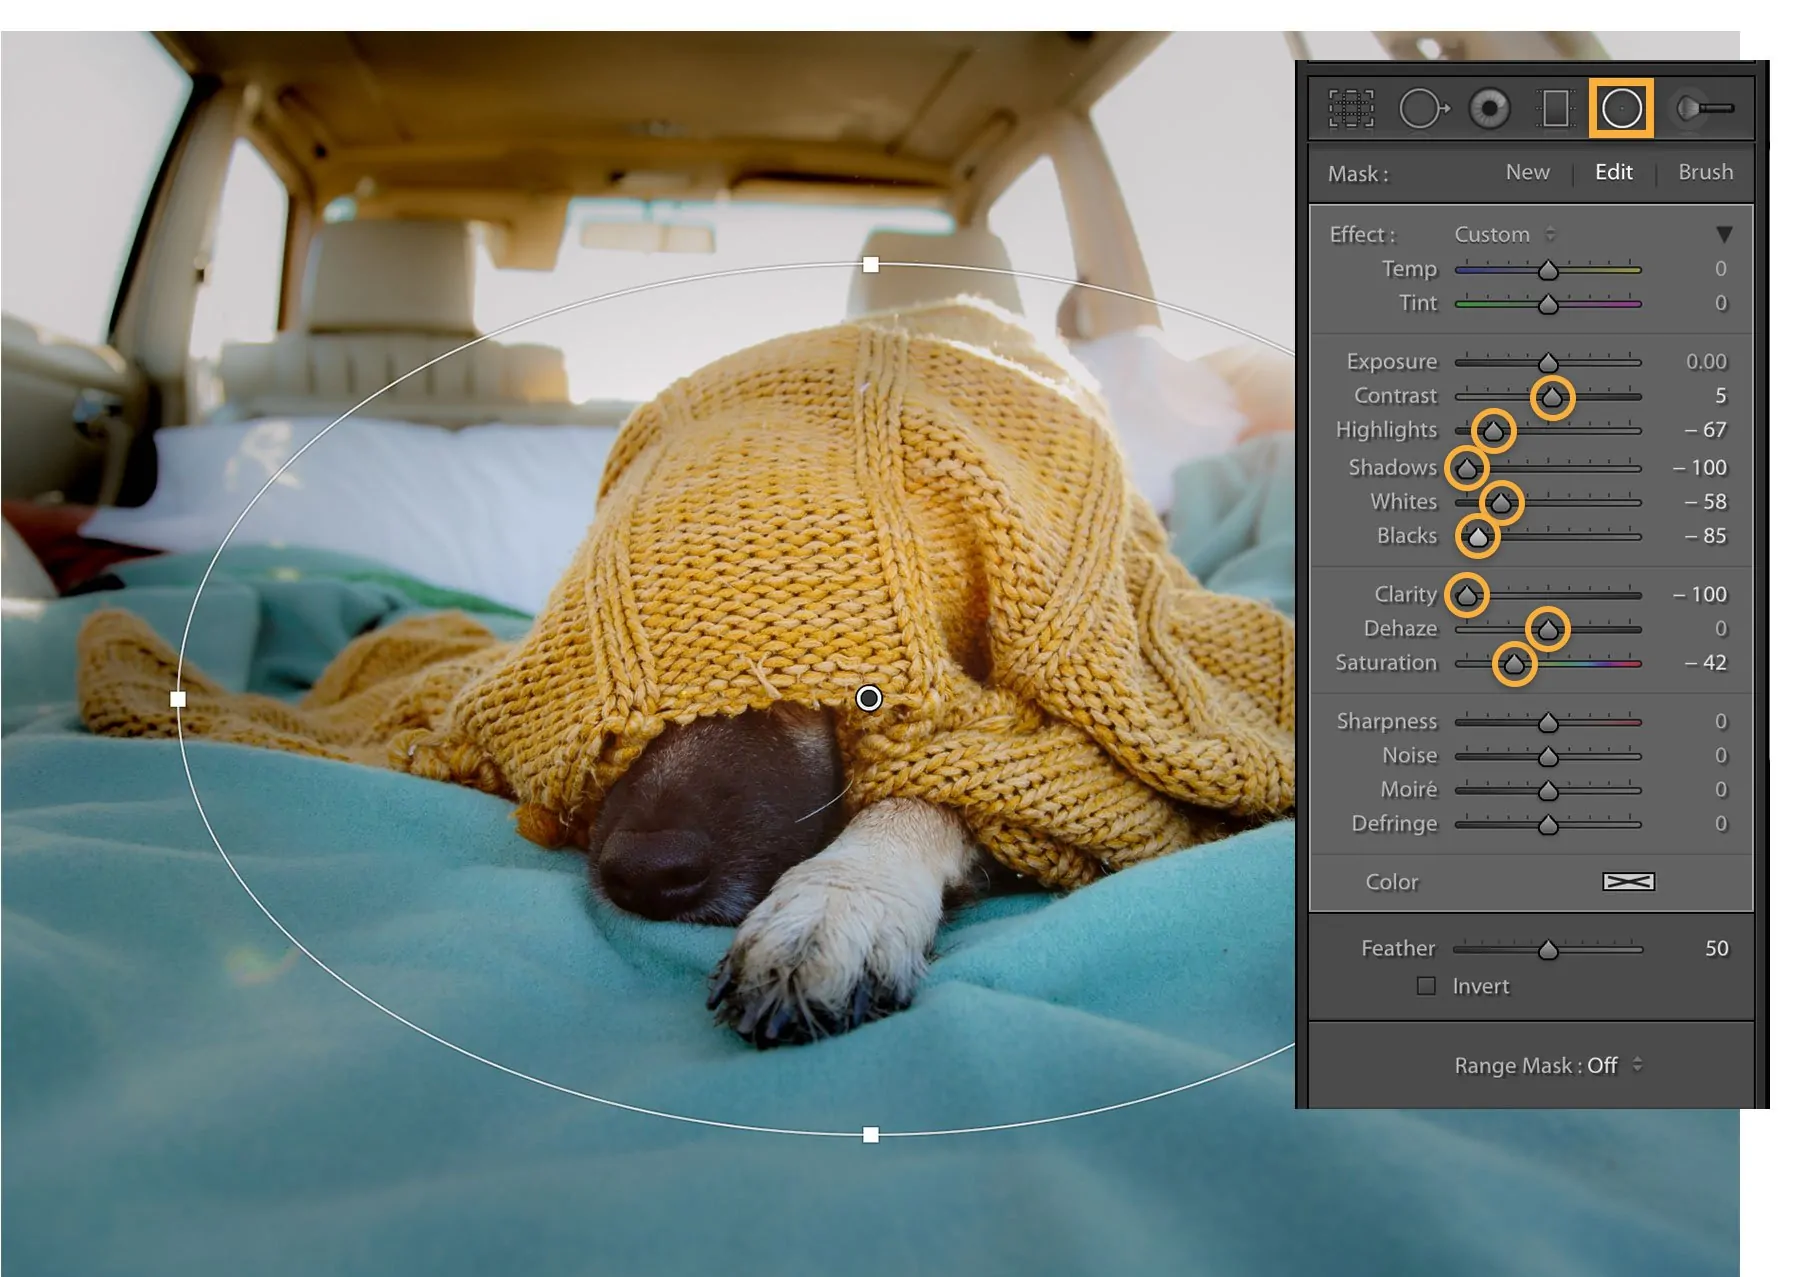
Following, utilize a vignette effect to darken the edges of the photograph. That effect reproduces the natural light fall-off in underwater territories, where the light gets to be more diffuse at the fringe. Add the vignette subtly to dodge overpowering the primary subject.
Utilizing a radial gradient to direct light on particular zones is also a good idea, imitating the way light rays can light up zones of the scene. Regulate the gradient’s position, size, and opacity to make a realistic gradient that improves the overall underwater environment and includes depth in the photo.
Step 3: Adding Blur Effects
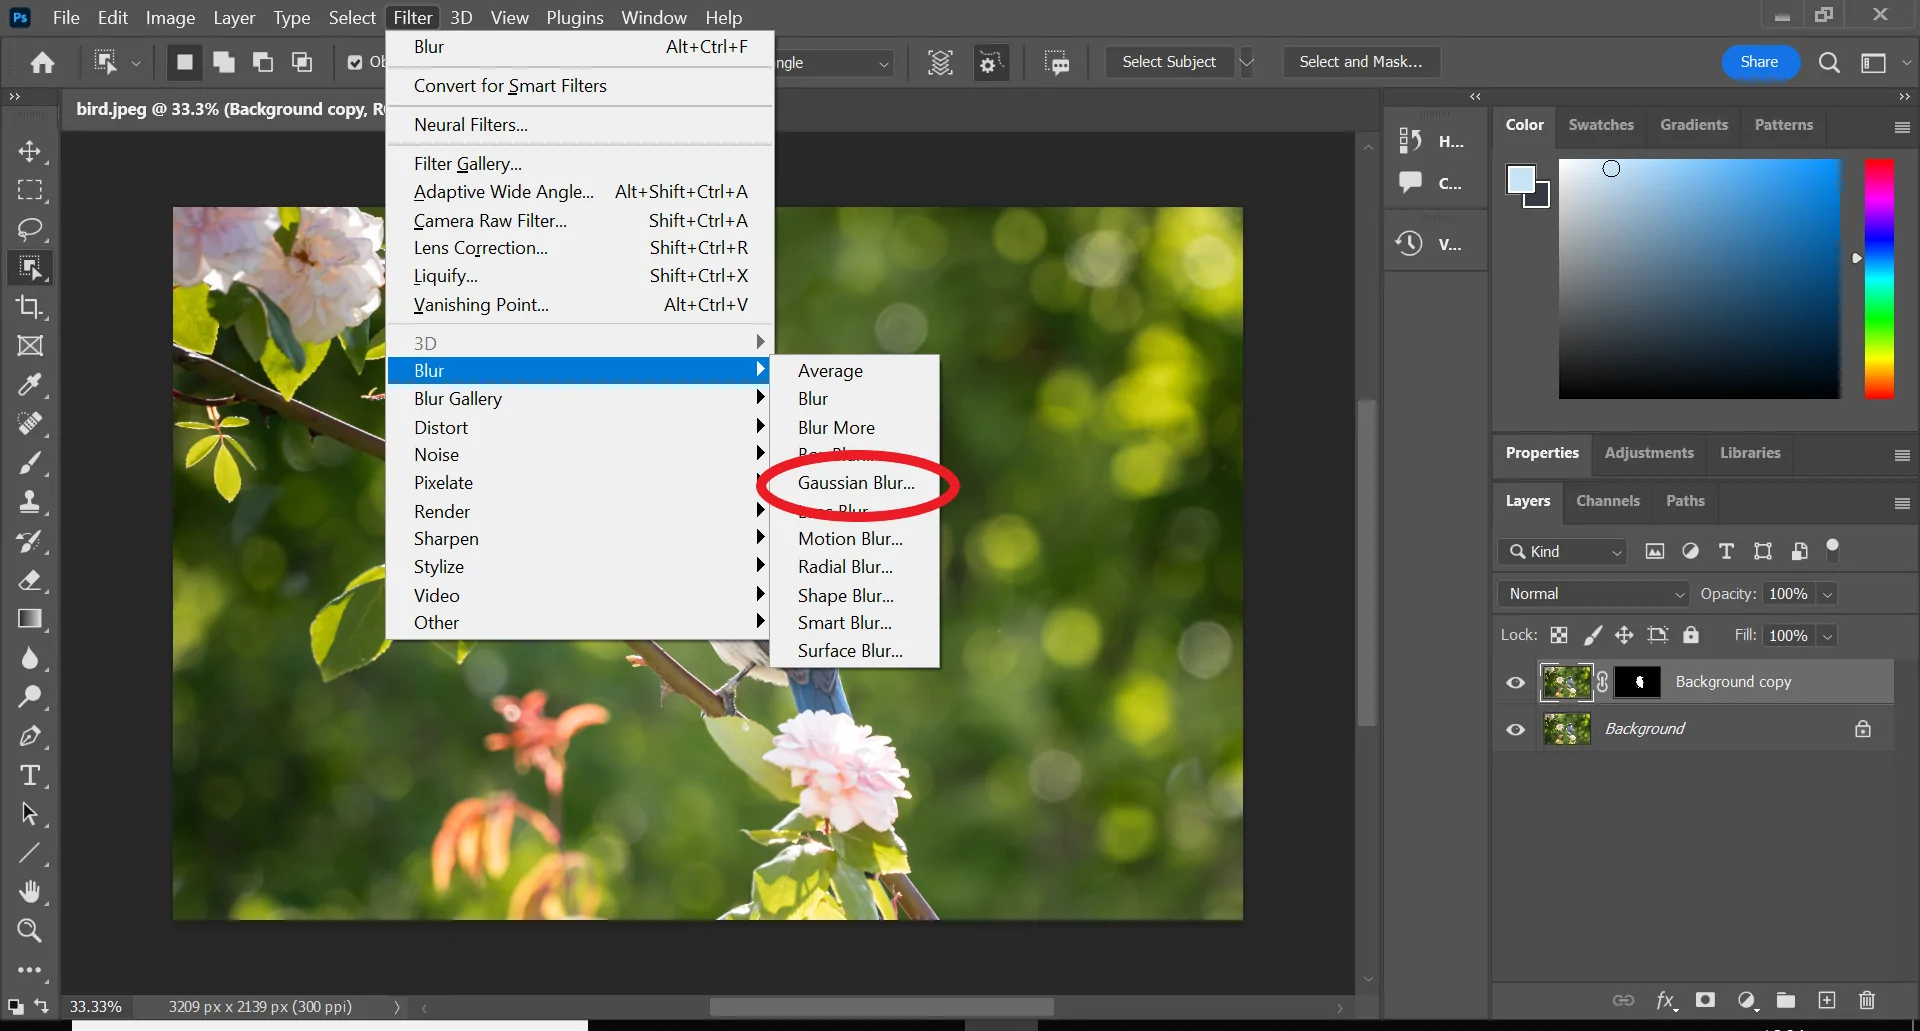
To imitate the diffused, soft light seen in underwater scenes, apply a blur effect to different regions of your photograph. Begin by specifying the zones where you need to form a softened impression. Utilize the Gaussian Blur apparatus to steadily blur these areas, which helps reproduce the scattering of light underwater. Alter the blur radius to attain a gentle delicateness that doesn’t overly deform the scene.
To get a more natural impression, apply the blur selectively instead of consistently. For this, you need to blur the background or regions of the picture that would naturally be less likely to look sharp underwater while keeping the frontal area or essential subjects more defined.
Also, consider including a slight glow to recreate light diffusion. Utilize a delicate brush with a lower opacity to paint tender light spots or rays where light would enter the water. This hybrid of blurring and gleaming upgrades the submerged vibe and makes a more immersive, realistic scene.
Step 4: Simulating Ripples And Caustics
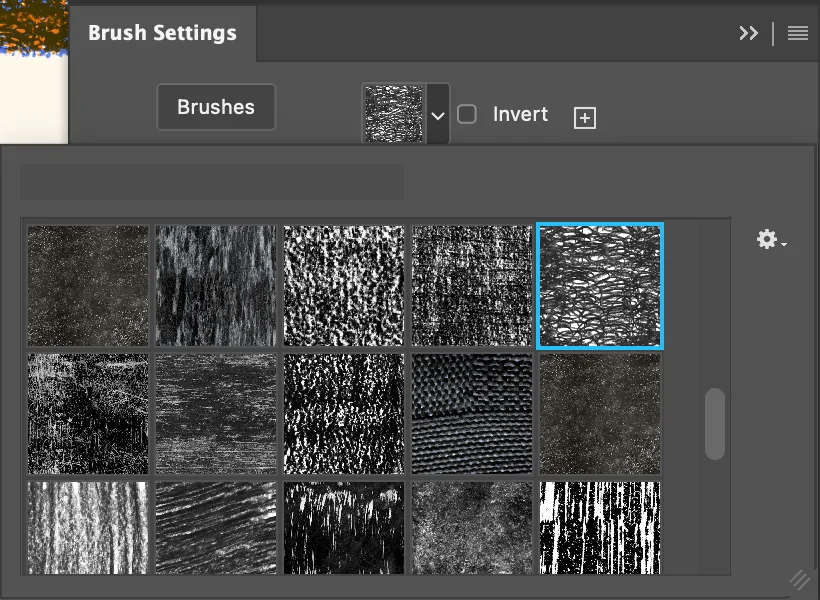
To make a convincing underwater look, recreate light refraction by overlaying surfaces or utilizing custom brushes. Start by selecting or making textures that correspond to light designs or water distortions, like wavy lines or ripples. Put these surfaces on a new layer above your photo.
Put the layer blending mode to Overlay, Soft Light, or Screen to conform the surfaces with the photograph underneath. Vary the opacity of this layer to develop a subtle effect that doesn’t overwhelm the picture but includes realistic light twists.
Utilize custom brushes to paint zones with refractive light designs, applying uneven opacity and blending to imitate the way light bends and diffuses underwater. Revise brush size and shape to coordinate the characteristic light patterns you need to simulate.
For upgraded realism, you can also include caustic designs of light caused by water currents. Utilize overlays or make caustic layouts yourself to include energetic light effects, completing the underwater figment.
Step 5: Creating Bubbles
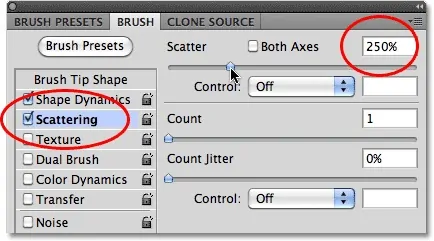
Make a new layer devoted to adding bubbles and underwater particles. Utilize a custom brush or texture planned to imitate bubbles. Modify the brush measurement and opacity to make diverse bubble sizes and densities. Delicately scramble these bubbles over the picture to imitate a natural underwater stir.
You can also utilize a bubble surface overlay as you like. Put this texture on a new layer and establish the blending mode to options like Screen or Overlay to consistently integrate it with the underlying image. Modify the layer opacity to be sure that the bubbles enhance the picture without dominating it.
To get a more energetic impact, include subtle variations in bubble dimensions and density to form a sense of depth and motion. You can also go for layer masks to selectively uncover or cover up bubbles in several parts of the picture.
At last, apply a slight blur or decrease the opacity of the bubble layer to imitate the way bubbles actually scatter and muffle underwater, including to the in general realism of your underwater effect.
Step 6: Addition Of Water Overlays
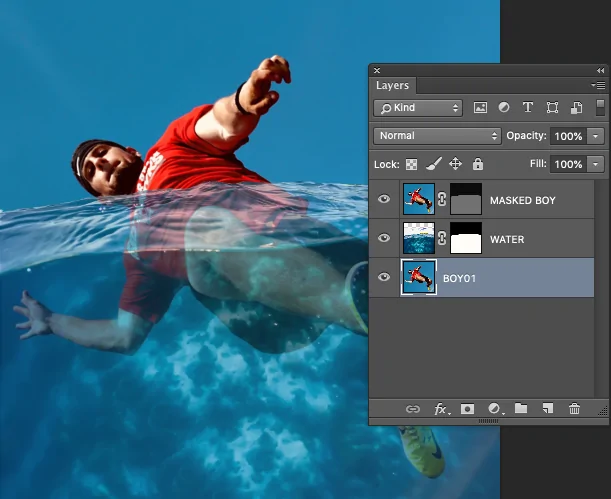
To improve your underwater effect, utilize water overlays to mimic the texture and stir of water. Begin by selecting or making overlays like wave designs, light rays, or water warpings. Put these overlays on a new layer over your picture.
Include the overlay layer and adapt its blending mode, choosing from Overlay, Soft Light, or Screen to blend it with the basic image. Synchronize the opacity to guarantee the effect improves rather than subjugates the initial picture.
Arrange the overlay to highlight ranges where water would naturally respond to light, like where light rays enter the surface or where waves make designs. Utilize layer masks to handle where the overlay shows up so that you get a realistic distribution that corresponds to natural water effects.
To attain additional realism, alter the color balance of the overlay layer to coordinate the overall color plot of your underwater environment. It will make sure that the water texture coordinates consistently, including depth and a compelling underwater aura for your picture. Once satisfied with the overall results, Save your concluded composition within the desired format to preserve your efforts.
Conclusion:
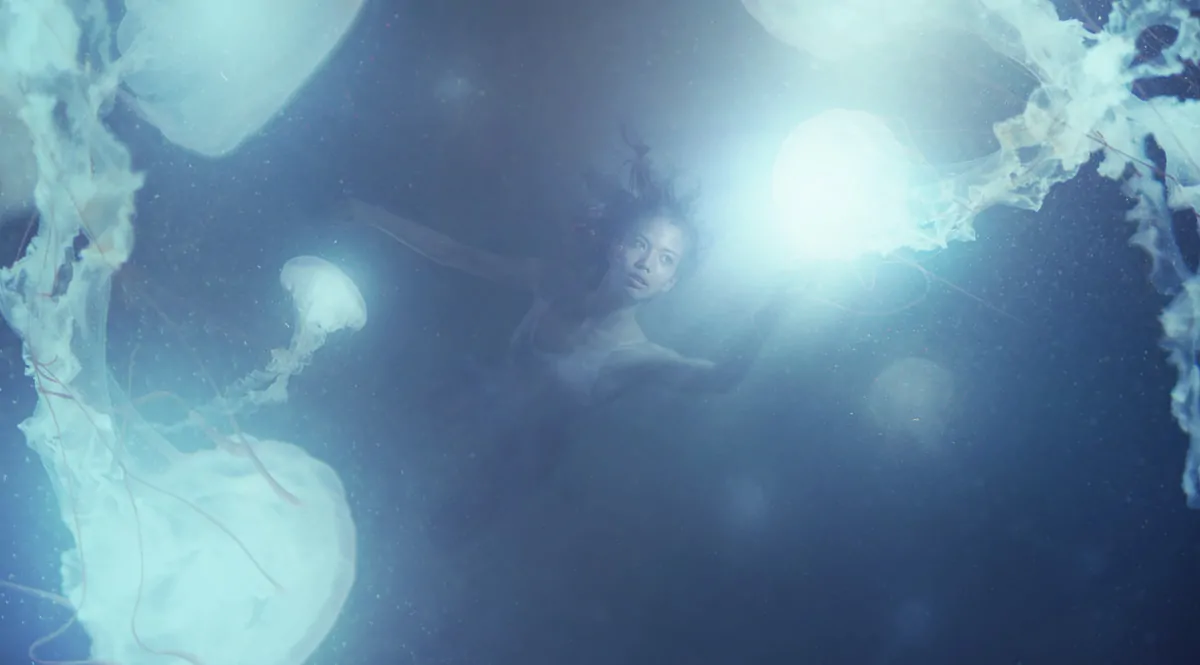
In conclusion, adding an underwater effect to your images is a safe alternative to the hazards and probable risks of underwater photography. You don’t need to trouble the peaceful lives of aquatic creatures. This method ensures your safety and security, providing relaxation of mind. Image editing software like Photoshop can make simulating water and underwater scenery quite easy. Various approaches to editing your photographs with underwater effects are demonstrated in this blog. You just need to go through the directions step-by-step, and thus, you’ll be able to turn your images into enigmatic marine environments, creating an engaging and captivating aquatic scenario.


