How To Create An Airbrush Effect
In traditional airbrushing techniques, artists and producers use airbrushes to apply paint to surfaces. Airbrush users apply watercolor on paper, acrylics on plastic, cosmetics on the skin, and multiple other materials. An airbrush is a small, portable tool that works with compressed air in an enclosed container to spray paint in a collected manner and creates a surface that is uniform in color. In order to achieve a high degree of realism, illustrators and artists frequently use airbrushing. The airbrush, despite being created in the late 19th century, wasn’t widely used as a painting tool until the middle of the 20th century. Since then, its use has continued to expand in a number of aesthetic ways. In addition, the final smoother appearance after the airbrush application inspires image editors and digital artists, who vastly adopt this approach in a digital way and simulate airbrush defects in their compositions. Various image manipulation programs such as Photoshop, GIMP, Corel Painter, and Procreate offer airbrush or similar tools to create this craft in a digital setup. The detailed process of adding an airbrush effect to an image is as follows:
Step 1: Image Loading
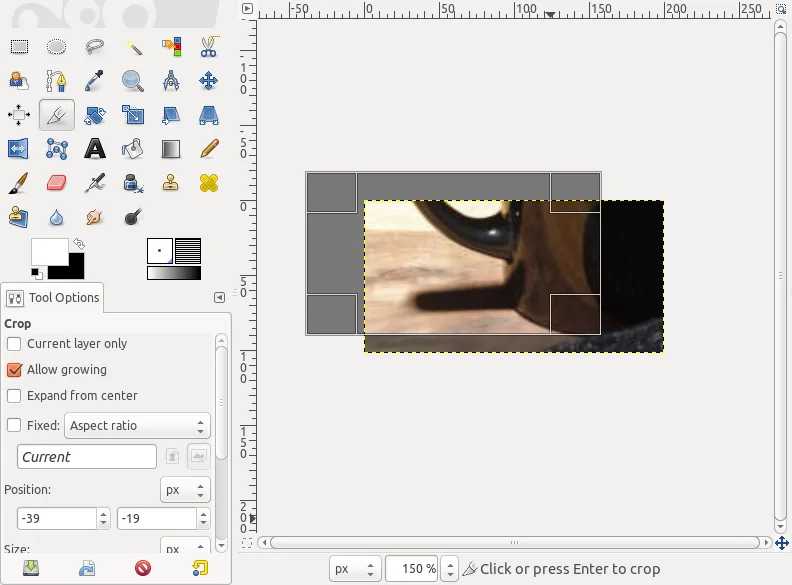
Commence your image enhancement process by initiating any of the effective image editing programs like Adobe Photoshop, GIMP, or Corel Painter.
As essential, make a new project by clicking on File, and after that, click New or open an existing project in case you’re working on an ongoing errand.
Explore the File menu and tap on Open to scan your computer files and get the one you would like to edit. Tap on that picture file to highlight it, and after that, press Open to import it into the editing application.
Be sure that the picture opens accurately and is shown within the workspace. Review the resolution and size to affirm they meet your editing essentials.
If required, alter the canvas size or zoom level to induce a clear view of the image zone you will be working on.
Keep a duplicate of the initial image to protect the unedited form. Utilize Save As to form a copy, guaranteeing you do not overwrite the initial file.
Step 2: Airbrush Settings
Get to the tool palette or toolbar of your software. That can be typically found on the side or at the top of your workspace.
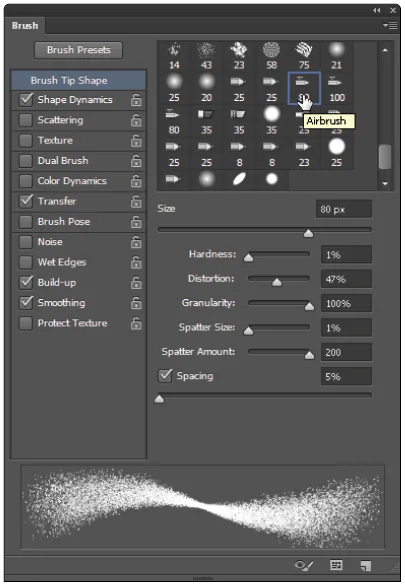
Search for an airbrush tool or a brush tool with comparable efficacy. In Photoshop, this may well be labeled as an Airbrush or Brush Tool with particular airbrush settings.
Press on the airbrush tool symbol to choose it. In case it’s grouped with other tools, you will need to click and hold the tool sign to uncover the airbrush choice.
Unlock the tool options bar or board to consider additional settings for the airbrush device. This is often where you can revise different parameters.
Adapt settings like brush size, hardness, opacity, and flow to conform to your editing necessities. Put down the opacity and flow for smoother, more amalgamated results.
Pick a brush preset in case accessible, or customize your own by remaking the brush shape, surface, and other qualities.
Execute a test stroke on an empty area of your image to confirm that the airbrush tool is set up accurately and creating the required effect.
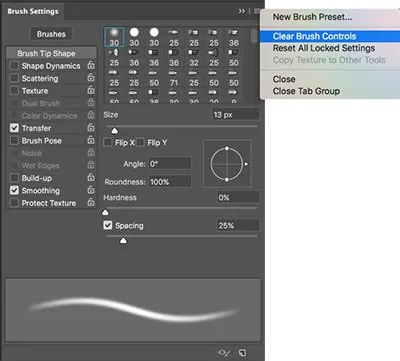
Step 3: Airbrush Testing
Get to the tool settings panel, where you’ll be able to alter the parameters for the airbrush tool. This panel is often found at the top or side of your workspace.
Alter the brush size to manage the width of the airbrushed strokes. Bigger sizes cover more range but may be less accurate, while smaller sizes permit more elaborate work.
Establish the opacity level to hold the transparency of the brush strokes. More down opacity will make a milder, more gradual effect, whereas higher opacity will deliver a more drastic color application.
Alter the flow setting to oversee how much paint is connected with each stroke. Decreased flow settings result in a more continuous color application, while higher settings add more color at once.
Select the brush hardness to specify the edge delicateness of the strokes. Milder brushes make more blended moves, whereas harder brushes create sharper edges.
Analyze additional elements, including pressure sensitivity and scatter, if accessible, to assist in refining how the airbrush tool lays color based on your input.
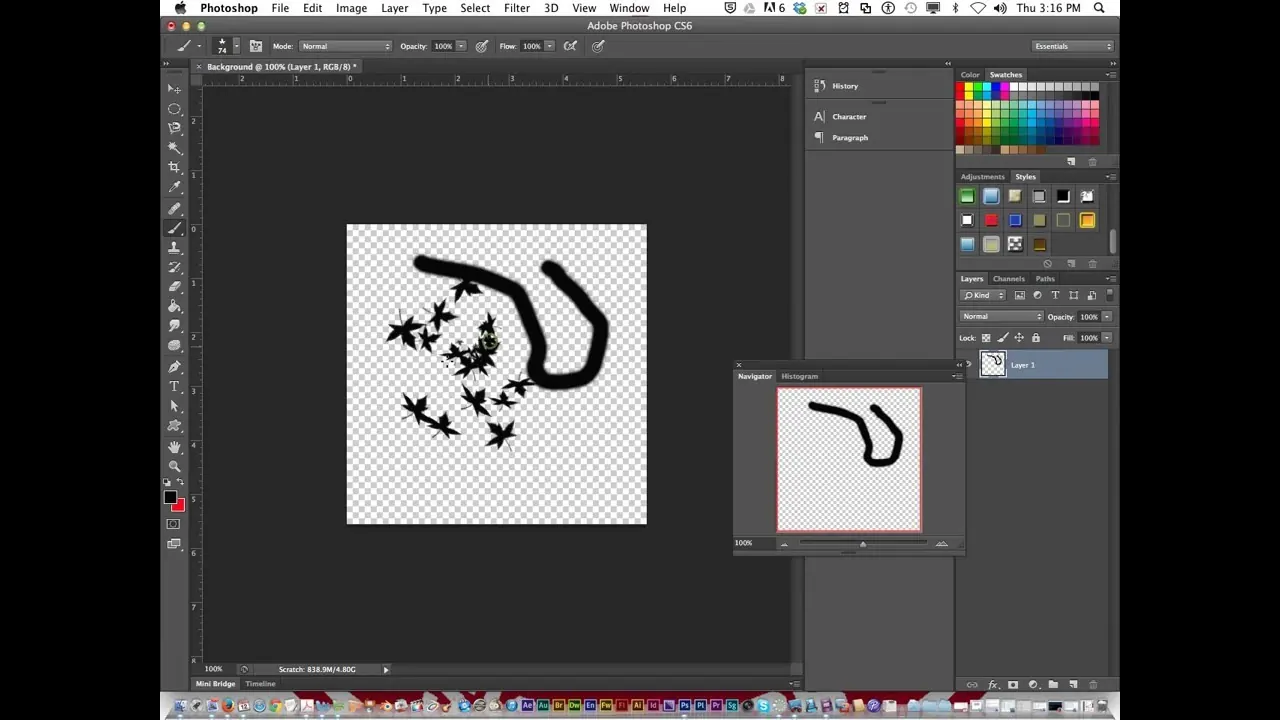
Do some test strokes on a clear or less critical range of the picture to see if the settings are creating the required effect. Alter as required based on the outcomes.
Step 4: Base Application
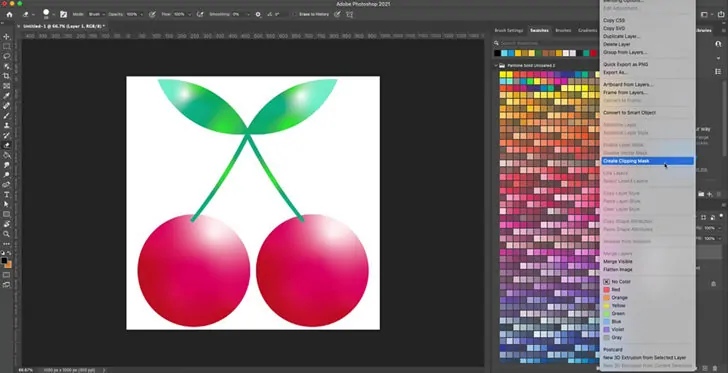
Select the base color you need to utilize for your airbrushed effect. You’ll be able to choose it from the color palette or color picker tool in your software.
Recheck that your airbrush device settings are accurately adjusted for opacity, flow, and size to attain a smooth application of color.
Set the airbrush tool over the region where you need to begin applying the base color. Use Zoom in option if required to guarantee exact placement.
Begin applying the color by delicately pressing down and moving the airbrush over the photo. Utilize light, slow strokes to construct the color gradually, making a smooth conversion.
Use numerous layers of color if required to reach the specified depth and intensity. Permit each layer to dry or set before including extra layers.
Utilize the airbrush tool to incorporate the edges of the applied color with encompassing areas, ensuring there are no harsh lines or irregular patches.
Use Zoom out and survey the application of the base color. Make any vital changes by including more color or blending further to get a consistent and smooth development.
Step 5: Blending Colors
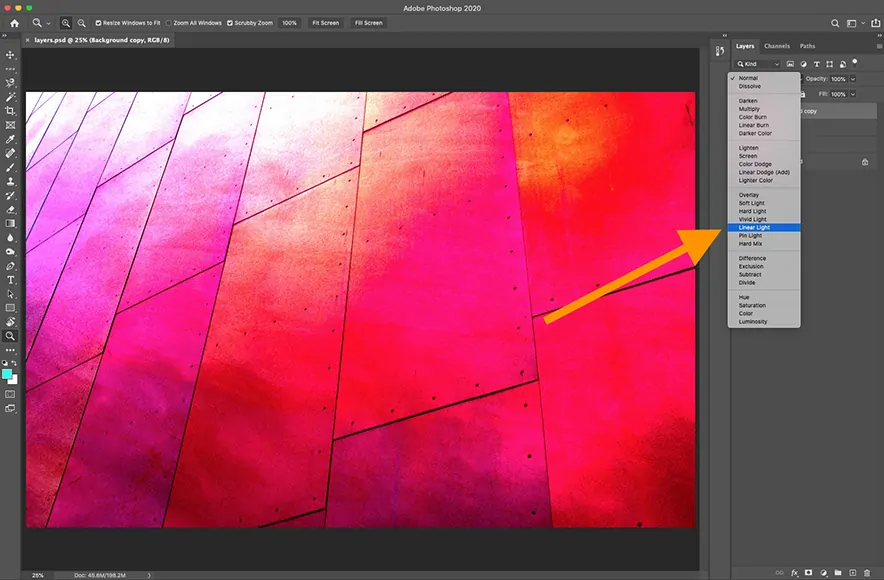
Assess the introductory color application for any harsh lines or uneven ranges. Look into where extra blending or refinement is required.
Select a blending mode, considering options such as Soft Light or Overlay, which can help mix colors more naturally with existing layers.
Tune your airbrush tool settings for blending. Reduced opacity and flow will help make smoother moves. Select a soft brush edge for blending.
Tenderly move the airbrush tool along the edges of the connected color, utilizing circular or sweeping movements to merge it consistently with encompassing zones.
Include extra strokes with the airbrush tool to assemble the color slowly. Work in layers, permitting each layer to blend with the previous one for a more characteristic effect.
In case your software contains a smudge tool, utilize it to encourage blend and smooth out any remaining lines or moves.
Use Zoom out to monitor the general blending effect. Drive any vital adjustments by reapplying color or blending further to guarantee a cohesive and refined formation.
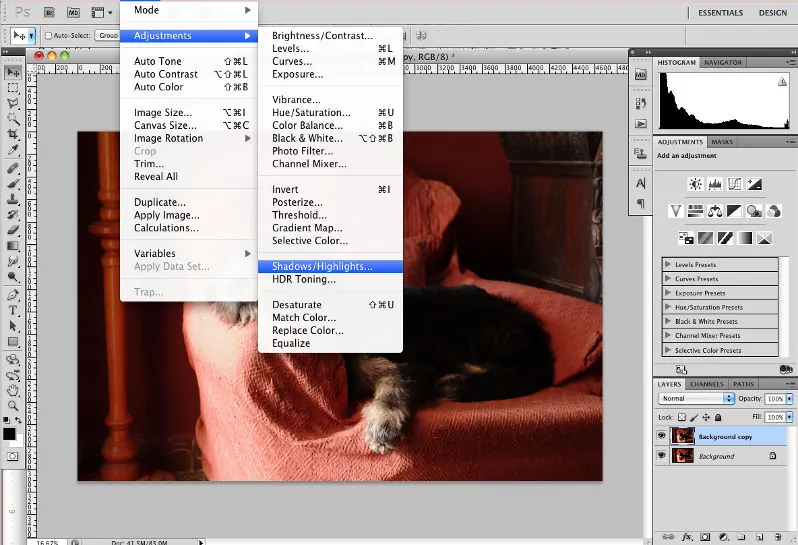
Step 6: Shadows And Highlights
Audit the base color and blending to decide on zones that require additional detail or polishing. Recognize particular areas that require more emphasis or definition.
Select a smaller brush or a different airbrush preset to include subtle elements. Alter settings such as size, opacity, and flow to fit the level of detail needed.
Add lighter shades or highlights to zones where light naturally strikes. Utilize delicate strokes to construct highlight zones gradually so that they blend easily with the base color.
Additionally, include darker tones in shadowed regions to make profundity and dimension. Utilize subtle strokes to coordinate shadows with the encompassing colors.
Join finer details, including textures, patterns, or small highlights. Utilize a smaller brush size and alter opacity for exact application.
Ceaselessly review your work to guarantee the included details improve the picture without disturbing the overall effect. Alter as required to preserve consistency.
Employ Zoom in to tune subtle elements and make any fundamental settings for a more pristine wrap-up. Make sure all details blend actually with the base and blended colorings.
Step 7: The Final Assessment
Start by zooming out to see the whole image. It helps you catch the general effect and distinguish any irregularities or zones that require adjustment.
Search for any noticeable defects like uneven color application, harsh lines, or zones that need smooth blending.
Utilize your airbrush tool or other editing tools to adjust any issues. Add additional color, blend edges, or refine details as required to get a polished appearance.
Confirm that the colors are proportional and that the airbrush effect coincides with the general image. Alter hues or saturation if necessary to attain the specified visual impact.
Include any conclusive tweaks, such as gentle highlights or shadows, to upgrade the widespread appearance of the image.
Save your edited photo by selecting File, and after that, Save or Save As features to preserve your changes. Select the fitting file format and title for simple identification.
Conclusion:
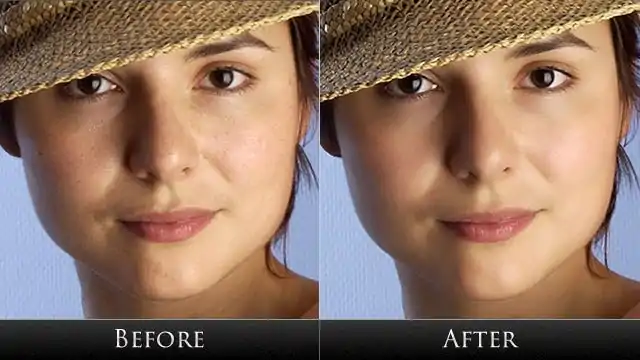
In summary, an image, after going through an airbrush effect, gets free from any harsh lines and conveys a perfect blend of smoothness and naturalism. This gentle and artistic effect can be added to an assortment of photo types, such as product shots, landscapes, portraits, and more. Specifically, digital airbrushing on portraits, as a skin retouching technique, can give the main subject a radiant, natural appearance identical to magazine models. Still, you must be cautious while employing the airbrushing effect as it may quickly make something appear extremely fake and plastic-like, so be moderate and let some natural features remain intact for enhanced realism.
