How To Create Space Art From Your Photos
The inclusion of space art in your photos gives you an escape from the monotony as you can break out from the bounds of reality and discover the infinite expanse of the cosmos. It feeds the images with astronomical traits such as stars, galaxies, and planets. Any space art you create is a piece of magic that mirrors your creative eye and genius. You have complete hold over the photos you want to convert into space art atmosphere, which makes you feel deeply connected to nature and its attributes exceeding the planet Earth. You can intercalate your vision into every creation, whether turning an ordinary landscape into a wonderland or injecting a cosmic touch into a photo. Astronomical element integration in your photos, like cosmos, stars, planets, etc., inspires awe and enigma when pondering the vastness of the universe or the likelihood of space discoveries. This blog article can meticulously guide you about the steps and approaches you can follow to create space art from your photos.
Step 1: Create your celestial canvas
Browse through your image albums thoroughly and select the base image that triggers your vision the most.
Consider the composition of the picked-up image; it relates to the space art experience you will create. This image will play the role of your celestial canvas to paint space manifestations.
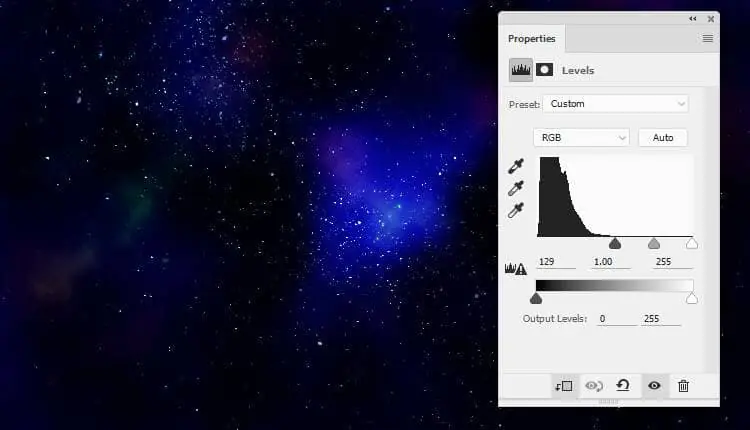
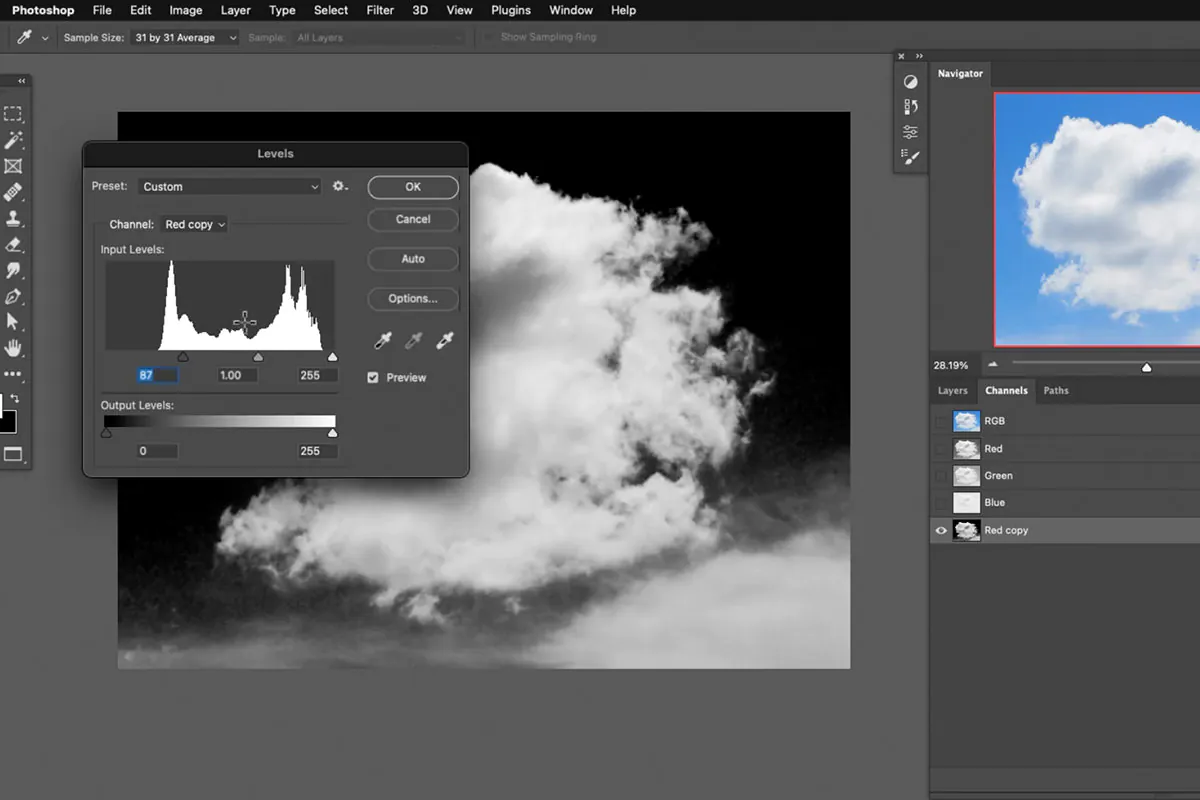
Next, you should focus on image quality and related factors. See if the image has a high resolution, sharpness, contrast, colour balance, etc. These variables can impact the extent to which the space elements merge with your photograph.
Once you’ve chosen, save a copy of the image to protect the original. Now, your canvas is ready to begin your task of creating a dazzling celestial work of art.
Step 2: Renovate your space art background
Open the base photograph in any of the compatible editing programs. Create a new layer to experiment with alterations.
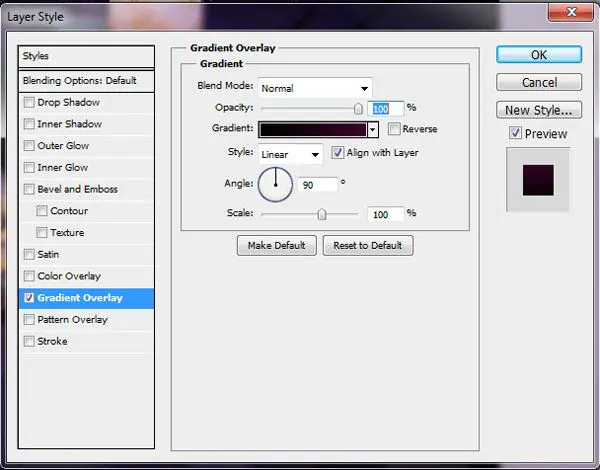
Choose darker colours for your palette that suggest the expanse of space. Like grave blues, purples, and blacks are influential. Use gradient tools or brushes to add these colours to your new layer.
Use modest colour and opacity revisions for the depth and texture of your cosmic background—practice brushes, filters, and textures to create a genuine cosmic environment.
Start with painting a starry sky, an essential aspect of space art. Use small and soft brushes to draw stars of varying sizes and opacities.
Create galaxies and nebulae with brushes or blend predefined nebula images with backgrounds for a more vivid background. Test with different shapes and colours to get a colossal feel.
Assert that your space background layer is placed below the original photo layer. This arrangement will blend the image flawlessly with the cosmic elements in the following steps.
At last, save your work and make a backup.
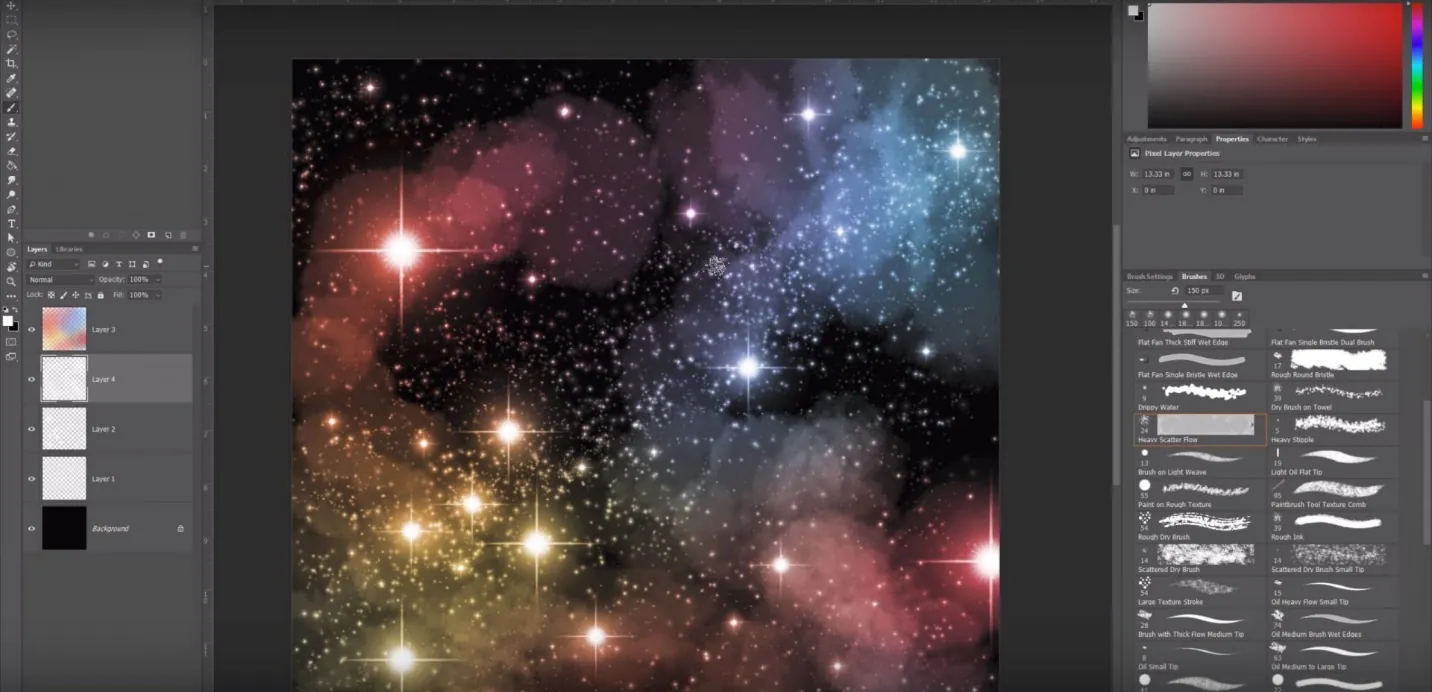
Step 3: Add stellar elements
Select the background layer created in step 2 and launch it in the software.
Modify the stars created in the previous phase if you need additional effects, and start integrating other space elements.
Add galaxies using brushes or by mixing in photographs of genuine galaxies. For the desired look, play with different shapes and colours.
To reform the beauty of the universe within your image, apply various nebula textures and colours to your canvas, making sure they blend perfectly with the background. These ethereal clouds will add a romantic touch.
Adapt the celestial elements’ opacity and layer blending modes to match your cosmic backdrop and base image. Soft light, overlay, or screen blending modes can work well to create natural blends.
Take note of the way these elements are arranged. Edit their sizes, locations, and orientations to fit your composition. Consider their communication with your original photo to improve its visual appeal.
Zoom out and evaluate your work regularly. Make sure the heavenly elements complement your shot and setting. Customize their look to obtain the desired cosmic impression.
Step 4: Use blending options for solidarity
Ensure the proper arrangement of your image layers.
Try applying different blending options to choose the one best suited to your cosmic elements integration. The most common options are “Screen,” “Lighten,” and “Overlay.” Each option creates a distinct mixing effect.
Utilize layer masks to display or hide areas of your image discreetly. Using this technique, you can control the interaction of cosmic elements with the image. Paint a delicate brush on the mask to create intuitive shifts.
To manage the visibility of your photo layer, set its opacity. Reduced opacity can highlight cosmic components while keeping a sense of reality.
Take care that your photo’s colour correction matches the general colour palette of your space art. For an accordant look, you can perform colour modifications such as desaturation or colour grading.
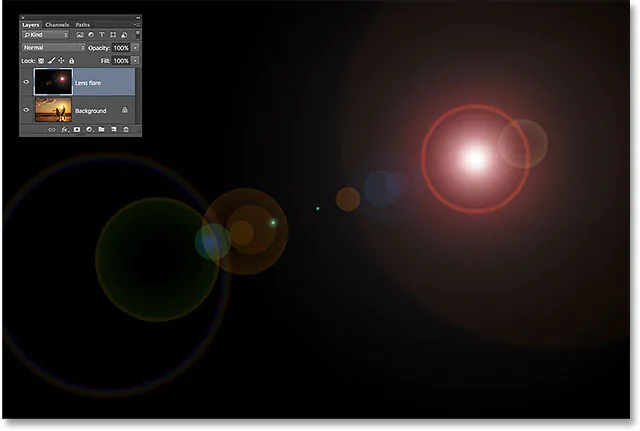
Add lens flares or lighting effects to add thickness and integrity. These effects can improve the association of your photograph with the cosmic backdrop.
Review your composition on a regular basis. Check overall cohesion and conserve your progress.
Step 5: Include cosmic accents
Select the heavenly objects you want to use in your composition. Decide the size and placement of these elements to fit your image.
Set a new layer for each cosmic accent you would like to use.
Keep track of how accurately these celestial things are rendered. Design planets with intricate characteristics like craters and rings using brushes or unique shapes.
Apply light and shadow effects to your cosmic accents to add flavour. Evaluate the direction of light in your photograph for uniformity.
Place celestial components as they blend in spontaneously with your composition. Adjust their angles and placements.
Keep your style consistent throughout your space art. Ensure the cosmic accents mix nicely with the current features according to colour and texture.
Practice out different cosmic accents and places. To create a phenomenal environment, you can add many moons, faraway planets, or even asteroid belts.
Recap your artwork for any necessary revisions so that the cosmic accents complement the overall aesthetic appeal of your space art.
Step 6: Intensify atmospheric conditions
Modify the specifics in your space art via brushes, filters, and changes for honing essential features and aspects.
To simulate the depth of space, add atmospheric effects such as the use of slight haze or fog to give the appearance of distance between elements.
Use colour grading techniques to establish an even colour palette across your photograph. Tweak the tones and hues for a pleasing outcome.
Adjust the lighting by highlighting how light rays affect astronomical objects and your original photograph.
Play with different textures and overlays to imitate various surfaces, including rocky terrains on planets and the smoothness of cosmic substances.
Look into employing depth-of-field techniques to highlight key elements of your composition.
Confirm that any changes or effects you use flow properly with the existing parts. The idea is to complement, not dominate, your space art.
For a balanced and excellent finish, repeatedly zoom in and out, make adjustments, and save progress on an ongoing basis.
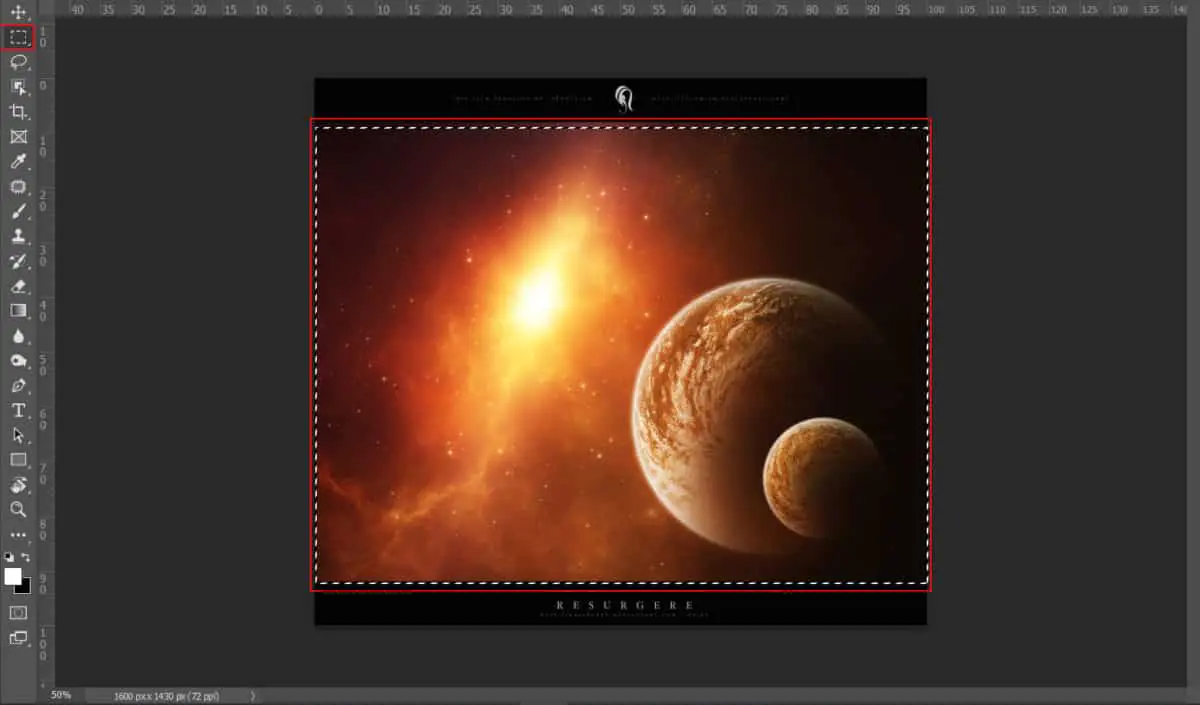
Step 7: Make your space art ready for presentation
Undertake a thorough examination of your space art. Zoom in and out to look for flaws, inconsistencies, or areas that must be refined.
Contemplate using subtle effects like lens flares or faint glows to add substantial realism to your scene.
Add your signature or watermark to claim ownership of your artwork. Make it modest yet noticeable enough to dissuade illicit use.
Save your space art picture in a high-resolution format, such as JPEG or PNG. That is beneficial for the quality of your artwork when viewed or printed.
If needed, resize your space art for social media to accommodate different platforms, like square and landscape orientations.
Choose the presentation platform for your space art. That might be on your website, social media, or an art museum. Display it with an expression that honours your creative work.
Conclusion
Presenting space atmosphere and elements into familiar images strengthens the psychological connection of men with space and its objects. Space art beautifies the universe’s secrets, from distant galaxies to faraway worlds of nebulae. It knocks up admiration and inflames the imagination, forcing us to think beyond the limitations of everyday circumstances. Additionally, it is visual evidence of the unconstricted nature of art and creativity that can consider even the whole universe as its canvas. Space art images are also an easy and less complicated exploration of astrophysics, easing our confusion and puzzlement regarding cosmic factors.
