How To Create Robot Vector Art In Illustrator
Robot vector art can strikingly depict compelling and vibrant futuristic beings, engineering wonders, and cybernetic splendors. Within these artworks, artists own multiple creative opportunities to come up with compositions of technology, invention, and humankind’s association with machines. The robotic characters’ design is at the core of any robot vector art composition. Designers can envisage robots varying from witty and forthright androids to mighty and automated robots. Every character structure can transmit a remarkable essence, position, and chronology through shape, segments, and detailing. The environment in which the robots exist has a binding function in setting the mood and narrative of the composition. Moreover, Color choice and textures also impact the attitude and climate of the composition. For instance, kaleidoscopic and fiery shades can stimulate a feeling of positivity and excitement, while quieted or monochromic plots can communicate a temper of puzzle or suspense. Texture variations can bring verismo and concrete grades to the artwork. This blog will continue with the essential steps of creating alluring robot vector art using Adobe Illustrator.
Step 1: Create an initial outline
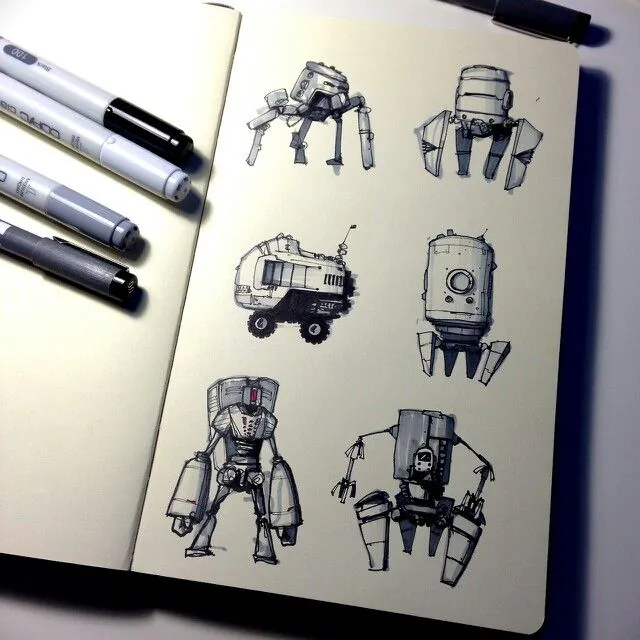
Sketching is the primary step in making robot vector art with Adobe Illustrator. Start by thinking up your robot depiction either on paper or digitally. Portray the general structure, characterizing key components such as the robot’s head, body, arms, and legs. Revolve around representing your robot character’s fundamental highlights and dimensions while looking into distinctive artistic prospects. Concentrate on shapes, angles, and mechanical components to breathe your robot into life.
Regard the usefulness and objective of your robot art as you outline, whether it’s an inviting companion, a futuristic machine, or a threatening opponent. Play with different postures and expressions to communicate personality and feelings.
At this stage, take your time to repeat and redraft your portrayals until you’re gald with the overall design direction. Once you have an explicit vision of your robot character, you’re set to continue to the digital illustration stage in Adobe Illustrator.
Step 2: Initiate your Adobe Illustrator
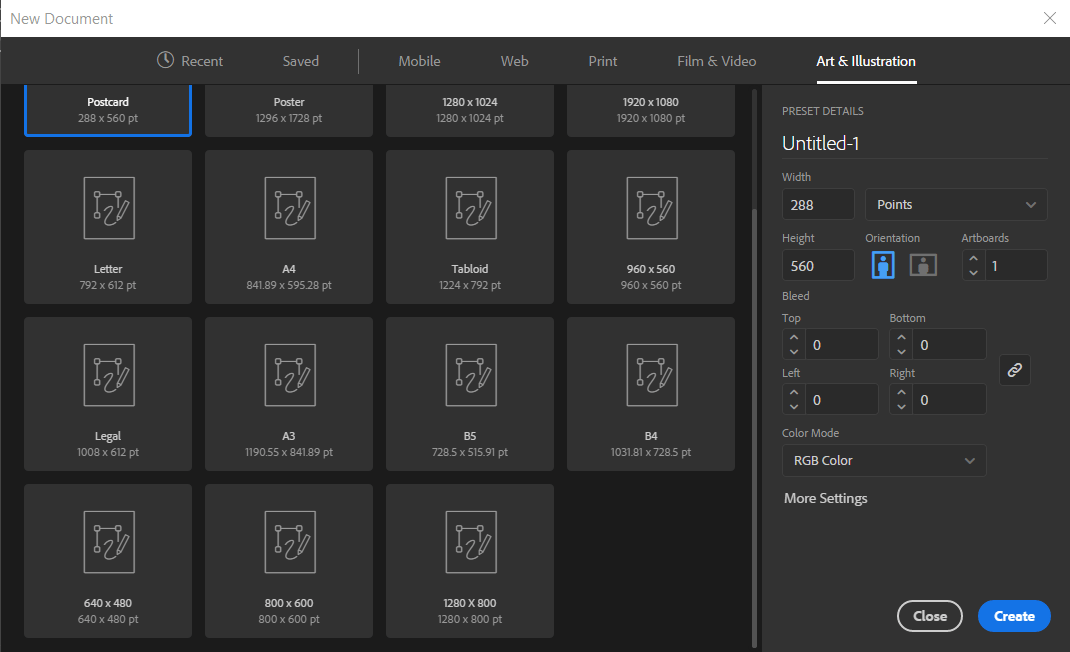
Open Adobe Illustrator and generate a new document by clicking “File” > “New” using the menu bar.
Select the suitable document measurements and orientation according to your project prerequisites. Consider variables like targeted application, measurements, and resolution.
Check that the color mode is switched to RGB for digital composition. You can alter this setting beneath the “Advanced” choices within the New Document discourse box.
Regulate the number of artboards in case you’re working on a multi-page project or different varieties of your robot plan.
Set other factors like bleed, margins, and grid inclinations as required for your workflow.
Tap “Create” to create your new document, the canvas for your robot vector art.
Get up on yourself with the Illustrator workspace and assess the tools panel, panels, and menu choices to get around and utilize the program viably.
Spare your document with a suitable filename and destination to guarantee you’ll effectively get to and manage your work throughout the process.
Step 3: Draw Primary Forms
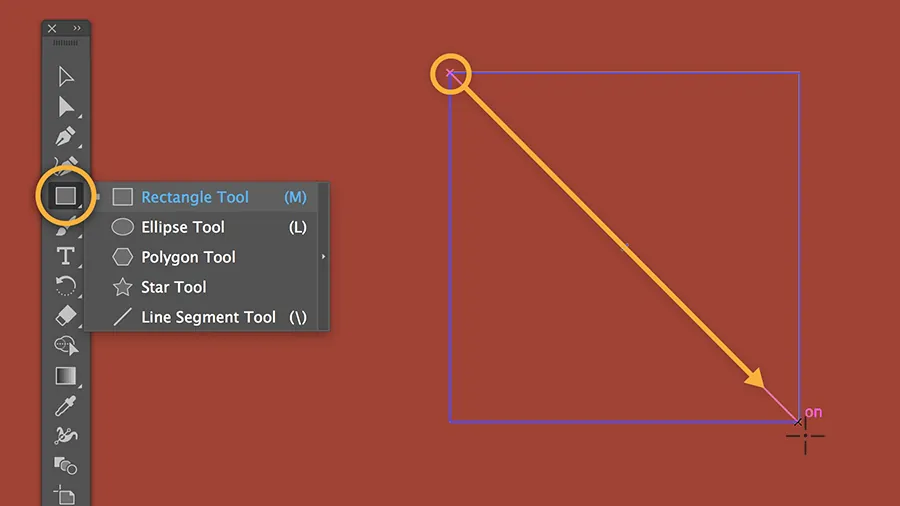
Bring the shape tools from the toolbar on the left side of the Adobe Illustrator workspace into play. Standard tool choices include the Rectangle Tool (M), Ellipse Tool (L), and Polygon Tool.
Pick the suitable shape tool based on the portion of the robot you need to form. You can consider the Rectangle Tool for the body, the Ellipse for the head, etc.
Tab and drag on the canvas to draw the essential shape of your chosen component. Keep pressing the Shift key while dragging to oblige scales and make idealized circles or squares.
Let go of the mouse button to conclude the shape. Alter the measures and proportions using the Selection Tool (V) and the bounding box handles.
Rehash the method to make extra shapes for distinctive parts of the robot, like arms, legs, and any other parts.
Utilize the Direct Selection Tool (A) to choose and alter individual anchor focuses or sections of the shapes for exact modifications.
Test by fusing and overlaying shapes to form more complex shapes and structures for your robot plan.
Step 4: Regulate shapes and details
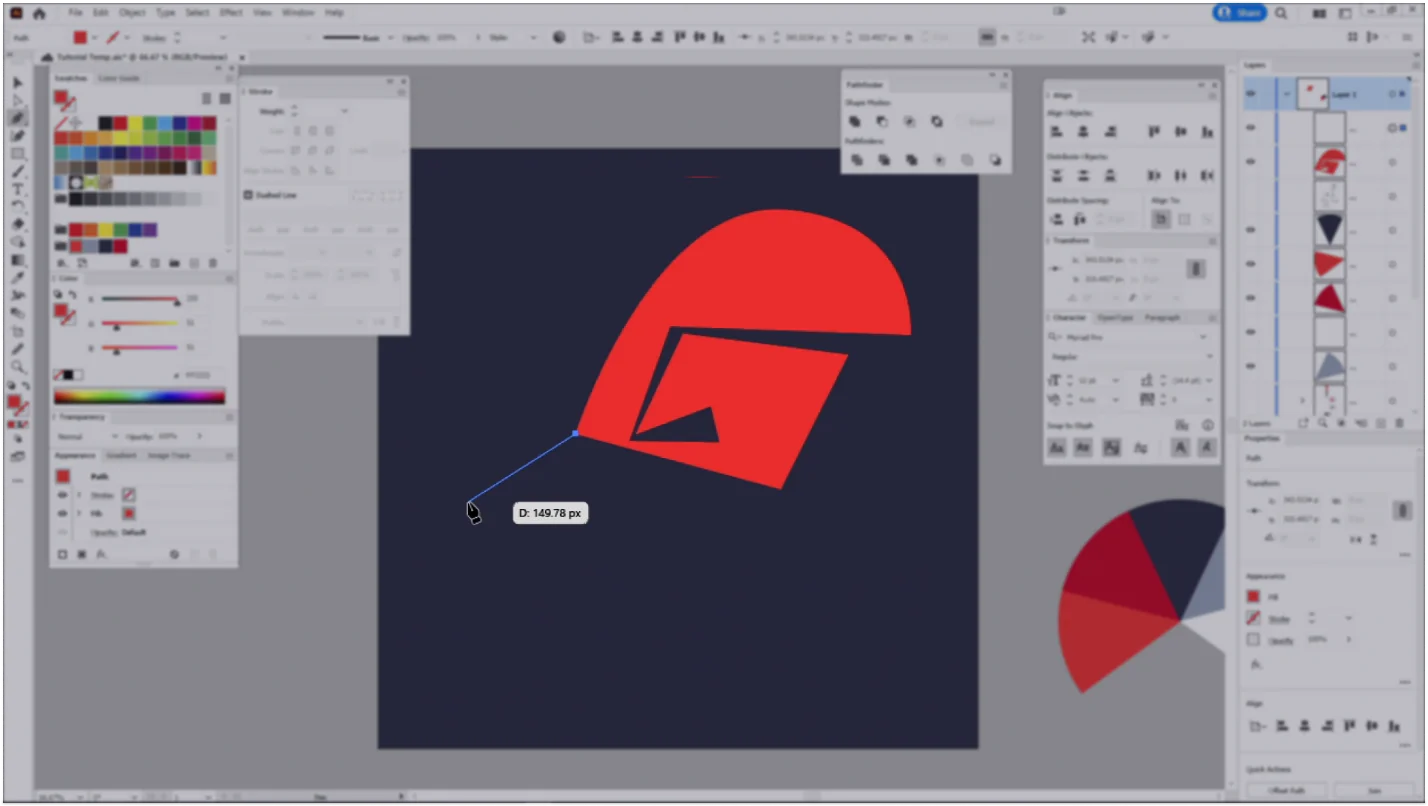
Access the Pen Tool (P), improve the shapes, and include perplexing details in your artwork.
Utilize the Pen Tool to make custom ways and shapes, aiding in accurate control over the bends and lines.
Tab on the artboard to make anchor focuses, and press and drag to form curved fragments as required.
Operate the Direct Selection Tool (A) to alter the position of anchor focuses and control the slope of paths, creating smooth and precise lines.
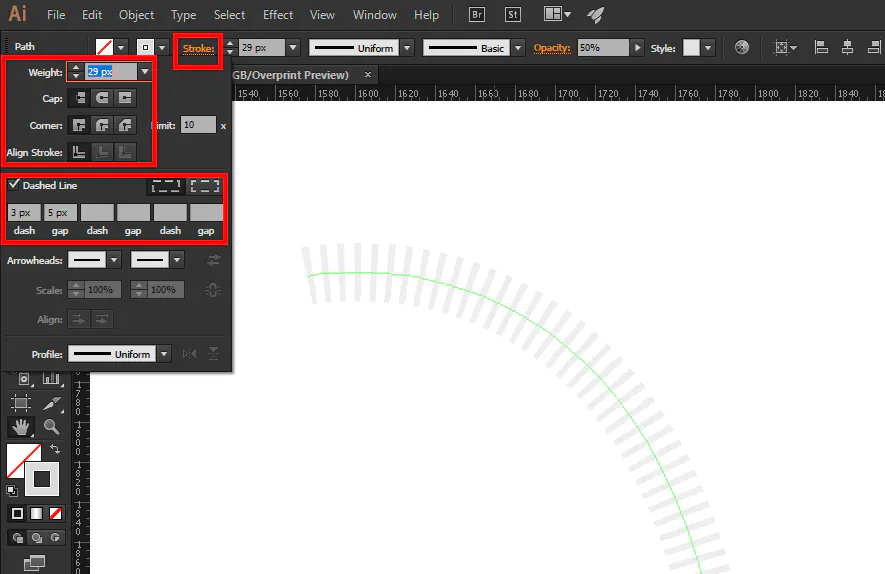
Play with multiple stroke weights and kinds to expand the visual effect of your robot plan. As you like, set stroke parameters, including color, opacity, and arrangement.
Tune the shapes and forms of each component of your robot, evaluating the details of joints, edges, and surfaces.
Take a zoom-in view of particular zones of your work of art for more exact adjustment and tuning of subtle elements.
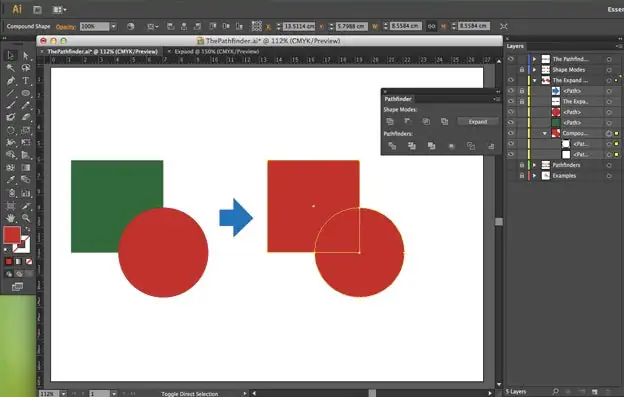
Utilize the Pathfinder panel to integrate or subtract shapes for a consistent blend of various components in your robot layout.
Step 5: Include intricate features
Try combos of shape tools, such as the Rectangle Tool (M) and Ellipse Tool (L), to form complicated components like buttons, lights, sensors, and other mechanical components.
Try various shapes, sizes, and arrangements to deliver your robot character identity and visual appeal. Use strokes and fills to the elements you’ve included, altering colors, gradients, and transparency settings to attain the specified appearance.
Get to the Pathfinder panel to add, cross, or subtract shapes to form complex details and patterns.
Think of consolidating text and typography into your composition to name or distinguish particular features of your robot.
Attend to symmetry and alignment when including details to get a cohesive and agreeable composition.
Play with layering and stacking the elements to form profundity and dimensionality in your robot vector art. Keep alluding back to your original concept and reference materials for unity and genuineness in your plan.
Step 6: Fill Vibrant Shades
Decide the components of your robot vector art that you need to color. Select them with the Selection Tool (V) to pick shapes independently or by dragging to choose different shapes simultaneously.
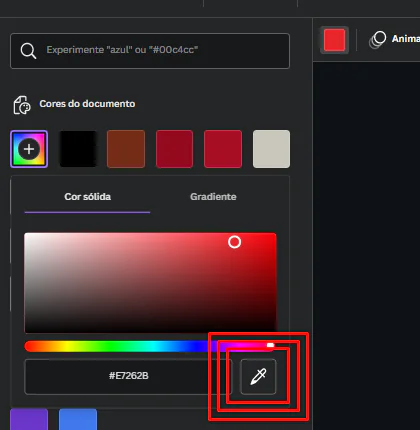
Select hues for your robot’s parts with the Swatches panel, Color panel, or Color Picker. Assess the theme, environment, and aiming character when selecting colors.
Put colors in chosen shapes by clicking on a swatch or with the Eyedropper Tool (I) to test colors from existing artwork.
Try using gradients to add richness to your robot layout. Head to the Gradient panel to set gradient colors, angles, and transparency.
Add shadows and highlights to improve the 3D look of your robot vector art. Utilize the Gradient Tool (G) to alter the heading and level of gradients for shading impacts.
Consider the light source and heading to guarantee cohesion in shadow and highlight arrangement over your robot design.
Use transparency options like Opacity and Blending Modes to attain unobtrusive shading and merging between colors and shapes.
Get to the Appearance panel to supervise and alter fill, stroke, and effects details for person shapes and objects.
Step 7: Conclude your composition and export
Survey your composition to pointout any be left alterations or refinements required to improve its general appearance.
Utilize the Layers panel to order different aspects of your artwork, guaranteeing an organized and productive workflow.
Balance specifics like line weights, shapes, and colors to attain regularity all through your robot art.
Recheck for any deviated anchor points, crossing shapes, or other vivid issues that will influence the quality of your work of art.
Give thought to including extra visual effects or ornaments, such as surfaces, designs, or special effects, to upgrade the graphic mark of your robot vector design.
Moving to the export phase, save your Illustrator file (.ai) to protect all editable layers and vector data for future adjustments or revisions.
To utilize your robot vector work for digital or web purposes, export it in a raster format ( PNG or JPEG) for superlative display quality.
In the case of print ventures or scalable graphics, go for vector formats (SVG or PDF) to preserve freshness and adaptability.
Indicate suitable resolution, dimensions, and file settings within the export process for compatibility and convenience over different stages and applications.
Conclusion
In outline, robot vector art pieces are a spellbinding blend of originality, narration, and visual brilliance. They entitle viewers to wander the kingdoms of inventiveness and metamorphosis. Using cautious action, character innovation, and conceptual tests, creators can define persuading fictions that urge solid feelings and construct an unending thread in spectators. The knowledge of appropriate tools and the techniques included in creating robot vectors can oblige you to make an attention-grabbing work of art. Eventually, through your futuristic composition, you can entertain the creative inspirations and endorse the complexity of the individual encounter in a high-tech tomorrow.
