How To Create Op Art In Illustrator
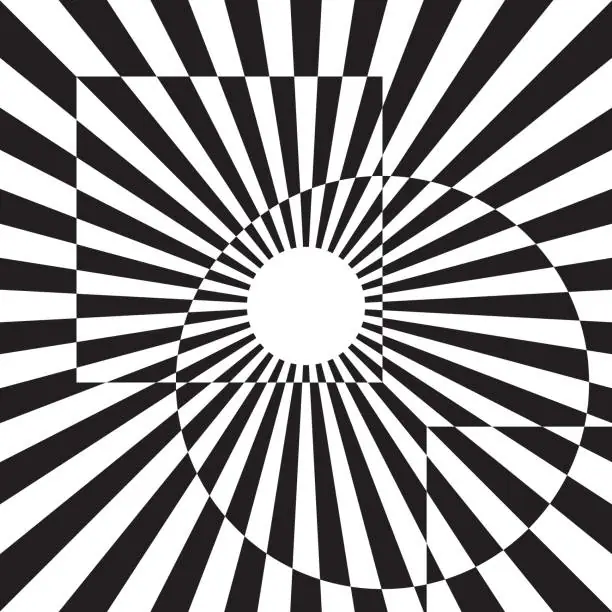
Op Art, occasionally called optical art, is typified by abstract patterns with a sharp contrast between the foreground and background, often in black and white. The resulting images excite the eye, producing puffy, warped, flashing, or jolting sensations. Occasionally, they also have afterimages and unsteadiness. Op art is almost always notional because of its geometric foundation. Without representing any single realistic segment, it reaches abstract art, where shape, movement, and composition are key elements. Any Op artwork uses rigidly and precisely selected elements to create the desired effect. Every colour, line, and shape must add to the overall composition for the illusion to be effective. Yet, a lot of planning is required to successfully assemble art in the Op Art style. Various methods, such as the plotted use of colour contrast and perspective manipulation, are cautiously used for Op art. This blog will continue with step-by-step instructions for making Op art using Adobe Illustrator, a popular design program.
Step 1: New Document Creation
Get to the Adobe Illustrator application on your PC and click on the program to initiate it.
Hold up for Adobe Illustrator to launch, which may take a few minutes, depending on your system’s specifications.
After initiating the application, you will see the Illustrator workspace, prepared to begin a new project.
Move to the “File” menu found at the top left corner of the Illustrator window. Tap on it, and you will see a dropdown menu.
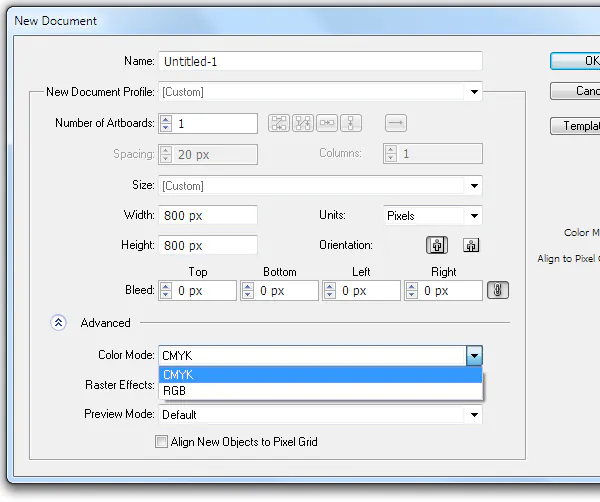
Click “New” to form a new document within that dropdown menu.
A discourse box will show up, permitting you to indicate the parameters of your new document, like dimensions, units, orientation, and artboard choices.
Select the suitable settings for your Op art task, considering variables such as canvas measurements and resolution.
Once you have arranged the archive parameters, press “OK” to form the new document in Adobe Illustrator.
Step 2: Primary Shapes Formation
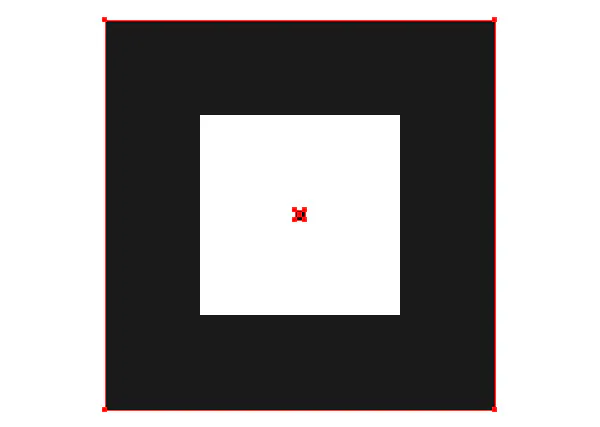
Inside Adobe Illustrator, select a suitable tool for initial shape sketching from the toolbar. The Rectangle Tool (M), Ellipse Tool (L), and Polygon Tool (U) are the best choices.
Tap on the chosen tool to enact it. Position the cursor on the canvas where you need to start drawing your shape.
Press and drag to form the shape. Hold down the Shift key meanwhile pulling to oblige the shape’s proportions.
Release the mouse button to wrap up the shape.
Revise the task to draw as many basic shapes as you like for your Op art layout.
Explore mixed shapes, sizes, and configurations to make the base for your work of art.
Refrain from stressing accuracy at this phase; emphasize drawing out your introductory design components.
These essential shapes will be the basis for making complex designs and optical impacts in your Op artwork.
Step 3: Colors Inclusion
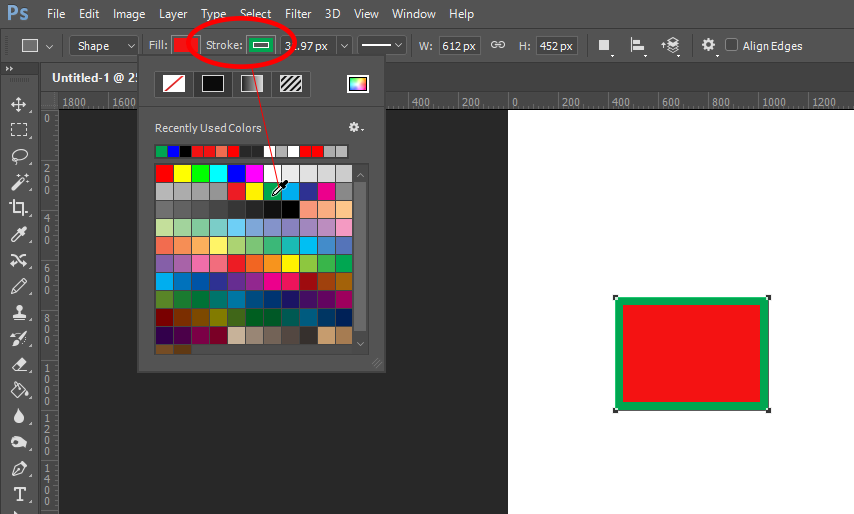
In this phase, you can start colouring the shapes. Pick any shape you’ve made by clicking on it with the Selection Tool (V) within the toolbar or by tabbing on the V key.
Next to the shape chosen, move to the toolbar and Find the “Fill” and “Stroke” functions within the toolbar. The Fill feature depicts the inside colour of the shape, while the Stroke function is for the outline colouring.
Press on the Fill choice to initiate it, then Select a vibrant colour from the colour palette, which you’ll be able to access by clicking on the colour swatch beside the Fill highlights.
You’ll be able moreover to enter particular colour values on the off chance that you’ve got a specific colour in mind.
After you’ve chosen a colour, the shape will infused with the picked shade.
Rehash this step for other shapes in your artwork, selecting diverse colours for each shape.
Try different colour combinations and contrasts to form visual interest and energetic impacts in your Op art piece.
Keep in mind to save your work occasionally to avoid any loss of advancement.
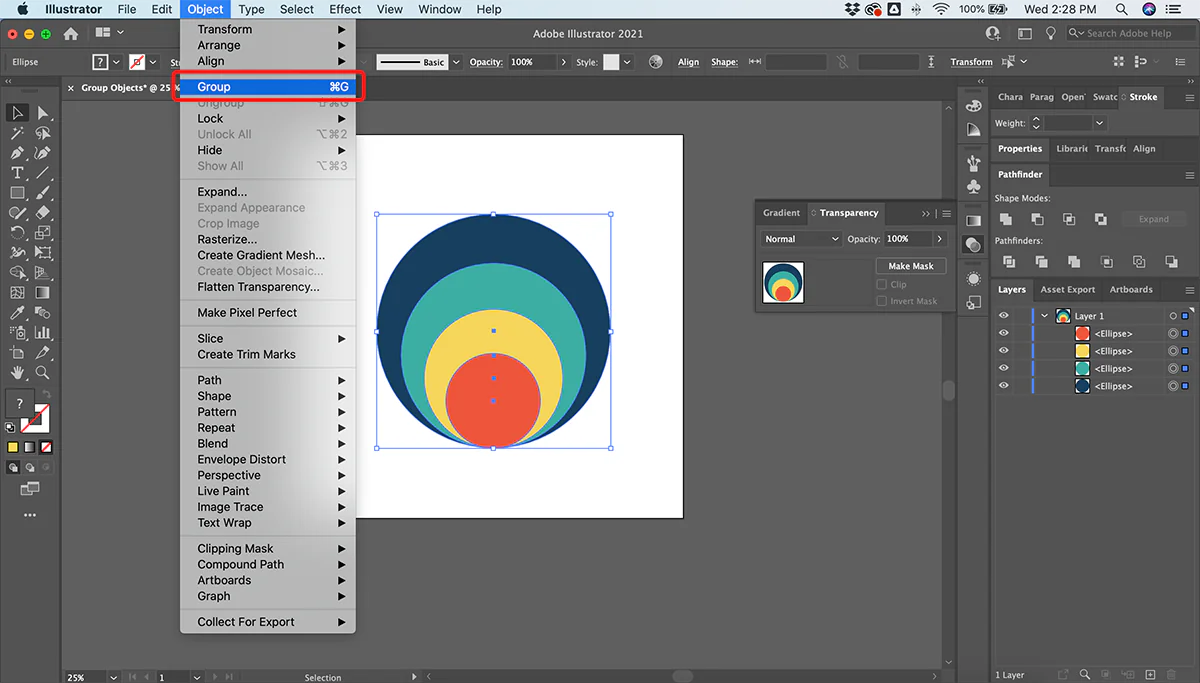
Step 4: Initial Shapes Duplication
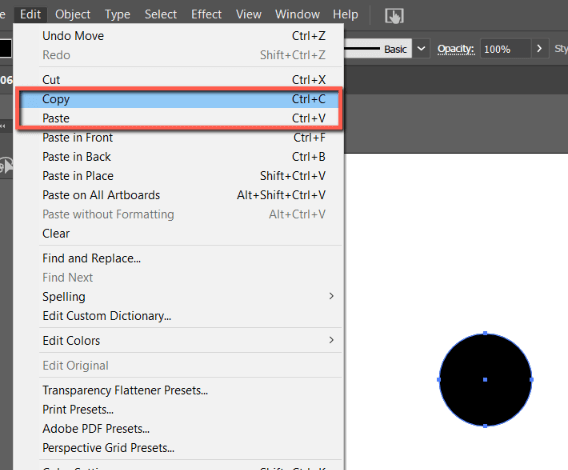
To duplicate the primary shapes, click on shapes using the Selection Tool.
After choosing the shape(s), utilize the keyboard shortcut Ctrl+C (for Mac Command+C) to duplicate the chosen shape(s).
After replicating the shape(s), utilize the keys Ctrl+V again Command+V on Mac)to glue the duplicate(s) onto the canvas.
On the other hand, you’ll right-click on the canvas and hit “Paste” from the context menu.
Place the copied shape(s) where you need them to seem in your composition.
Play with organizing the copy shapes in various designs, arrangements, and orientations.
You can spin, flip, or scale the copy shapes to make energetic visual impacts.
Copy and organize shapes throughout your composition to construct perplexing designs and optical figments.
Get access to Illustrator’s alignment and dispersion tools to guarantee the exact situating and dispersing of components.
Frequently zoom out to evaluate the general adjustment and concordance of your composition.
Step 5: Role of Transform Tools
Along with your artwork open in Adobe Illustrator, select the shapes or components you need to convert using the Selection Tool.
Find the “Transform” board, which you’ll typically find beneath the “Window” menu at the top of the screen. In case it’s not evident, you can enact it by selecting “Transform” from the dropdown menu.
Alternatively, go for the keyboard shortcut Ctrl+T (or Command+T on Mac) to actuate the Free Transform tool.
With the shapes chosen, you’ll presently perform different changes:
Turn:
Tap and drag the exterior of the bounding box to spin the chosen shapes.
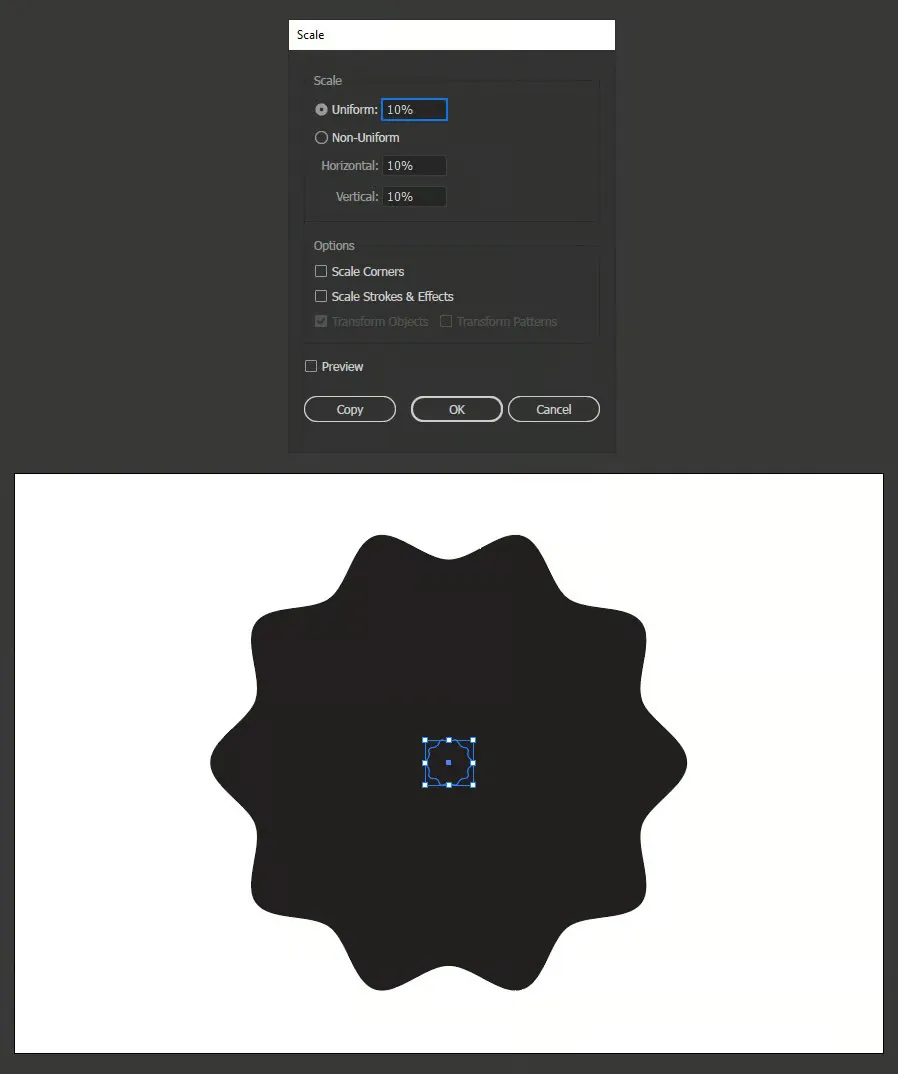
Scale:
Tap and drag one of the corner handles to rescale the shapes.
Reflect:
Right-click on the shapes and select “Transform,” at that point, select “Reflect.” Choose the pivot you need to reflect the shapes against and tap “OK.”
Test with diverse transformations to form energetic compositions and optical impacts.
Utilize the Transform tools to blend with other strategies to attain the wanted visual.
Once fulfilled, you’ll continue to advance, refine your composition, or move on to the successive steps in your Op art product.
Step 6: Op Art Recreation
Select particular components or bunches of shapes inside your composition to which you would like to apply Op art strategies with the Selection Tool (V).
Consider strategies like moiré patterns, kinetic effects, and optical illusions to include profundity and interest in your artwork.
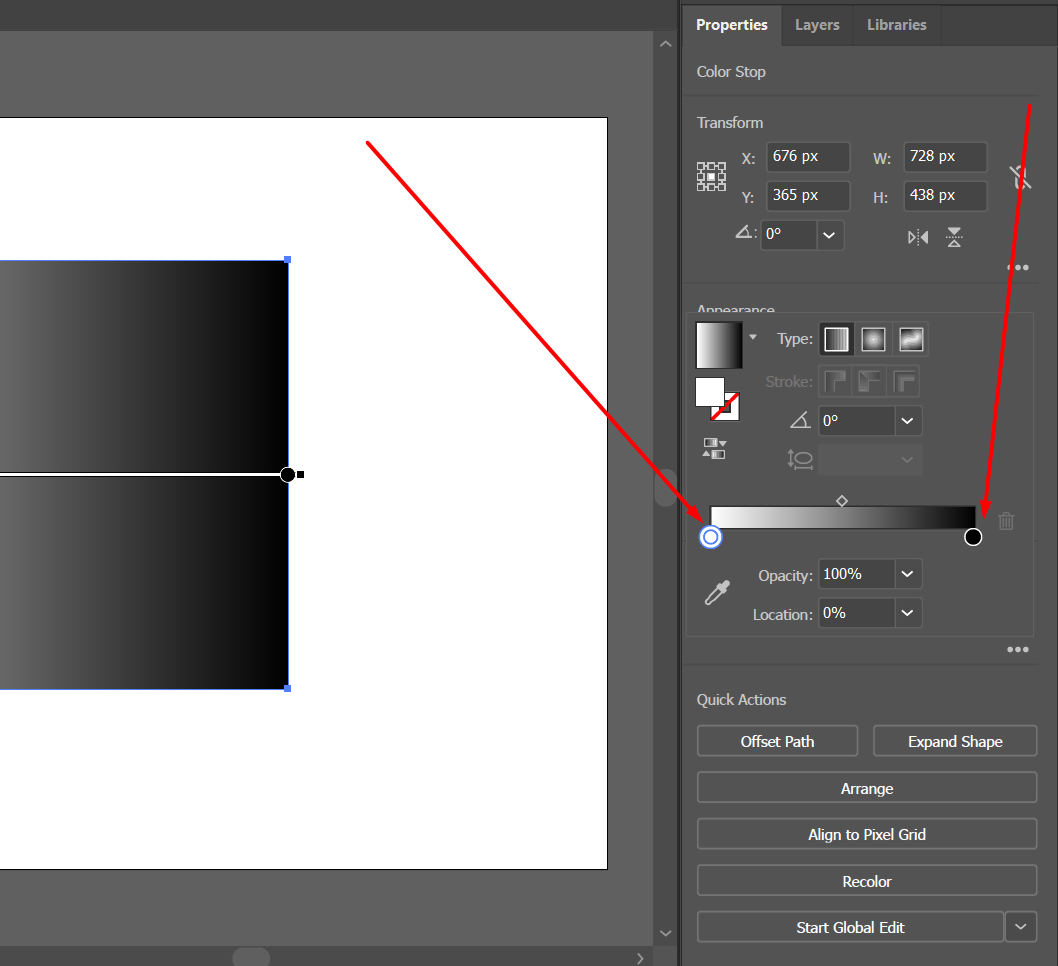
Play with overlaying shapes, varying line thickness, and altering opacity to form captivating visual effects.
Consider the application of gradients, patterns, and textures to upgrade the optical dreams inside your composition.
Employ Illustrator’s blending modes and transparency settings to layer shapes and make complex intuitive between components.
To get the specified visual impact, consider how distinctive components are associated with one another and the general composition.
Get motivation from conventional OP artworks and test by consolidating comparative effects into your digital artwork.
Routinely study your design as you spread OP art procedures, altering details and effects as mandated for your liked aesthetics.
Step 7: Shapes Touch Up
Audit your composition as an exclusive, viewing the elements’ course of action, evenness, and visual agreement.
Reuse the Selection Tool (V) to choose separate shapes or sets of shapes inside your artwork.
Set the components’ position, measurement, and rotation for a harmonious and outwardly satisfying composition.
Look at the general stream and development of your artwork and make alterations.
Try layering and overlapping segments to form profundity and dimensionality in your arrangement.
Polish up colour preferences and contrasts to improve the visual climax of your Op art piece.
Rely on your instinctual and creative intuition as you culminate your Op art composition and keep making persistent alterations until you’re pleased with the ultimate appearance result.
Be sure to save your work habitually to protect your advancement and permit experimentation without worry of losing transitions.
Step 8: Inclusion of Complementary Details
Add more details, surfaces, or effects to accelerate your Op art composition. Try with gradients, patterns, and special effects to amplify visual interest and profundity.
Audit your artwork, evaluating the general composition, symmetry, and visual effect. Execute any last alterations or refinements to confirm orderliness and adequacy.
Analyze your work of art at distinctive zoom levels and on various devices to estimate its outward form and brilliance.
After you are fulfilled with your Op finalized art piece, preserve your artwork within the wanted format (such as AI, PDF or JPEG)and area on your computer. Utilize expressive filenames to recognize your work in the future effectively.
Think about sharing your innovative piece with others, either online or individually, to get input and appreciation for your inventive efforts.
Cheer on your achievement and reflect on the creative process you’ve been going through while making your remarkable Op art magnum opus.
Conclusion:
In conclusion, the mesmeric repetitive pattern within the Op art, either chromatic or achromatic, invariably gives a vibe of boldness with its complementary or high-contrast features, even when used in co-occurrence with other colours. This art approach vastly covers various design and multimedia projects to create innovative and influential artworks. The advanced digital design tools have rejuvenated traditional art. Today’s artists can exploit shaping, colouring, and patterning setups in manifold ways to stimulate the optical effects characteristic of Op art. Image enhancement skills like layering, blending, and contrast manipulation can earn vitality identical to the original Op art compositions.
