How To Create Retro Futurism
The creative artistic style of retro futurism handsomely blends elements of the past’s perception of the future with contemporary aesthetics. It involves imagining how people in earlier eras envisioned the future and then integrating those imaginative ideas into the present. Retro-futurism often combines nostalgic elements from the past, such as design, fashion, and technology, with futuristic concepts and modern sensibilities. Within the domain of retro-futurism, one might encounter depictions of flying vehicles, streamlined metallic structures, robotic companions, and other forward-thinking innovations as envisaged in preceding epochs. This style frequently delves into the chasm between past aspirations for the future and our current reality. The enticing appeal of retro-futurism develops a distinct aesthetic and conceptual fusion that evokes sentiments of nostalgia while also sparking curiosity about the coming future. It also pays homage to the positivity, and inventive essence of various historical epochs, while simultaneously offering a fresh vantage point on how these notions intersect with our modern comprehension of technology and design.
Step 1: Selecting the Right Base Image
To begin creating captivating retro-futurism visuals, the crucial first step is selecting a base image that embodies the perfect blend of nostalgia and futurism. Seek out an image with inherent retro elements, such as vintage technology, classic architecture, or old-fashioned fashion. This initial choice lays the foundation for your creative endeavor. The base image should evoke a sense of familiarity while leaving room for futuristic transformation. Remember, your selection should resonate with your intended audience and serve as a canvas that harmoniously accommodates both past and future aesthetics. By meticulously choosing this starting point, you set the tone for the entire editing process, ensuring that the final composition seamlessly marries the charm of yesteryears with the allure of tomorrow.
Step 2: Color Palette Fusion

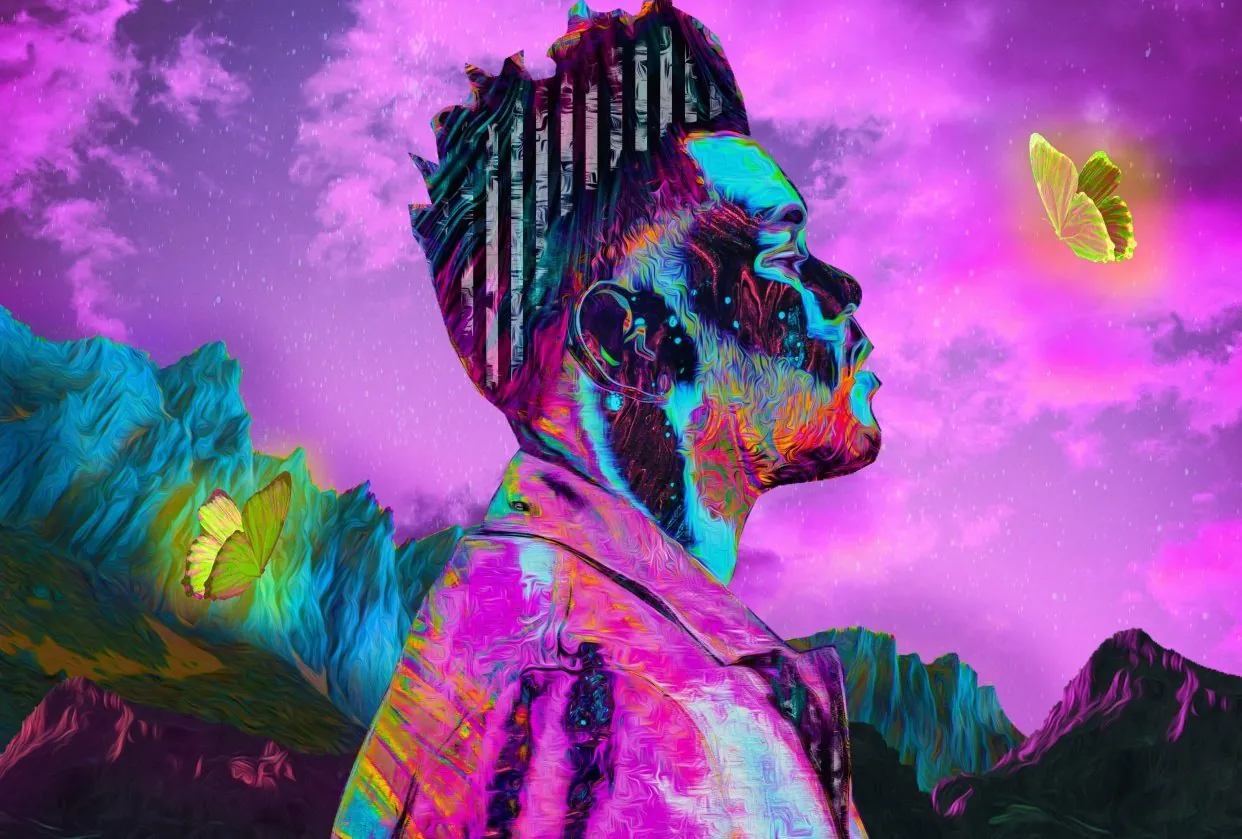
Merge the warmth of nostalgic hues with the vibrancy of futuristic shades to create a visually arresting contrast that defines the very essence of this style. Delve into a palette that harkens back to eras gone by, incorporating rich, earthy tones and muted pastels reminiscent of the past. Then, boldly intermingle these with futuristic, electrifying colors that convey innovation and progress.
This blending of palettes is a delicate art; it requires a discerning eye to strike the right balance. Experiment with combinations that evoke a sense of familiarity while pushing the boundaries of expectation. A judicious mix of warm and cool tones can infuse depth and intrigue into your visual narrative. Remember that color communicates emotions and sets the mood, so your choices should reflect the story you aim to tell.
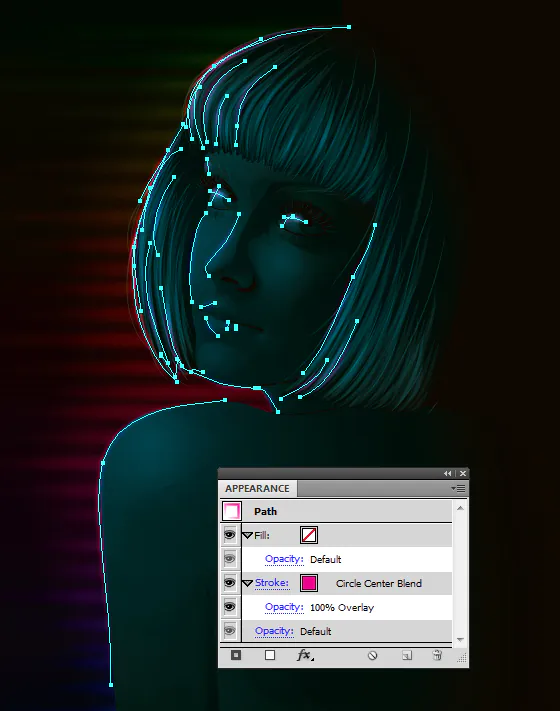
Step 3: Retro-Futuristic Elements Integration
Now, it’s time to weave the threads of the past and future together by seamlessly integrating retro and futuristic elements into your composition. This step involves the art of harmonizing seemingly contrasting visual components to create a cohesive and captivating image.
Select futuristic elements that resonate with the theme you’ve established. Consider holographic displays, sleek lines, and modern gadgets that can be strategically placed within the retro backdrop. These elements should enhance the overall narrative, rather than overpower it. Carefully align each addition with the existing composition, ensuring they blend naturally.
Maintain focus on the story you’re telling through your image. Each integrated element should serve a purpose, guiding the viewer’s gaze and contributing to the overall atmosphere.
Step 4: Distinctive Textures and Patterns

This step involves the skillful juxtaposition of textures from the past and future, creating a visual tapestry that engages the senses and adds layers of intrigue.
Begin by considering the textures associated with each era. The worn, weathered textures of vintage objects, fabrics, and surfaces evoke a sense of history and nostalgia. In contrast, the sleek, metallic textures of futuristic elements offer a glimpse into the possibilities of tomorrow. Your task is to harmonize these textures in a way that feels natural and compelling.
Experiment with the interaction of textures and patterns. Perhaps the cracked surface of an old wall is juxtaposed with the smooth sheen of a holographic projection. The faded elegance of retro wallpaper might intersect with the bold geometry of futuristic lines. Through this interplay, you create a dynamic visual experience that not only captures attention but also sparks curiosity.
Step 5: Creative Typography

Typography serves as a powerful tool in conveying the essence of retro-futurism, seamlessly blending the charm of the past with the sleekness of the future. This step involves crafting typography that complements the visual narrative you’re creating, enhancing the overall impact of your composition.
Begin by selecting fonts that evoke nostalgia while maintaining a modern edge. Vintage fonts with a touch of elegance can transport viewers to a different time, while futuristic fonts communicate innovation. Consider how different fonts interact with each other and with the other elements in your image.
Experiment with typography placement and size. Titles and headings can be presented in bold, futuristic fonts, immediately capturing attention and setting the tone for your composition. Subtle details like typographic ornaments or stylized characters can add an extra layer of sophistication to your design.
Step 6: Composition Balance
This step involves arranging the various elements in your image in a way that guides the viewer’s eye fluidly while preserving the equilibrium between past and future aesthetics.
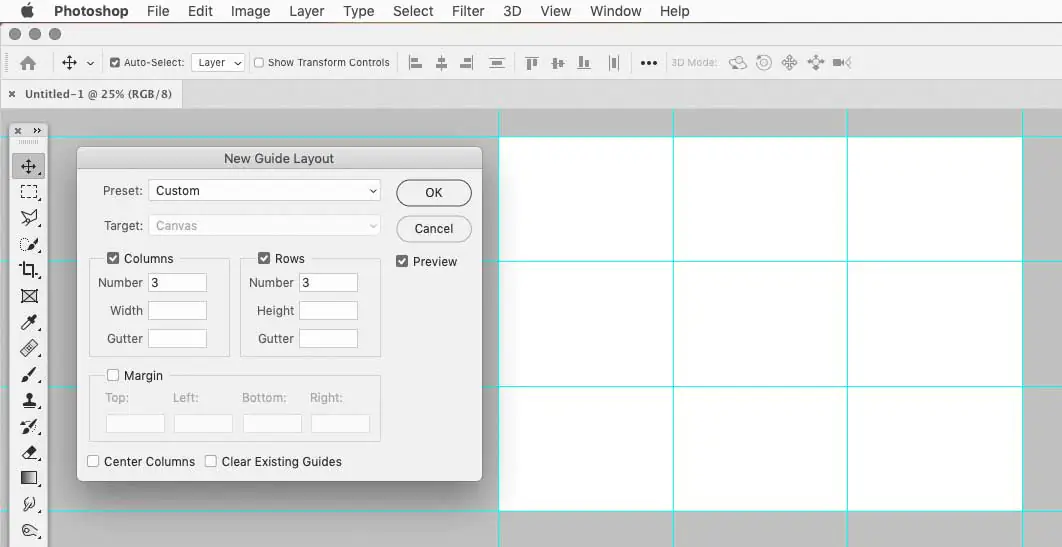
Start by considering the rule of thirds—a fundamental principle in composition. Divide your image into a 3×3 grid, and position key elements at the intersection points. This technique creates a dynamic visual flow that draws the viewer’s gaze naturally.
Next, focus on the arrangement of retro and futuristic elements. Strive for symmetry or asymmetry that maintains visual equilibrium. For instance, if you place a prominent retro object on one side, balance it with a futuristic element on the opposite side. This interplay adds visual interest and helps convey the fusion of eras.
Pay attention to negative space as well. Empty areas in your composition can serve as breathing room, allowing the eye to rest and appreciate the interwoven elements.
Step 7: Lighting and Shadows
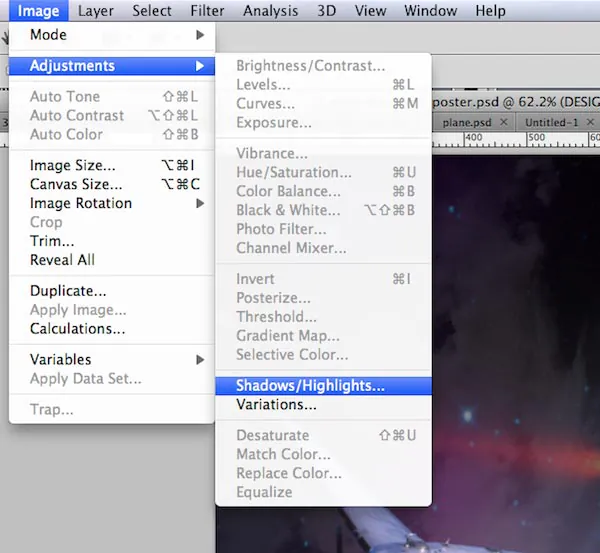
The interplay of lighting and shadows is a pivotal aspect of bringing your retro-futurism composition to life. This step involves manipulating light sources to enhance the depth, drama, and realism of your image, creating a visual narrative that captivates the viewer.
Consider the direction of light in your composition. Visualize how light would fall on different surfaces based on the position of your retro and futuristic elements. The contrast between well-lit areas and shadows can create a sense of dimensionality and intrigue.
Experiment with dramatic lighting to highlight key elements. Create sharp contrasts between light and shadow to emphasize the fusion of eras. This technique adds a dynamic quality to your composition, drawing the viewer’s attention to specific details.
Don’t forget about reflections and highlights. Reflective surfaces, such as glass or metallic materials, can add an extra layer of complexity to your image. Futuristic elements might emit subtle glows or reflections that enhance the otherworldly feel.
As you manipulate lighting and shadows, keep the overall mood in mind. The right lighting can evoke emotions and set the tone for your retro-futurism narrative. Whether it’s a nostalgic warmth or a futuristic coolness, lighting is a powerful tool for enhancing the atmosphere and immersing your audience in your visual creation.
Step 8: A Perfect Blending
As your retro-futurism composition nears completion, the art of blending comes into play. This step involves using various techniques to ensure that retro and futuristic elements coexist harmoniously, creating an image that feels cohesive and convincing.
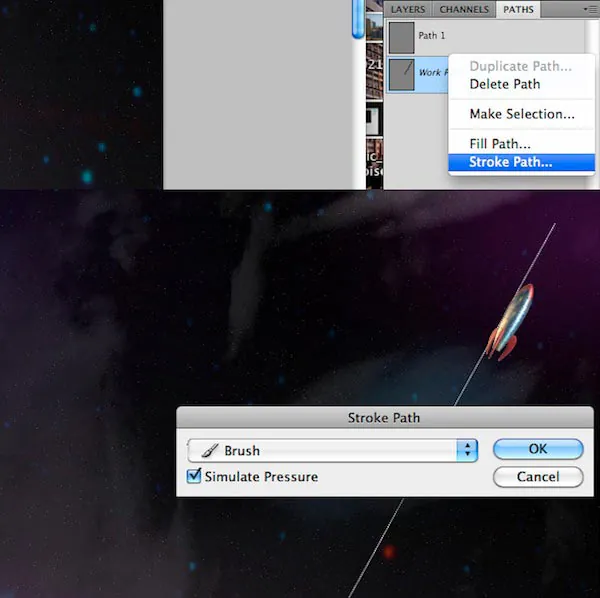
Utilize layer masks and blending modes to integrate elements smoothly. Layer masks allow you to selectively reveal or conceal parts of an element, enabling precise blending. Experiment with blending modes like “Overlay,” “Screen,” or “Multiply” to achieve different effects that enhance the integration.
Consider adjusting colors and tones to achieve consistency. Use adjustment layers to match the color and lighting of different elements, ensuring they belong within the same visual universe. This step is crucial for erasing any visual discrepancies that might arise from merging distinct eras.
Pay attention to edges and transitions. Elements should seamlessly transition from one era to another without abrupt cutoffs. Softening edges and employing gradient tools can help achieve a gradual merge.
Step 9: Final Touches and Filters
This concluding phase involves refining details and enhancing the atmosphere.
Fine-tune color and contrast. Adjust saturation, brightness, and contrast to ensure that the colors pop and the elements stand out. This step helps amplify the impact of your retro-futurism fusion.
Experiment with filters and effects. Consider applying subtle filters that add a touch of nostalgia or futurism to the entire image. Vintage film-like effects or futuristic glows can enhance the mood and theme you’re aiming to convey.
Check for consistency. Review your composition as a whole to ensure that all elements feel cohesive and unified. Adjust any elements that might still stand out or seem disconnected from the overall narrative.
Refine typography and text placement. If your composition includes text, ensure that the typography aligns with the overall aesthetic. Adjust font sizes, placements, and colors to enhance readability and visual appeal.
Seek feedback and iterate. Before finalizing your work, gather feedback from peers or mentors. Fresh perspectives can help you identify areas for improvement or adjustments that you might have overlooked.
Conclusion
To wrap up, retro-futurism is a delightful blend of the past’s dreams and today’s creativity that combines old ideas of the future with modern style. The steps mentioned in this blog can effectively guide you in creating this cool mix. From picking a good starting image to blending elements flawlessly, each step adds to the whole picture. This process lets us rediscover past visions and celebrate how people envision tomorrow. Retro-futurism is a reminder that creativity is always changing. Putting together ancient dreams with new ideas, we arrive at a point of nostalgic amazement where the ambitions of the past meet the possibilities of the future.
