How To Create Mesopotamian Images
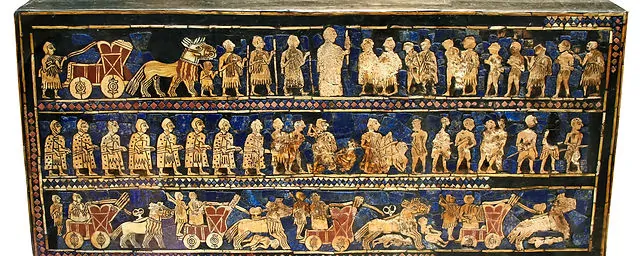
The ancient Mesopotamian civilization was renowned for its artistic creations as well as its achievements in agriculture and mathematics. Ancient Near Eastern art and architecture from 3500 BCE to 331 BCE are included in the category of Mesopotamian art. The monarch, the patron deity or goddesses, and religion all had an impact on Mesopotamian art. Mesopotamia has an affluent artistic legacy spanning many centuries. The majority of Mesopotamian art was devoted to stone or clay sculptures, which exhibited a wide variety of Mesopotamian artists’ skills and were long-lasting and robust. In addition to capturing reality as they experienced it, these artists often employed more abstract techniques to convey notions related to culture or religion. Realistic portrayals of items in their natural environments, or naturalism, were the foundation of much Mesopotamian art. The core concept of realism continues to enlighten artists of all times, inciting them to integrate art with what they see in the real world. This blog includes the steps to use Mesopotamian elements in present-day images to turn them into antique pieces of art.
Step 1: Understanding Mesopotamian Art Attributes
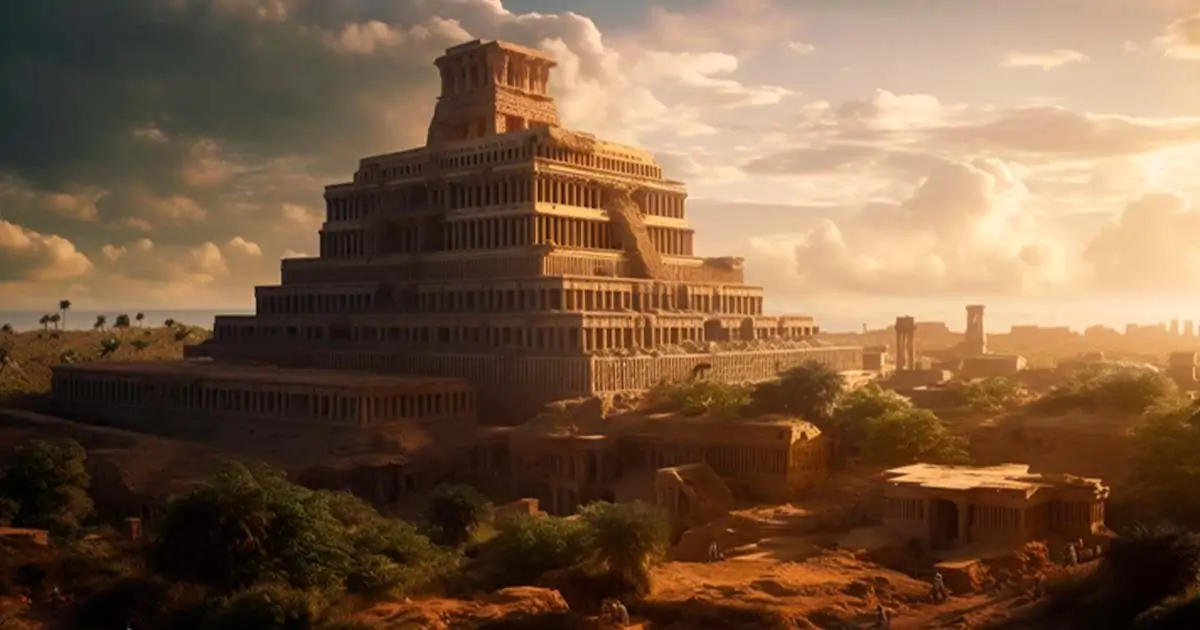
Start by pinpointing the essential perspectives of Mesopotamian art that you simply need to include. Focus on themes like ziggurats, cuneiform script, and legendary figures.
Aim for high-quality pictures of Mesopotamian art. Seek photos of artefacts, sculptures, ceramics and bas-reliefs . access online assets, museum files, and scholarly publications.
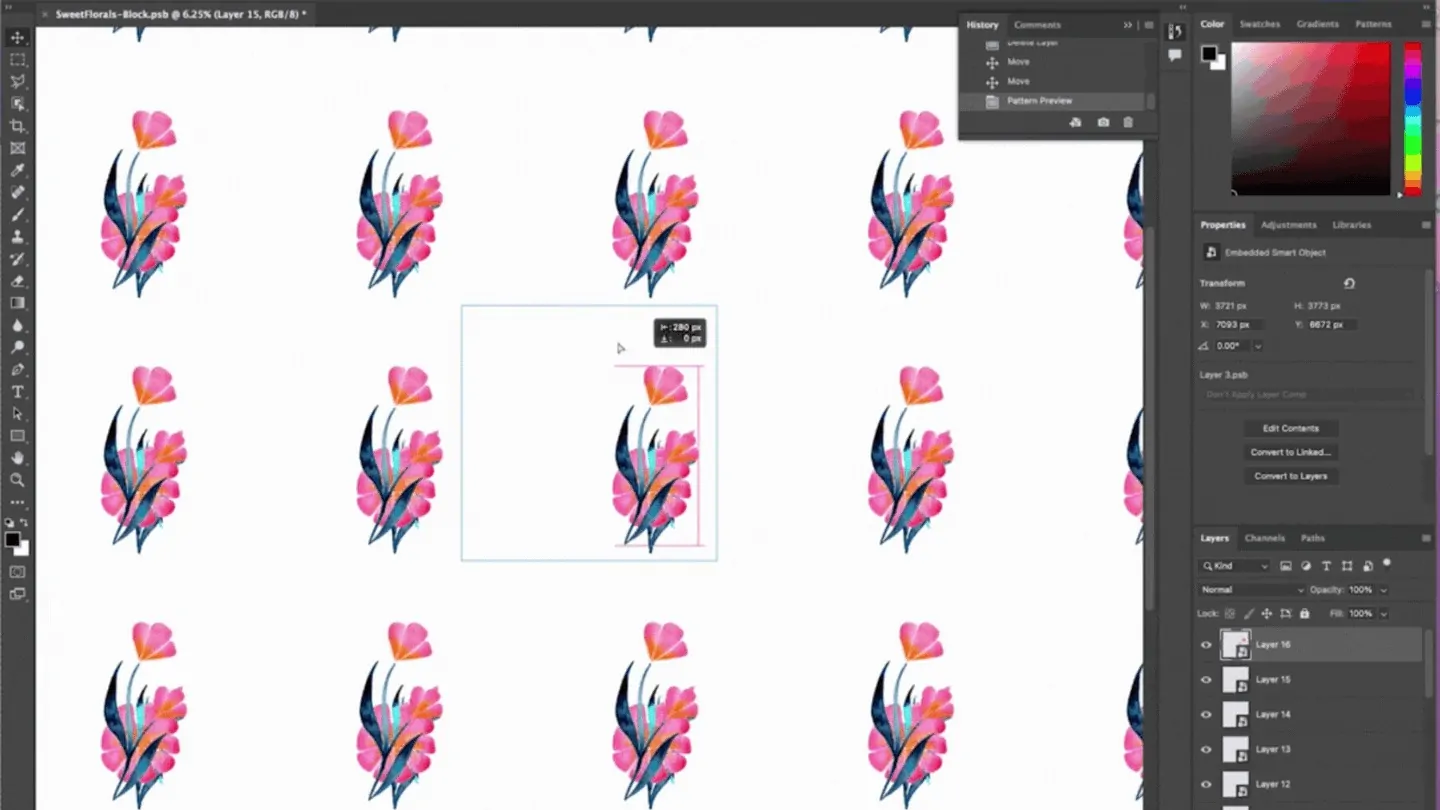
Observe the rehashing of designs and surfaces in Mesopotamian art. Note the complex plans on pottery and sculptures and the elaborate bas-reliefs.
Check the color palettes utilized in Mesopotamian art, examining the utilization of earth tones, dynamic blues, and golds. Comprehending these colors will assist you in replicating the visual fashion.
Make a reference board or digital folder to systematize your collected pictures and notes. It will serve as a visual guide throughout your design process.
Step 2: Creating Base Layer
Initiate Adobe Photoshop or your chosen picture editing tool.
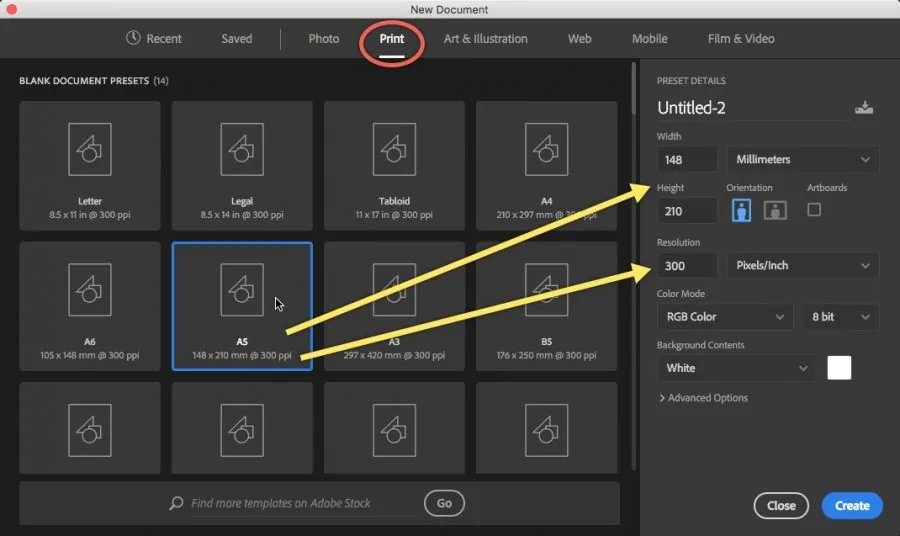
Make a new document with the required measurements and resolution for your base photograph. Be sure that it’s set to the suitable color mode, like RGB for digital use or CMYK for print.
If you already have an image, import it into your project. Utilize File > Open or drag and drop the file into the workspace. Alter its size and position as required.
If starting from scratch, make a blank canvas by selecting File > New. Specify the dimensions and resolution concurring with your project prerequisites.
Arrange your layers to keep your base image isolated from additional design components. Utilize layer naming traditions to preserve the organization and encourage easier modification.
Save your work regularly utilizing File > Save As. Select a format that underpins layers, like PSD, to protect your adaptations.
Step 3: Creating Art Elements
Initiate Adobe Illustrator or proceed in Photoshop to form or vectorize Mesopotamian art components.
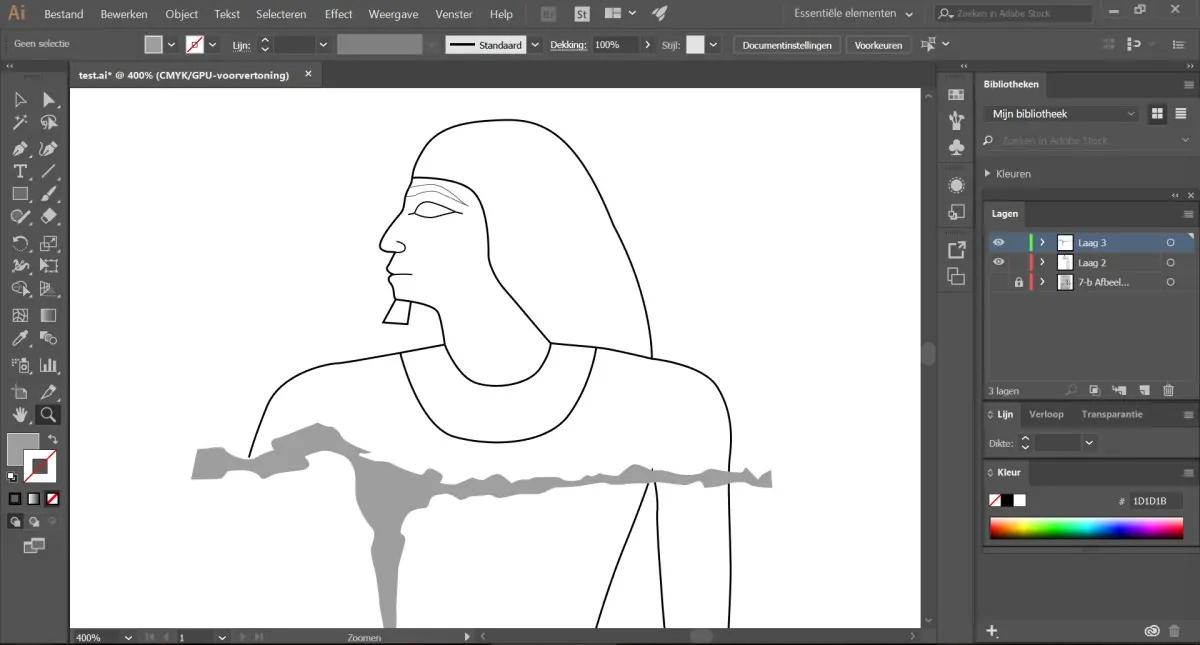
Utilize Illustrator to develop detailed Mesopotamian designs. Sketch themes like those noticed in bas-reliefs or pottery, utilizing tools like the Pen for exactness and the Shape features for geometric designs.
Outline or vectorize Mesopotamian images, like cuneiform script or legendary figures. Guarantee precision by referencing your collected picture files.
Make or find surfaces corresponding to Mesopotamian artifacts. Utilize brushes or texture overlays to reproduce the appearance of antiquated materials.
Categorize your recently made components into separate layers or files. Keep them in formats congruous along with your primary editing program, like PNG or AI, for simple import.
Bring your designs into Photoshop if they were made in Illustrator. Head to File, then select Place Embedded to include them in your base photo.
Refine your components by positioning and resizing them to conform to your composition. Utilize layer effects and blending options to coordinate them consistently.
Step 4: Addition Of Textures And Designs
Get your Mesopotamian textures into Photoshop using File and Place Embedded, or pull and drop the texture files into your project.
Put each surface layer over your base image. Resize and adjust the arrangement utilizing the Transform tool.
Select suitable blending modes for your texture layers. Modes such as Overlay, Soft Light, or Multiply can incorporate textures viably. Try different modes to pick one that works sufficiently for your design.
Alter the opacity of the texture layers to attain the specified impact. Descending opacity can make a mild, integrated appearance.
Add layer masks to specifically hide or reveal parts of the texture. Utilize a delicate brush to paint on the mask and blend the surface with the base photo.
As required, apply filters such as Gaussian Blur to soften textures or include effects. Proceed to Filter > Blur > Gaussian Blur and alter the radius.
Employ Zoom in and polish any edges where the surface encounters the base picture. Confirm that the integration looks natural and consistent.
Step 5: Use Of Mesopotamian Motifs
Obtain Mesopotamian symbols or components in Photoshop by following File > Place Embedded or drag and drop the symbols files into your project.
Put the images on your photograph where you need them to emerge. Utilize the Transform tool to transform their size and orientation.
Alter the blending mode of the image layers to coordinate them with the base image. Play with modes such as Overlay or Hard Light to coordinate the overall tone.
Access layer styles like Drop Shadow, Outer Glow, or Bevel and Emboss to elevate the symbols and make them look distinct or blend more naturally.
Use layer masks to tune the visibility of the symbols. Utilize a soft brush to paint on the mask and mix the symbols into the foundation easily.
Alter the opacity of the symbol layers to suit the general design. Bringing down opacity can help symbols mix agreeably with the base picture.
Look at the arrangement and integration of the symbols. Do any fundamental alterations to confirm that they improve the design and adapt along with your Mesopotamian theme.
Step 6: Color Adjustments
Survey the colors in your base photo and Mesopotamian components. Determinate the existing color plot and how it acclimates with the Mesopotamian palette.
Represent a color palette according to Mesopotamian art, centering on earth tones, dynamic blues, and golds. Employ color references from your analysis.
Alter the overall hue and saturation to coordinate the Mesopotamian color palette using Layer > New Adjustment Layer > Hue/Saturation.
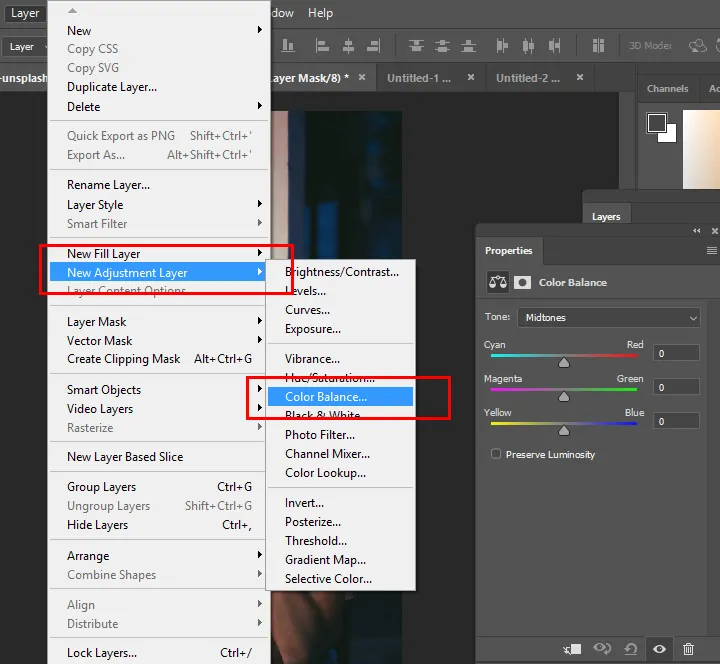
Regulate the color balance for shadows, midtones, and highlights following Layer > New Adjustment Layer > Color Balance.
Alter specific colors in your picture with the help of Layer > New Alteration Layer > Selective Color.
Use LUTs to rapidly accommodate the color grading of your picture. To do this, you have to access Layer > New Adjustment Layer > Color Lookup and select or load a LUT that harmonizes your palette.
If essential, alter the colors of individual layers or components directly by utilizing layer styles or blending alternatives.
Make sure the color alterations are consistent with all components of the design. The colors ought to reconcile pleasingly and reinforce the general Mesopotamian theme.
Perform any conclusive tweaks to ensure the color scheme improves the visual effect of the design and adjusts along with your desired aesthetic.
Step 7: Concluding The Artwork
Look at your whole picture for balance and cohesion. Guarantee all components, including surfaces, symbols, and colors, are well-unified and complement the overall design.
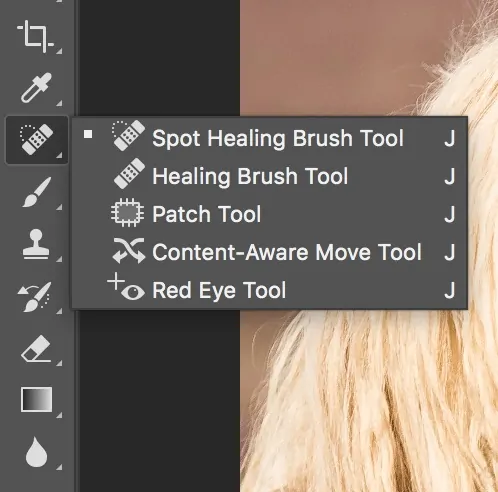
Utilize Zoom in and check for any flaws or ranges that require smoothing. Utilize apparatuses like the Clone Stamp, Healing Brush, or Smudge Tool to handle any issues.
Include any last effects to improve the composition. It might include unpretentious adjustments with the Sharpen tool, additional filters, or gradient overlays to form depth.
Guarantee all layers are visible as intended and any hidden layers do not influence the ultimate output. Ensure that layer styles and effects are connected accurately.
Export the ultimate composition within the proper format following File > Export > Export As and select the format based on your needs.
Do a final analysis of the exported image to guarantee it fulfills quality benchmarks and precisely speaks to your design. Make any fundamental alterations before finalizing.
Conclusion
In summary, by employing a Mesopotamian approach to image editing, you’ll be able to summon narrative impacts and make historic moods that are suggestive of the richness of age-old cultures. Through the consolidation of characteristic Mesopotamian designs, surfaces, and emblems, modern compositions can be promoted into visually spellbinding pieces that represent the story of a disappeared society. Your images pick up profundity and realness through the inclusion of earthy palettes, complex themes, and additional Mesopotamian components. Finally, you can make your images more irresistible while giving viewers a glimpse of cultural history.


