How To Add Ancient Greek Art Effects Into Images
The artistic creations of ancient Greece include sculpture, ceramics, and architecture. Greek art frequently employed symmetry and balance in its design, serving as both decorative and functional elements. Classical Greek art and architecture, which flourished from roughly 490 to 323 BCE, has profoundly influenced art history. Later eras and locations like Hellenistic Pergamon, Augustan Rome, and Renaissance Italy held it in high regard and attempted to imitate it. The stylistic components of this art, most notably its idealized portrayals of the human form, have often been applauded. The human bodies portrayed in these sculptures seem realistic, reflecting the true appearance of people. A defining feature of Greek art and architecture is the application of the golden ratio. A mathematical paradigm for idealized proportions is the golden ratio. With all of its magnificent traits, ancient Greek art themes continue to motivate artists of all coming generations. Moreover, with the expansion of digital artworks and image creation, the ancient Greek art effect is now employed as a cherished editing effect in various digital pieces.
Step 1: Base Image Selection
Begin by selecting a photograph that fits the ancient Greek style. Perfect subject examples could be portraits, side profiles, or scenes with straightforward, clear arrangements.
Select an image with a plain or moderate foundation. It permits the focus to stay on the central figures or components, comparable to Greek art.
Ancient Greek artworks highlighted clean, defined forms. Select shots with particular outlines and noticeable shapes.
Search for pictures where the subjects are in energetic yet basic postures. Draped dresses or streaming lines heighten the classical feel.
A shot that interprets well to black-and-white can be more effectively depicted to accommodate the Greek art theme.
Select photographs with substantial contrasts between light and dark zones, comparable to the high contrast seen in Greek crockery.
Elect pictures without excessively complex details, as old Greek art favored moderation.
Step 2: Making Monochrome Tone
Start by changing the photograph to a monochrome or sepia tone, as these gritty colors mirror the black, red, and terracotta hues of antiquated Greek earthenware.
Include a color adjustment layer. In Photoshop or GIMP, this will be done utilizing tools such as Hue/Saturation or Black & White adjustments.
Use a sepia filter for a warm, aged style. In case sepia isn’t accessible, manually alter the color balance by expanding reds and yellows while bringing down other colors.
Raise the contrast to make a stark division between light and dark zones, reproducing the strong style of old Greek art.
Decrease saturation to dispose of bright colors and highlight neutral shades.
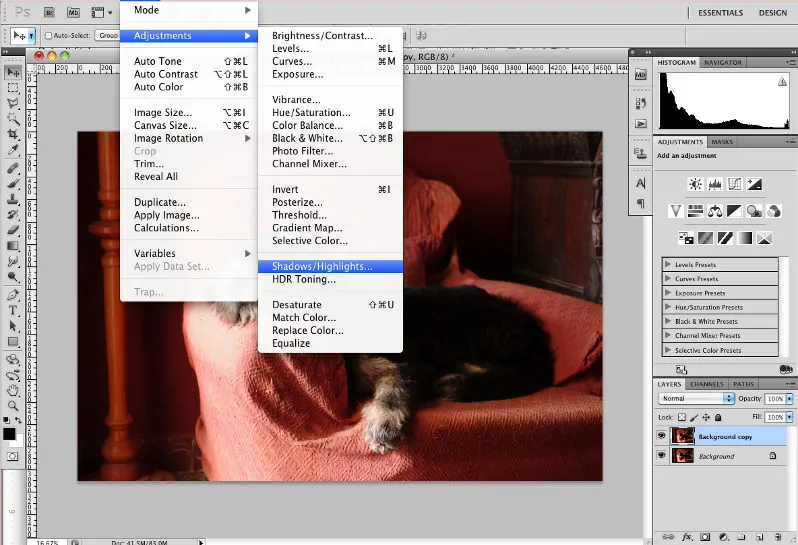
Adjust highlights and shadows to preserve clarity in both dark and bright regions.
Guarantee the tones correspond to the classical earthenware look before proceeding ahead.
Step 3: Using Aged Textures
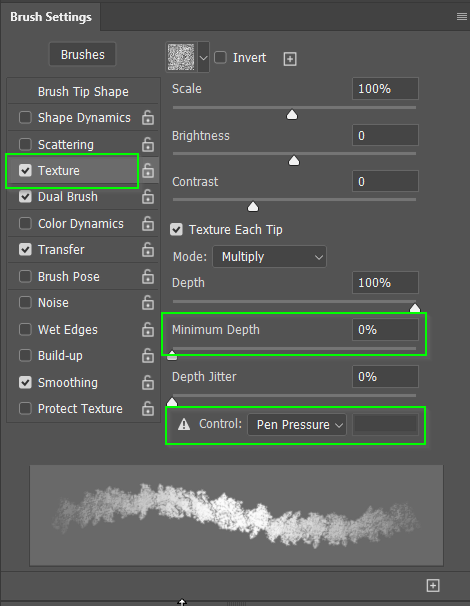
Select a harsh, grainy texture comparing aged earthenware or fresco textures. Free surface images or downloadable brush packs work okay.
Bring the texture as a new layer over your photo. Put the blending mode to Overlay, Multiply, or Soft Light, depending on how subtle or prominent you need the impact.
Direct the opacity of the surface layer to blend it consistently with the picture. A 30-50% opacity value can work satisfactorily for a balanced aged development.
Utilize a layer mask to specifically apply the surface, centering on zones that would actually tatter over time.
Unite diverse textures for more profundity, like splits, scratches, or blurred areas.
Change blending choices to tune the relation between the surface and your picture.
Check that the texture upgrades the ancient ambiance without overpowering the photograph. The objective is to imitate the worn look of antiquated Greek artifacts unpretentiously.
Step 4: Creating Patterns
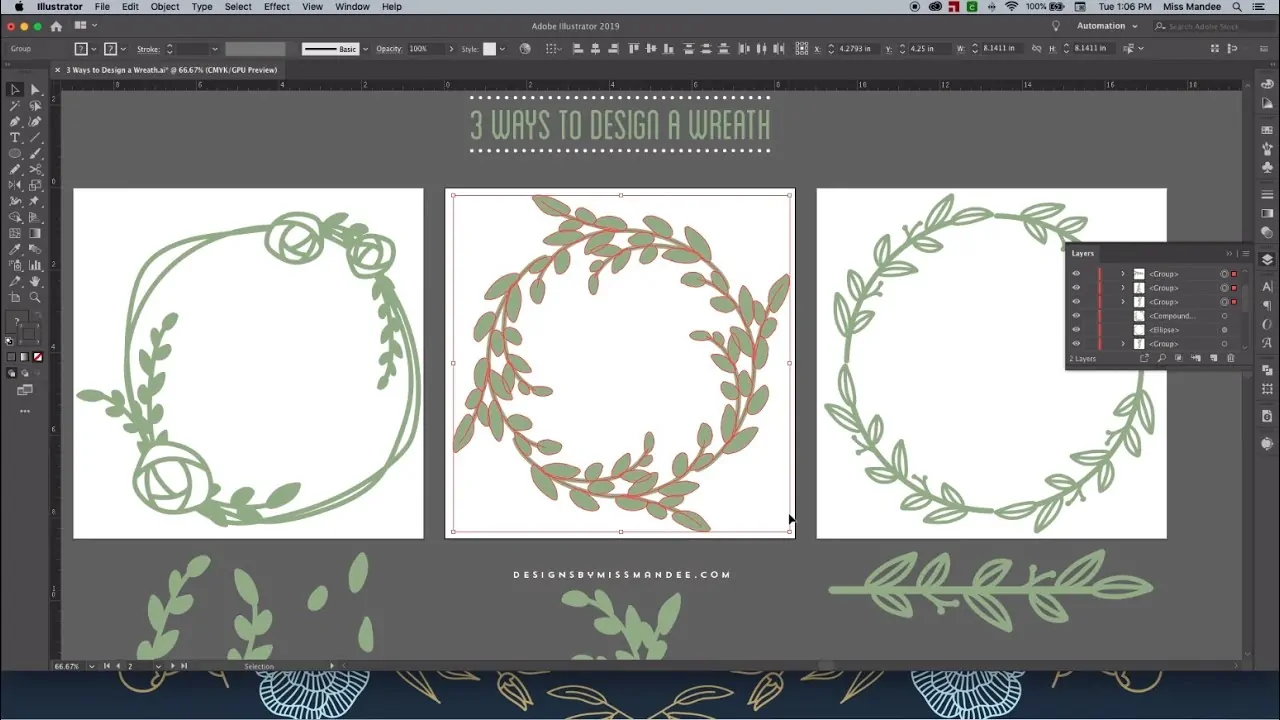
Discover or design custom brushes that reproduce classic Greek designs like meanders (Greek keys), shrub wreaths, or wave patterns. Numerous free or paid brush collections are accessible online.
Present the brushes in your software and alter brush settings like size, opacity, and spacing to suit your setup.
Add Greek patterns along the edges or borders of your picture to imitate the embellishing surroundings seen in old earthenware.
Utilize the brushes to include details such as spirals, floral motifs, or geometric structures in zones that are the perfect addition to the picture composition.
Greek art repeatedly highlights proportional, symmetrical plans. Adjust designs around the central subject equally for an authentic impression.
Interchange between thicker and leaner brush strokes for a more hand-drawn appearance.
Utilize blending modes like Overlay or ‘Multiply to integrate the patterns normally into the image, guaranteeing they feel like a portion of the initial artwork.
Step 5: Outlining Basic Elements
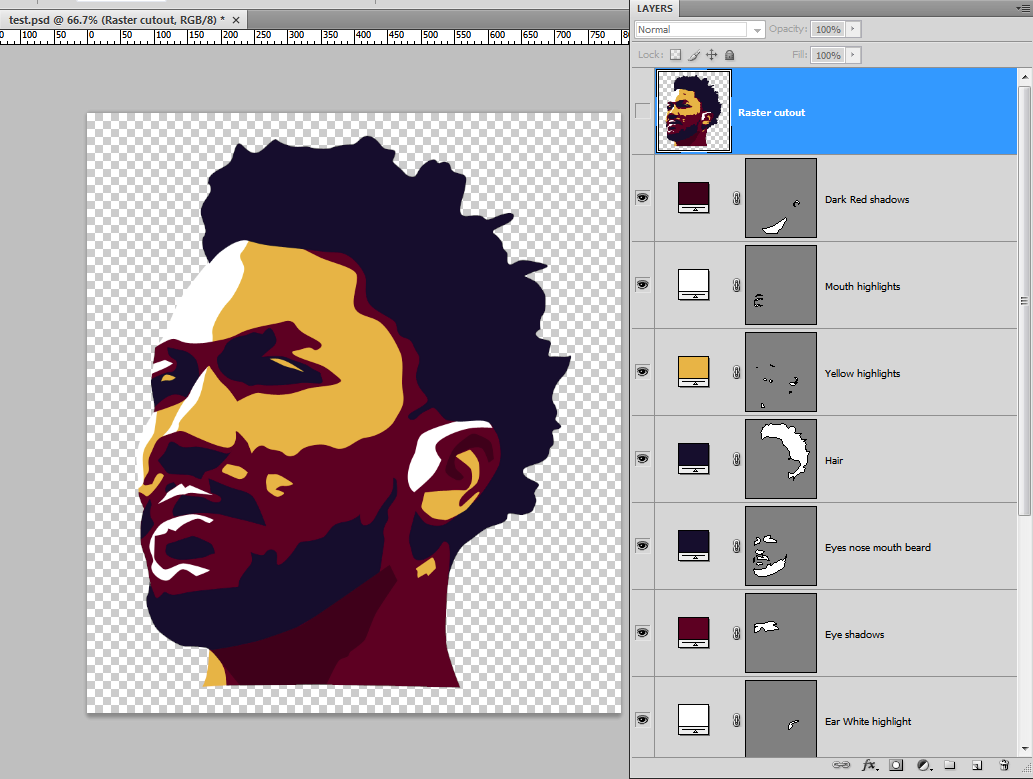
Start by simplifying the intricate, subtle elements of the photo, focusing more on strong shapes and clear outlines instead of realistic textures.
Utilize a solid dark or dim outline around figures and objects, reflecting the solid form lines typical in Greek art. Concentrate on facial profiles, hands, and flowing pieces of clothing.
Greek art frequently uses matte colors with negligible shading. Decrease or evacuate complex gradients and adhere to essential light and shadow ranges to make a more stylized look.
Rearrange human figures and objects into geometric shapes, underlining consonance, and ideal proportions. Exaggerate key highlights such as eyes or hair for a more iconic development.
Operate picture adjustments like Posterize or manual thresholding to diminish the number of color levels, resulting in more occasional shades and a more realistic formation.
Check that the figures and objects are effortlessly recognizable by their silhouettes, emphasizing clear and unmistakable shapes.
Hold all components consistent in fashion for a cohesive countenance, avoiding excessively realistic subtle elements.
Step 6: Texture Enhancements
Select a grain surface that mirrors the rough, matured surface of ancient artifacts. You’ll be able to discover suitable textures online or make one utilizing noise filters in your editing program.
Import the surface as a new layer over your picture. Shift the layer’s blending mode to Overlay, Soft Light, or Multiply to mix the grain naturally with the composition.
Utilize the opacity slider to regulate the intensity of the grain effect. Point for a gentle look that improves the aged appearance without overwhelming the details.
Utilize layer masks or erasers to specifically apply grain and hazard in particular ranges, like corners or edges, to recreate natural wear.
For extra realism, overlay inconspicuous split or scratched surfaces that take after antiquated ceramics or fresco damage.
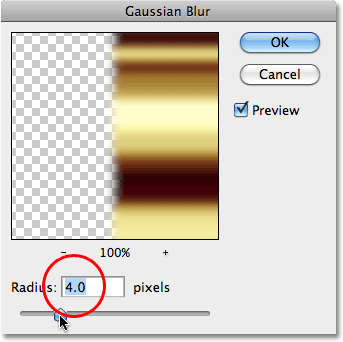
Add a slight Gaussian blur to harmonize the grain and make it show up more naturally blended.
Guarantee the grain and distress impacts improve the aged, ancient look without reducing the clarity of the central components.
Step 7: Concluding Tweaks
Expand contrast to create the stark differences between light and dark regions, imitating the high-contrast look of old Greek art. This aids in improving the visual effect of the simplified shapes and traces.
Refine the brightness to guarantee that the image holds clarity while keeping up an archaic appearance. Avoid over-the-top brightness that may lessen the vintage effect.
Develop shadows to include profundity and highlight the matte, stylized character of Greek art. Utilize the Shadows/Highlights adjustment or a curves adjustment layer to attain this.
Alter highlights to confirm that they are not too crisp. Adjust them to preserve the ancient look while keeping vital details obvious.
Include a subtle vignette effect to darken the edges of the picture, drawing focus to the center and enhancing the aged impression.
Make sure that the color tones align with the sepia or monochrome palette, keeping up consistency throughout the image.
Review the overall picture to affirm that the lighting adjustments conform with the grain, texture, and simplified details, accomplishing a cohesive ancient Greek art impact.
Conclusion
In conclusion, by including elements of ancient Greek art in your photos, you can honor the bygone era and mirror the civilization that produced it. This incorporation not only enhances the beauty and balance of your compositions but also opens up ways for creativity and invention, flaring your willingness to experiment. The enchanting temples, sculptures, and ceramics of Greek civilization can provide the vision of every artist, either a digital or physical one, to borrow their concepts from this antique art approach. Eventually, you can turn your images into the mesmerizing aura and environment of ancient times.


