How To Create Conceptual Art
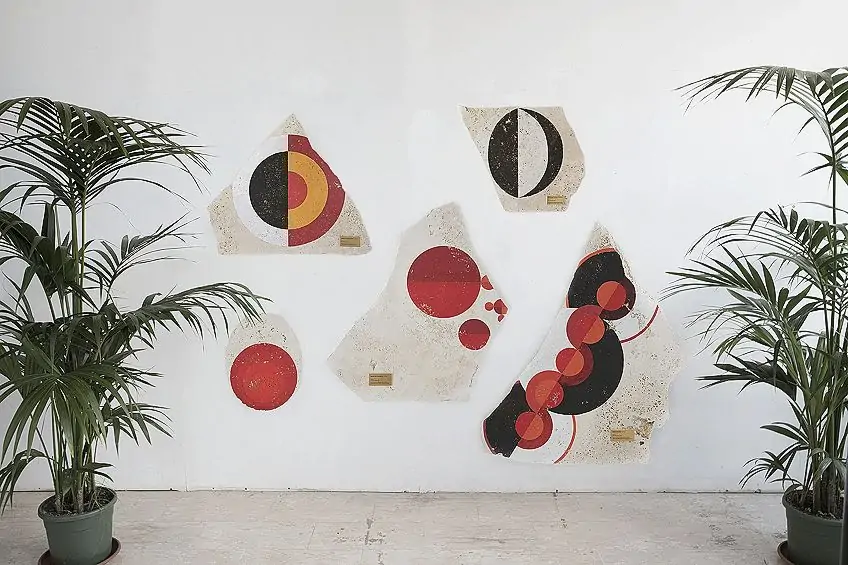
The conceptualism movement that arose in the 1960s elevated the idea or notion of a piece of art above its factual technical or artistic merits. The Conceptual artists voiced their thoughts through the use of materials and shapes that best suited their needs. It led to a wide variety of artworks that might resemble anything, including writing, performances, and commonplace objects. Through unnoticed systems, structures, and processes for creating art, as well as linguistic, mathematical, and process-oriented aspects of cognition, the artists investigated the possibility of art as an idea and art as knowledge. Back to the present day, the antique art ideas of past generations continue to uplift modern artists. Using digital software and techniques, they recreate unique art styles like conceptual art, blending antiquity and trendy compositional methods. This blog post will deal with all the essential guidelines for creating a digital, conceptual art composition using Adobe Illustrator, one of the most functional design and illustration software.
Step 1: Specifying The New Document Dimensions
Initiate Adobe Illustrator on your PC, and as it opens, go to the “File” menu in the upper left corner of the screen.it
From the “File” menu, click on “New” to form a new document for your conceptual illustration.
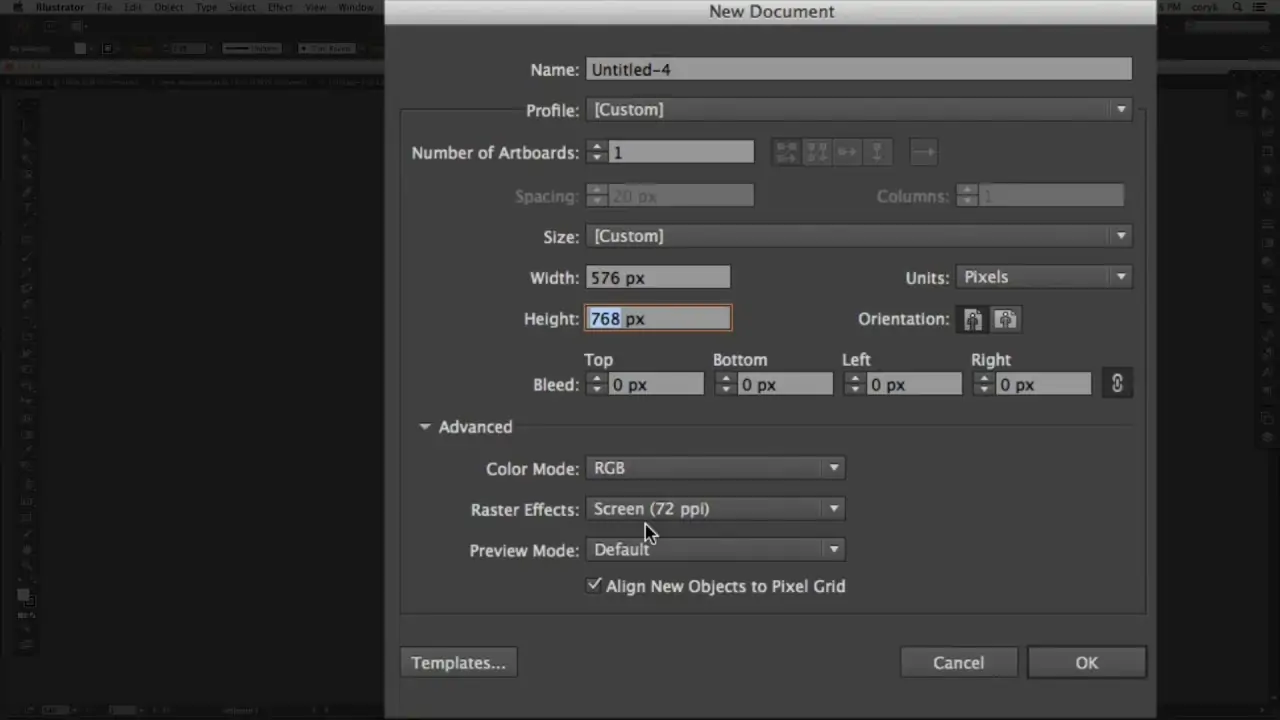
Next, you will see a dialog box allowing you to fix settings for your new document.
Add the dimensions you want for your artwork, taking into account factors such as width, height, and units (in inches or pixels).
Set the resolution for your document; typically, 300 pixels per inch is suited for print and 72 ppi for web use.
Decide the appropriate color mode for your artwork, like CMYK for print or RGB for digital use.
If you are creating a multi-page document, you can edit further settings such as the number of artboards, orientation (portrait or landscape), and spacing between artboards.
After you have revised the document settings to your liking, click “OK” to begin a new document with the defined settings.
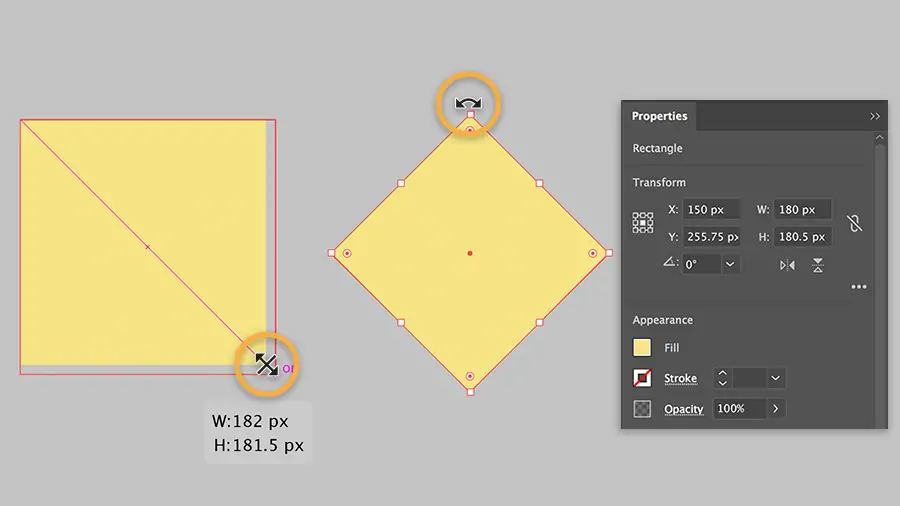
Step 2: Creating The Initial Shapes
Commence the creation process by picking suitable tools from the Illustrator tool collection.
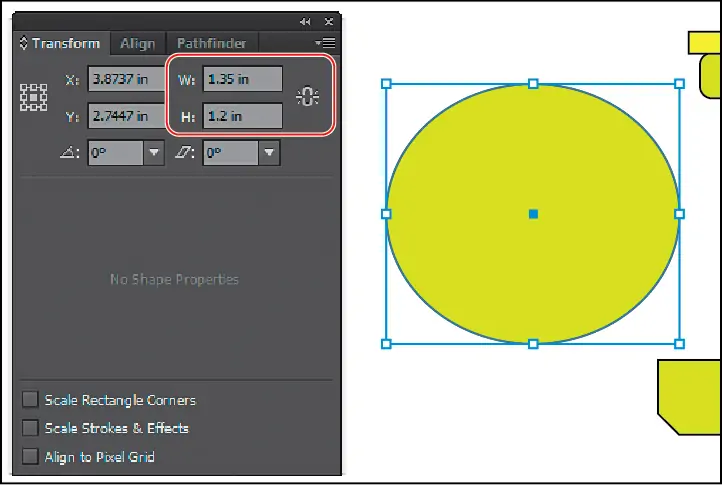
Employ the shape tools like the rectangle, ellipse, polygon, and star tools to make the essential components of your conceptual artwork.
Utilize the selection tool (the black arrow symbol) to choose and control shapes. Press on a shape to choose it, and drag the bounding box handles to resize or turn.
If your concept requires more complex shapes or custom ways, utilize the pen option to draw freeform paths and shapes.
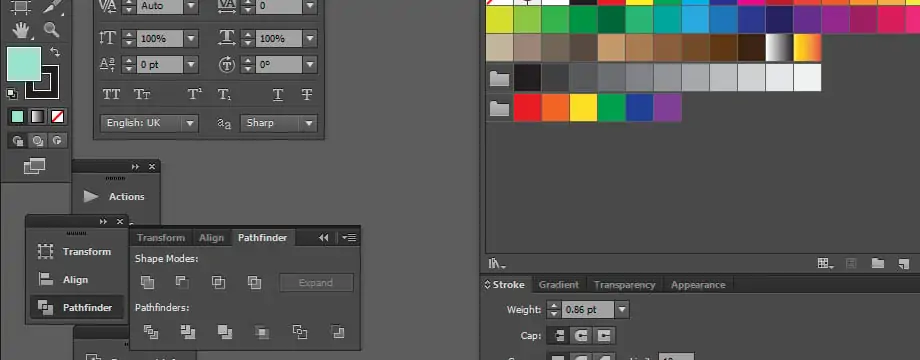
Alter your shapes’ stroke (layout) and fill (inside color) using the toolbar or properties board options. Try distinctive colors, gradients, and stroke weights to attain the required effect.
Organize your shapes on the artboard by organizing and adjusting alternatives within the toolbar or control panel. Acclimate shapes horizontally or vertically for a proportional composition.
If you are working with different shapes that frame a single component, gather them together utilizing the “Object” menu to keep them organized and more manageable to supervise.
Proceed with making and controlling shapes, testing with different courses of action, sizes, and colors to create your conceptual art.
Step 3: Arranging Components Through Layering
Assemble your artwork viably utilizing layers in Adobe Illustrator, a crucial highlight for overseeing complex compositions.
Get to the Layer panel on the right side of the workspace to see and supervise layers.
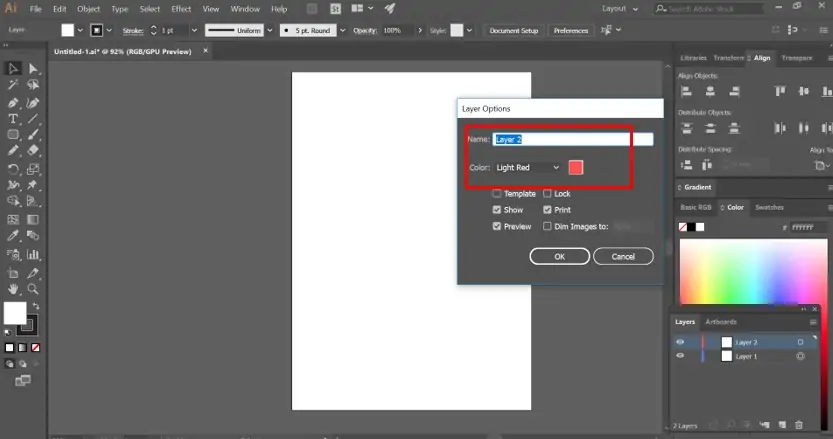
Utilize the “New Layer” button at the bottom of the Layer panel to form new layers for diverse components of your artwork.
Allot expressive names to your layers to preserve clarity and organization, particularly in projects with numerous components.
Revise layers by dragging them up or down within the Layer panel to direct the stacking sequence of components in your work of art.
Flip the visibility of layers on and off, utilizing the eye symbol following each layer. Bolt layers to sidestep coincidental alters by clicking on the lock symbol.
Construct sublayers inside primary layers to further categorize and structure your artwork, particularly in complex compositions.
Allot diverse colors to layers for visual separation and simpler identification, improving workflow effectiveness.
Step 4: Enhancing Texture Details And Additional Components
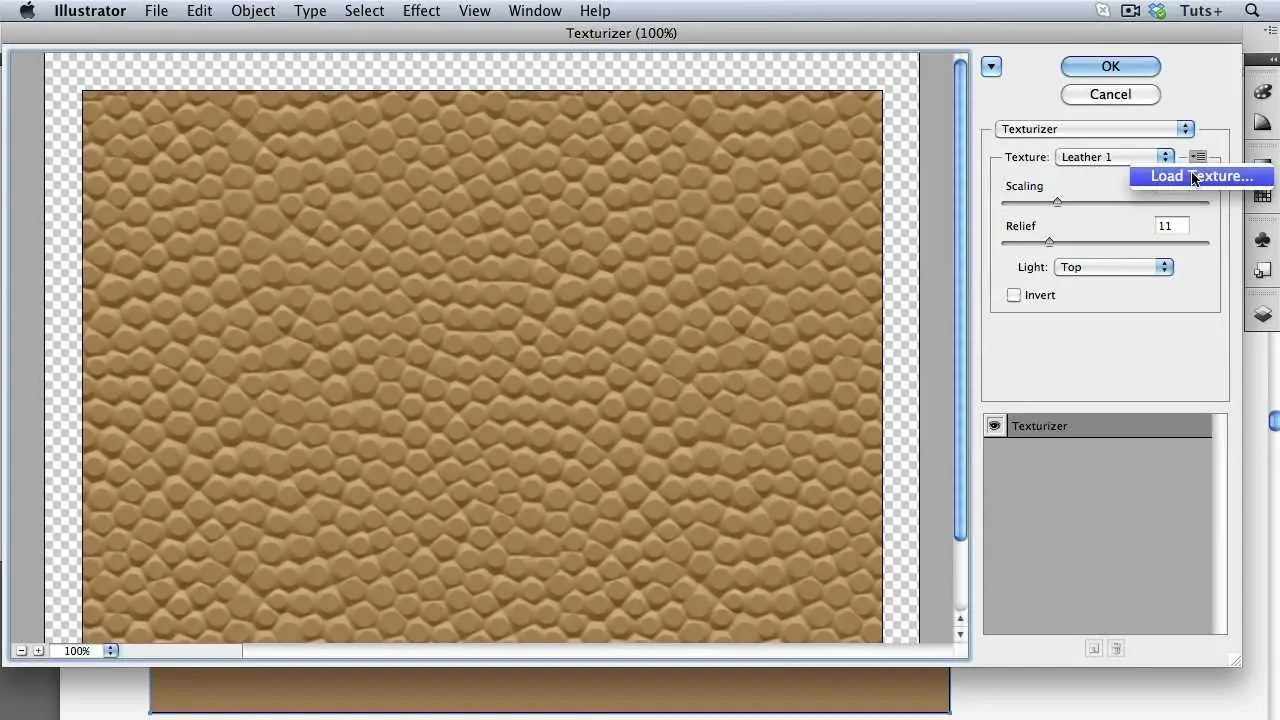
To include complicated details, use the pencil, brush, and pen tools to include fine, subtle elements, textures, and perplexing designs in your work of art.
Test with different brush presets or make custom brushes to attain diverse stroke styles, textures, and impacts, improving the lavishness of your artwork.
Consider Illustrator’s built-in effects and filters to add profundity and elaborateness to your artwork. Experiment choices such as blur, distort, or warp can create riveting visual effects contribute to your concept.
Utilize texture overlays, gradients, and shading methods to create profundity and dimension, achieving authenticity or deliberation as desired.
Alter the opacity and blending modes of person layers or objects to control transparency and make interesting visual connections between elements.
Keep tuning your artwork, testing with diverse details, effects, and strategies until you accomplish the specified level of complexity and visual development.
Step 5: Including Texts And Typographies
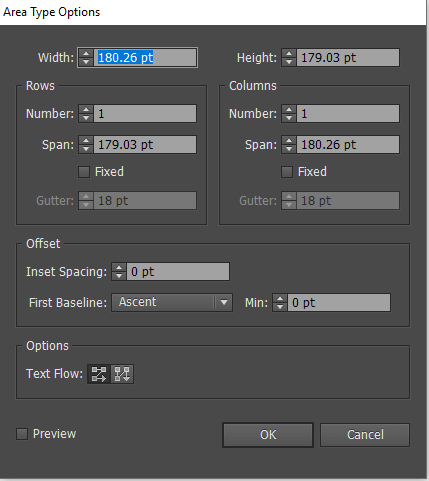
Coordinate textual components into your conceptual work of art to communicate extra meaning, setting, or story.
Select the Text feature from the Illustrator toolbar, denoted by a “T” symbol, to include content in your composition.
Press and drag on the artboard to form a text box of the specified measure, which can contain your text.
Enter your wished content into the text box, considering the text style, size, and style that best coincides with your creative vision and concept.
Play with different font styles, text sizes, weights, and styles to discover the typography that complements your visual components and successfully articulates your message.
Operate the Character and Paragraph panels to alter the format of your content, including alignment, dispersing, kerning, and leading, guaranteeing visual coherence.
Deliberately position text inside your composition to set up a hierarchy, balance, and visual stream, directing the viewer’s eye through the artwork and intensifying your concept.
Conform textual components consistently with visual segments, assessing variables such as color, scale, and proximity to make a cohesive composition that viably passes on your notion.
Step 6: Making Ultimate Adjustments
Assess the composition, confirming that it effectively communicates your concept and amuses the viewer.
Utilize the selection tools to alter the position, size, and proportions of person shapes or components inside your work of art. Carefully address spacing, alignment, and balance.
Play with color palettes and tweaks to enrich the mood, atmosphere, and visual effect of your work of art. Think about color theory principles and how they are associated with your concept.
Work on honing complex particulars, textures, and effects to include profundity and sophistication in your work of art while keeping up clarity and orderliness.
Audit and revise textual components, guaranteeing font choices, sizes, and formatting consistency. Give consideration to meaningfulness and visual progression.
Emphasize your design, making gradual adjustments and refinements based on criticism and your creative instinct. Do not waver to try and investigate new thoughts amid this step.
Perform a last audit of your work of art, checking that it lines up with your unique concept and meets your creative vision.
Step 7: The Final Review And Export
Move toward the final step, preparing your conceptual artwork for presenting, sharing, or printing.
Accomplish a comprehensive audit of your artwork, reviewing that all components are processed and cohesive. Make any required adjustments to improve visual inducement and clarity.
Move your focus on textural components and thoroughly edit for spelling, linguistic use, and coherence to get a proficient presentation.
Considering its expected application, decide the suitable file formats for your work of art. Standard formats are PDF for print, JPEG or PNG for digital sharing, and SVG for web purposes.
Set export settings, including resolution, color profile, and compression level, to maximize the quality and file size of your exported work of art.
Start the export process by selecting “Export” or “Save As” from the File menu. Take after prompts to indicate export settings and destination folder.
Save your Illustrator file and export artwork into different locations for safekeeping.
Conclusion
In conclusion, conceptual art may be a highly combative genre since many of its pieces spark discussions on such issues as what exactly constitutes art. The probe of the limits of art and its intended uses has made conceptual art a movement that exists well beyond its origins. This art is all about experimenting with ideas that could be blatantly abstract, basic, or complex. However, it has provided opportunities for artists who want to work in the indefinite domains of art. The ongoing acknowledgment of conceptual art is due to the freedom of ideas over relevancy, which inspires successive artists and redefines how we sense and decipher art.
