How To Create A Halo Effect
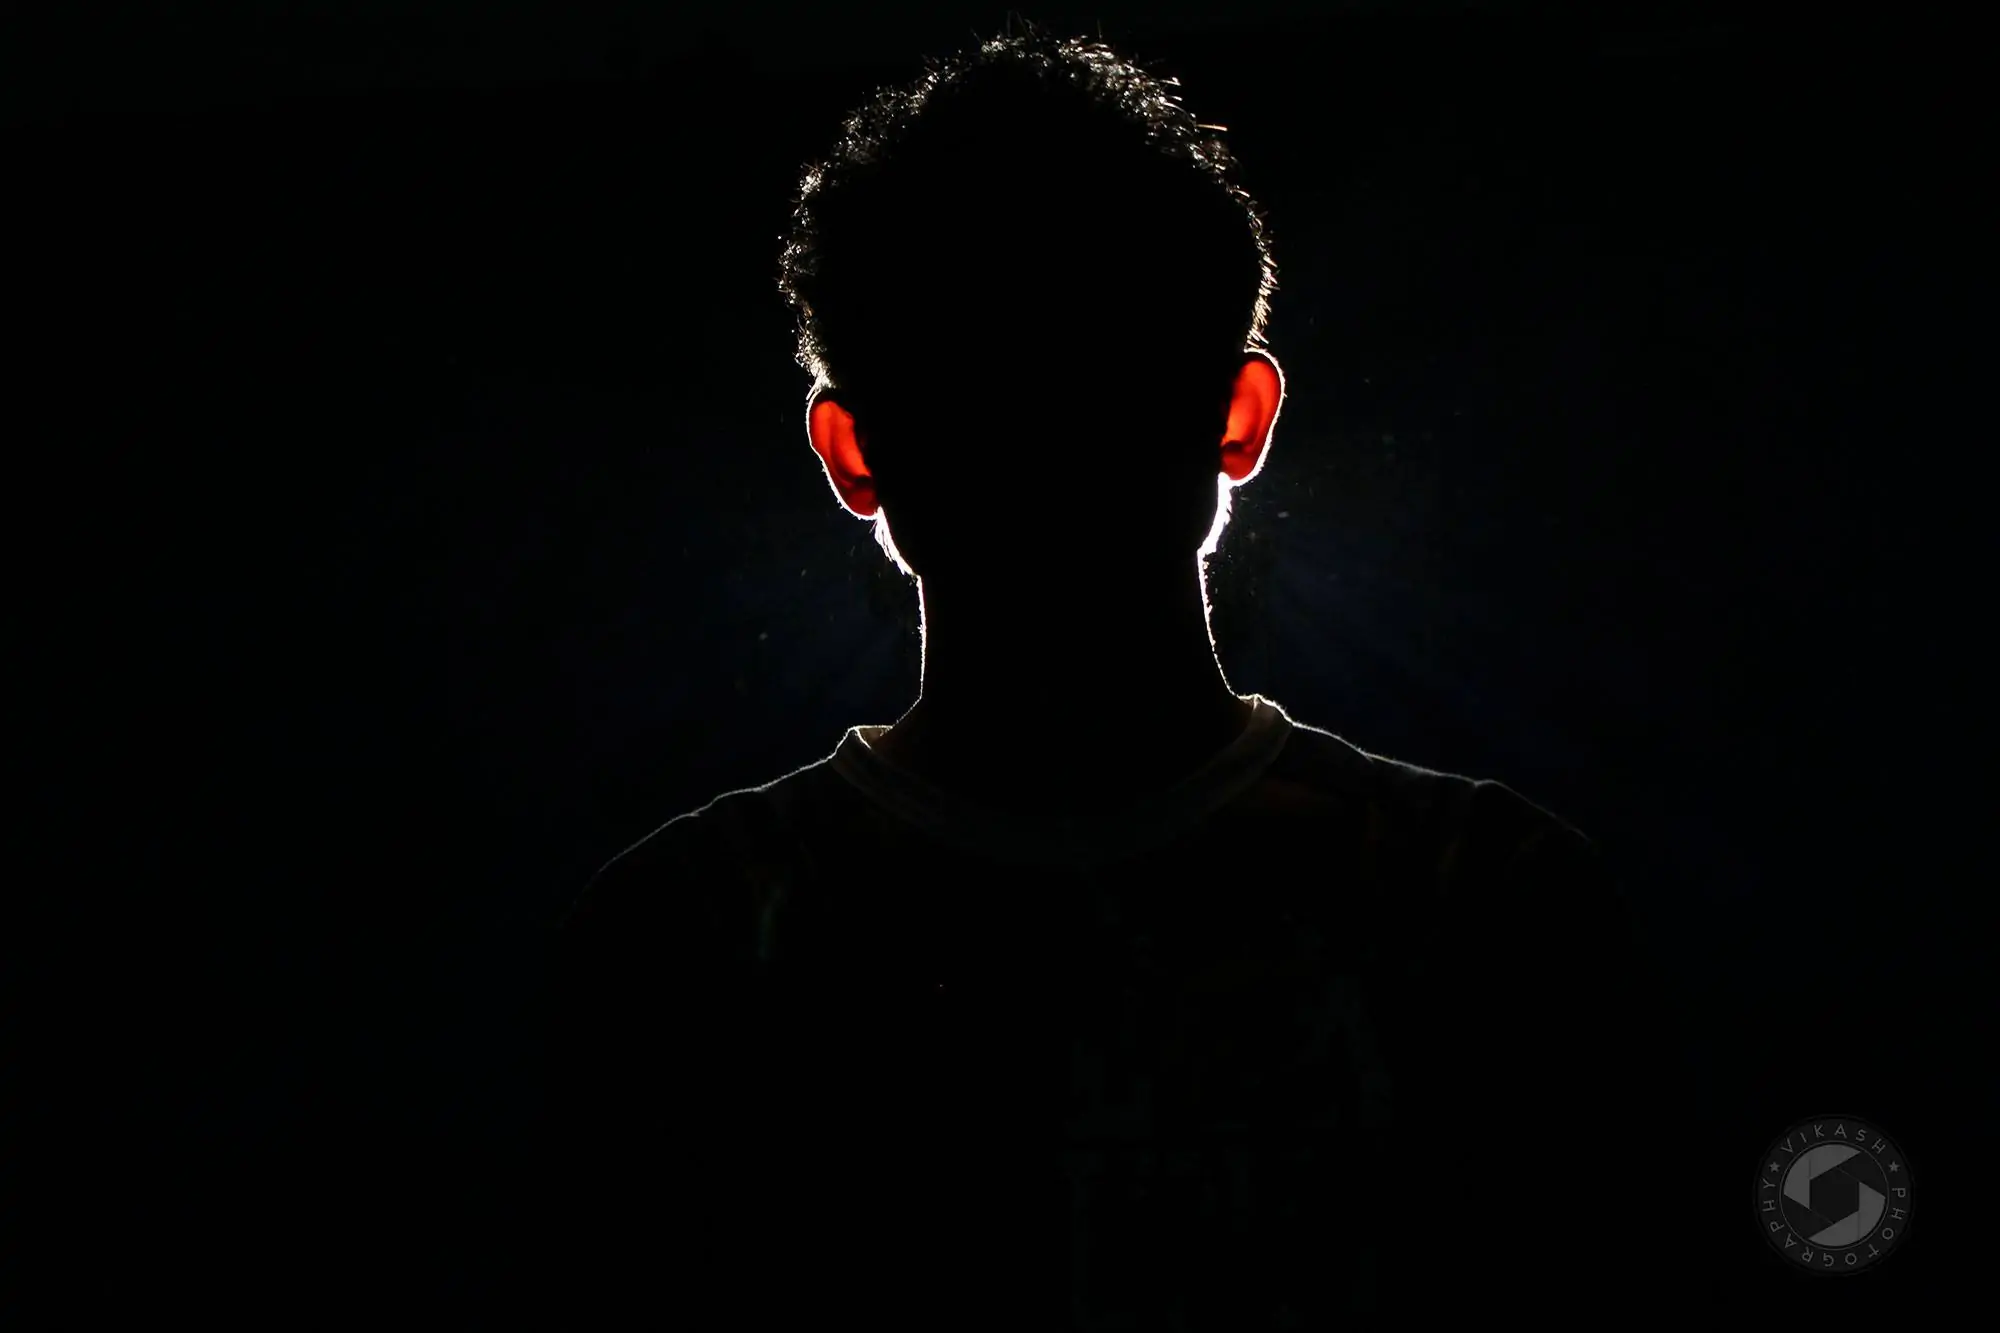
Halos are the lines of light (or dark) that trace the boundaries of an image. The high contrast margins, where the earth meets the sky, are where they are most noticeable. Like other irregularities, Halos often seems a forewarning sign that the artist needs to give more thought to the finer details. In photography, producing technically accurate images is only a few percent possible. There always remains a possibility of flaws like halos, which may result in deliberate artistic choices rather than evidence of carelessness or lack of skill. With the increasing craving for newness in visual art, the modern viewer tends to appreciate and immerse themselves in the image that demonstrates anything that doesn’t appear pragmatic. It gives them a chance to retreat, wonder about how it was created, and adore visual art’s unintentional move. Using simple techniques, you can also add fascinating flaws like that of a halo effect in your images. This blog contains the steps to create a halo effect, which are as follows.
Step 1: Choosing And Importing The Image
Start by unfurling the image in your favored image editing program.
Take a zoomed view to examine zones of high contrast, such as edges between objects or the transition between light and dim areas.
Search for apparent signs of the halo effect, such as shinning or dull halos around objects or along edges.
Pay attention to the zones where the halo effect is most articulated. These will be the hubs of your editing practices.
Evaluate the prevalent development of the halo effect on the image’s visual captivation and authenticity, considering components such as lighting, composition, and subject matter.
Be sure that the halo effect may shift in vehemence throughout the image, so be intensive in your evaluation to guarantee no influenced ranges are neglected.
Once you’ve ended your assessment, continue to the next step, which is to start tending to the halo effect by focusing on editing techniques.
Step 2: Working On Adjustment Layers
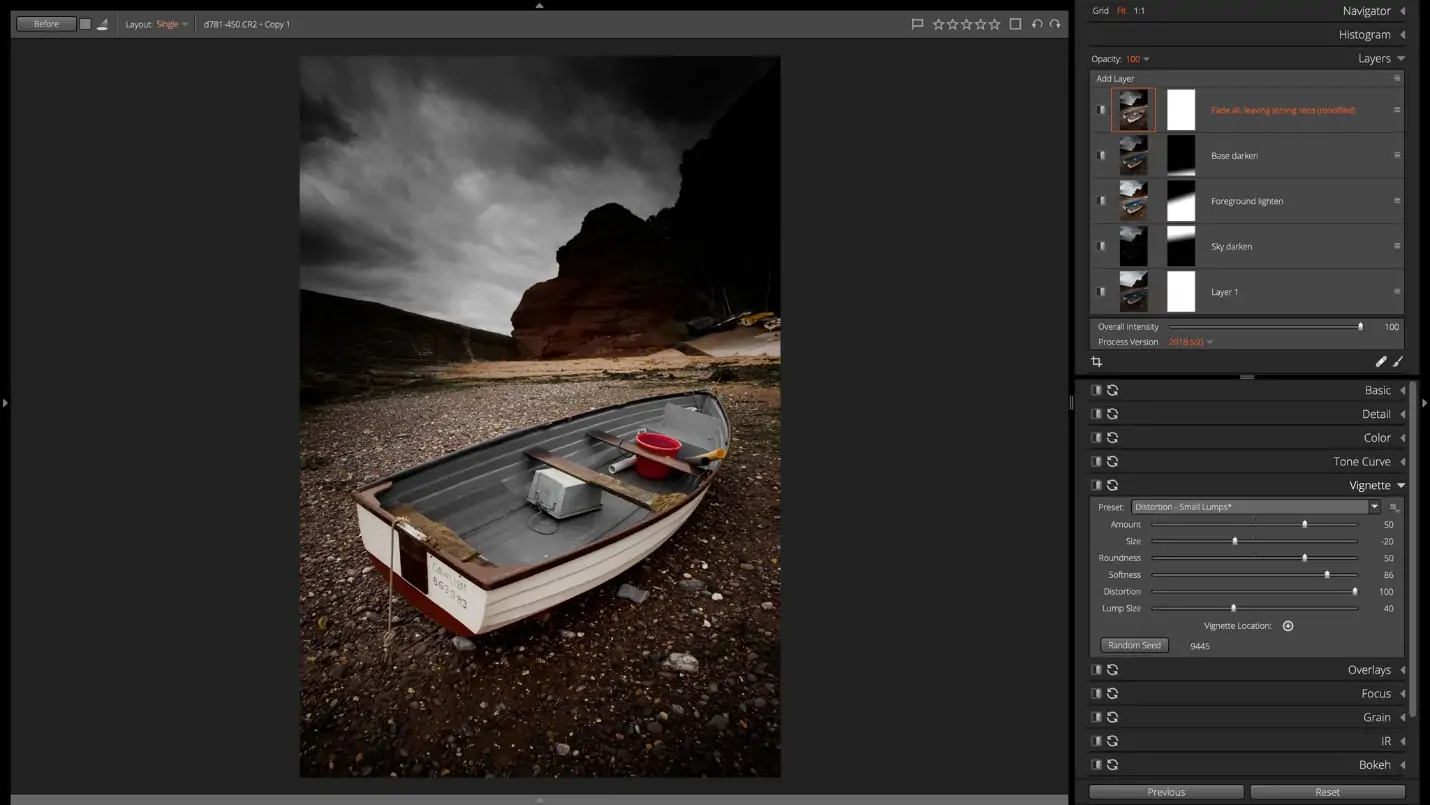
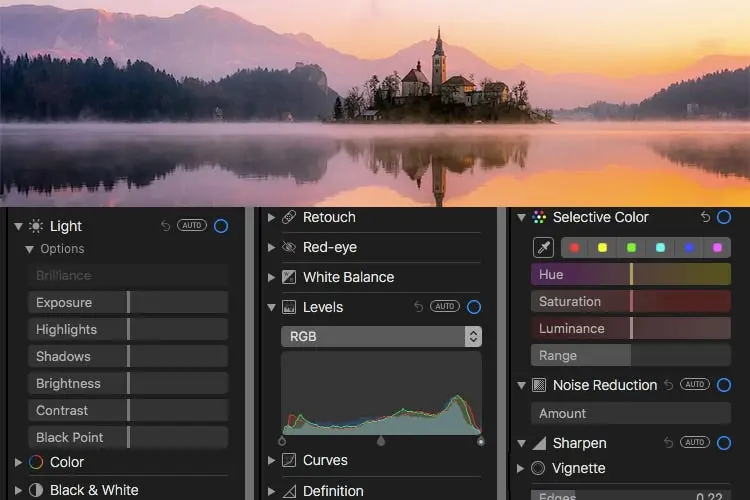
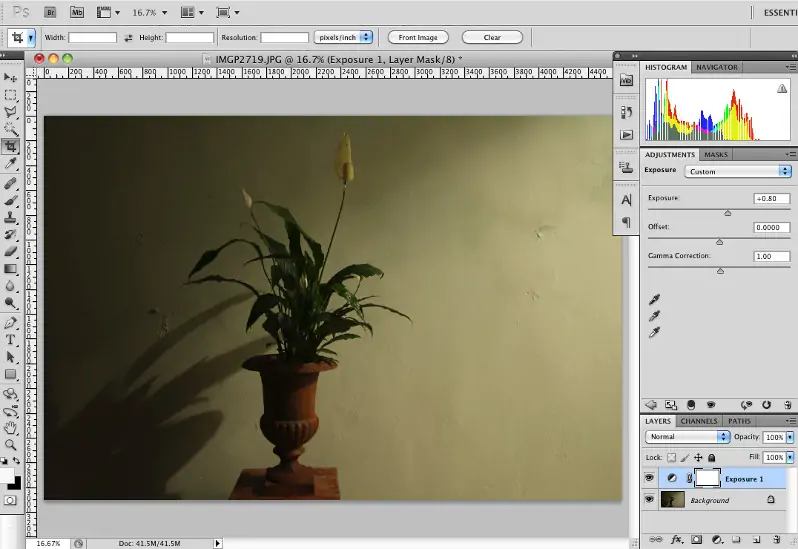
Get to your image editing app’s layer menu or panel to form a new adjustment layer.
Select the proper style of adjustment layer based on the alters you arrange to create, such as Levels, Curves, or Hue/Saturation.
Title the adjustment layer distinctly to demonstrate its purpose, for example, Halo Adjustment or Contrast Adjustment.
Confirm that the adjustment layer is placed over the initial image layer within the layer stack for simple get-to and organization.
Utilize layer masks or selection tools to restrain the adjustment layer’s effect on particular zones of the picture where the halo impact is shown.
Touch up the selection or mask to target the influenced regions precisely while minimizing the effect on unaffected districts.
After the adjustment layer is built up and appropriately arranged, you’re ready to proceed to the next step.
Step 3: Using Selective Editing Techniques
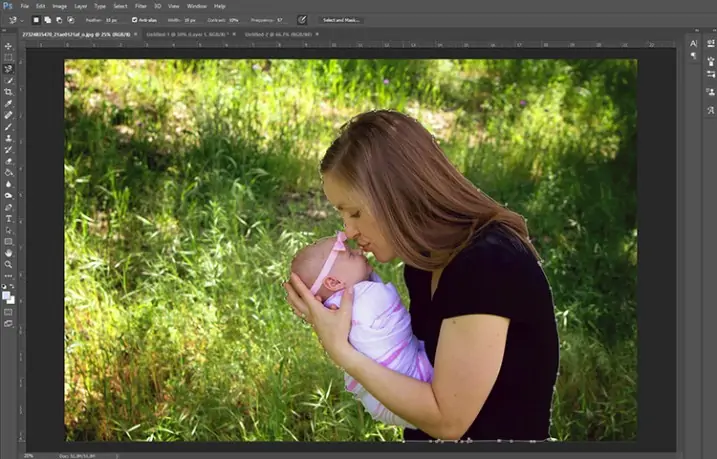
Utilize selection tools like lasso, polygonal lasso, or magic wand to make an exact selection around the ranges influenced by the halo effect.
As a substitute, masking procedures are utilized to get selective editing. Apply a layer mask to the alteration layer made within the prior step.
Guarantee that the chosen zones or mask precisely envelop the zones where the halo effect is most noticeable, like along edges or around objects.
Polish up the selection or mask as required to incorporate all areas affected by the halo effect while excluding unaffected portions of the picture.
Consider using the feather feature to switch between altered and unedited ranges smoothly, minimizing the visibility of any modifications.
By briefly covering up or toggling the adjustment layer’s visibility, confirm that the selective altering targets only the specified areas.
Once you have completed the selection or mask, continue to alter the settings of the adjustment layer to start handling the halo effect inside the selective sections of the picture.
Step 4: Adjusting Feathering Variables
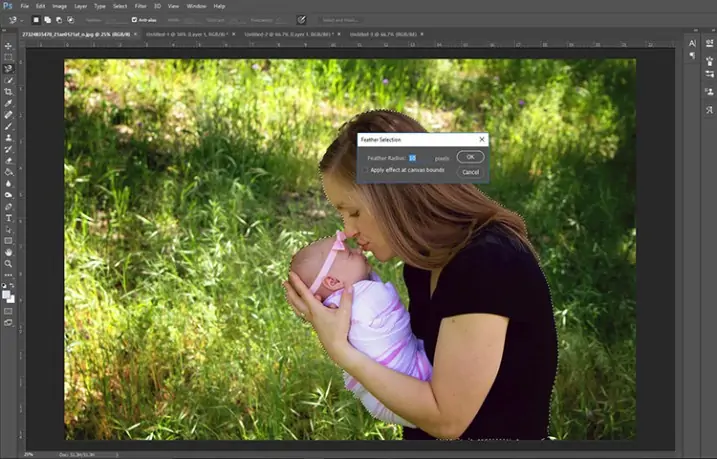
You can find the feathering highlight inside the selection or masking options in your editing program.
Alter the feathering radius or intensity to form a progressive move between the chosen or masked regions and the rest of the photograph.
Expand the feathering radius for a gentler move, which helps merge the edited districts more smoothly with the rest of the picture.
Look out not to over-feather, as intemperate feathering can result in excessively obscured edges and a decrease in the adequacy of selective editing.
See the feathering effect at different zoom levels to guarantee that the changeover between edited and unedited zones is smooth and visually pleasing.
Regulate the feathering settings to attain the specified harmony between blending the edited regions and protecting sharpness and detail.
After a proper feathering application, continue to adjust the settings of the adjustment layer to start addressing the halo impact inside the chosen or masked zones of the picture.
Step 5: Polishing The Halo Effect
Get to the settings of the adjustment layer made in prior steps to adapt the adjustments connected to the selected or masked ranges.
Play with diverse settings, like contrast, brightness, saturation, or sharpness, to moderate the halo effect while protecting picture quality.
Avoid extraordinary alterations that worsen the halo effect or present other undesirable anomalies.
Attend to the zones influenced by the halo effect and alter the settings appropriately to attain a natural and adjusted appearance.
Employ adjustment layers with non-destructive editing abilities to limit adaptability and effortlessly return to past alterations if necessary.
Persistently evaluate the effect of your alterations on the image by previewing the changes at different zoom levels and comparing them to the initial picture.
Make cumulative alterations and frequently reassess the picture to guarantee you advance toward your desired mark.
Next to the fine-tuning of the adjustment settings, continue to preview the overall impact of your alters and make any last alterations as vital before moving on to the successive step.
Step 6: Previewing The Edits
Closely evaluate and look at the picture to observe the effect of your alterations on the halo effect.
Flip the adjustment layer’s visibility on and off to correspond the altered zones with the initial picture and assess the adequacy of your rectifications.
Attend to regions where the halo effect was first noticeable and watch how your edits have influenced their appearance.
See the photograph at different zoom levels to check that the changes are reliable and palatable over various scales.
Mark any regions where more refinement may be essential to acquire a consistent move between modified and unedited zones.
Observe the general visual effect of your alterations on the image’s composition, lighting, and subject.
After you’re pleased with the results of your alterations and sure that the halo impact has been addressed enough, continue to finalize your alters.
Step 7: Doing Final Modifications
Audit the composition thoroughly to distinguish any remaining ranges where the halo effect may still be obvious or where additional alterations are required.
Utilize selective editing apparatuses or adjustment layers to target particular regions requiring more refinement,
Alter the settings of your editing tools with accuracy, making inconspicuous changes to attain a consistent blend between altered and unedited zones.
Keep alluding back to your original evaluation of the halo effect and compare it with the current state of the image to guarantee that all problematic regions have been addressed.
Take breaks intermittently to recapture perspective, returning to the picture with new eyes to distinguish any neglected issues.
Repeat your edits as vital, making incremental alterations and reassessing the image until you’re entirely fulfilled with the result.
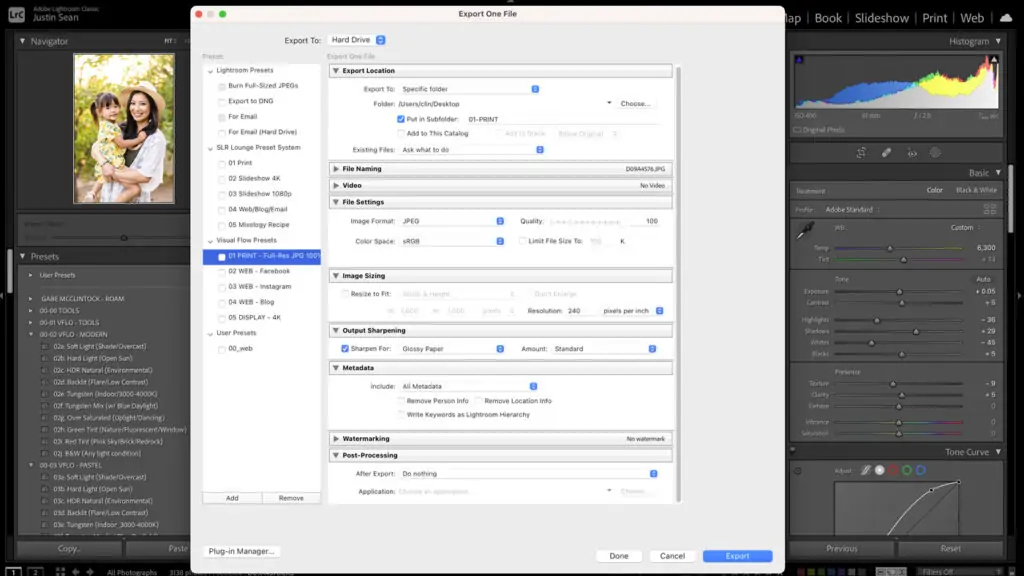
After you’re confident that the halo effect has been effectively moderated and the photo meets your quality benchmarks, finalize your changes and save or export the picture in the format you want for the presentation.
Conclusion
In conclusion, a halo effect can be created as a form of a digital artifact or enhanced in photographs that already include some halos. In both cases, it never fails to enchant the viewer with its unique charm surrounding objects within the magical ambiance of light or dark boundaries. You can create stimulating halo effect images using advanced image editing techniques, especially selective editing strategies and adjustment layers. Apart from enhancing natural halos within images, you can also add new halos around objects or the image’s main subject to stress their essence and direct the viewer’s gaze.
