How To Create Clipart Using Illustrator
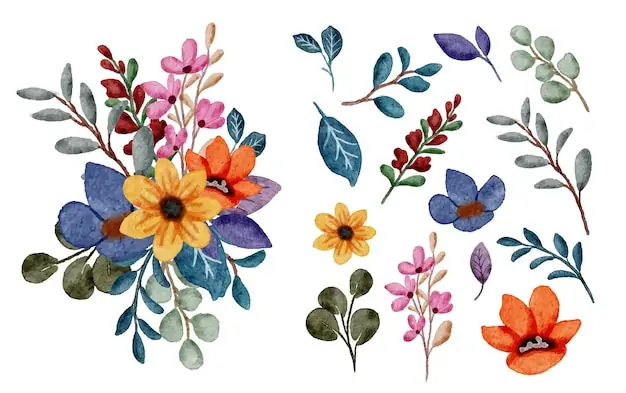
Clipart, as a form of a digital image, is utilized in various graphic design tasks. One of the most prevalent sorts of clipart that almost all computer users know is images that are added to Microsoft Word documents, brochures, and other things. Clipart is frequently used with textual styles to produce an across-the-board aesthetic that complements the tone and objectives of a wide range of print and digital goods, including calendars, book covers, flyers, websites, and a numeral of other items. A dark, low-resolution image of a form or other basic items can be used as a clipart, or it can be more sophisticated and involve converting a high-quality photograph into a digital image that can be incorporated into an expansive range of projects. In image creation and editing, you can likewise create your own ravishing clipart pieces or make clipart chunks that you can incorporate into your photos. This blog post will go through the process of making a clipart piece with Adobe Illustrator, a robust painting program.
Step 1: The Initial Sketching
Start by producing thoughts for your clipart. Think of the subject, components, and widespread style you need to communicate. Consider the reason for your clipart and who your group of onlookers will be.
Once you’ve got some thoughts in mind, write them out roughly on paper or digitally. Do not stress about flawlessness at this stage; center on capturing the pith of your concept.
Survey your sketches and refine your concept further. Contemplate how each component contributes to the overall composition and message of your clipart. Make any essential alterations or augmentations.
Consider where your clipart will be utilized and how it’ll be associated with other components. Take into account variables such as size, orientation, and color scheme to guarantee your clipart fits consistently into its aiming setting.
Search for motivation from other clipart, artwork, or design assets. Examine the styles, strategies, and patterns that resound with your vision.
Once you’ve got a clear vision for your clipart, finalize your concept by recognizing the key components and visual direction.
Step 2: New Document Settings
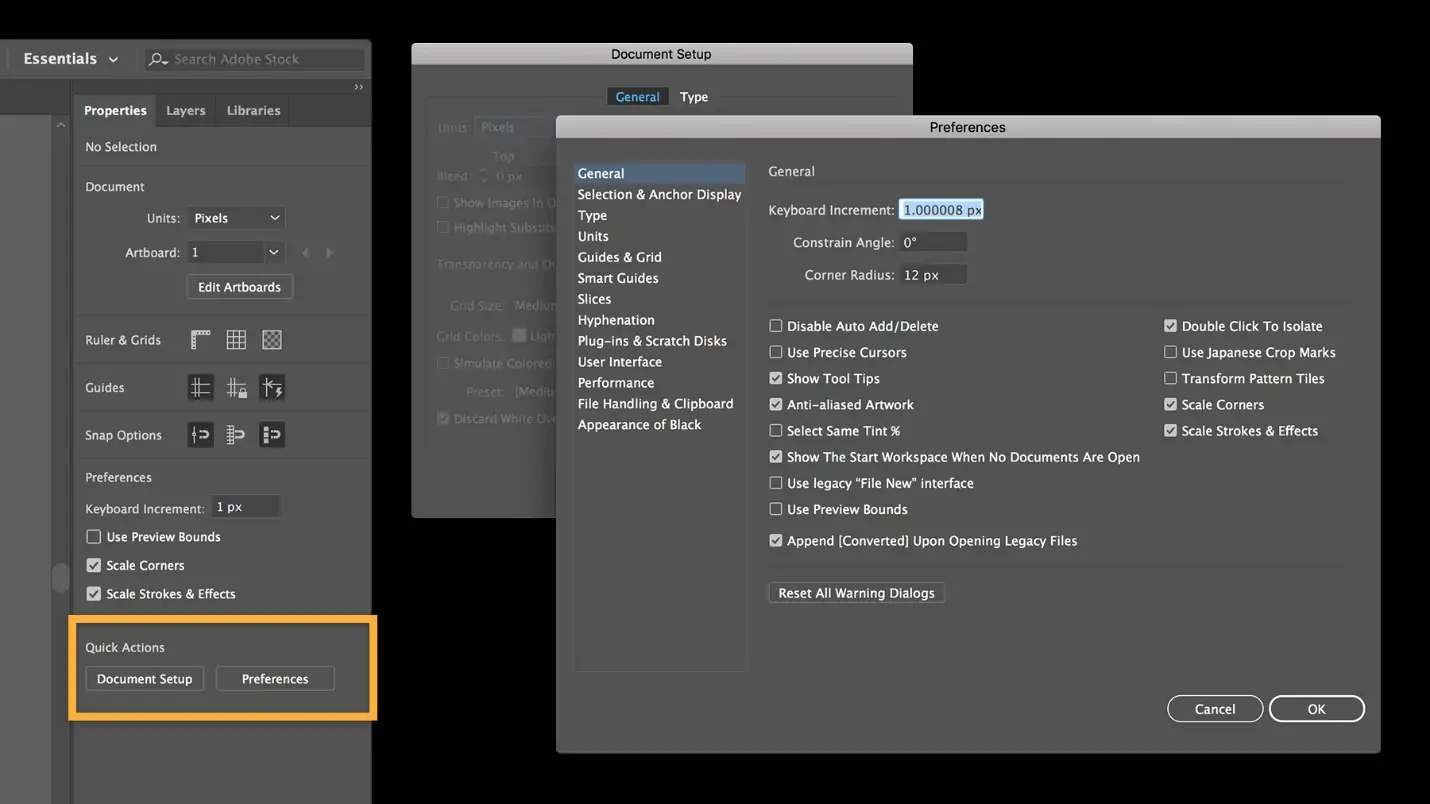
Open Adobe Illustrator on your computer to begin the creation process.
Based on the intended use of your clipart, select the sort of document you need to form. You’ll select options like “Print” for physical media or “Web” for digital platforms.
Indicate the dimensions of your document based on the size necessities of your clipart. Consider components such as resolution and aspect proportion to guarantee high-quality yield.
Select the suitable color mode for your clipart. RGB is regularly utilized for digital projects, whereas CMYK is preferred for print-based plans.
Customize the settings for your artboard, such as orientation and arrangement, to suit your clipart components comfortably.
Provide your document with a graphic title and pick a location to save it on your PC. It guarantees that your work is organized and effortlessly accessible for future changes or exports.
Affirm all your archive settings to guarantee they adjust along with your extended necessities sometime recently continuing with the creation preparation.
Step 3: Sketching Basic Forms
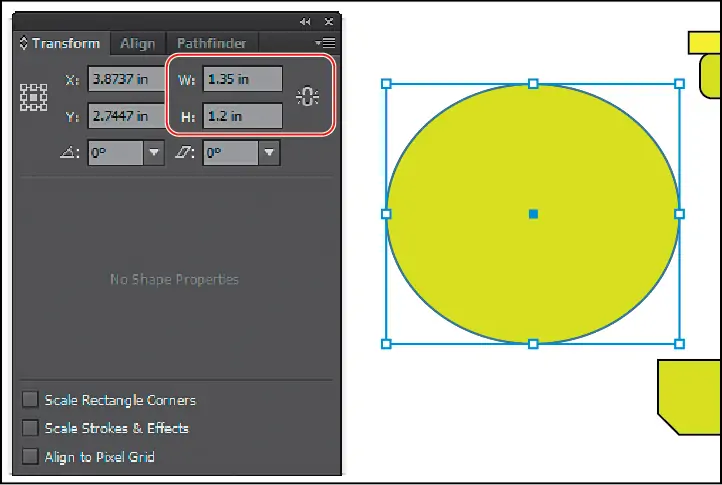
Depending on the shapes required for your clipart, utilize the different drawing tools accessible in Adobe Illustrator, such as the Rectangle Tool, Ellipse Tool, or Pen Tool.
Begin by sketching the essential diagrams of your clipart components utilizing the chosen drawing instruments. Focus on grasping the general shape and structure of each component.
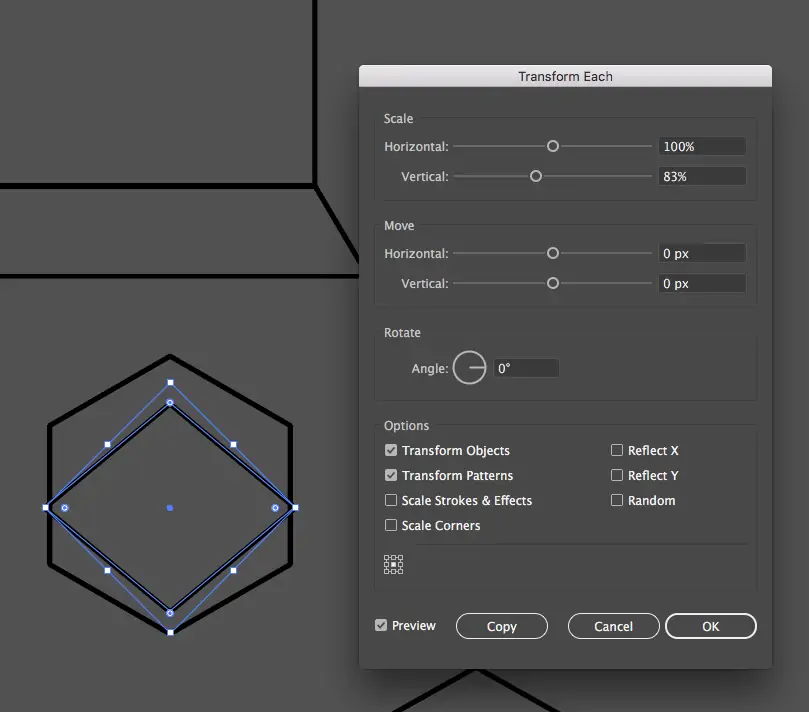
Alter your shapes’ anchor points and curves to attain the specified shape and proportions. Utilize the Direct Selection Tool or Pen Tool to refine and control the shapes as required.
Upgrade your shapes by including subtle elements and characterizing features. Add lines, curves, or extra shapes to include profundity and complexity to your clipart components.
Arrange your artwork using layers in Illustrator. CreateCreate isolated layers for distinctive components of your clipart to preserve clarity and ease of altering.
Frequently audit your progress as you draw shapes to ensure they align with your conceptual vision. Do alterations as necessary to preserve consistency and coherence throughout your clipart plan.
Step 4: Enhancing Details
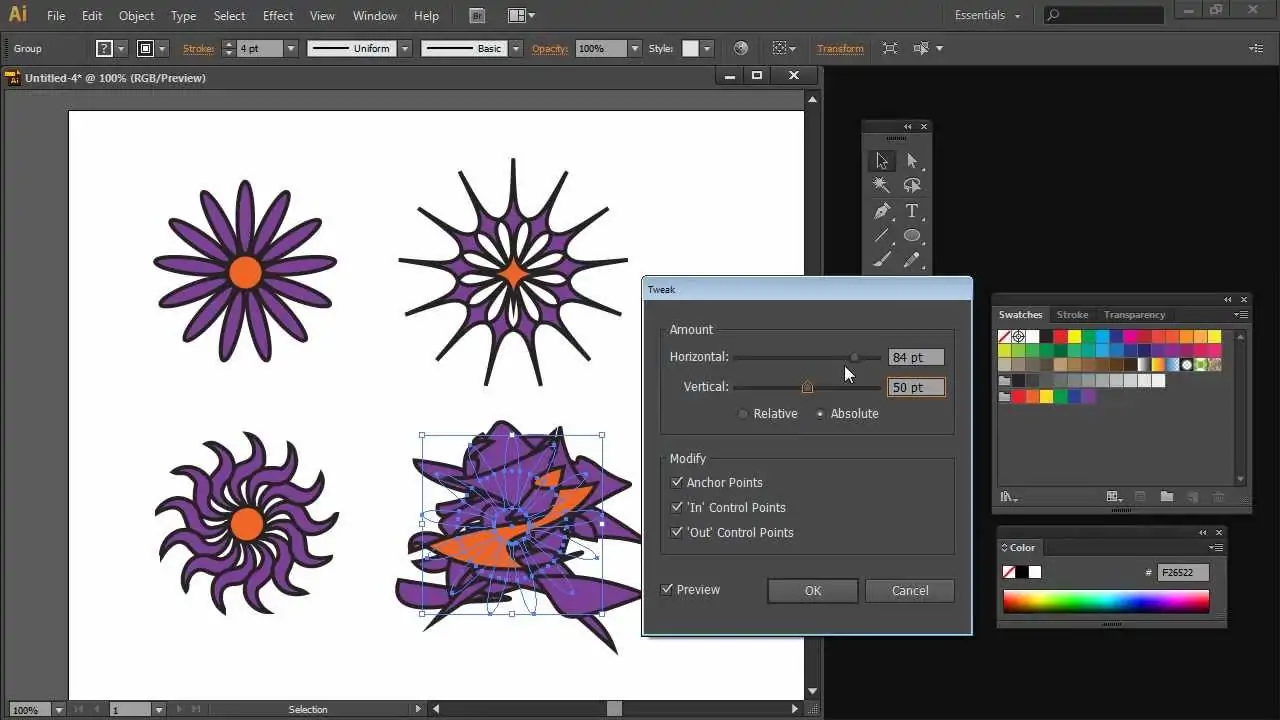
Present profundity and surface to your clipart components to improve their visual offer. Look into utilizing shading, gradients, or patterns to include dimensionality.
Calibrate the traces of your shapes to form clean and exact edges. Alter anchor points and curves as required to get smooth and polished forms.
Infuse visual interest into your clipart by including enhancing components or perplexing designs. Try different styles and strategies to discover what best suits your plan.
Emphasize critical highlights of your clipart components by including highlights or emphasizes. It helps draw consideration to particular ranges and improves overall meaningfulness.
Ensure consistency in specifying all components of your clipart to make a cohesive appearance. Weigh variables like line thickness, dispersing, and complex choices to preserve concordance all through your design.
Get motivated by other works of art, plan assets, or nature itself to spark creativity and find modern enumerating strategies.
Ceaselessly study your progress and make alterations as required to attain the specified level of detail and visual development in your clipart plan.
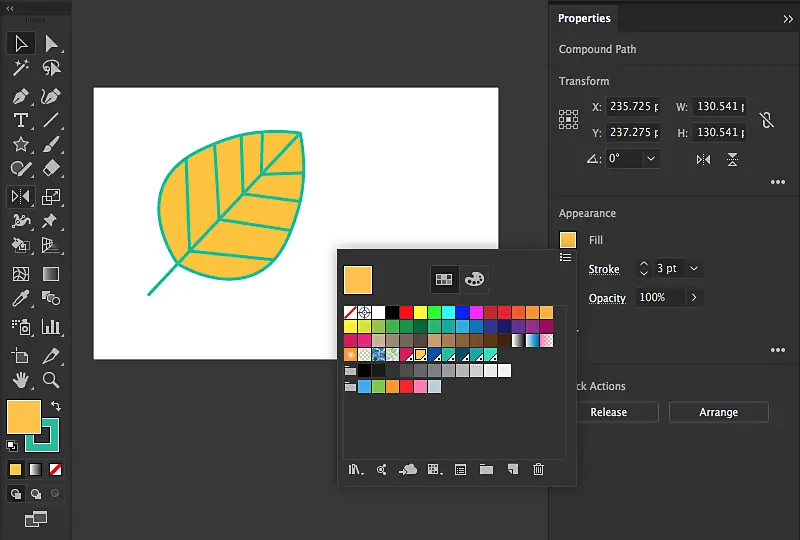
Step 5: Filling Shapes With Colors
Select a color palette that matches your clipart’s temperament, theme, and reason. Consider components such as color theory, contrast, and harmony to create outwardly engaging combinations.
Start by applying base colors to your clipart components utilizing the Fill tool or Swatches panel. Use wide strokes to set up your plan’s overall color scheme and temperament.
Tune your color choices by altering saturation, brightness, and tone to attain the required visual effect. Explore different color varieties to find the most viable combinations.
Present gradients or textures to include profundity and lavishness to your clipart components. It will utilize the Gradient tool or apply finished fills to particular areas.
Guarantee adequate contrast between distinctive components of your clipart to enhance readability and visual interest. Utilize lighter and darker shades deliberately to form emphasis and focal points.
See your clipart design in different settings to evaluate how colors appear in different lighting conditions or foundations. Make any last alterations to guarantee ideal color representation and development.
Step 6: Polishing Overall Design
Manage your clipart components inside the composition by organizing them visually satisfyingly. Review components, including balance, symmetry, and focal points, to make a concordant layout.
Establish the progression of your clipart components by prioritizing certain components over others. Utilize size, position, and emphasis to direct the viewer’s consideration and pass on the expected message successfully.
Polish the proportions of your clipart components to form visual balance and coherence. Ensure that bigger components don’t overwhelm smaller ones, and each contributes genuinely to the overall composition.
Examine the spacing between components to avoid stuffing or gaps inside your clipart plan. Maintain consistent dividing to form a sense of cohesion and flow throughout the composition.
Consider the setting where your clipart will be utilized and appropriately alter the positioning and sizing. Check out variables such as available space, viewing distance, and surrounding components to optimize the visual effect of your design.
Persistently revise your positioning and sizing choices, making alterations as required to achieve the desired visual harmony and pecking order. If possible, request input from others to gain new viewpoints and distinguish zones for change.
Step 7: The Final Audit
Perform a thorough audit of your clipart design, scrutinizing each component for consistency, clarity, and alignment with your beginning concept.
Review your clipart for any botches or irregularities, such as lost components, uneven dividing, or color mistakes. Correct any issues to guarantee a polished final piece.
Evaluate how your clipart design integrates with other components or stages where it’ll be utilized. Ensure compatibility with diverse gadgets, software, or printing strategies to ensure ideal presentation.
Do any last alterations or improvements to set up your clipart design. Fine-tune details, refine colors or include subtle effects to raise the overall visual mark.
Save your finalized clipart design and make backups to protect against data loss or unexpected issues. Store duplicates in numerous locations for added security.
Conclusion:
In conclusion, clipart holds a range of aesthetic possibilities, from creating aesthetic components for image modification to creating a comprehensive clipart work. Even though there are a lot of clipart presets currently available, you might not discover exactly what you’re looking for or want to make bespoke clipart with names, mascots, logos, and other unique information. Fortunately, tools and options for creating your own clipart are included in contemporary design software. To transform the image in your head into a work of digital art, the precise procedures required may vary depending on the program, but in general, you’ll need to follow the above-mentioned basic strategies.
