How To Create Fresco Art
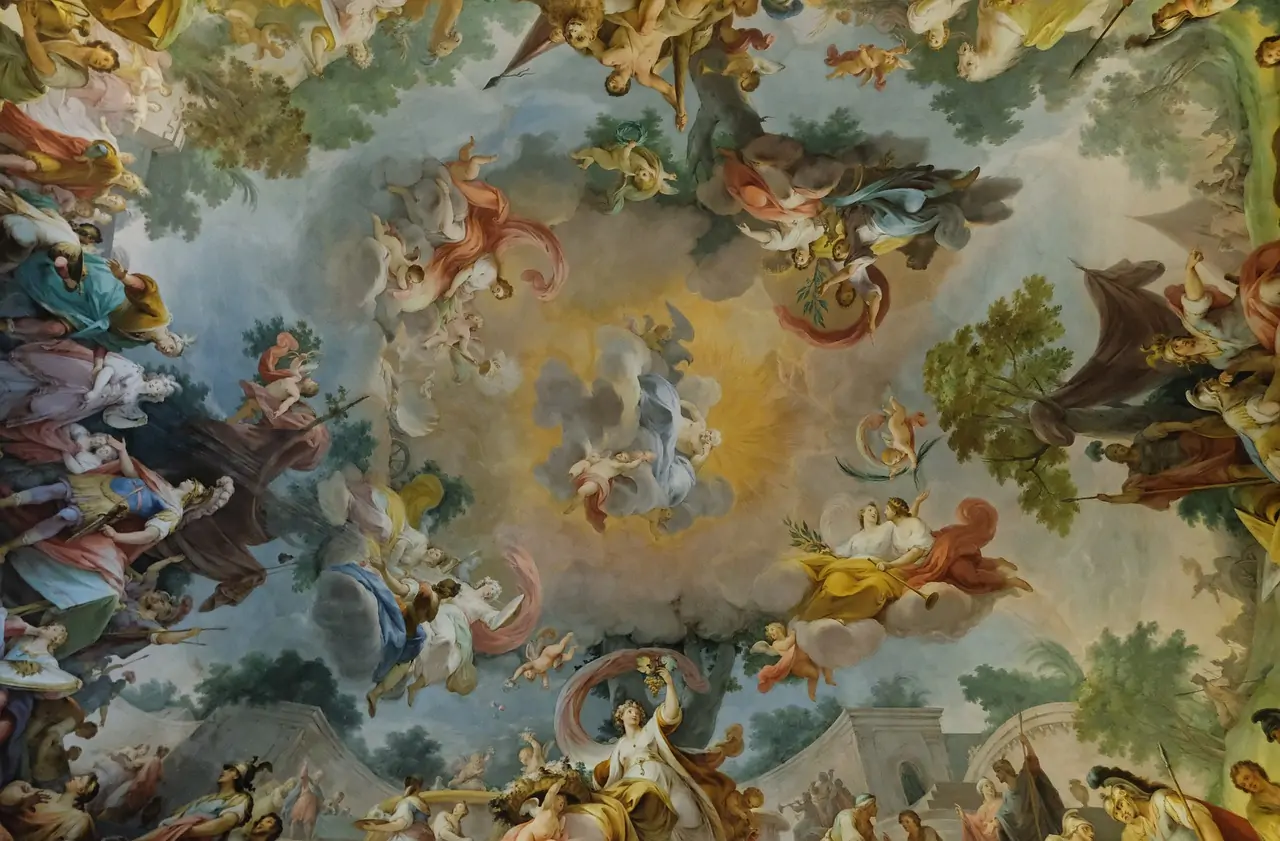
Fresco art finds its roots in ancient Rome and ancient Renaissance civilizations, where artists represented their artistic bearings on freshly plastered walls using powder color solutions. The resultant art gave the guise of being embedded within the wall, presenting an organic and rich appearance. At that time, fresco art embellished the walls of castles, temples, and tombs, demonstrating the settings of daily life, legends, and spiritual ideas. Still in demand today, fresco art requires a cautious application. The colors are absorbed into the plaster when the painter dilutes his paints with water and brushes them on. As the wall dries and hardens, the pigment particles cement together with the sand and lime particles. Fresco has high requirements for a painter’s technical ability because it requires him to work quickly, and he cannot fix mistakes by overpainting. Overcoming the limitations of material fresco art, digital tools offer the artist a wide spectrum of options and techniques to create immaculate artwork without being spooked at neglecting art intricacies. The detailed steps to create digital fresco art are as follows:
Step 1: Sketch Your Thoughts
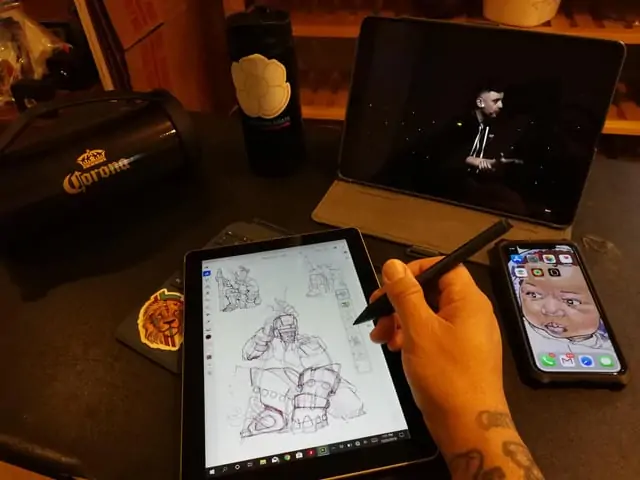
Sketching is the foundational step in making digital fresco art. Start by conceptualizing your composition and envisioning the arrangement of components inside the artwork.
Employ a digital drawing tablet, stylus, or drawing software to interpret your thoughts onto the digital canvas.
Begin with austere diagrams to set up your subjects’ essential shapes and forms, considering the composition’s overall harmony and visual stream.
Try to use distinctive viewpoints and perspectives to find the most compelling arrangement for your fresco artwork. Take into consideration the thematic components you want to consolidate, whether it’s a story scene, a representation, or abstract symbolism.
During this organization, focus on capturing the substance of your vision while remaining open to adjustments and elegances as the work of art develops.
The initial outlining serves as a guide for the consequent stages of the creative process, giving a strong foundation upon which to construct the fresco art with profundity and expression.
Step 2: Make A Base Layer
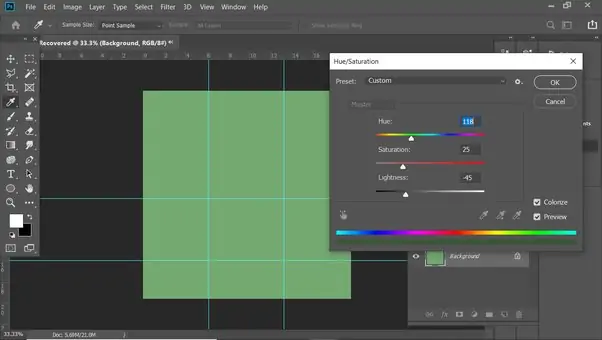
Building a strong base is pivotal in digital fresco art creation, and the base layer sets the stage for subsequent layers of components.
Start by selecting an appropriate background color or texture that imitates the appearance of plaster, which shapes the canvas for conventional fresco depictions. This starting layer gives the scenery against which your artwork will unfurl, setting the tone and climate for the complete composition.
Select colors that complement the overall subject and disposition of your fresco, whether it’s a peaceful scene, a dynamic chronicled scene, or a supernatural setting.
During the base layer application, consider the texture and surface quality you need to attain, aiming for a finish that takes after the harsh, porous surface of fresco plaster.
Test with digital brushes and blending strategies to make depth and dimension in your base layer, improving the illusion of a substantial painted surface.
Step 3: Refine Your Sketch
After the base layer is set up, continue to outline the key components of your digital fresco artwork.
Use digital brushes with shifting thickness and texture to characterize the shapes and forms laid out in your introductory sketch. Work on capturing your subjects’ fundamental forms and subtle elements, guaranteeing clarity and coherence within the composition.
Attend to the proportions and perspective of each component, maintaining symmetry and proportion throughout the artwork.
Amid the outlining process, consider the complex components you want to join, whether it’s an exact and detailed rendering or a more gestural and expressive approach.
Adjust your brush strokes in a manner that is like the specified aesthetic, whether it’s fresh and defined lines or free and natural shapes.
Amend your diagrams, making alterations as required to capture the essence of your subject matter precisely.
Step 4: Add Fresco Colors
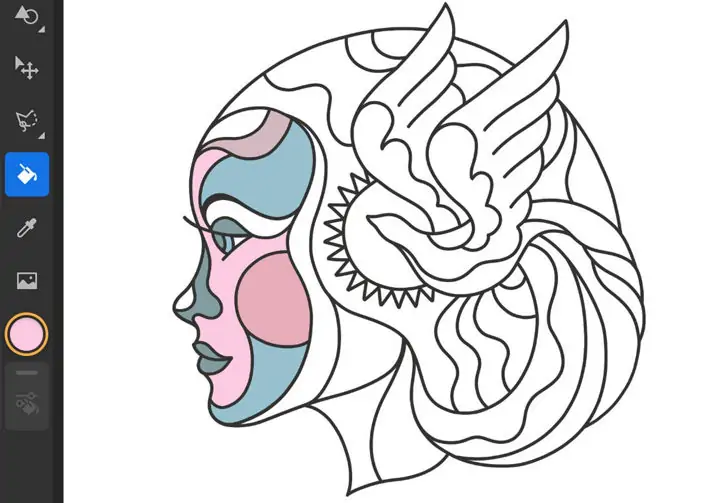
After sketching out the key components of your digital fresco artwork, continue to fill within the colors to bring your composition to life.
Select a palette of colors that harmonize with the overall temperament and subject of your work of art, considering variables such as lighting, atmosphere, and feeling.
Start by applying base colors to each laid out shape, employing a combination of strong colors and mild gradients to include profundity and dimension to your artwork.
As you fill in the colors, observe how light and shadow are associated with the surface of the fresco, altering the intensity and heading of your colors accordingly.
Test with distinctive blending modes and opacity values to attain the required effects, whether it’s a delicate, painterly wrap-up or a striking, dynamic look.
Go gradually to tune your color choices, making subtle alterations as required to maximize the visual effect of your work of art.
The color filling sets up the disposition and environment of your fresco, laying the basis for the consequent stages of particular refinements.
Step 5: Include Details And Textures
With the base colors set up, it’s time to include complex details to improve your fresco artwork.
Work on refining the highlights of your subjects, consolidating the surface, and improving visual interest throughout the composition.
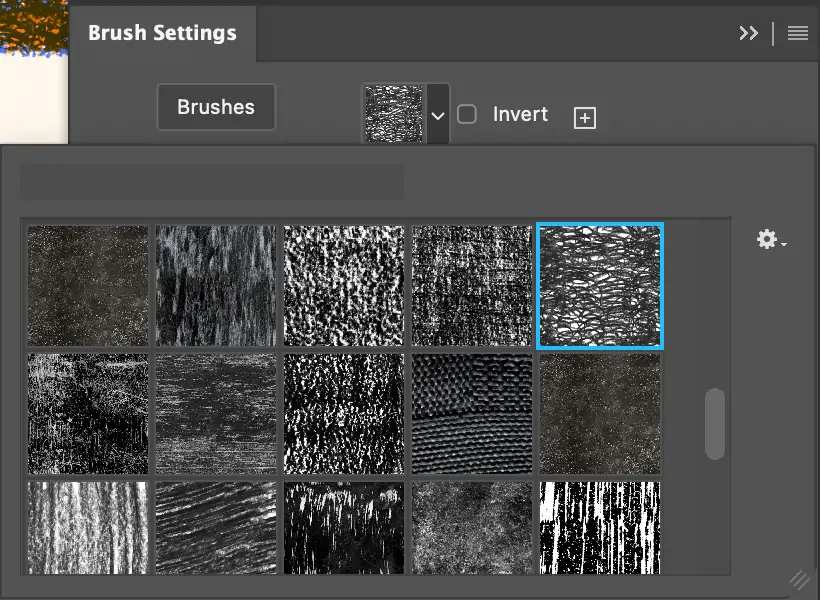
Employ digital brushes with changing shapes, sizes, and textures to include profundity and dimension in your work of art.
Pay consideration to better details such as facial expressions, clothing folds, structural components, or natural surfaces, guaranteeing accuracy and authenticity in your representation.
Play with myriad brush strategies according to the desired impacts, whether you want a fragile stippling effect, a striking impasto surface, or inconspicuous blending for smooth transitions.
Check out the interplay of light and shadow on the fresco’s surface, which utilizes shading and highlights to form profundity and volume in your work of art.
Take the time to render each detail fastidiously, adding layers of elaborateness to your composition and heightening its overall visual effect.
Step 6: Work On Blending And Shading

Improve the blending and shading to perfect your fresco artwork’s overall appearance and feel. Access blending strategies to consistently combine colors and surfaces, making smooth transitions between distinctive components of your composition.
Keep experimenting with brush opacity, smudging, and blending until you achieve the required impact, whether it’s a soft, atmospheric blend or a more finished, painterly finish.
Examine the interaction of light and shadow on the surface of the fresco. Elevate shading to form profundity and dimension in your composition.
Look into the direction and intensity of light sources inside your art, altering your shading to form realistic lighting impacts.
Keep tuning your blending and shading methods, making subtle adjustments as needed to improve the overall visual effect of your work of art.
By consciously adjusting light and shadow, you’ll be able to create a sense of profundity and climate in your fresco, bringing your composition to life in a fascinating and immersive manner.
Step 7: Perform Final Tweaks

Within the final step of making your fresco art, focus on performing any remaining touches and refinements to bring your composition to its full potential. Take a break and thoroughly assess your artwork, paying attention to regions requiring extra detail or adjustment.
Consider including decorative themes, content, or additional surface overlays to improve the overall visual mark of your fresco. Experiment with diverse effects and channels to include profundity and climate in your composition, including a subtle vignette or improving the color saturation for a more spirited appearance.
Audit your composition and make any necessary refinements, weighing details such as composition, adjustments, and focal focuses.
After a satisfactory final assessment, save and export your concluded work of art in the desired format, ensuring that it maintains its quality and integrity.
Conclusion:
Overall, digital approaches have revolutionized how we approach art and paved the way for the simplest strategies to create complex and challenging works of art. Using varying brushes, textures, color palettes, and image manipulation techniques, artists can picture their envisioned ideas with ease and freedom of experimentation. By creating ancient art forms like fresco art, they can create interesting visuals with embellished storytelling and expressive effects. Fresco Arts’ captivation combines artistic skills, narration, and architectural blend, making it an enduring emblem of human inventiveness and manifestation.
