
How To Create Alex Grey Art
The American visionary artist Alex Grey is well known for his illustrations highlighting spiritual and mystical themes and representing the transcendence of body, mind, and soul. His canvases constantly include perplexing anatomical subtle elements merged with cosmic and magical symbolism: passionate colours, complex setups, and a profound sense of imagery mark Grey’s work. Grey regularly portrays the human body in transparent layers, exposing the inward workings of the physical frame around supernatural energies and mystical encounters. His artworks have been a stimulant for various novice artists, specifically the digital creators who extensively borrow his themes and ideas in their compositions. For creating Alex Grey’s inspired artworks, several digital painting and image editing tools are accommodating, which can facilitate the artists with features like drawing and sketching tools, functioning brushes, layering and blending alternatives, vast colour palettes, and many more. This article will provide you with a thorough step-by-step process of simulating Alex Grey’s art influences in your illustrations and designs.
Step 1: Preparatory Sketching
Look at different works by Alex Grey to grip his particular style and topical components. Learn about the details, like his application of colour, anatomy, imagery, and complicated designs.
Inquire about Grey’s artwork’s repeating themes and motifs, such as divinity, consciousness, and unity. Note his strategies to communicate these concepts, like transparent layers, geometric patterns, and cosmic symbolism.
Let Grey’s art motivate your inventiveness. Recognize viewpoints of his work reverberating with you and consider how you’ll consolidate comparative components into your creative expression.
Start portraying preparatory thoughts and compositions in line with your investigation and inspiration. Discover distinctive concepts, formations, and arrangements to get a management that seizes the essence of Grey’s style while allowing space for your translation and development.
Persistently organize your sketches, attending to proportions, harmony, and visual impact. Play with different postures, viewpoints, and compositions until you know the artwork’s direction.
Point to communicate Grey’s art’s enthusiastic and symbolic profundity through your outlines. Contemplate the fundamental messages and allegories you want to display in your claim piece, taking inspiration from Grey’s capacity to bring out significant spiritual and existential subjects.
After you have decided on your initial sketches, plan to interpret them into your chosen digital software. Accumulate more reference materials or assets to help you within the creation phases, ensuring you have a clear vision of the artwork you propose.
Step 2: Canvas Adjustments
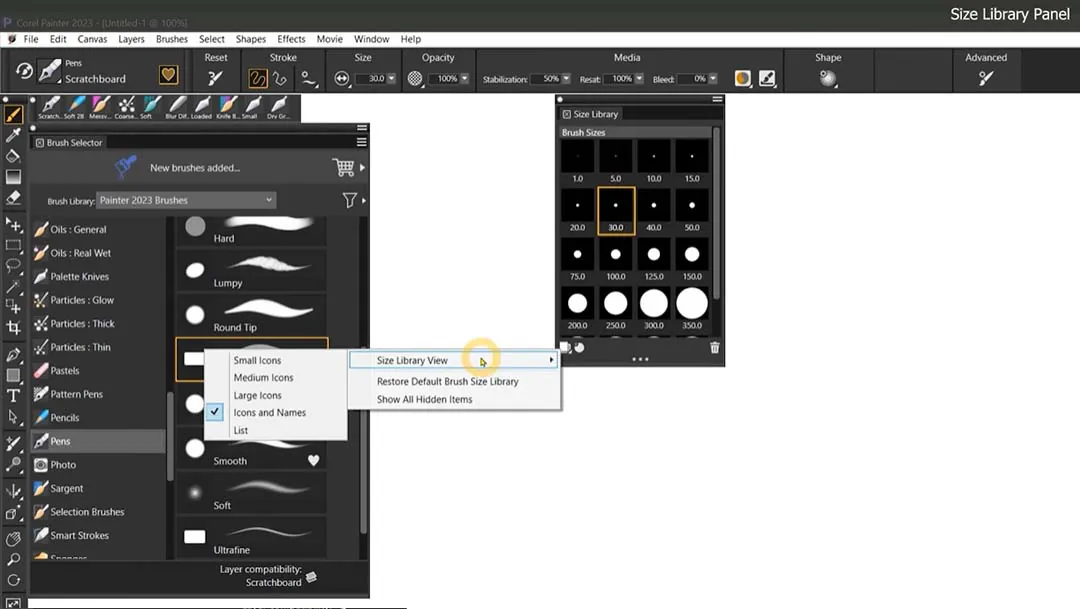
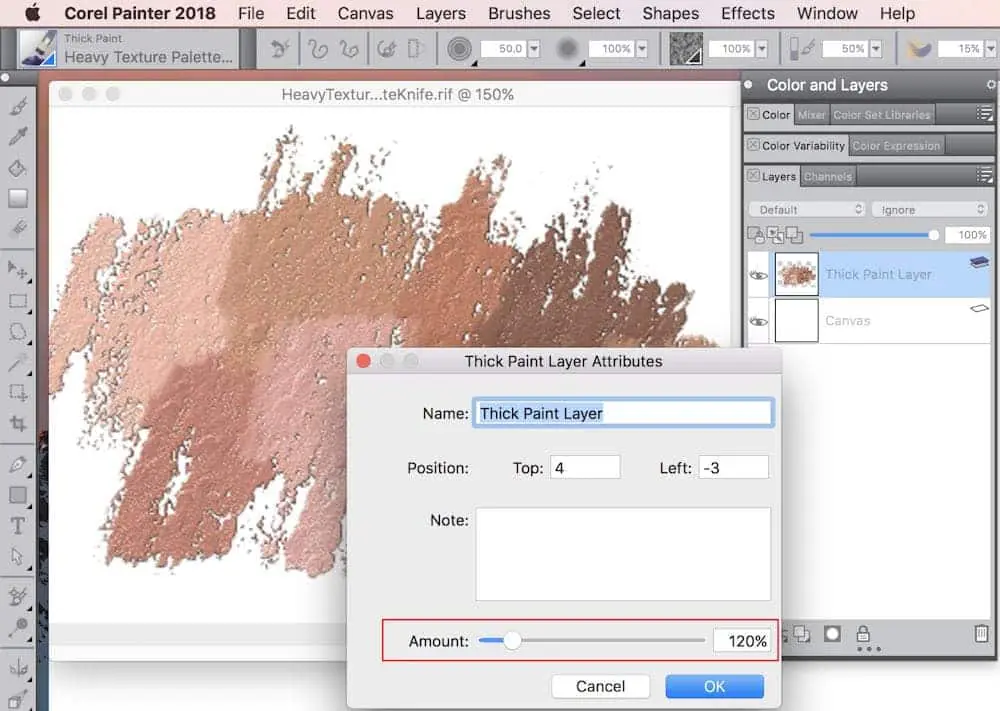
Start your favoured digital software; for instance, you can consider Adobe Photoshop, Corel Painter, Procreate, or another program fit to your aesthetic needs and inclinations.
Decide the dimensions and resolution of your canvas according to the dimensions and quality of your ultimate work of art. Pay regard to variables such as aspect ratio and potential printing or display necessities.
Acquaint yourself with the software’s layering framework and accessible tools. Sort out your workspace by making isolated layers for contrasting composition components, such as foundation, foreground, and details, to preserve adaptability and control throughout the process.
Alter your software’s settings and inclinations to perfect your workflow and improve efficiency. Take a look at customization choices for brushes, shortcuts, and interface format to make a workspace that feels natural and proficient for your creative endeavours.
If needed, import reference pictures, textures, or other assets to help you make your work of art. Arrange those resources inside your workspace for simple access and reference as you work on your piece.
Set the temperament for your inventive session by making a comfortable and rousing environment. Guarantee satisfactory lighting, minimize diversions, and encompass yourself with components that fuel your creative ability.
Before jumping into the creative process, keep in mind to save your workspace and set up a framework for standard saving and backup.
Step 3: Layers Settings
Start by sketching out the fundamental composition of your work of art utilizing basic shapes or lines.
Utilize broad brushstrokes or shapes to define your composition’s main shapes and components. Have a representation of the common shapes and proportions of objects, figures, and foundation components as characterized in your drawings.
Create the backdrop components of your work of art, whether a scene, astronomical scene, or metaphysical environment. Assume the atmospheric viewpoint, lighting, and mindset you need to transmit and construct layers to induce profundity and dimensionality.
Continuously enhance the details and forms of closer-view objects or figures, focusing on anatomical precision and spatial connections. Utilize reference pictures or models as required to guarantee authenticity and coherence in your portrayal.
Use the layering capabilities of your digital software to work non-destructively and make alterations effectively. Arrange your layers coherently, gathering related components together for better organization and adaptability.
Start setting up tonal values and contrasts inside your work of art to make profundity and visual interest. Try with light and shadow to enhance the three-dimensional quality of your composition and coordinate the viewer’s focus.
Step 4: Detailing and Texturing
Start including intricate segments inspired by Alex Grey’s fashion to improve your artwork. Concentrate on complex patterns, perplexing anatomy, and allegorical components that pass on profundity and meaning.
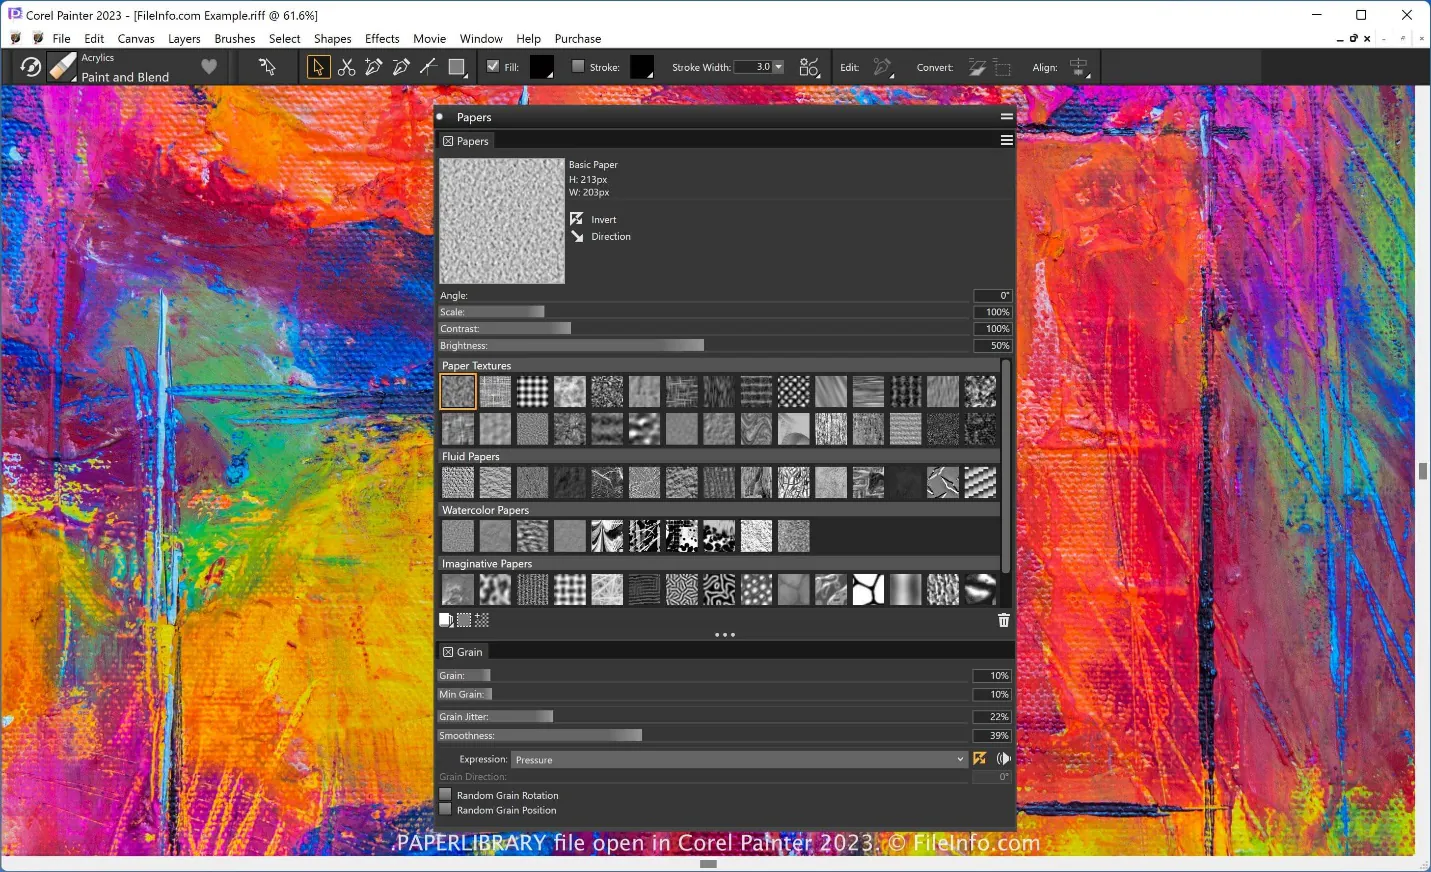
Take a look at the brush library and tools accessible in your digital program to make assorted textures and effects. Test with brushes that imitate conventional media and specialized brushes for making perplexing designs and surfaces.
Utilize layers to develop particulars and surfaces, working from foundation to foreground. That lets you preserve dominion over each artwork component and make alterations without influencing the general composition.
Get motivated by spiritual and cosmic subjects displayed in Grey’s work to consolidate symbolic imagery into your work. Explore with motifs such as eyes, hands, and geometric shapes to communicate more profound implications and bring enthusiastic resonance.
Persistently refine your details as you advance, addressing proportion, perspective, and visual hierarchy. Do not waver to play with unique strategies and approaches to attain the required impacts.
Point for accuracy and concordance in your particulars, making, beyond any doubt, they improve the general story and visual attraction of your piece of art.
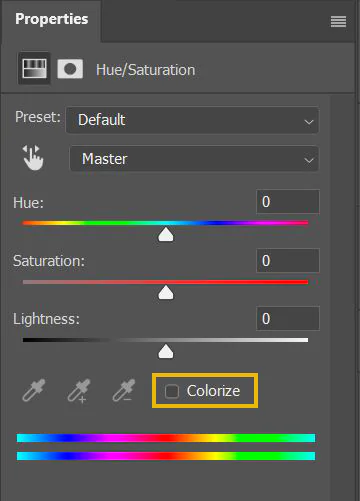
Step 5: Enhancing Colours
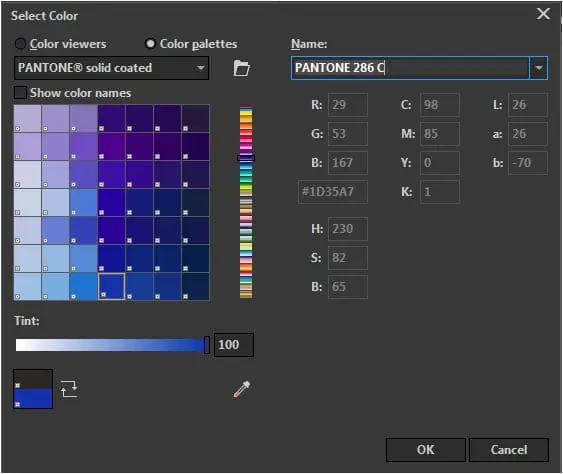
Comprehend colour theory rules, including hue, saturation, value, and reciprocal colours. Visualize how various colour hybrids can bring out different dispositions and environments in your artwork.
Select a symmetric colour palette that complements the subjects and temperament of your artwork. Seek ideas from Alex Grey’s utilization of dynamic and ethereal tints to form a sense of tremendous quality and spiritual arousing.
Try varied lighting scenarios to improve the disposition and dramatization of your composition. Examine light sources’ direction, concentration, and colour temperature and their effect on shadow and highlights.
Utilize lighting to create depth and extensity inside your artwork. Try with chiaroscuro strategies to highlight shape and volume, including visual lure and verismo to your scenes.
Think about the passionate effect you must attain along with your lighting choices. Warm, golden tones may inspire warmth and tranquillity, whereas cooler tones can pass on contemplation.
Experiment with adjustment layers and filters in your software to tune colour and lighting impacts non-destructively.
Step 6: Tuning Overall Artwork
Evaluate the overall composition of your artwork. Consider how distinctive components are associated and whether they successfully pass on your anticipated message or topic.
Try getting an adjustment and concordance in your work, guaranteeing that no single component overwhelms the scene. Be thoughtful of visual weight, dividing, and symmetry to form a sense of correspondence and coherence.
Establish the proportions and anatomy of figures or objects inside your work of art. Keenly attend to details like facial expressions, signals, and anatomical precision to improve authenticity and expressiveness.
Direct the viewer’s eye through the composition utilizing visual signals, including leading lines, focal points, and directional components.
Distinguish key components or central focuses inside your composition and highlight them to direct focus and make visual allure. Play with contrast, saturation, and particulars to create outstanding components.
Dispose of any unessential points of interest or diversions that diminish from the central focuses of your artwork. Rearrange complex components and tidy up the composition to preserve clarity and passion.
Step 7: The Final Assessment
Fastidiously tune every segment of your work of art, addressing small subtleties such as texture varieties, highlights, and shadows to improve authenticity and visual mark.
Assess the general colour adjustment and contrast levels in your artwork. Perform alterations as required to confirm that colours pop and all elements stay fresh, amplifying the overall effect of your composition.
Smooth out any harsh edges or harsh moves between components in your art. Utilize blending strategies and delicate brushes to form consistent transitions and make strides in the widespread comity of your composition.
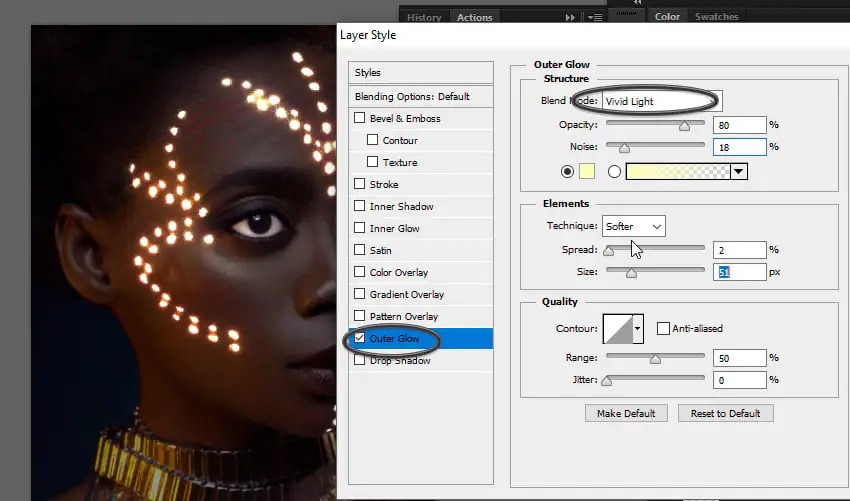
You can also include last touches such as glows, reflections, or atmospheric impacts to supplement the disposition and environment of your artwork.
Audit your composition thoroughly so that all components work together compatibly to tell a cohesive story or pass on a bound-together theme.
After getting a satisfactory ultimate result, save your work of art in a high-resolution format and consider exporting it for printing or digital sharing.
Conclusion:
In conclusion, Grey’s artistic concepts establish the path to present-day visionary art through his psychedelic experiences. By physically and digitally assembling the extraordinary aspects, he gives other inspirational artists an outlet to exhibit their works and expand this spiritual community through shared art themes. By incorporating his ideas and elements into your paintings, you can increase the visual impact and elicit admiration and sensation from your viewers. The creative ideas function like a spirit in the mental illusions. Eventually, the art project created by you using Alex Grey’s concepts will be eminent to other prevailing art ideas that enlighten and adjoin the perimeters of customary artistic manifestations.
