How To Create Contemporary Art Effect
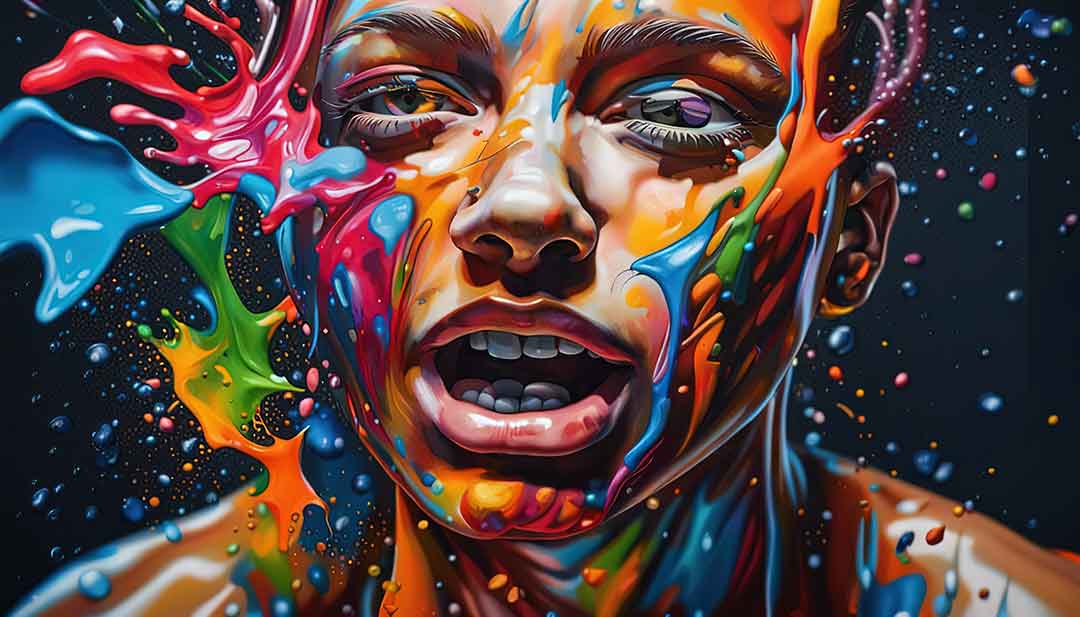
Contemporary art represents a mass of artistic approaches adopted and exhibited by today’s artists. Paintings, sculptures, photographs, structures, and videos created in the present are all regarded as contemporary art forms. Usually, the second part of the 20th century and the early 21st century are included in this time frame. In contrast to traditional art developments with characterized styles and procedures, contemporary art envelops different shapes, mediums, and approaches, reflecting the complexities of advanced society and personal outlooks. Distinguished by its exploratory nature, contemporary art regularly challenges conventional boundaries and traditions, pushing the limits of creative expression. It holds a cluster of mediums, including painting, design, photography, establishment, execution, video, and digital art. Creating contemporary art requires directing certain aspects of digital art, including colour balance, blended imagery, texture overlays and integrating abstract fragments. This blog will present the step-by-step process of creating contemporary art effects while considering a carefully chosen photograph as your canvas.
Step 1: Image Selection And Importing
Start by deciding about the photo that you would like to transform or modify with contemporary art.
Evaluate the arrangement, lighting effects, and subject matter of the picture.
Search for photos with aptitude for inventive manipulation and visual experimentation.
Confirm that the photograph is associated with your aesthetic vision and the style you want to attain.
Check out for specifics like colour palette, contrast, and, in general, temperament of the picture.
Be clear about the intended message or feeling you must communicate through the ultimate edited photo.
Consider choosing a photo that rouses you and offers discoveries and aesthetic expression possibilities.
Remember that the photo will be the basis for your creative activity, so select one that reverberates with you and offers the possibility for influential changeover.
Step 2: Manipulating Color And Tone

Launch any of the capable image editing software on your PC. For instance, you can choose Adobe Photoshop and then import your selected photograph.
Start by setting the colour balance to get the required overall tone.
Employ adjustment layers such as Levels, Curves, or Hue/Saturation for explicit mastery over colour and tone.
Assess the contrast levels inside the photo and make alterations in a like manner.
Observe and work on details in highlights and shadows to have a harmonious tonal range.
Try various settings to discover the ideal balance between colours and tones.
Reflect on the passionate effect of colour choices on the temperament and environment of the photo.
Opt for natural-looking colour additions that improve the visual appeal of the picture without showing up as fakeness.
Regularly review your settings and calibrate refinements to attain the required aesthetic result.
Keep in mind that slight alterations can make a noteworthy contrast within the general impression and feel of the photo.
Step 3: Including Filters And Effects
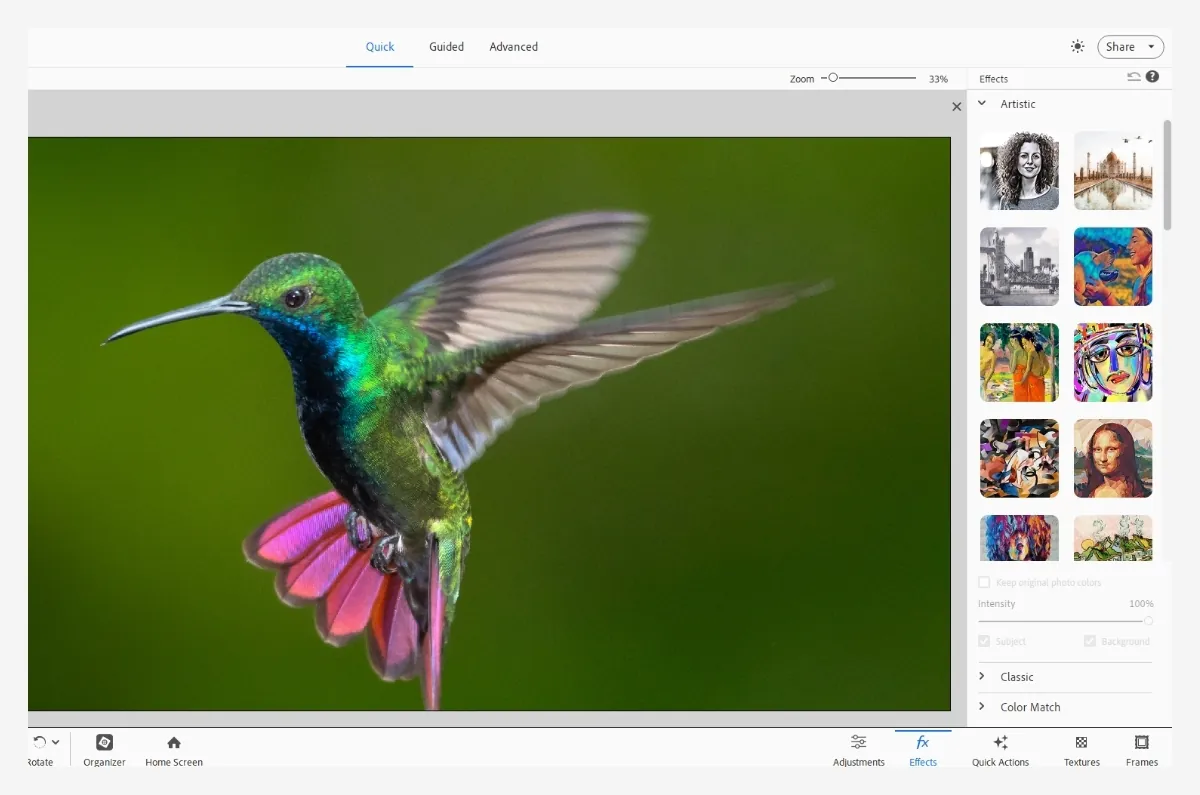
Get to the “Filter” menu in Adobe Photoshop after altering colour and tone.
Use filters like “Gaussian Blur” to include profundity or “Noise” for surface design.
Explore filters such as “Oil Paint” or “Watercolor” to confer creative energy.
You can also include filters to individual layers or ranges utilizing masks for focused-on impacts.
Try out different filters and layer blending modes for delicate effects.
Confirm that filters are the perfect addition to the photograph’s story without overwhelming its pith.
Survey how every filter adds to the overall disposition and message.
Take on experimentation to find fascinating blends and impacts.
Persistently evaluate and refine filter effects to adjust with inventive targets.
Adjust between mild upgrades and intense changes based on aesthetic expectations.
Save different adaptations of the altered photo to compare and select the most impactful interpretation.
Preserve notes or previews of filter alterations to track the advancement of the picture.
Step 4: Painting Layer Masks
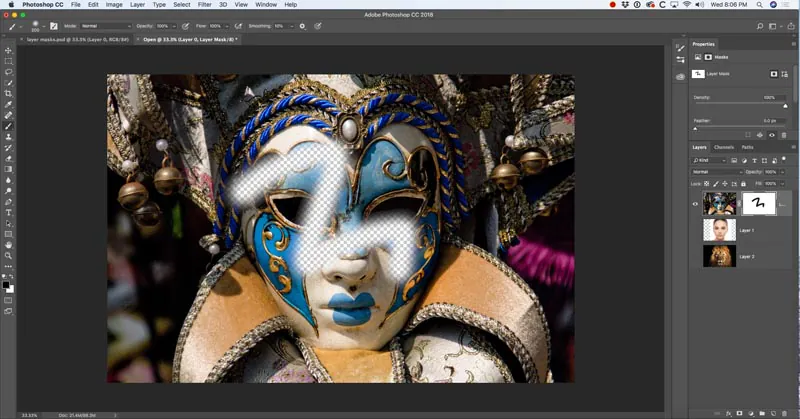
Approach the Layers panel and determine the layer you would like to mask.
Tap on the “Add Layer Mask” sign found at the foot of the Layers panel.
Decide between a white or dark layer mask to uncover or cover up areas of the layer individually.
Access the Brush tool and adjust the foreground componnets color to dark or white.
Apply masking brush over desired layer regions with the Brush tool to uncover or conceal particular components.
Shift the opacity of the Brush tool for progressive moves and nuanced altering.
Operate shortcuts like “X” to flip between closer view and backdrop colours for productive editing.
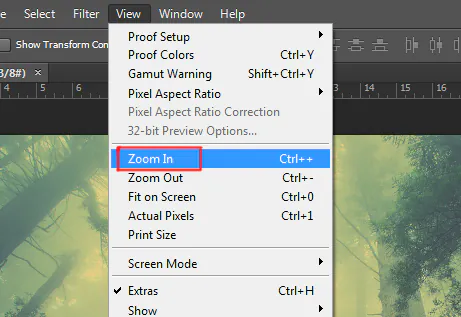
Use the Zoom features for thorough editing and amend mask edges utilizing soft or hard brushes accordingly.
Take advantage of the non-destructive nature of layer masks to return changes or make advance adjustments.
Investigate distinctive masking methods to attain wanted visual impacts and narrative accentuation.
Flip the layer mask on and off to assess editing progress and regulate as essential.
Keep various versions of the edited picture to protect distinctive stages of the masking process and encourage comparison.
Step 5: Experimenting Blending Options
Get to the Blend Mode dropdown menu found at the top of the Layers panel.
Play with distinctive blend modes to check out their effects on the layer.
Get a know-how of standard blend modes, including Overlay, Soft Light, and Multiply.
Utilize Overlay blend mode for improved contrast and saturation.
Choose Soft Light blend mode for mild alterations and delicate tonal shifts.
Utilize Multiply mode to develop shadows and escalating colours.
Utilize Screen blend mode to soften ranges and upgrade highlights.
Combine different blend modes to attain one-of-a-kind and thrilling visual impacts.
Tune layer opacity to direct the escalated of blend mode impacts.
Organize layers deliberately to optimize blend mode intuitiveness and layer progression.
Use the Blend sliders to refine the blend mode application as per radiance levels.
Routinely audit your composition to monitor blend mode adequacy and make vital alterations.
Step 6: Integrating Creative Components
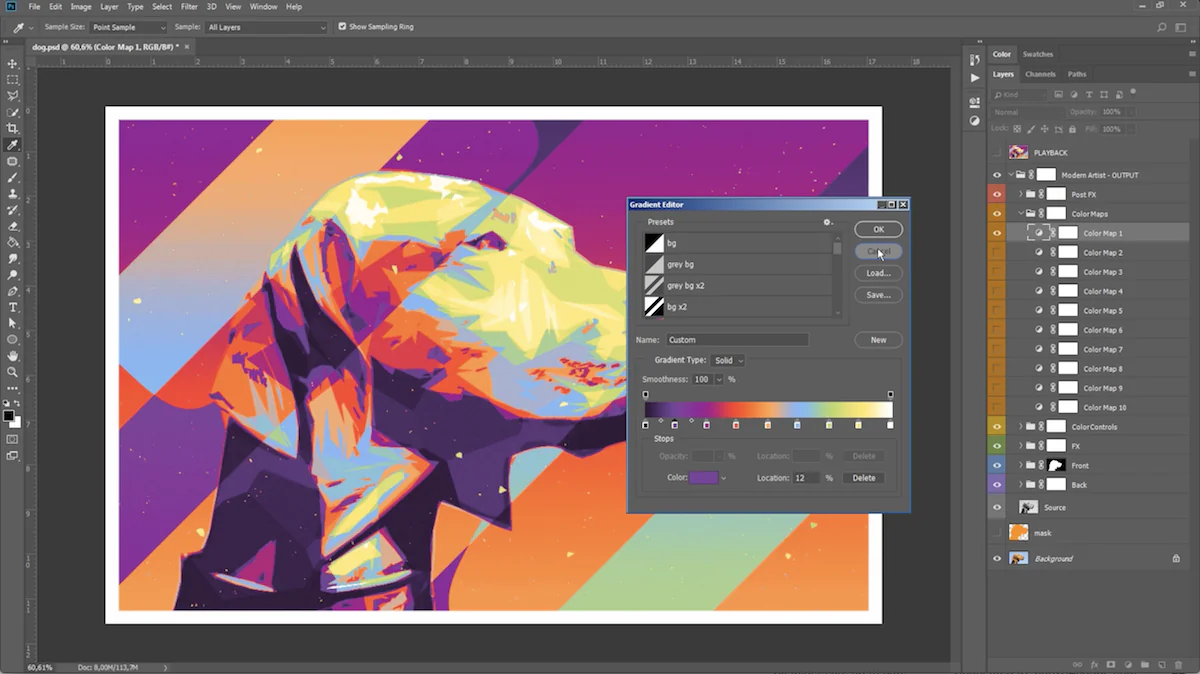
Select creative components such as text, shapes, or digital brushstrokes to improve your work of art.
Use the Text tool and tap on your image to include text. Modify textual style, measurements, colour, and arrangement to fit your vision.
Get to the Shape tool to embed geometric or custom shapes onto your photo canvas.
Apply the Brush tool to paint precisely onto your image with varied brush styles and sizes. Make isolated layers for each inventive component to preserve adaptability and control.
Play with blend modes to smoothly blend innovative components with your photo.
Direct the opacity of creative components to attain wanted transparency and fusion.
Use layer effects like drop shadows or strokes to include profundity and measurement in your inventive components.
Confirm inventive components harmonize with the general composition and touch up the visual flow.
Keep up a cohesive style by balancing added components with the subject and temperament of your photo.
Permit experimentation to test distinctive situations and styles for imaginative components.
Step 7: The Final Audits
Grab a minute to survey all the alterations and creative details connected to your photo.
Execute any last colour, tone, arrangement, or added segment alterations as required.
Assure visual character and coherence all through the picture, regarding all elements together.
Take a Zoom in view to examine the picture for any imperfections or ranges requiring betterment.
Before concluding, save a duplicate of your altered photo to protect the first form.
Select a fitting format, considering options like JPEG, PNG, or TIFF according to your planning utilization and capacity necessities.
Allot an expressive and meaningful filename to your revised photo for easy identification.
Select ideal export settings, counting resolution and compression level to preserve picture quality while handling file size.
Make reinforcements of your altered photo to avoid misfortune due to unanticipated circumstances.
Share your modified photo online through social media and websites, or print it for a physical presentation.
For a moment, contemplate your editing process, detecting any bits of knowledge or recommendations comprehended for future ventures.
Conclusion
In conclusion, using contemporary art in your photographs is an acquainted activity as you adopt the approaches of contemporary artists and their artworks. The application of abstract art chunks is a distinct aspect of this art, making it a constantly experimental process and covering broad kinds of images. Contemporary art aspires to challenge established norms and beliefs, and their creations can be thought-provoking and divisive. Following the editing strategies highlighted above, you can also create elegant contemporary art that is shaped by global influences, cultural diversity, and technical advancements. The resultant images will be significantly rousing exciting feelings and tempting to the viewers’ amusement.
