How To Create Accurate 3D Models From Blueprints
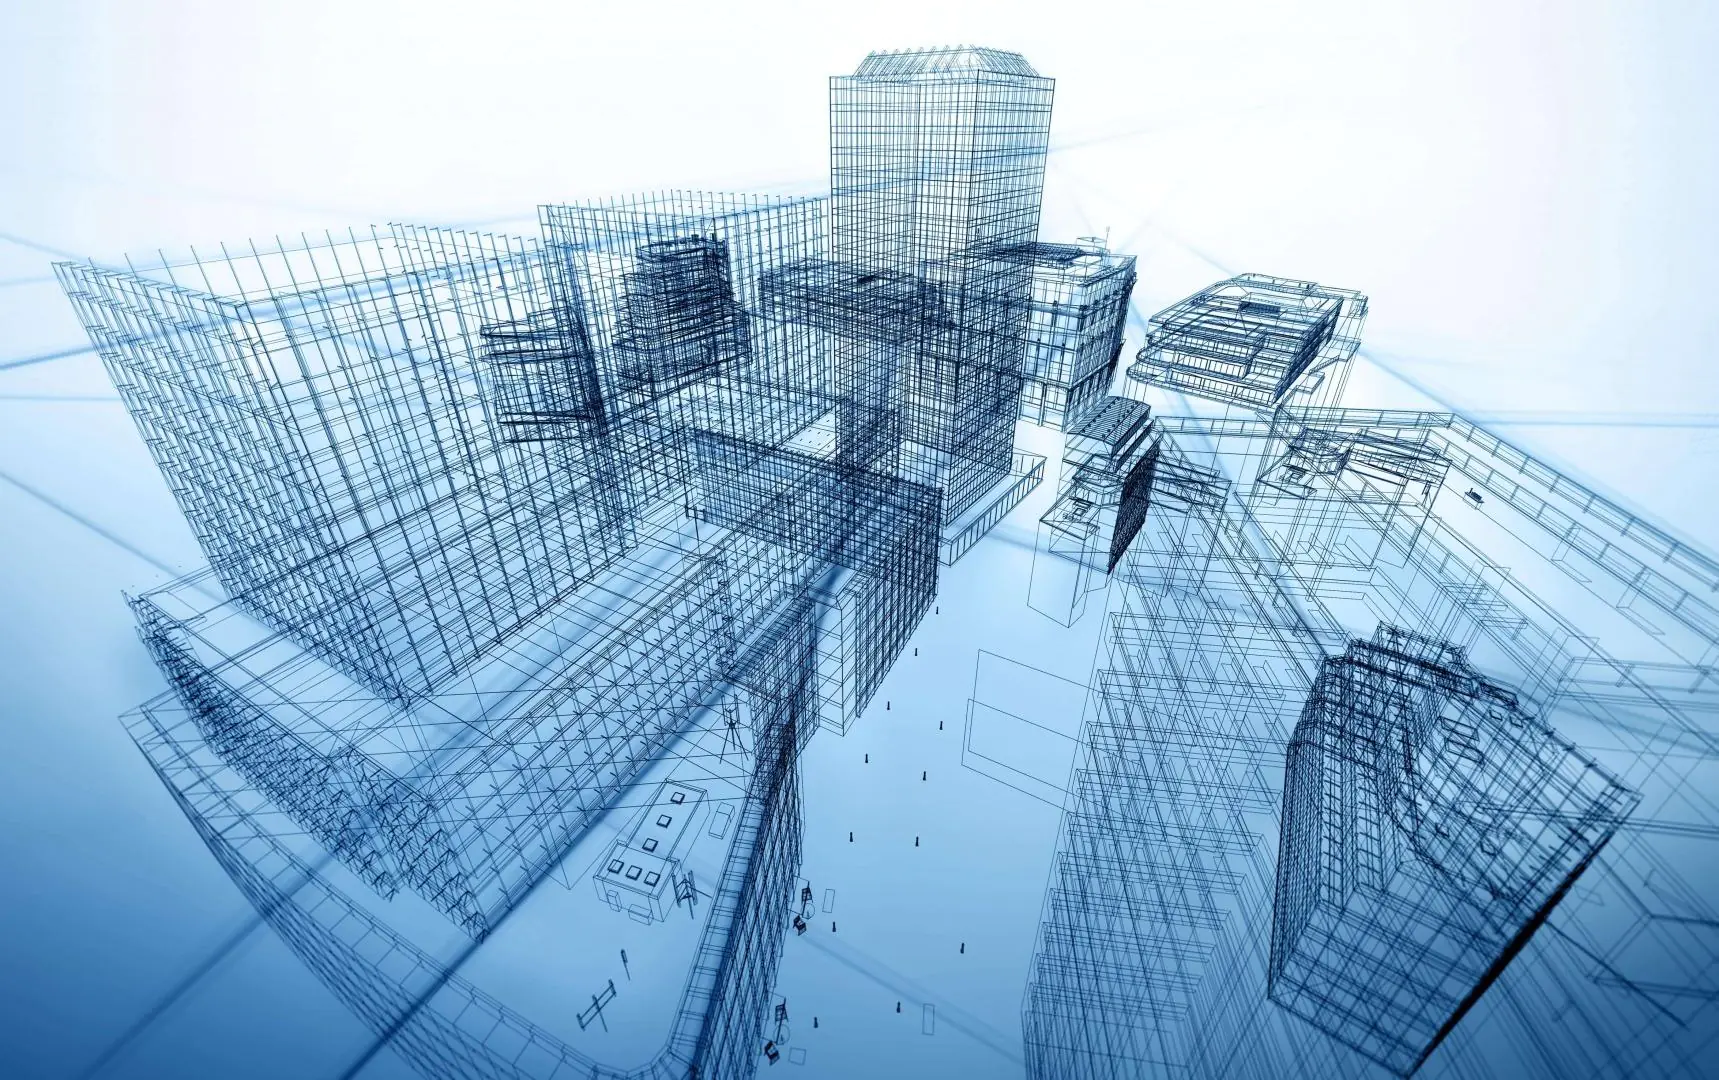
Creating accurate 3D models from blueprints is a critical aspect of many fields, from architecture to engineering and manufacturing. These models visually represent the final product, allowing for precise planning and assessment of potential design flaws. However, creating a 3D model that accurately reflects the blueprint can be a challenging and time-consuming task, particularly for those new to the process. This blog article will traverse the steps in creating accurate 3D models from blueprints. We will discuss the various software options available and the pros and cons of each. Additionally, we will analyze the importance of understanding the scale and dimensions of the blueprint, as well as tips for troubleshooting common issues that arise during the modeling process. By following these guidelines, you can create high-quality 3D models that accurately reflect your blueprints, saving time and resources while ensuring a successful final product. Whether you are an experienced 3D modeler or a beginner just starting, the insights provided in this blog will help you create accurate 3D models with confidence.
The Basic Steps:
Creating accurate 3D models from blueprints requires attention to detail and a precise understanding of the blueprint’s dimensions and scale. Following these steps, you can create a high-quality 3D model that accurately reflects the blueprint.
Step 1: Choose your software
Many software options are available for creating 3D models, each with pros and cons. Some popular options include Autodesk’s 3ds Max, Blender, and SketchUp. Consider your skill level, the project’s complexity, and the software’s capabilities when choosing which one to use.
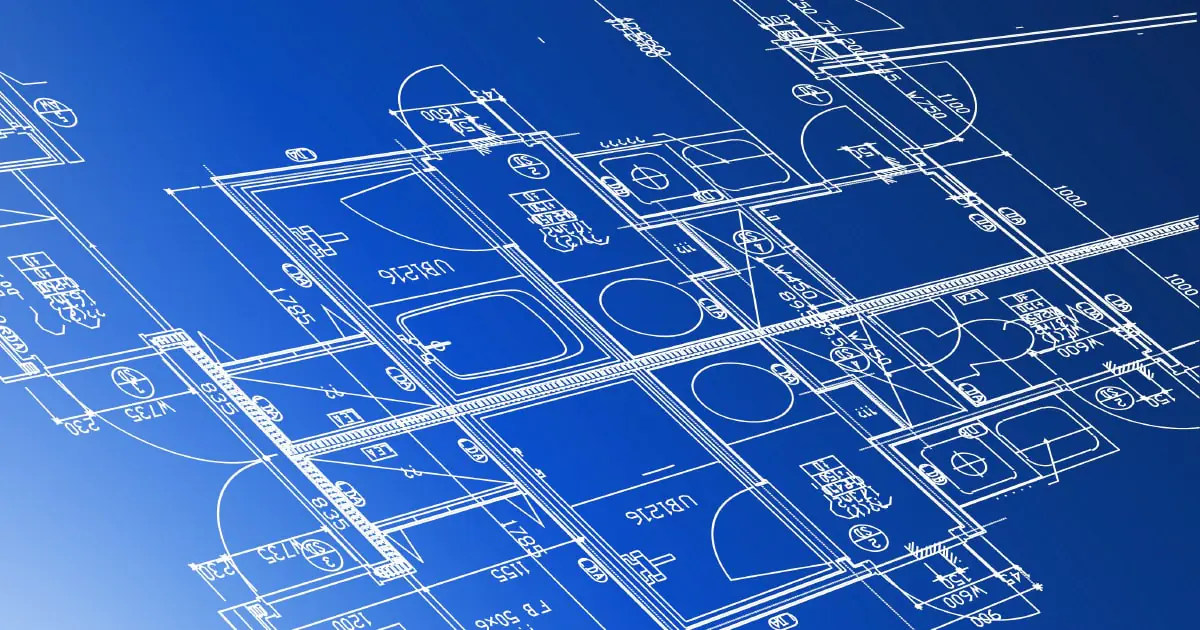
Step 2: Import the blueprint
Once you have chosen your software, you must import the blueprint into the software. It can typically be done by scanning the blueprint or importing a digital file. Ensure that the blueprint is high-quality and accurately reflects the final product.
Step 3: Set up the modeling environment
Before you begin modeling, set up the modeling environment to ensure you work at the correct scale and units. That can typically be done by adjusting the software’s settings to match the dimensions and scale of the blueprint.
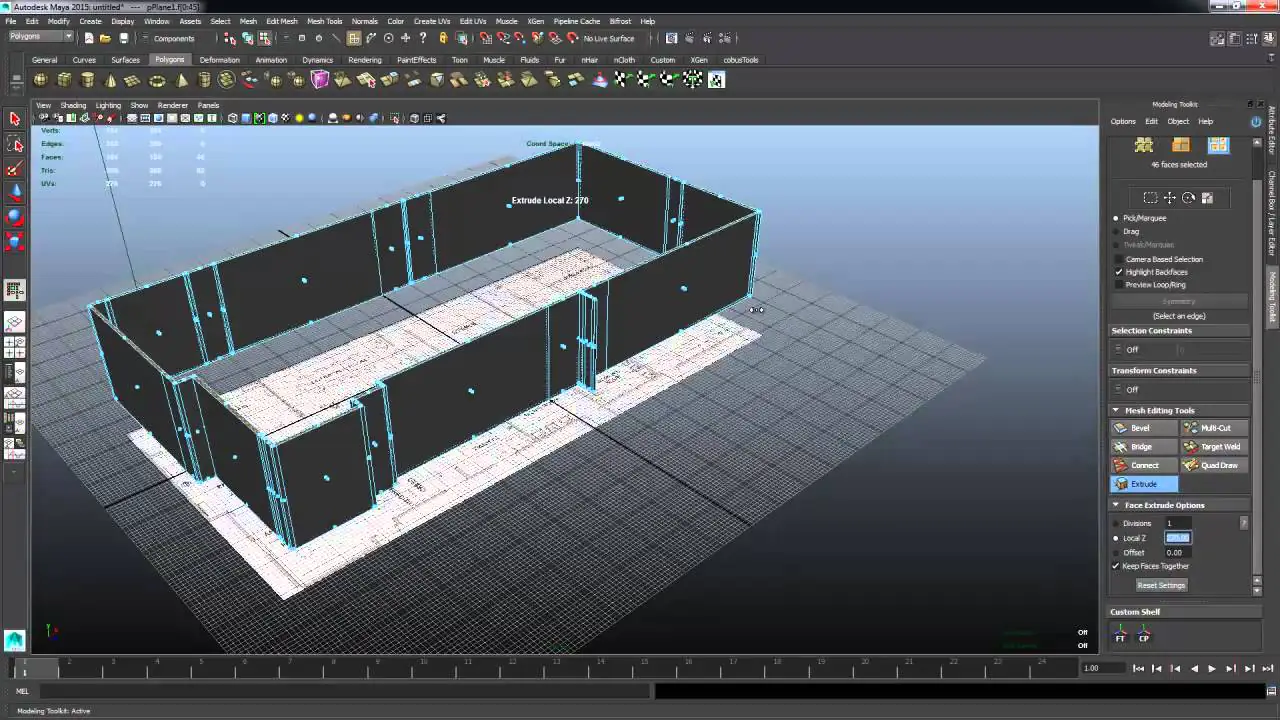
Step 4: Begin modeling
Start by creating the basic shapes and structures of the model. Begin with the larger components and work your way down to smaller details. Pay close attention to the dimensions and proportions of the blueprint, ensuring that your model accurately reflects the blueprint.
Step 5: Add details
Once you have created the model’s basic structure, it’s time to start adding details. Textures and materials can add depth and realism to your model. Consider using high-quality textures and materials to create a more realistic appearance. Also, consider different types of lighting, such as ambient or directional lighting, to create the desired effect. Lighting is an essential component of 3D modeling that can create a significant difference in the appearance of your model.
Step 6: Test and troubleshoot
After creating the 3D model from blueprints, it is essential to test and troubleshoot the model’s functionality, check the dimensions and proportions, and make adjustments as necessary to ensure it meets the desired specifications.
Step 7: Refine and finalize
Once you are satisfied with the model, refine it by adjusting any minor details or making final touches. Ensure the model is ready for use in the final product, whether in engineering, manufacturing, or architecture.
Following these steps, you can create a 3D model that accurately reflects the blueprint and is ready for use in the final product. However, there are also several important tips to keep in mind when creating 3D models from blueprints.
Tip 1: Understand the scale
Understanding the scale of the blueprint is critical when creating a 3D model. Ensure that you are working in the correct units and that the model accurately reflects the dimensions of the blueprint. That will help prevent costly mistakes in the final product.
Tip 2: Pay attention to details
Pay keen attention to the details of the blueprint, such as curves, angles, and textures. These details can significantly affect the final product’s appearance and functionality.
Tip 3: Troubleshoot as you go
Regularly test and troubleshoot the model as you go. That will help you catch any issues early on and make adjustments before they become more significant problems.
Tip 4: Utilize online resources
Many online resources are available for 3D modelers, from forums to tutorials and videos. Utilize these resources to learn new techniques and troubleshoot common issues.
Creating accurate 3D models from blueprints is a critical aspect of many fields. Following the steps outlined and considering these tips, you can create high-quality 3D models that accurately reflect your blueprints.
The Various Software Options Available to Create 3D Models From Blueprint:
When creating 3D models from blueprints, many software options are available, each with pros and cons. Some popular options include:
Autodesk’s 3ds Max:
3ds Max is a powerful software option architecture, engineering, and manufacturing professionals use. It has a wide range of tools and capabilities, allowing for complex modeling and animation. However, learning can be challenging and may not be the best option for beginners.
Blender:
Blender is a free, open-source software option popular among 3D modelers of all skill levels. It has a user-friendly interface and a wide range of tools, making it a versatile option for creating 3D models. However, it may have a different level of technical capabilities than some other software options.
SketchUp:
SketchUp is a user-friendly software option often used for architecture and interior design. It has a simple interface and a range of tools make it easy to create 3D models quickly. However, it may have different technical capabilities than other software options and may be better for complex modeling projects.
Rhino:
Rhino is a software option that is popular among architects and designers. It has a wide range of tools and capabilities, allowing for complex modeling and precision. However, learning can be challenging and may not be the best option for beginners.
SolidWorks:
SolidWorks is a software option used primarily in the manufacturing industry. It has a range of tools and capabilities that allow for precision modeling and simulation. However, other industries may have better options, as it primarily focuses on manufacturing.
Each software option has pros and cons, and the best choice depends on your skill level, the complexity of the project, and the industry you are working in. It’s essential to consider these factors when choosing which software to use. Additionally, many software options offer free trials or demos, allowing you to test the software before committing to a purchase. By selecting the right software, you can create high-quality 3D models that accurately reflect your blueprints and meet the needs of your final product.
The importance of the scale And Dimensions of the Blueprint, And tips for troubleshooting common issues
When creating 3D models from blueprints, understanding the scale and dimensions of the blueprint is crucial. Failing to translate the blueprint’s dimensions to the 3D model accurately can result in inaccurate or unusable models. Here are some tips for understanding scale and dimensions, as well as troubleshooting common issues:
Understand the units: Blueprints typically use a specific unit of measurement, such as feet or meters. Ensure you understand the measurement unit and set the software to use the same unit. Failure to do so can result in models that are the wrong size.
Verify measurements: Double-check the measurements on the blueprint before beginning the modeling process. Use a ruler or measuring tape to verify the measurements are accurate. It’s better to catch errors early in the process than to discover them later and have to start over.
Consider the context: When working with blueprints, it’s essential to consider the context of the model. For example, if you’re creating a model of a building, you’ll need to consider the surrounding environment, such as the height of neighboring buildings.
Troubleshoot common issues: Common issues that arise during the modeling process include models that are too small or too large, models that don’t match the blueprint, and models that need more details. If you encounter these issues, double-check your measurements, consider the context, and refer to the blueprint.
Use reference images: If you’re having trouble visualizing the 3D model based on the blueprint, consider using reference images. These can be photos or images of similar models to help you understand how the final model should look.
Understanding the scale and dimensions of the blueprint is crucial when creating 3D models. You can create accurate and usable models that reflect the blueprint by double-checking measurements, considering the context, and troubleshooting common issues. Always refer back to the blueprint and use reference images to ensure the final model meets the specifications.
Conclusion
In conclusion, creating accurate 3D models from blueprints is crucial in the design and manufacturing process. By following the tips and techniques outlined in this blog guide, designers and engineers can create detailed and precise 3D models that accurately reflect the original blueprints. With the help of advanced software tools and careful attention to detail, the process of creating 3D models from blueprints can be streamlined and efficient.
