
How To Create A Stop-Motion Effect
Stop motion animation is a straightforward yet powerful technique for adding life to everyday static images. A keen eye for detail and crafty photography scenarios come together to produce fascinating motion pictures. This traditional animation method involves taking a sequence of images of things and subtly recasting their location between each frame to provide the guise of movement. It can result in a distinctive and endearing aesthetic that audiences of all ages find appealing. An enthusiastic level of practice, perseverance, and creativity are also needed to pull it off successfully. You can take your desired collection of images and, using advanced tools and techniques of image manipulation, create an enthralling stop-motion effect akin to a flipbook. This blog will provide you with step-by-step strategies, from working on individual frames to assembling a sequential series of frames and creating a vivid stop-motion narrative. We will use Photoshop as our primary editing tool, which is considered one of the most suitable software for creating keyframe animations with its distinctive timeline feature.
Step 1: Bring Your Desired Images Into Photoshop Workspace

Start by opening Adobe Photoshop and selecting “File” from the menu bar.
Select “Scripts” from the dropdown menu; at that point, press “Load Files into Stack.”
A discourse box will emerge, inviting you to choose the pictures you need to import. Get to the folder containing your grouping of photographs.
Choose all the images you would like to incorporate in your stop motion animation by holding down the Ctrl (Cmd on Mac) key and clicking on each photograph.
After you’ve chosen your photos, tap “Open” to import them into Photoshop.
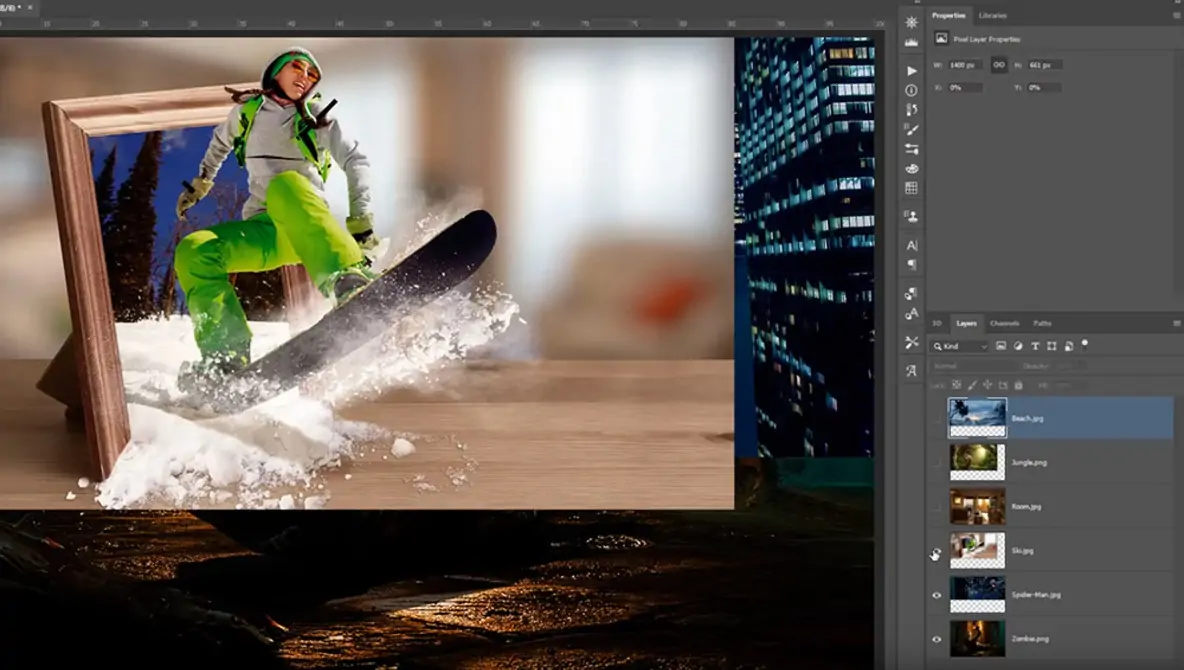
Photoshop will accordingly stack the chosen pictures into isolated layers inside a new document.
Your pictures are now imported and prepared for further editing and control to make your stop-motion effect.
Step 2: Organize Layers According To Your Plan
After bringing your pictures into Photoshop, head to the Layers panel, typically present on the right side of the interface.
Tap and drag each layer to modify them within the wanted sequence. It sets up the stream of movement for your stop-motion animation.
Guarantee that the layers are stacked within the proper arrangement, reflecting the succession of your scene.
Utilize the visibility toggle function similar to an eye symbol, following each layer to see how they adjust with one another.
Make any vital modifications by repositioning layers until you’re comfortable with the order.
Grab your time to guarantee smooth moves between frames, as the configuration of layers instantly simulates the smoothness of your animation.
Once the layers are organized to your delight, you’re prepared to persist with further altering and refining to upgrade your stop-motion impact.
Step 3: Adapt Each Frame’s Duration
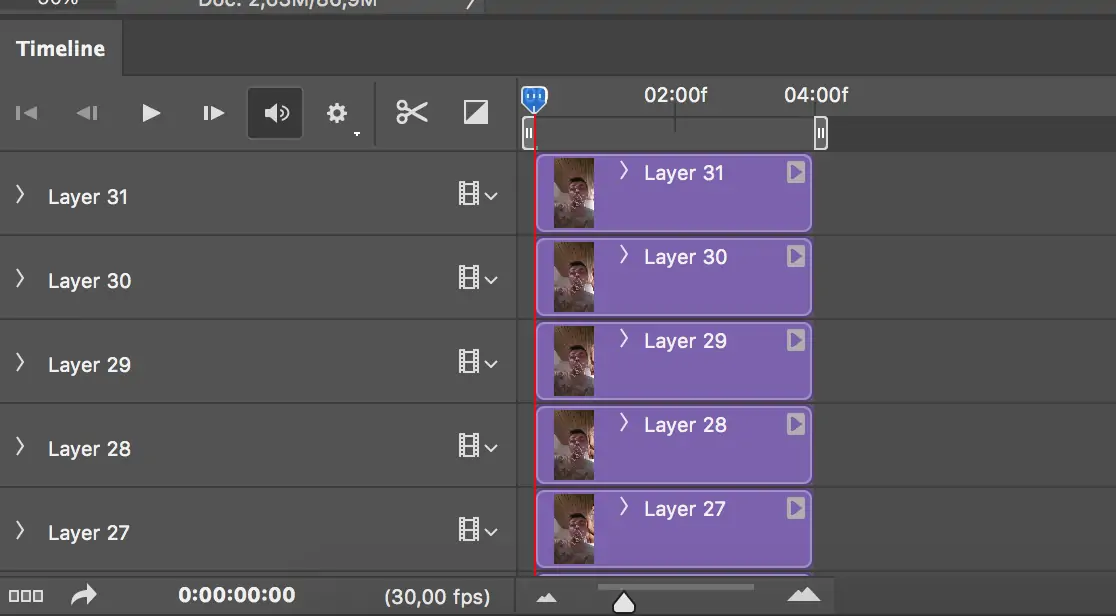
Navigate to the timeline panel in Photoshop, which is found at the foot of the interface.
Make sure that the timeline is visible by clicking on “Window” from the menu bar and selecting “Timeline” in case it’s not so far open.
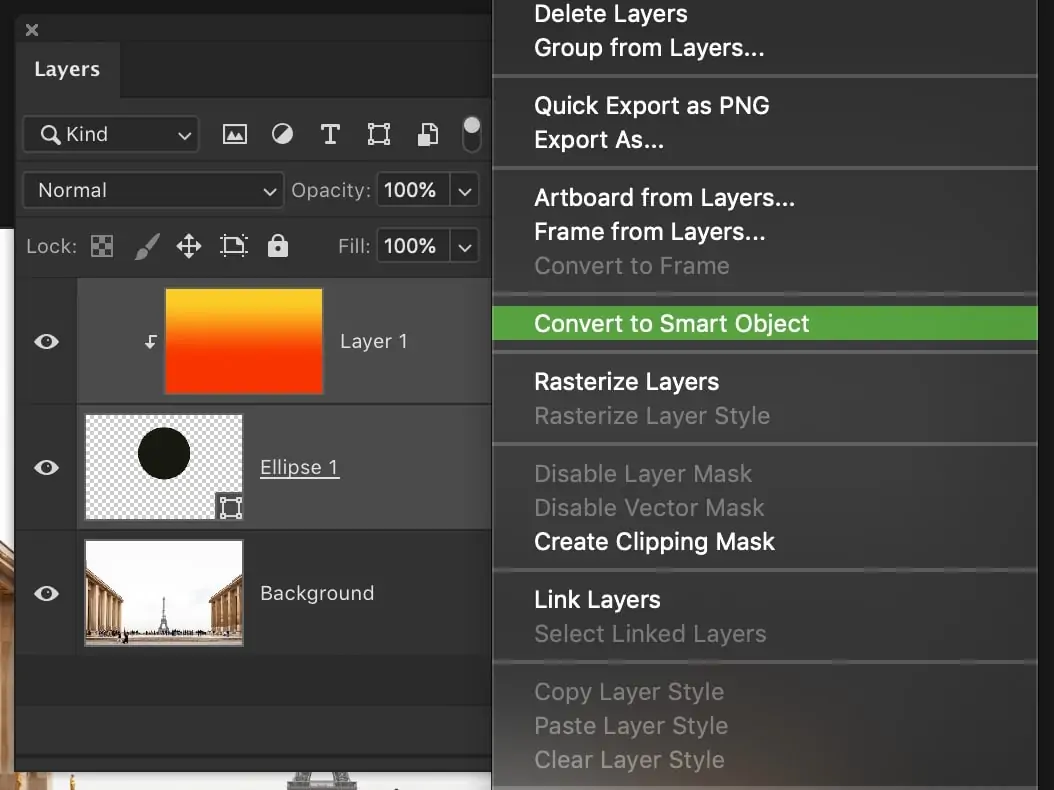
Pick all layers within the Layers board by clicking on the top layer, pressing the Shift key, and clicking on the bottom layer.
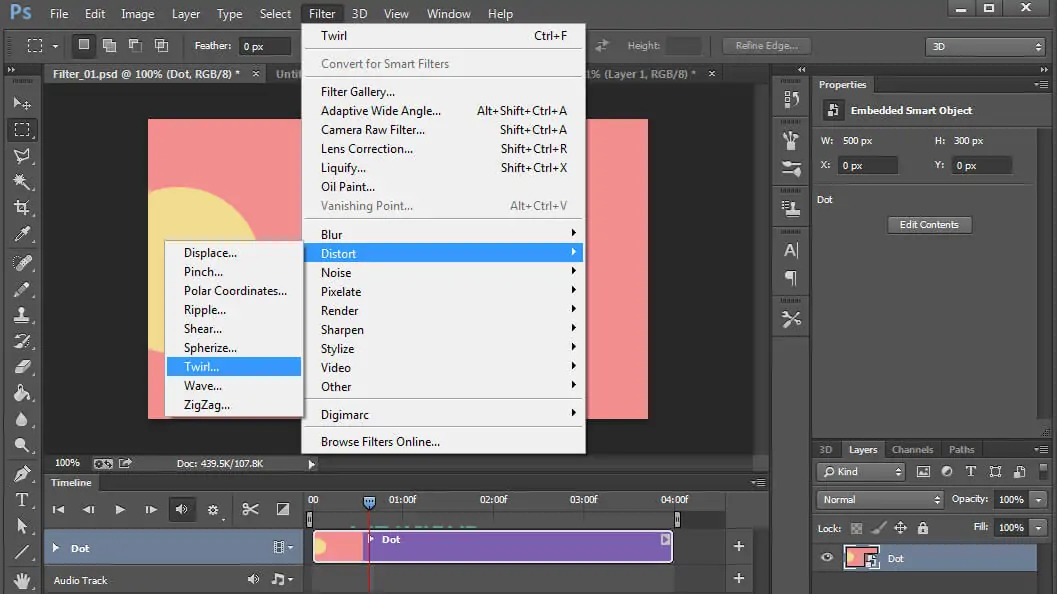
Right-click on any of the chosen layers and select “Convert to Smart Object.” This step empowers simpler control of timing.
Each layer Within the timeline panel will appear as an isolated track. Drag the edges of each layer to alter their duration and timing.
Calibrate the timing between outlines by dragging the ends of the layers closer together or more distant separated.
Use the preview highlight to observe your animation within the timeline and guarantee the timing makes the specified movement effect.
Proceed to refine the timing until you’re happy with the gait and stream of your stop-motion animation.
Step 4: Adjust Keyframes For All Layers
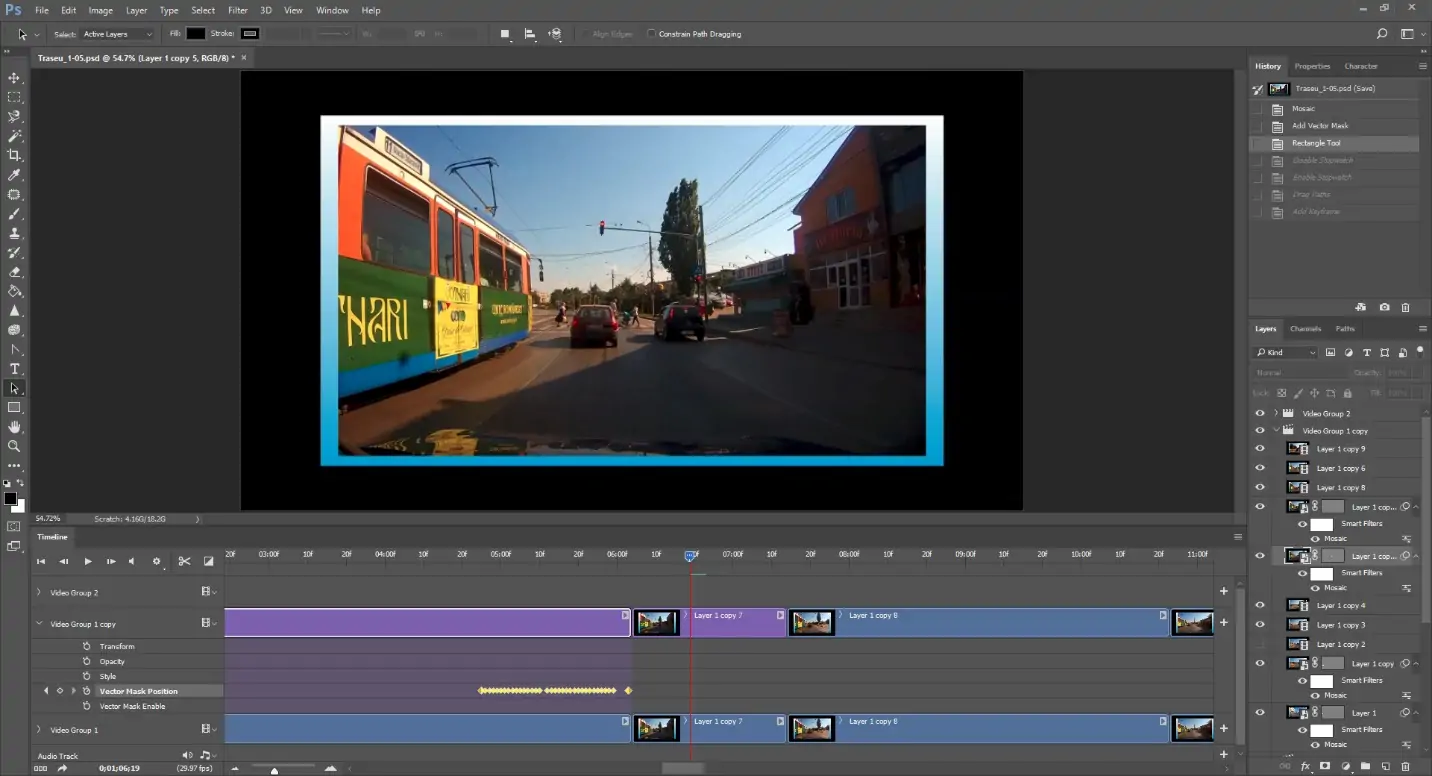
Inside the timeline panel, find the first frame of your animation.
Next, press the stopwatch icon beside the property you need to animate, for instance, position, opacity, or scale, for the primary layer.
This activity will set a keyframe for the chosen property at the current time.
Take the playhead to the next frame, where you need an alter within the property to happen.
Alter the property value by dragging the layer or utilizing the transform controls.
You can see that Photoshop will automatically set another keyframe with the reformed property value at the new time.
Revise this process for each layer and property you need to animate through the grouping.
By setting keyframes at distinctive points in time, you characterize the development and transformations that occur inside your stop-motion activity.
Here again, it would help if you previewed the animation within the timeline to check that the keyframes make the required effect, making alterations as needed for smooth moves and realistic movement.
Step 5: Use the Preview Feature To Analyze Animation
Set the playhead at the starting of the timeline to begin seeing your animation.
Push the play button within the timeline panel to begin playback, and watch how your stop motion unfurls.
Closely examine the movement and transitions between outlines as the animation plays.
Utilize the playback controls to stop, rewind, or fast-forward the animation as required to survey particular segments.
Take note of any zones where the movement shows up hasty or at odds, suggesting the need for further alterations.
Make alterations to the timing, keyframes, or layer arrangement as essential to progress the general stream and coherence of the animation.
Proceed to see the animation iteratively, making refinements until satisfied with the visual upshot.
Seeing the animation permits you to recognize and handle any issues before editing, assuring a smoother and more pristine final product.
After you are pleased with the preview, you can move on to the conclusion and export your stop-motion animation.
Step 6: Process And Audit Using Creative Effects
Audit each frame of the animation carefully, paying regard to subtle elements and transitions.
Distinguish any zones that require refinement, such as conflicting movement or visual defects.
Utilize Photoshop’s editing devices to operate adjustments to person frames as required.
That covers fine-tuning the position, scale, or rotation of objects or making color rectifications.
Make use of layer masks, adjustment layers, and filters to escalate the visual status of your animation.
Manage any issues with timing or pacing by adjusting keyframes or layer lengths within the timeline.
Play with distinctive effects and strategies to attain your stop motion effect’s specified look and feel.
Frequently preview your alters to evaluate their effect on the general animation and make further alterations as essential.
The betterment and editing process is significant for tending your stop motion animation and guaranteeing that it fulfils your inventive vision and quality approaches.
Step 7: Export And Share Your Ultimate Animation
After you have achieved the desired ultimate result of your stop-motion animation, it’s time to export it.
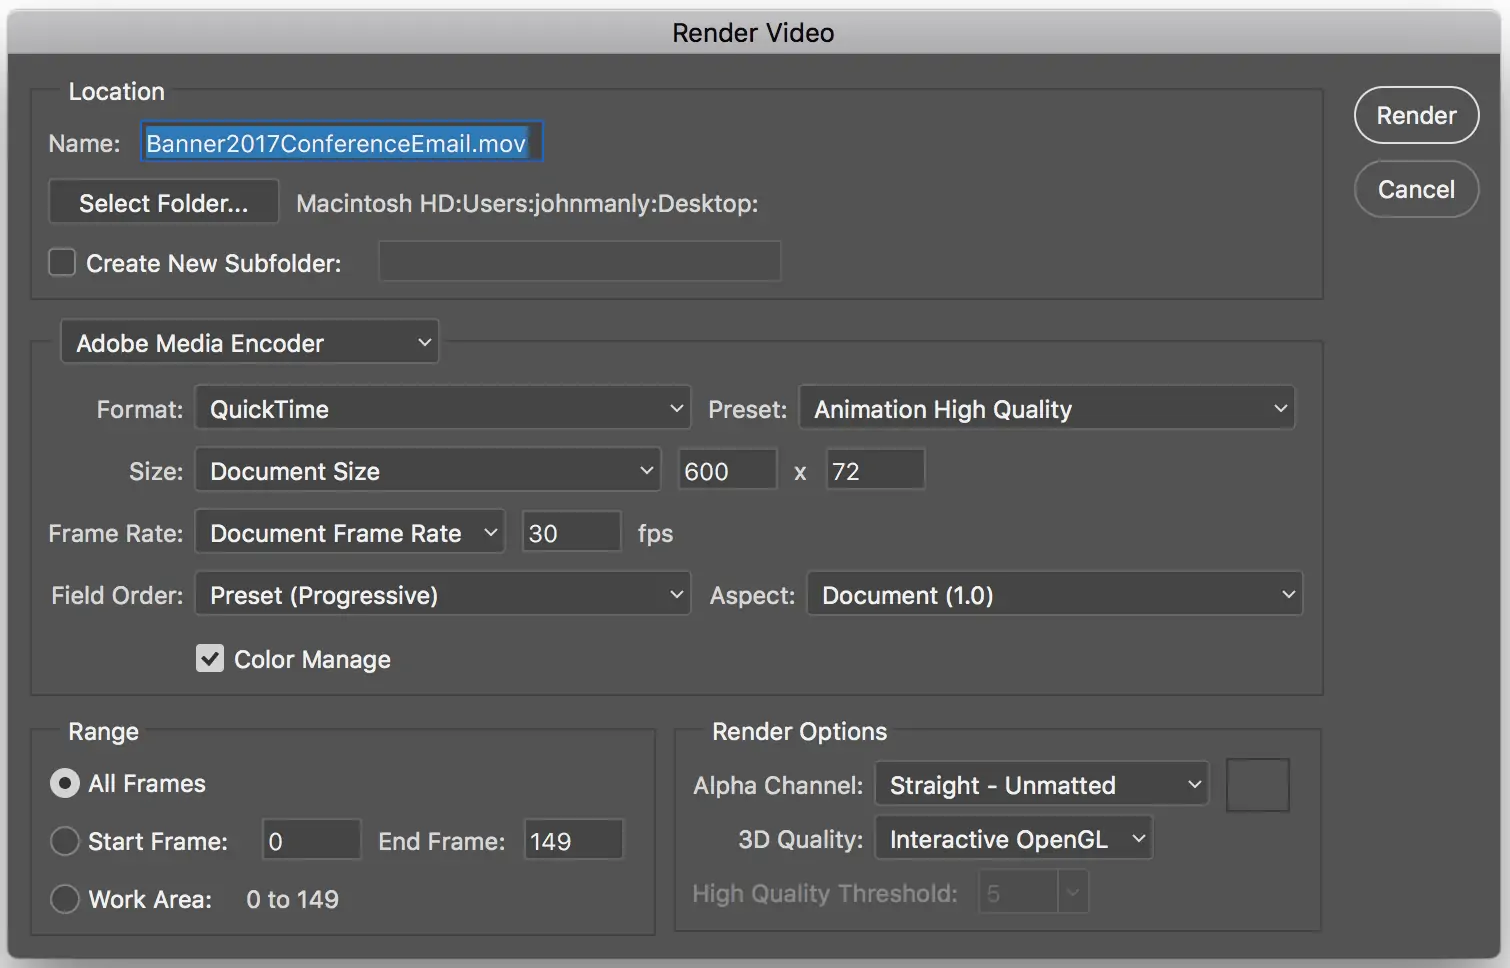
Navigate to the “File” menu and select “Export” > “Render Video,” and it will start the export process.
Within the dialog box that shows up, select a spot on your PC to save the exported video record.
Select the required video format and quality settings according to your aimed utilization and distribution medium.
Address the components like resolution, frame rate, and compression settings to perfect the video for viewing on distinctive gadgets and platforms.
Give your exported video an expressive filename and press “Export” to render the animation.
Based on the elaborateness and length of your animation, rendering can take some time to finish.
After the rendering process is wrapped up, find the exported video file within the assigned folder on your computer.
Your stop-motion animation is currently ready to be shared with others or consolidated into more significant projects for additional distribution or exhibition.
Conclusion:
To sum up, when introduced to your photographs, the stop motion effect provides numerous creative and aesthetic possibilities. It can revive your images, bringing a revitalizing spirit by giving your still shots the status of vibrant animations. As highlighted in this blog, you need to learn some of the most remarkable techniques for applying the stop-motion effect to your photos. Regardless of your level of expertise, the outcomes will always be exciting and attention-grabbing. Don’t ignore the secret tip while making stop-motion animation, which is the consideration of intervals between each action shot. The result of the stop-motion process is beyond imagination, yet it requires thorough attention to detail to be applied to each setup frame.
