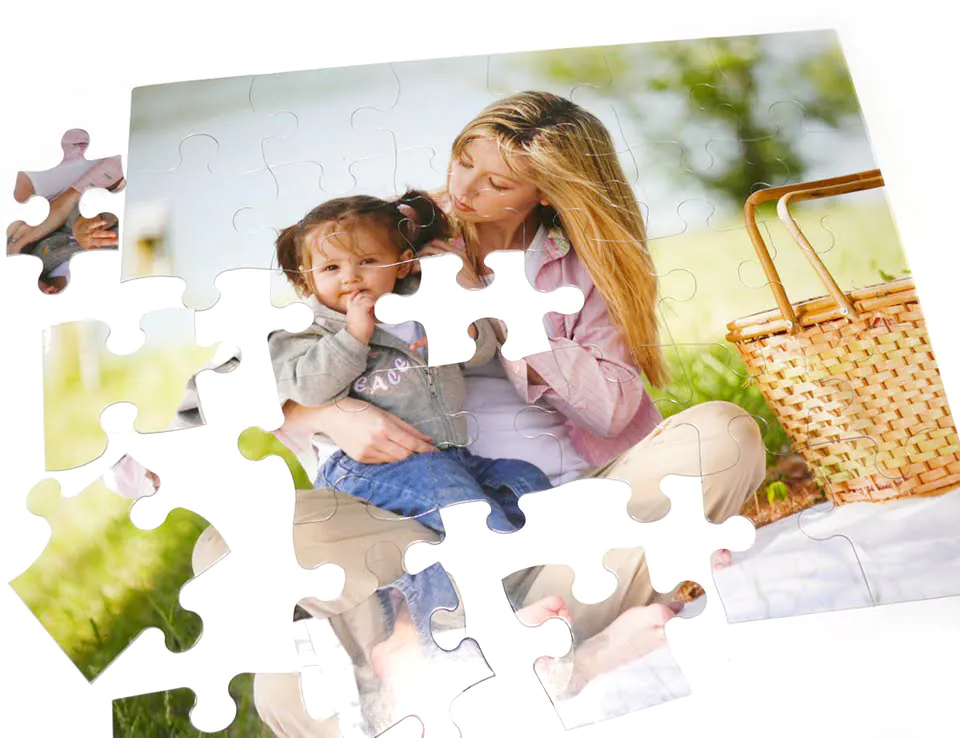
How To Create A Photo Puzzle
Creating a picture puzzle is significant in our lives since it amalgamates the delight of problem-solving with the sentimental worth of personal images. By translating individual images into puzzles, photo puzzles develop emotional ties. This exercise allows people to relive memorable memories while participating in a strenuous, pleasant activity and reminiscing over captured moments. Photo puzzles are also a unique and personalized gift choice, demonstrating the care and ingenuity of the present-giver. They turn memorable images into interactive, customized presents highlighting the recipient’s likes and memories. The receiver appreciates the time and work put into making a puzzle. Photo puzzles improve cognition by requiring brain workouts, critical thinking, and problem-solving. Individuals increase their attentiveness, memory retention, and general cognitive capacities by analyzing visual features, recognizing patterns, etc. Furthermore, they promote cooperation, communication, and teamwork by providing a shared pastime for families, friends, or social events. To create a photo puzzle, follow the steps and techniques described in this blog and change your images into gripping puzzle pieces tasks.
Step 1: Select and open your photo in the image editing software.
To create a photo puzzle, select a high-quality photo or image you want to transform into a puzzle. If desired, ensure the picture is clear, visually appealing, and personally significant. Open your chosen photo in the image editing software of your choice.
Most image editing software applications have a “File” menu where you can find options to open or import images. Click on the “Open” or “Import” option, and browse your computer’s files to locate and select the photo. The software will then load the image into its workspace, allowing you to edit and manipulate it to create the puzzle.
Remember to save a backup copy of your original photo before proceeding with any edits, ensuring you have a pristine version to revert to. By opening your photo in the image editing software, you can move on to the subsequent steps and transform it into a captivating photo puzzle.
Step 2: Determine the size and shape of the puzzle pieces.
Once you have opened your photo in the image editing software, you can decide on the size and shape of the puzzle pieces. That will depend on your personal preference and the level of difficulty you want to provide for the puzzle solvers.
Consider whether you want regular shapes like squares or rectangles or prefer more intricate and irregular shapes. Consider the number of pieces you want the puzzle to have, as it will influence the overall complexity and difficulty level.
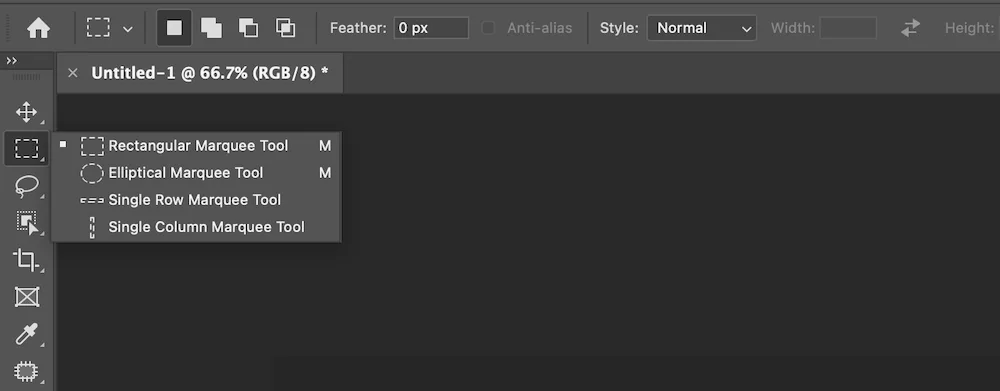
In most image editing software, you can use selection tools to create the puzzle pieces. You can use rectangular or square selection tools to adjust the size according to your desired dimensions for regular shapes. If you prefer irregular shapes, you may need to use pen or shape tools to draw custom shapes and cut them out from the image.
Take your time to experiment with different sizes and shapes until you find a configuration that suits your vision for the puzzle. Once you have determined the size and shape of the puzzle pieces, you can proceed to the next step of dividing the image into those pieces.
Step 3: Divide the image into puzzle pieces.
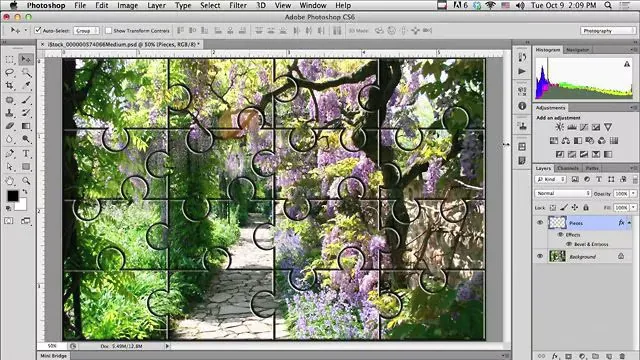
After determining the size and shape of the puzzle pieces, it’s time to divide the image into those pieces. This step involves cutting or separating the image into individual sections that will become the puzzle pieces.
In most image editing software, you can use selection tools to accomplish this task. Here’s a general approach to dividing the image:
Select the first puzzle piece: Use the appropriate selection tool (e.g., rectangular, square, or custom shape tool) to select the first piece from the image. Ensure that your selection covers the desired area for that puzzle piece.
Copy and paste the selection: Once the puzzle piece is selected, copy it (Ctrl+C or Command+C) and then paste it (Ctrl+V or Command+V) onto a new layer or file. That will create a separate layer or file containing the selected puzzle piece.
Repeat for the remaining pieces: Continue selecting, copying, and pasting to create the remaining puzzle pieces. Adjust the selection for each piece and ensure they do not overlap or leave any gaps.
Organize the puzzle pieces: Once you have them on separate layers or files, organize them accordingly. You can arrange them in a grid-like pattern or scatter them randomly, depending on your preference.
Remember to save your progress regularly to avoid losing any work. Take your time to refine the selections and ensure clean and accurate cuts to achieve a visually appealing and well-defined puzzle.
Dividing the image into puzzle pieces is crucial as it sets the foundation for the actual puzzle-solving experience. Once completed, you can move on to further customization and styling of the puzzle pieces in subsequent steps.
Step 4: Customize and style the puzzle pieces.
After dividing the image into puzzle pieces, you can further enhance the visual appeal of each piece by customizing and styling them. This step allows you to add individual touches and make the puzzle pieces more engaging and exciting for the solvers. Here are some techniques to consider:
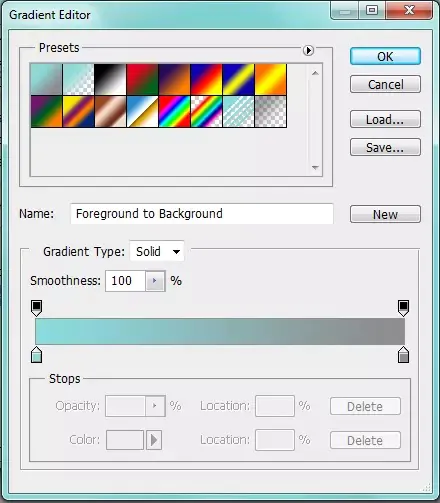
Apply effects and filters: Use image editing tools to apply various effects and filters to each puzzle piece. Experiment with options like gradients, textures, shadows, or artistic filters to give the details a unique and visually appealing look.
Adjust colors and tones: Modify the colors and tones of the puzzle pieces to create a cohesive and harmonious overall puzzle. You can enhance or adjust each piece’s brightness, contrast, saturation, or color balance to ensure they blend well when assembled.
Add text or symbols: Consider adding text or symbols to the puzzle pieces, especially if you want to incorporate hints, clues, or labels. Use the text tool in your software to insert numbers, letters, or words onto the pieces. That can help guide the solvers during the puzzle-solving process.
Create a cohesive theme: Ensure the puzzle pieces align if you want a specific theme or concept. For example, if you’re creating a nature-themed puzzle, you should incorporate natural elements or patterns into the design of the puzzle pieces.
Maintain consistency: As you style each puzzle piece, strive for consistency in colors, lighting, and overall aesthetics. That will create a visually appealing puzzle that feels cohesive and well-designed.
Remember to save your progress regularly, especially when you’re satisfied with the styling of each puzzle piece. Customizing and styling the puzzle pieces enhances their visual appeal, adds a personal touch, and enhances the overall puzzle-solving experience.
Step 5: Finalize and export the photo puzzle.
Once you have customized and styled the puzzle pieces to your satisfaction, it’s time to finalize and export the photo puzzle. This step involves making necessary adjustments, ensuring the puzzle is ready for use or sharing, and exporting it in a suitable format. Here’s what you need to do:
Review and refine: Take a moment to review the entire photo puzzle. Check for any inconsistencies, visual imperfections, or areas needing further refinement. Make necessary adjustments to ensure the puzzle pieces fit together seamlessly and the composition looks cohesive.
Test the puzzle: Before finalizing, it’s a good idea to test the puzzle yourself. Assemble the puzzle pieces to ensure they fit together correctly and that the overall difficulty level is appropriate. This step allows you to identify any issues and make final adjustments.
Save your work: Save your photo puzzle project file to preserve all the layers, edits, and customization you’ve done. This way, you can easily make future modifications or adjustments if desired.
Choose the appropriate file format: Consider the intended use of the photo puzzle and choose the proper file format for exporting. If you plan to print the puzzle, save it as a high-resolution image file, such as JPEG or TIFF. If you’re sharing the puzzle digitally, consider saving it as a PNG or GIF file, which can preserve transparency if required.
Export the photo puzzle: Use your image editing software’s export or save function to save the finalized puzzle in the chosen file format. Follow the prompts to select the desired export settings, including resolution, quality, and color profile.
Share or print the puzzle: With the exported photo puzzle file, you can share it with others or prepare it for printing. Consider sharing it online, sending it as a digital file, or printing it on high-quality paper or materials for a physical puzzle experience.
These final steps ensure your photo puzzle is ready for enjoyment, sharing, or gifting. Whether a digital version or a physical print, your customized photo puzzle is complete and willing to provide entertainment, challenge, and joy to those who solve it.
Conclusion
In conclusion, putting together a photo puzzle is a gratifying and meaningful task. Making a photo puzzle with Photoshop or any other image editing tool implies complete freedom of expression and modification. It combines the emotion of personal photographs with the exhilaration of solving puzzles. In case you’re making a custom puzzle for a loved one or yourself, the process will provide you with both delight and a sense of accomplishment. Busying yourself with these puzzles also raises cognitive development by improving the brain’s critical thinking and problem-solving capabilities.
