How To Create A Freeze Frame
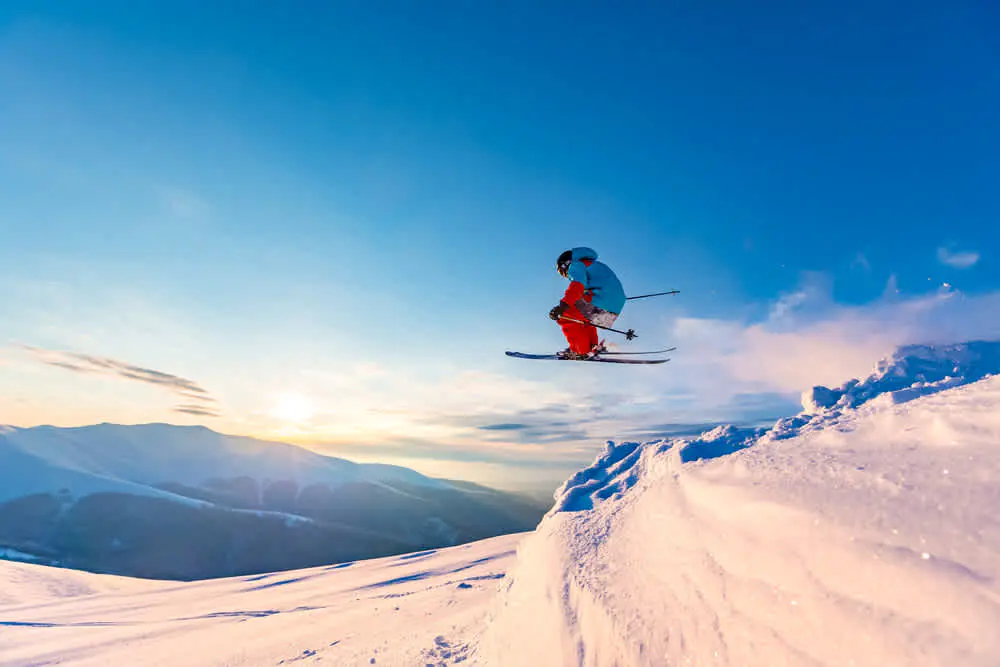
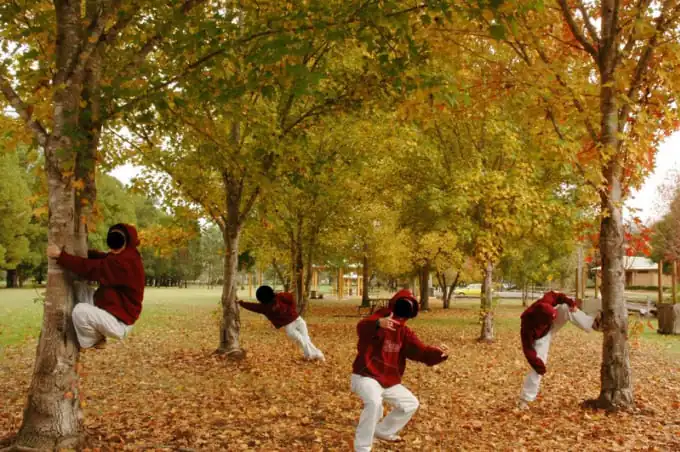
A freeze frame arises from a series of shots of the same scene but with multiple angles or frames extracted from a video. The sense of activity captured in those frames or shots is the main target of a freeze frame, where the most catchy and visually exciting moment is nominated for further editing and manipulation. The technique draws attention to the best of the movements and enhances its visual identity so that it becomes more charming and pleasing than it already was. In the filming and animation production industries, the freeze frame technique is quite popular when it comes to isolating and signifying a particular portion of time. In videos, a single frame is separated for this purpose, and in photographs, a series of burst shots is ideal for selecting a single valuable shot. That single frame or photo is fair enough to dictate the whole story or theme behind the collection, saving time and capturing viewers’ attention in the shortest amount of time and effort. This blog can further guide you about creating a freeze frame for your shots or videos in 6 simple steps.
Step 1: Arrange your preferred files in a single folder
Start by organizing your project files. Make a folder on your computer to house all pertinent pictures and video frames. This way, you will have a simple get-to and a clutter-free workspace.
Inside your folder, sort and name files methodically. This step is vital for a proficient route, permitting you to find particular pictures or video outlines promptly. Consider naming traditions or subfolders to classify content based on subjects or scenes.
Take the time to audit your collection of images or video frames. Search for moments that are compelling or candidly passionate. Recognize the critical moment you need to bring out in your freeze frame. That can be a thrilling activity, a notable expression, or any striking element inside your visual content.
As you audit, make note of any potential alters or upgrades you might need to apply in the afterward steps. This proactive approach streamlines the editing process and ensures a centered and deliberate workflow.
Step 2: Transfer your image or frame to your software workspace
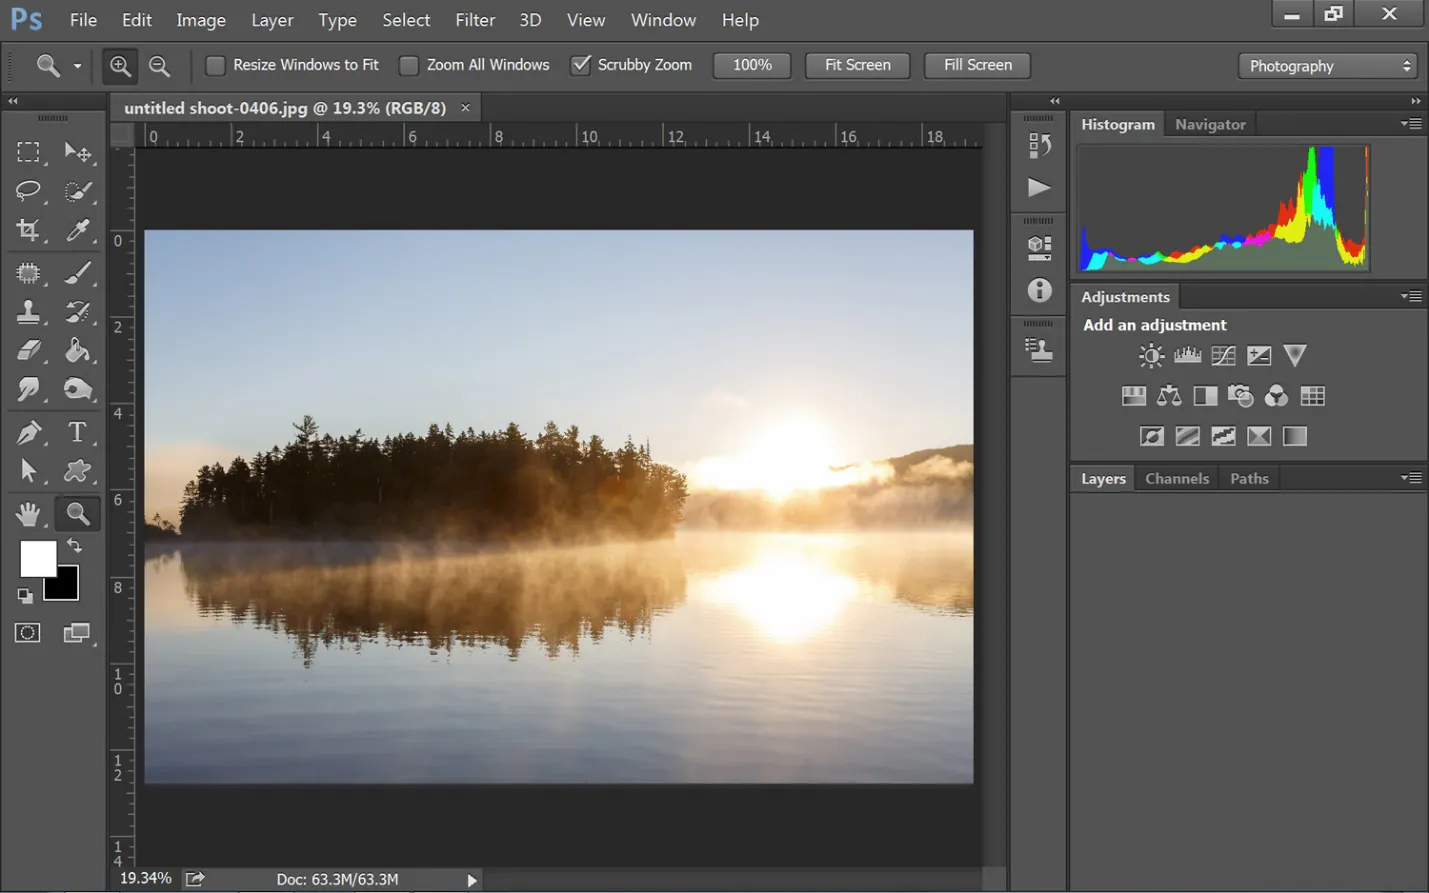
Get started by opening the Adobe Photoshop software on your PC. Confirm that you installed the most recent version for ideal highlights and execution.
Next, you can move to the “File” menu found in the top left corner of the Photoshop interface. Tap on “File” to uncover a dropdown menu with different options for file control and altering.
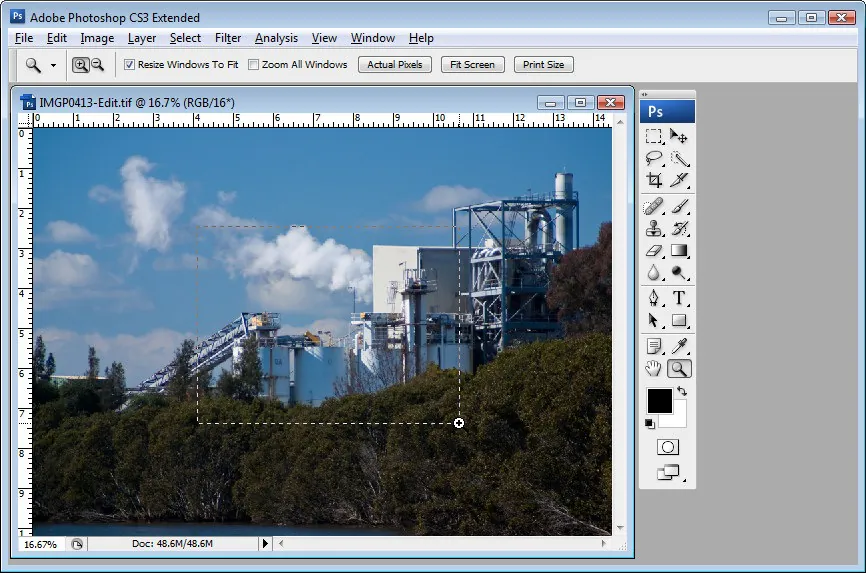
Inside the “File” menu, choose the “Open” choice. This activity prompts a dialogue box to appear, permitting you to browse and select the image or video file you need to work with.
Utilize the dialogue box to find the particular image or video frame inside your specified folder. Decide about the file, then press “Open” to load it into the Photoshop canvas.
Once the file is loaded, set the Photoshop workspace as required. Get acquainted with the different panels, tools, and choices accessible for a smooth and determined modifying experience.
Step 3: Improve your freeze frame with additional enhancements
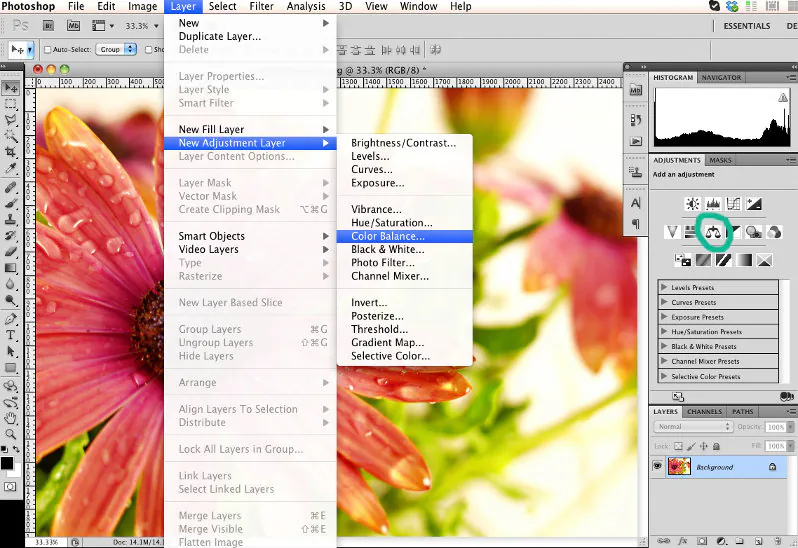
Move to the “Image” menu and select “Adjustments.” Tab on “Color Balance” to tune the general color conveyance within the image. Try with sliders for shadows, midtones, and highlights to attain the required color harmony.
Utilize the “Hue/Saturation” alteration layer to control the concentration of colors. Alter saturation to upgrade or tone down shades, and try with hue for inventive shifts in color tones.
Get to the “Levels” or “Curves” adjustment layers to refine contrast. Alter the tonal range to improve highlights and shadows, giving more profundity to the picture.
Utilize the “Contrast” and “Brightness” alterations for fast overall improvements. Adapt to bring out subtle elements and make the freeze frame visually impactful.
Utilize the “Unsharp Mask” filter to elevate picture sharpness. Alter parameters like amount, radius, and threshold for ideal results. Be mindful not to over-sharpen because it may present noise.
Frequently preview changes as you make alterations so that they adjust along with your notion. Try toggling adjustment layers on and off to analyze variations.
Step 4: Play with creative effects and filters
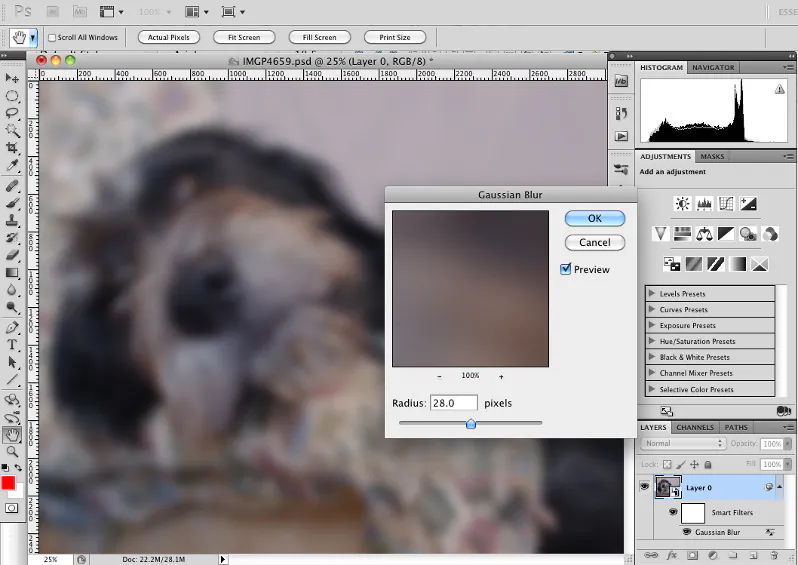
Get to the “Filter” menu and check out the “Filter Gallery” to try different aesthetic and stylized filters. That will include special visual effects in your freeze frame. Some standard filters are “Oil Paint,” “Watercolor,” and “Gaussian Blur.”
Integrate filters as “Smart Filters” by converting the layer into a Smart Object. That enables you to create non-destructive changes, protecting the initial picture data.
Test with layer styles to include effects like shadows, glows, or strokes. Get to the “Layer” menu and select “Layer Style” to check alternatives that improve the general appearance.
Overlay textures or patterns to present extra visual components. Utilize blending modes to coordinate textures with the freeze frame consistently.
Feel free to do inventive experimentation. Play with combining multiple effects, altering opacities, or utilizing layer masks to control the effects of applied filters and effects.
Examination ensures that the included effects complement the general theme and story of the freeze frame—point for a cohesive and engaging result that fits with your inventive idea.
Step 5: Review your ultimate freeze framework
Employ the “Zoom Tool” to zoom in and closely assess diverse parts of the final image. Review for any pixelation or accidental distortions resulting from the applied upgrades.
Utilize the “Toggle Layer Visibility” button to compare the altered form with the initial. This way, you can survey the effect of each adjustment layer and its impact on the overall composition.
Allude to the “Histogram” and “Info” panels to analyze color distribution and tonal values. Be sure that adjustments comply with your expected color harmony and tonal range.
Look at layer masks related to adjustments. Optimize them utilizing the “Brush Tool” or other masking tools to control the effect of improvements in respective regions particularly.
Move to the “History” panel to audit the arrangement of applied alters. This panel empowers you to step back through the editing process and notice any particular changes that will require modification.
Check and guarantee that the image’s color profile is suitable for your expected usage. Go to “Edit” > “Convert to Profile” to alter or standardize color profiles in case vital.
Step 6: Preserve your final image and utilize it in your project

To save your ultimate composition, head to the “File” menu and click “Save As.”
Select a suitable file format (e.g., JPEG, PNG) and assign a particular folder to spare the standalone freeze frame composition.
Ahead of saving, audit all applied upgrades so they correlate with your creative vision.
If required, carry out any closing tweaks utilizing tools like the “Zoom Tool,” “Layer Masks,” and others for a fastidious audit.
Open your larger project file or initiate a new project within your software or platform.
Import the saved freeze frame image into the project, following particular application steps.
In case pertinent, deliberately position the freeze frame inside the project timeline or layer stack.
Customize the freeze frame’s duration to synchronize with your video’s overall timing, expanding or shortening as required.
Set the position and apply transitions or effects for smooth integration inside the venture.
Check out the whole project to guarantee smooth moves and overall visual coherence.
Save the edited project file to protect your work so that the freeze frame consistently integrates into your more extensive project.
Conclusion:
To conclude, the freeze frame technique can characterize and emphasize specific moments within a group of shots or frames. This technique draws onlookers to worthy activities, gestures, or sensitive elements so that they concentrate on what the maker regards as most fundamental. Freeze frames motivate viewers to assess and reflect on a moment in miniature detail. By postponing the activity, creators can motivate the audience to get more intensely into the visual substance, appreciating nuances that are otherwise overlooked within the immediate involvement. Uniting freeze frames on purpose can, moreover, progress the composition narratively. Isolating vital moments presents anticipation, illustrates sentiments, and complements fundamental plot aspects, resulting in a more curious and crucial story.
