How To Create A Daydream Effect
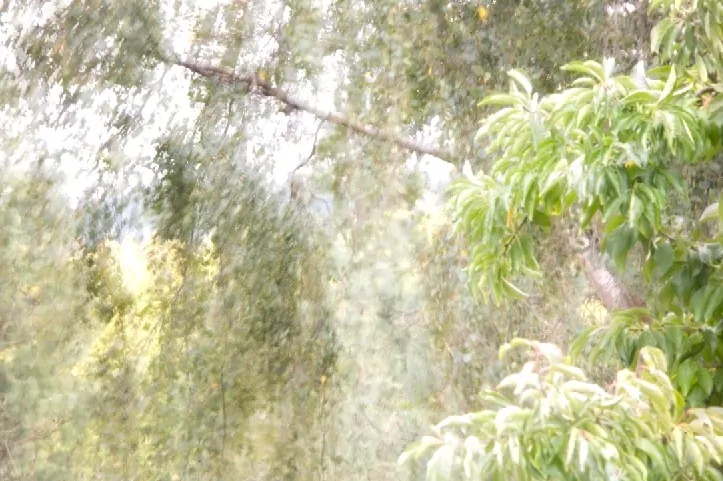
Daydreaming, an idealistic yet common phenomenon, involves shifting one’s attention from the external world to internal thoughts and feelings. This process occurs throughout waking hours, as the term implies. It is characterized by mental images of ideas and scenarios, many of which are pleasant or idealistic. Daydreaming is more than a pleasant leisurely pastime; it provides the brain with much-needed relaxation from exterior responsibilities. It enables us to reflect on prior experiences and envision improved results. Dreaming encourages creativity while imagining ideal situations and lifestyles, which often continue to develop in the human unconscious. The idealization of situations during a daydream correspondingly stirs the imagination of innovation-loving artists and image creators. With a daydream effect, they can easily infuse an elegant elegance and enchantment into the photos. Thus, photographs become captivating works of art that enthral your viewers enormously. Using image enhancement applications such as Photoshop, Lightroom, GIMP, and Affinity Photo, you can also add an ethereal, dreamy glow to images, giving them an otherwordly feel.
Step 1: Using A Soft Focus Effect
Begin by creating a copy of your image layer, which will permit you to apply effects without forever changing the initial picture.
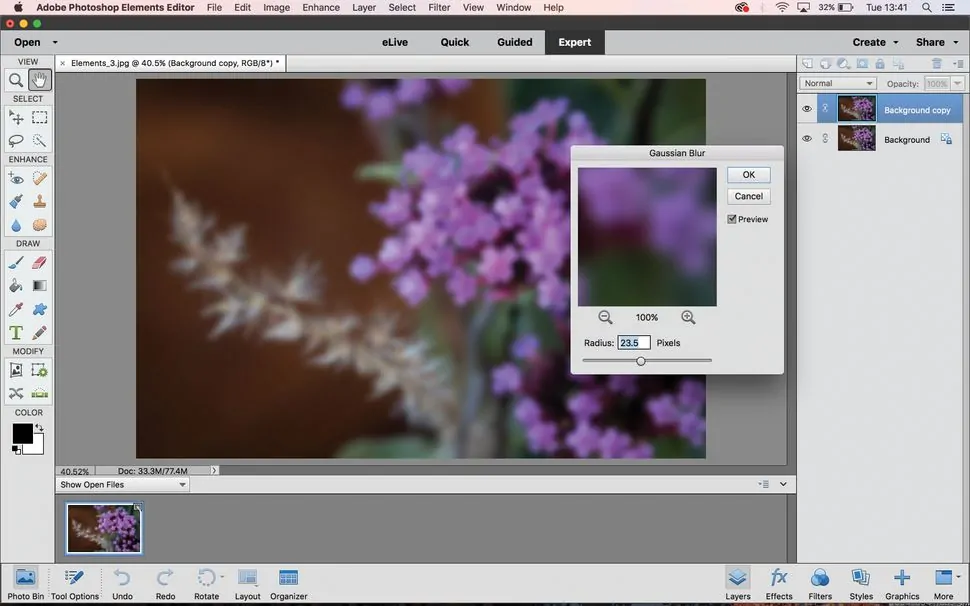
Move to the blur tool and click on Gaussian Blur. Alter the blur radius till you get a delicate, misty effect. Watch out not to exaggerate it; the objective is to make modest softness, not to obscure particulars totally.
Decrease the opacity of the blurred layer. That step aids in blending the soft focus effect with the fundamental sharpness of the initial picture. Alter the opacity until you accomplish a balanced appearance.
As required, apply a layer mask to the blurred layer. This way, you can specifically paint back sharpness in zones where you need to hold on to detail, including the subject’s eyes or other central focuses.
At last, audit the picture and make any fundamental alterations to the blur level or opacity.
Step 2: Enhancing Color Tones
Start by including a new adjustment layer, like Hue/Saturation or Color Balance, to change the overall colour tones of your picture. It will permit non-destructive editing, giving you the adaptability to alter or return changes.
Within the Hue/Saturation adjustment, tenderly move the hue slider towards warmer tones such as pinks, purples, or yellows. Expand the saturation marginally to set up these pastel colours, but avoid going too far to preserve a delicate, dreamy impression.
Utilize the Color Balance adjustment layer to improve the pastel effect. For a warm, nostalgic feel, concentrate on the midtones and highlights, including more magenta and yellow. Moreover, you can decrease the cyan and blue tones to soften the photo more.
If certain ranges of the photograph require particular colour improvement, utilize the Selective Color adjustment tool. It permits you to work on and alter individual colours.
After altering the tones, pause and audit the general colour symmetry. Do any last changes to guarantee the picture features a cohesive, pastel tone that improves the daydream impact.
Step 3: Adding Glow Effects
Begin by duplicating the image layer to form a partitioned layer where you’ll include the glow effect.
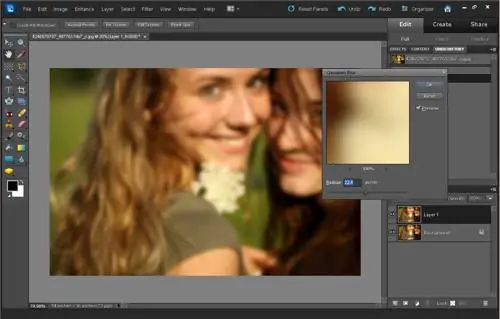
Activate the duplicated layer and spread the Gaussian Blur effect onto it. Ascend the blur radius more than you did in Step 1 to form a delicate, diffused light development.
Put the blending mode of the blurred layer into Screen or Overlay mode. It can make the lighter regions of the image glow while keeping the shadows untouched.
Decrease the opacity of the glow layer to mix it with the photo naturally. You need the glow to be subtle and not overwhelming.
If essential, apply a layer mask to the glow layer. Utilize a soft brush to erase the glow effect from zones where you need to preserve sharpness or detail, just like the subject’s face or other central points.
For extra glow, specifically paint over the brightest regions of the picture with a soft white brush on a new layer specified to Soft Light or Overlay.
Step 4: Light Leaks Addition
Make a new vacant layer over your image.
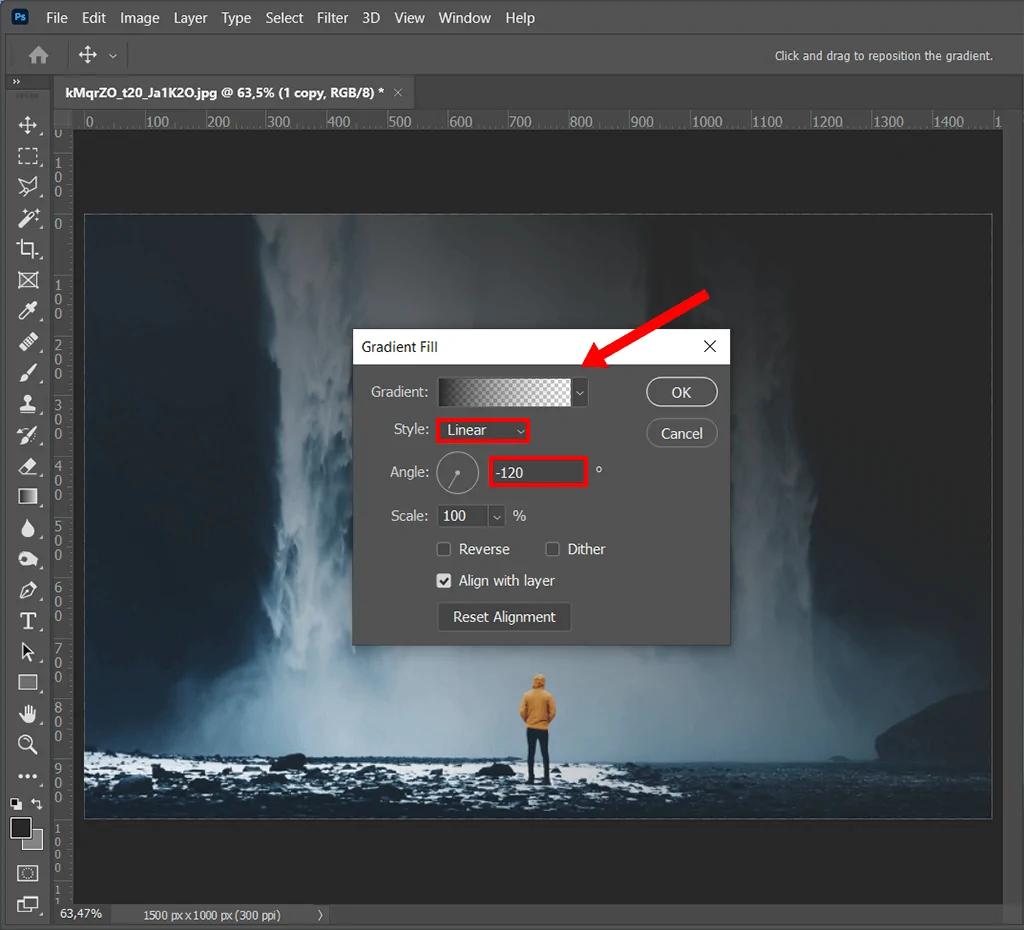
Select the gradient tool from the toolbar. Set the gradient type to Radial for a more characteristic light leak outcome. Pick a gradient that shifts from a dynamic colour, including red, orange, or yellow, to transparent.
Tap and drag the gradient tool on the unused layer to apply light leaks at the picture’s edges. Begin from the edges or sides where light naturally might enter. Experiment with diverse colours and placements to see what best improves the daydream imprint.
Alter the blending mode of the light leak layer to Screen or Overlay. It helps the light leak combine naturally with the fundamental image, making a delicate, diffused impact that mirrors real light leaks.
Decrease the opacity of the light leak layer to make the effect more inconspicuous. The goal is to include a hint of light without overwhelming the photo.
As needed, apply a layer mask to the light leak layer. Utilize a soft brush to specifically eradicate parts of the light leak that may be too strong or to polish its arrangement for a more natural look.
For a more energetic effect, you can include different light leak layers with distinctive colours and positions. Such layering can make a more complex and immersive daydream effect.
Step 5: Inclusion Of Vignetteing
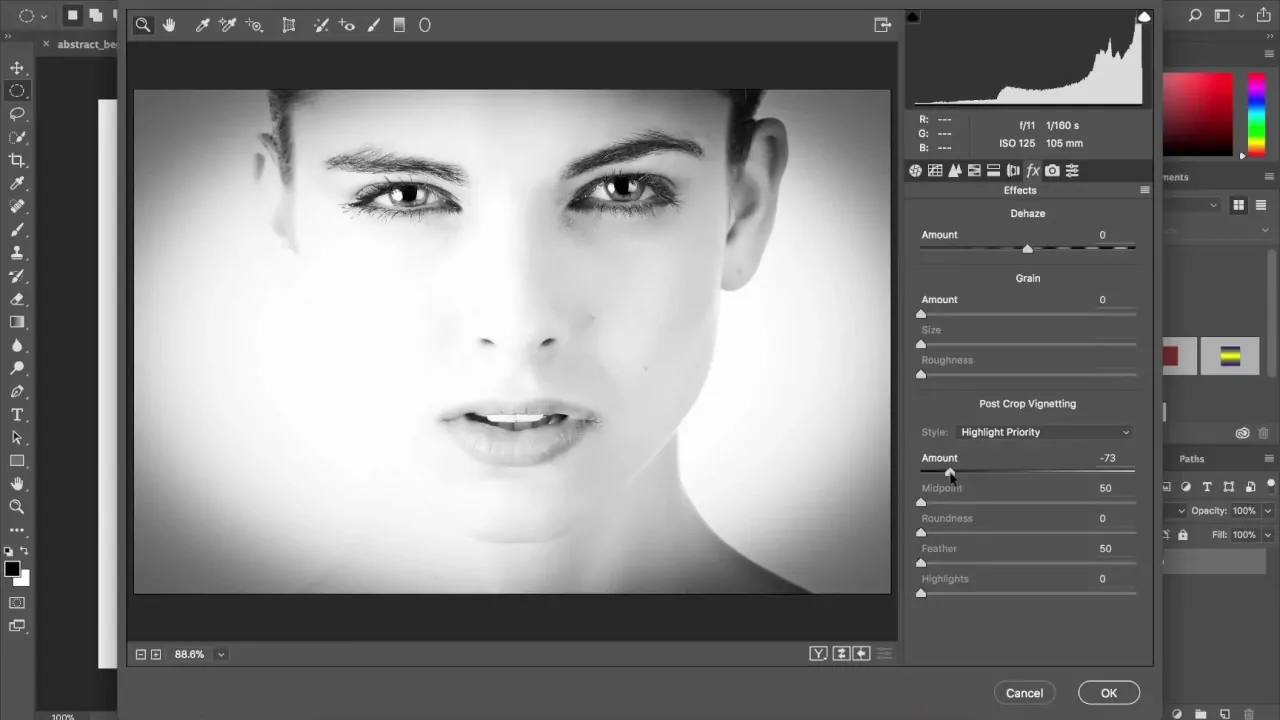
Begin by including a new adjustment layer, particularly for the vignette effect. You’ll utilize the Levels or Curves adjustment layer, which can permit exact command over the vignette.
Within the adjustment layer, drag the shadows slider inward or alter the curve to darken the external edges of the image.
Include a layer mask to the adjustment layer, and choose the gradient tool, setting the angle to Radial and specifying a black-to-white gradient. Lay the gradient outward by clicking and tugging from the hub of the photo. It will mask out the vignette effect from the middle.
Revise the size and intensity of the vignette by adapting the gradient mask. You can also elevate the obscurity of the vignette by remaking the opacity of the adjustment layer.
To guarantee a smooth shift between the vignette and the remainder of the picture, increment the feathering of the mask.
In case you need you can make extra adjustment layers, each with diverse vignette levels or colours.
Step 6: Using Blur Filters
Start by creating a copy of your picture layer to apply the blur impact specifically without modifying the original image.
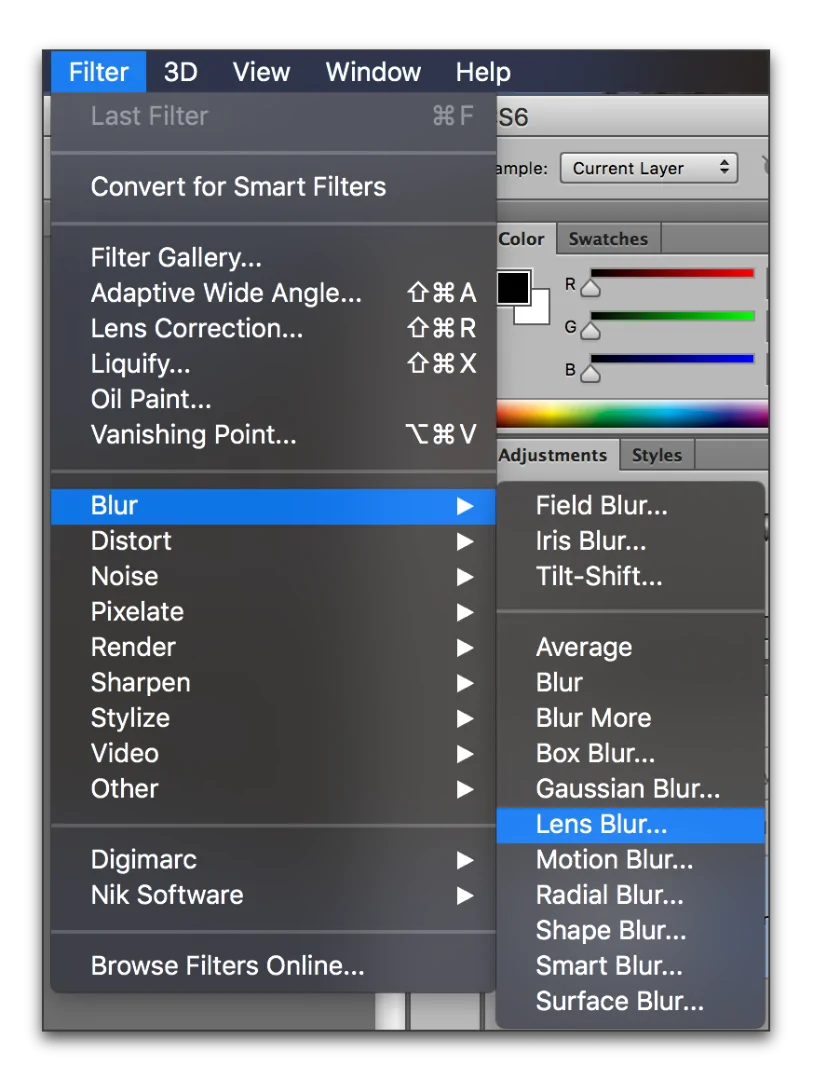
Select a blur filter, like Gaussian Blur, Lens Blur, or Tilt-Shift, according to the impact you need. Use the blur to the complete duplicated layer. Adapt the blur radius to form a soft, dreamy look, but guarantee not to lose critical details.
Include a layer mask to the blurred layer. It will permit you to hold where the blur is connected.
Utilize a soft, black brush to paint on the layer mask, uncovering the sharpness of the initial image beneath in regions where you need to preserve focus. Put the brush opacity to a low value to steadily construct the effect.
Swap between painting with black and white on the mask to tune the zones of sharpness and blur. You can reset the brush size and hardness as required to realize a natural-looking blend.
To make the shift between sharp and blurred regions smoother and more unobtrusive, enhance the feathering of the layer mask.
Step 7: Executing Final Adjustments
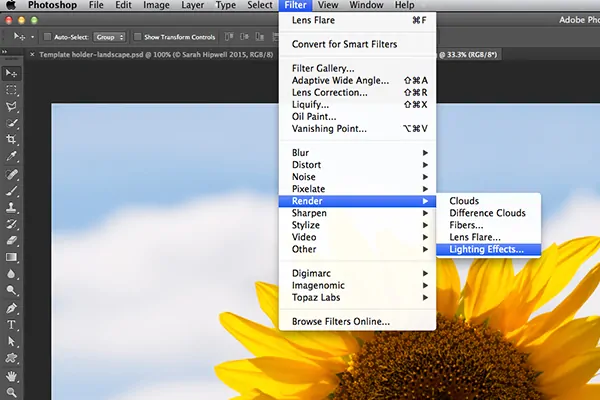
Get a new blank layer over your picture, which will be utilized to apply ethereal components like soft clouds, light flares, or unobtrusive bokeh effects that heighten the daydream quality.
You can go for import overlay components like cloud surfaces, light flares, or bokeh pictures. Alternatively, you can make them manually utilizing brushes and gradients. Be sure that the components are soft and mingle well with the overall image.
Alter the blending mode of the overlay layer to Screen, Soft Light, or Overlay.
Reduce the opacity of the overlay layer to guarantee the ethereal components are soft and don’t overwhelm the primary subject.
Include a layer mask to the overlay layer if required. Utilize a soft black brush to evacuate or decrease the overlay effect in ranges where it can be too intense or where you need to preserve clarity and detail.
Vary the position, size, and rotation of the overlay components to adjust them naturally with the composition of your image.
After the ethereal overlay is linked, survey the whole image to guarantee all components work together concordantly. Do any last-minute alterations to polish up the daydream effect and save your absolute work in a suitable format.
Conclusion
Stimulating a daydream guise into an image revolves around the careful fusion of creativity and accurate use of digital strategies. With the editing guidelines highlighted in this blog, you can reform your everyday images, making them as if they were unseen scenes of some unfamiliar ethereal words. Either you want to build a utopian fairytale effect, or you go for an unusual, bizarre happening, a daydream effect covers both. Moreover, it also includes some nearly possible events to give your dreamy photos a little touch of reality, making viewers anticipate the future with optimism and vibrancy.


