How To Create 3D Animation Video in Blender?
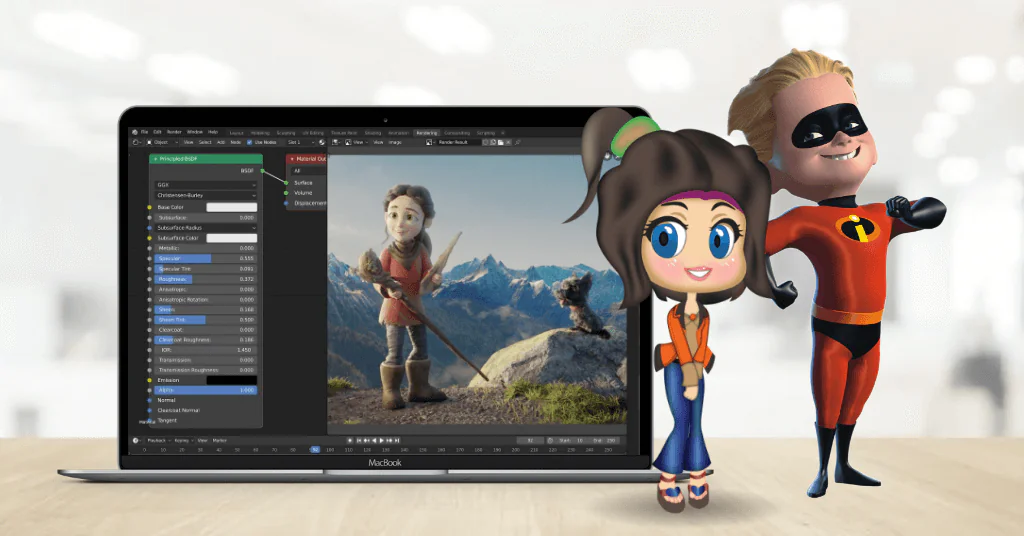
3D animation has emerged as a breakthrough in the visual gaming and film industry. From kids to adults, 3D animation has gained immense popularity and has become a constant source of entertainment. But do you know how a 3D animation video is created? In this blog, you will learn more about 3D animation creation using Blender. There are numerous processes involved in the creation of a smooth 3D animation like lighting, texturing, and rendering. Blender is a trusted 3D application that provides professional-level applications for carrying out both processing and post-processing functionalities in just one tool. Using Blender, you can make 3D animation effectively easy and fast. Blender is professional animation software with an open architecture to support highly integrated animation workflow and cross-platform extensibility.
Steps to Create 3D Animation Video Online in Blender
Let us begin by elaborating on each step of the 3D animation process online in Blender. These steps include –
Step 1: Creating a Suitable Environment
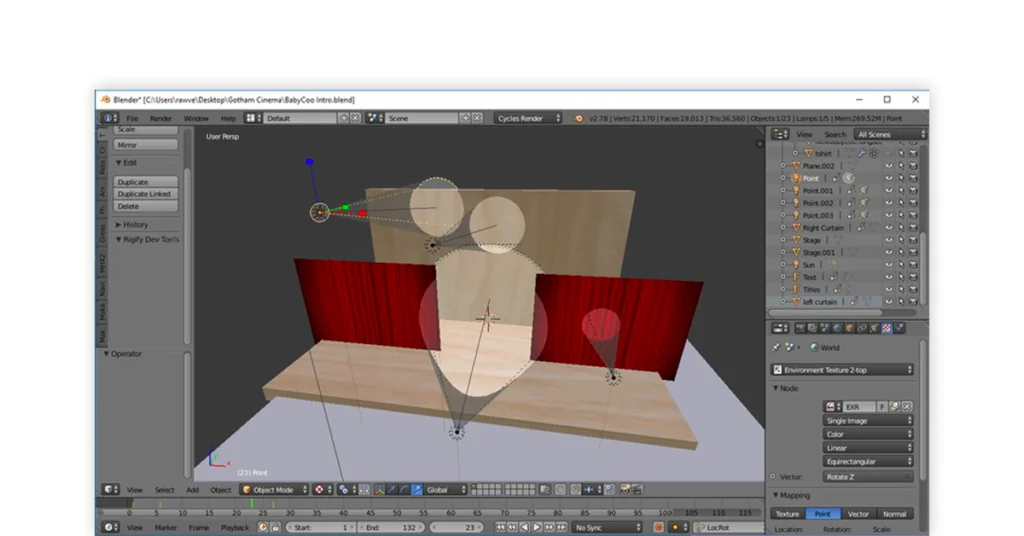
We have a scene consisting of two curtains and the main character. In this step, we are going to add sound, camera movement as well as animation. For this reason, we will make use of assets like textures and backgrounds that suit this image. At first, you should create a folder to keep your animation project in an organized format. Afterward, you can start by logging in to Blender to prepare your desired environment decided in the pre-processing stage. Concerning this example, we are adding two planes on the sides of the central character. For starters use a character rigged for animation. Remember to include at least two different textures.
From the bottom menu bar select Add > Plane, to add a plane. You can add two planes and use one as a background wall. You can always adjust the plane’s position or resize them according to your requirements. You can now include two textured images before doing so make sure that you have images as planes option turned on in the user settings. You can select textures from the user manual hierarchy. Here we need a wood-like texture for our stage and a red curtain texture for our curtains.
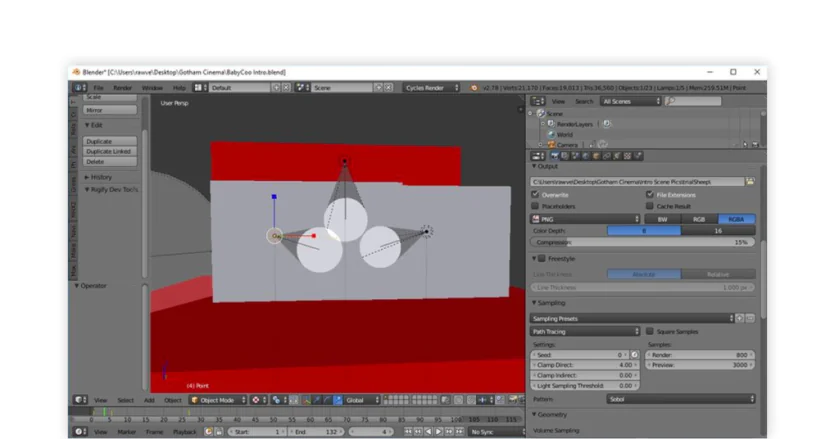
Step 2: Adding Lighting and HDR
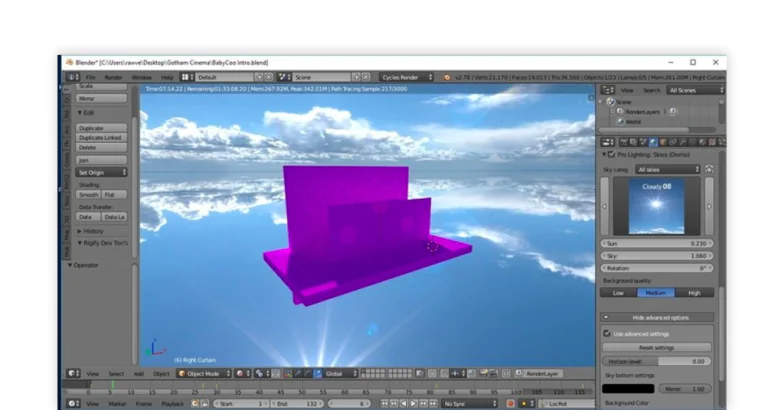
One of the most important elements in the creation of a good 3D animation video is “lighting”. You can’t render your images or characters successfully if you use bad lighting. In this example, we are going to show you how to set up a 3-point lamp for better color effects. HDR lighting can make your scene look more aesthetically appealing, pleasant to the eyes, and more realistic. HDR maps are a bit costly but the after results are worth your money. They not only bring the much-needed brightness and sharpness to your animated scenes but also make them look more attractive to the user. To add an HDR successfully, you will need to click on the world icon to add a background texture that suits your taste. Under the color section, you will find an ‘open’ option. Click on the ‘open’ option to access the .hdr file.
Step 3: Add Your Character
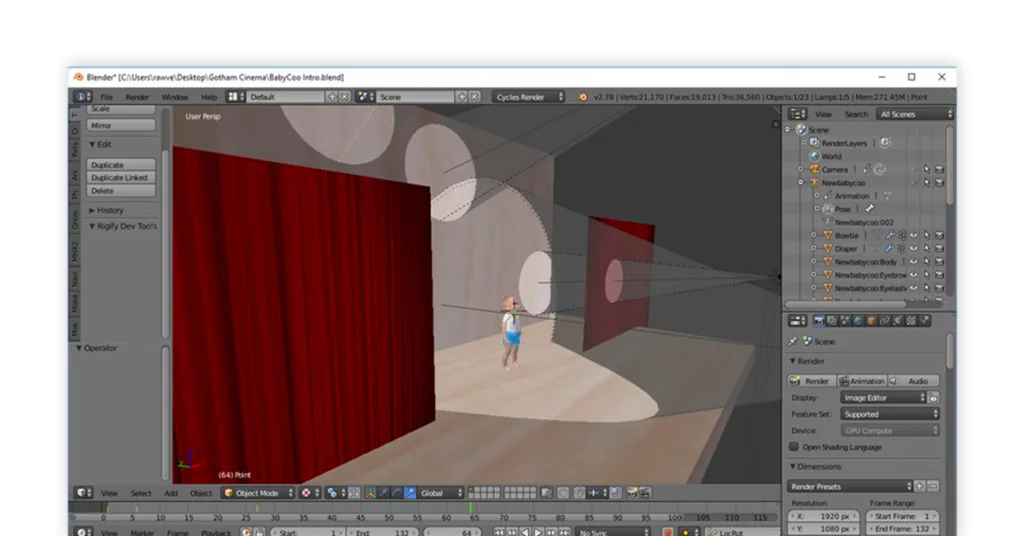
To import your character you will have to add animation to it. For this purpose, you will have to go to File > Import to import your selected characters in the scene. You can easily move the character by selecting all its bones. For using a shortcut to save your time you can click A on the keyboard twice to select the whole character. You can now move onwards to changing the animation view. For the creation of a pleasant animation, you must space out your keyframes appropriately. As you space the keyframes more and more, your animation becomes continuous. In this reference example, we are working to move out the head and mouth opening towards a little right. To add curtains, you can add two curtains using two images as planes. To move the planes, you have to animate them. The addition of characters in 3d animation can have positive effects on the viewers.
Step 4: Moving Our Camera
Blender animation software treats the camera as an object. You can resize, move, animate, and delete your character whenever you like. In case you want to see where your camera is pointing towards you can simply go to View>Camera. In the animation menu, you can easily set up your camera view side by side. Simply click on your camera and set up your keyframe. You can move your camera close to your character and set your keyframe, afterwards you move it to the same position to set it again.
Step 5: Adding Some Text

Now let us start adding some text. Using Blender, you can easily animate and add text at the same time. Go to the Window> Add> Text, and make changes to the edit mode. You can add text, duplicate it, or experiment with many more functionalities. Text is considered as an object added to the animation. Using the Blender animation software tool you can change the color and texture of your animations at any time during the 3D animation process.
Step 6: Rendering Your Video
A seamless animation render involves saving still images that must be included in the animation video. You can move smartly by making a distinguished folder for your images and rendering your scenes as PNG. Uncheck your refractive and reflective caustics to lower the bounces to min 1 and max 10. You can use your GPU to render and can check the one that you are using by just going to the Settings > System. You can use different options under the world icon for HDR. Try out multiple importance sampling to find your right option. For beginners download Blender version 2.79 as it offers the de-noise option as well. All computer systems and scenes are unique so you must use trial and error techniques to become a professional animator. The best way is to try out all features one and one to get used to the tool that you are using over time.
Step 7: Exporting your Video
You can easily export your animation and rendered files by going into the video editing tool viewport, here you will have to search for window properties. You will find an export folder along with other frame rate options in the window properties bar. You can use different formats for different project requirements like MP3 format for audio and H264 that has an AVI codec for your renders. In the output option, you can simply click on your render and you will have the final online 3D animation video within minutes. Once you’ve rendered your 3D animation video, it’s essential to consider how you will share and promote it. Many businesses are leveraging the power of short form video to engage audiences quickly and effectively, especially on platforms like TikTok and Instagram Reels. Integrating short-form versions of your 3D animations can help capture attention and drive more views.
How ITS Can Help You With 2D and 3D Animation?
Information Transformation Services offers you standard and error-free animation services that come with quality assurance. Being home to over 2000 satisfied customers we possess the expertise to transform your ideas into intriguing animations for your users. ITS offers ISO 2700 Certified BPO Services to make you feel, that your product and idea are in the safest hands. You can acquire free initial package estimate consultations to get all your queries resolved. If you are interested in ITS 2D and 3D Animation Service, to proceed further ask for a free quote!
