How To Add A Bleach Effect To Images
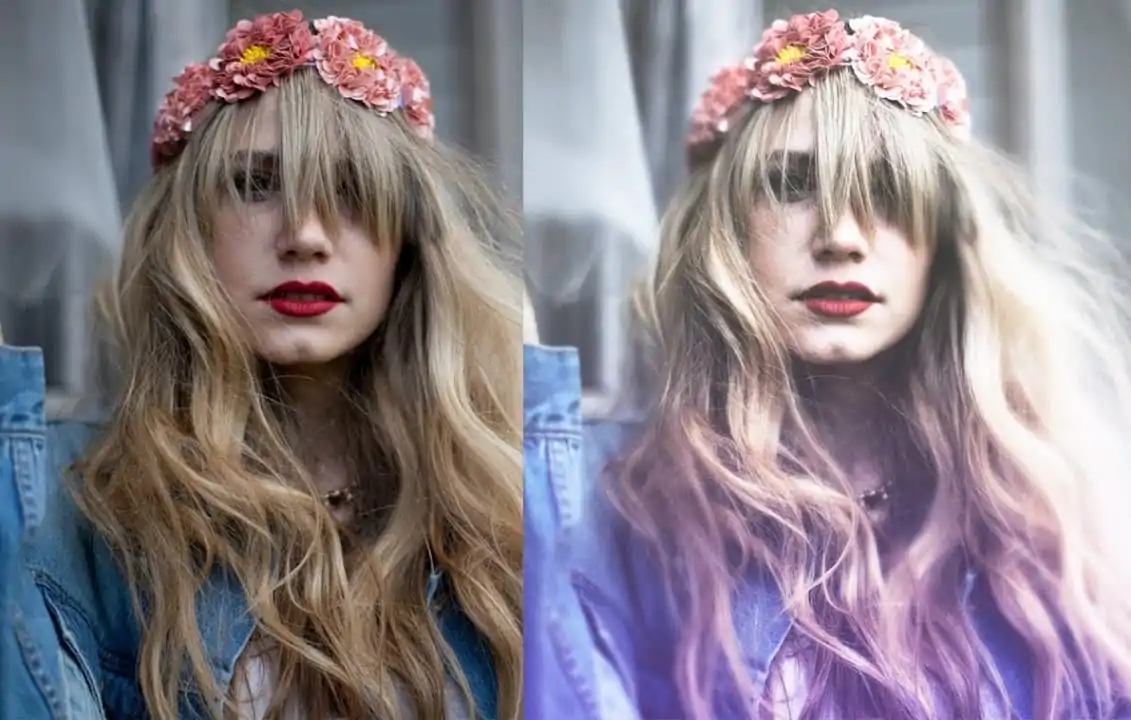
The use of the bleach effect approach in image enhancement provides photos with an aesthetic faded, muted and highly contrasted appearance. This effect adds a vintage touch while emphasizing desaturation, resulting in a remarkable visual style. Also, as a modern form of conventional bleach bypass, it has gained fame in fields like image composition and other visual art forms to create a dramatic atmosphere in images, thus enriching their storytelling aspect. To add this effect to a photograph, different editing settings, including brightness, saturation, highlights, contrast and shadows, are manipulated. All these revisions work in unity to make a photo look washed yet possess an intense atmosphere. The color schemes employed for a bleaching effect vary according to the image kinds, like adding a blue or cyan hue to blend traditionalism with modernism. Moreover, you can also create a supernatural environment, making the image subjects look like ethereal creatures living in a supernatural world. This blog will further proceed with the step-by-step process of editing images with a bleaching effect.
Step 1: Image Import And Initial Tweaks
Install any of your preferred edit g apps, considering popular choices like Adobe Photoshop, Lightroom, or any other that supports advanced features.
Head to File > Open to choose the photo you need to alter. Select a photograph with solid lighting contrasts for the best outcomes with the bleaching effect.
Make a copy of the image layer to perform non-destructively. In case you are uisng Photoshop, right-click the layer and choose Duplicate Layer. It permits you to compare changes and preserve the initial photograph.
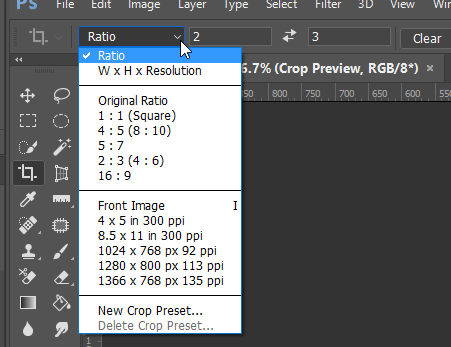
As required, utilize the crop tool to alter the composition. This step guarantees your picture is well-framed and free from pointless diversions before applying the bleaching impact.
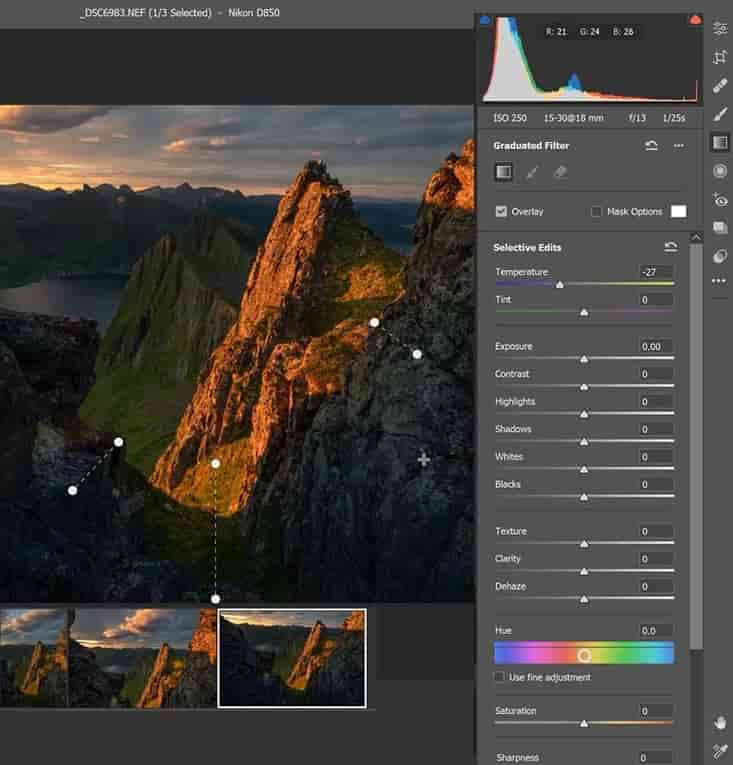
Start by scanning and altering the white balance, guaranteeing that the picture tones are neutral before moving toward any creative alterations.
Step 2: Creating A Washed Out Look
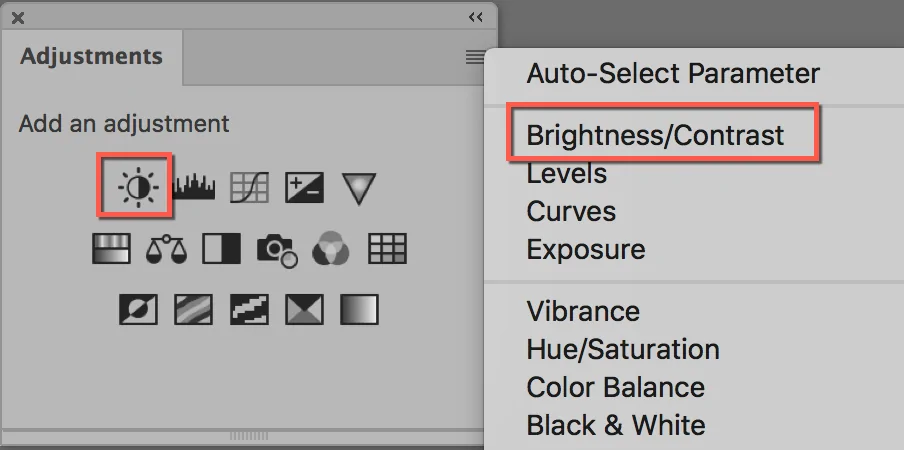
In most photo editing applications, you can locate brightness or exposure controls within the Adjustments panel. That could be commonly tagged as Brightness/Contrast in Photoshop or just Exposure in Lightroom.
Gradually increase the brightness or exposure slider value until the image shows up somewhat washed out. Be careful not to exaggerate it, as excessive brightness can wash out highlights, renouncing detail in lighter ranges.
Be attentive to the highlights. Within the bleach effect, highlights ought to look blurred but not too white. Point for a delicate balance where brightness upgrades the image without losing fundamental details.
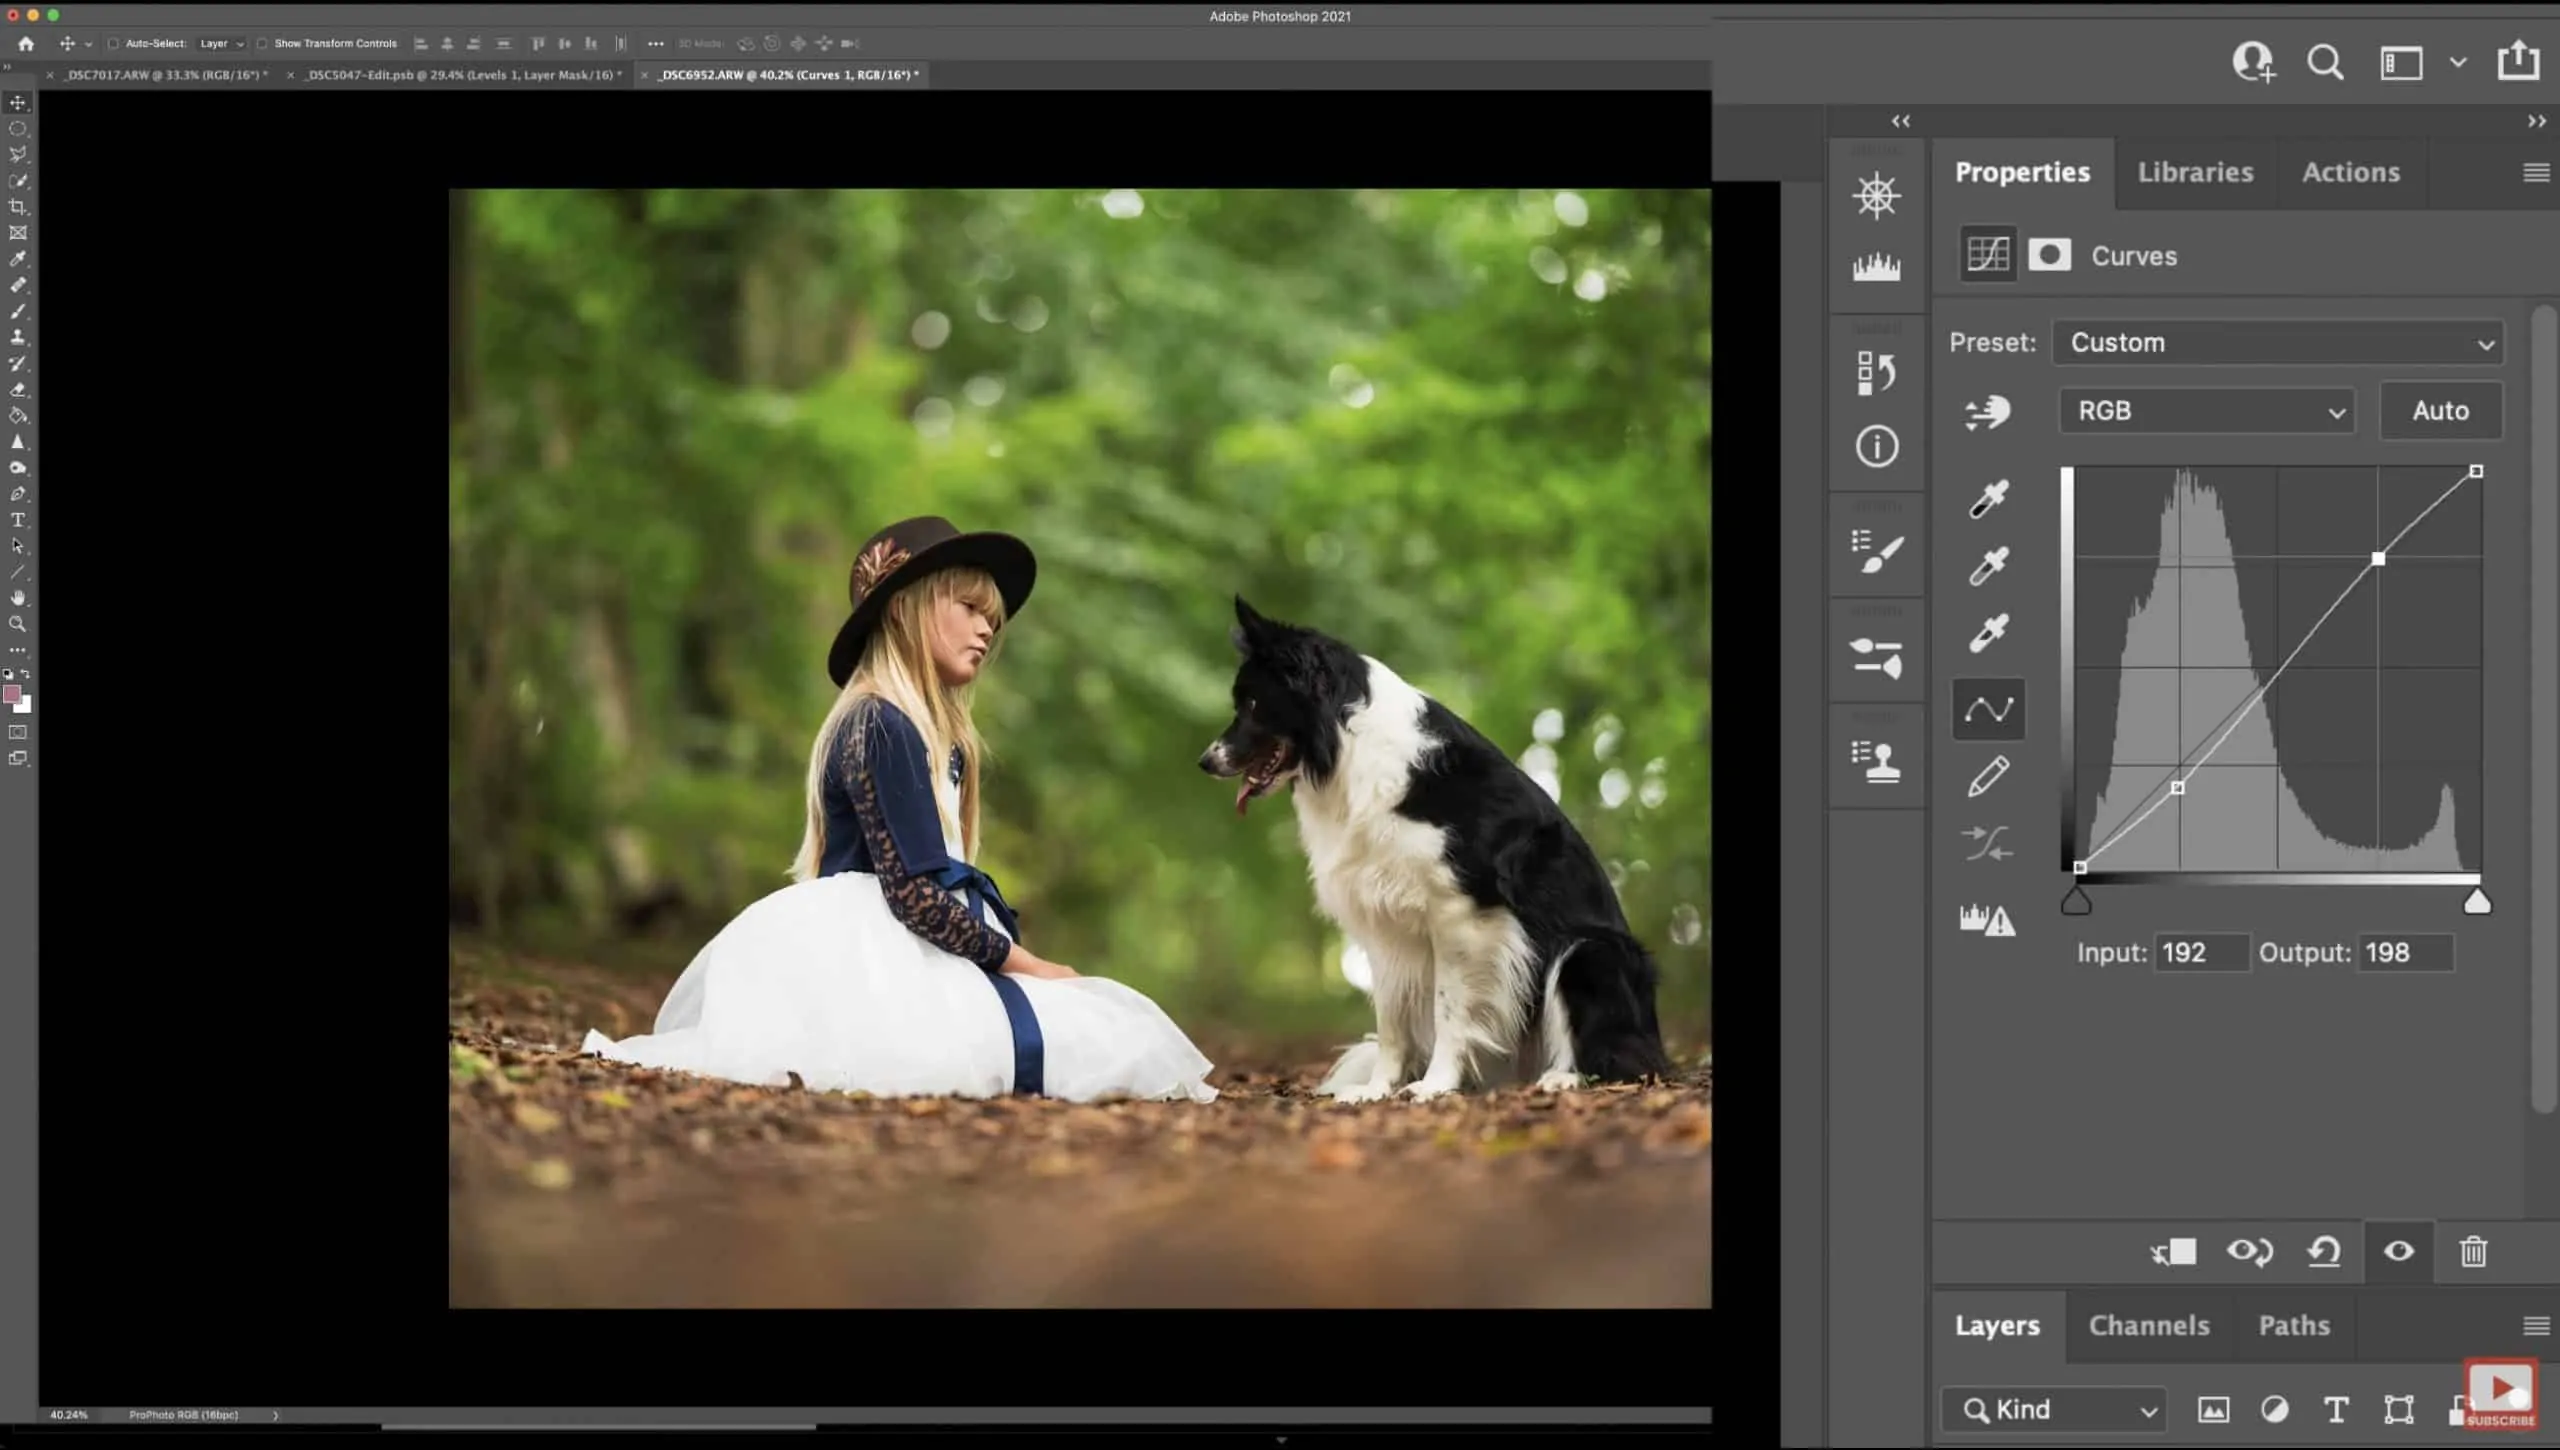
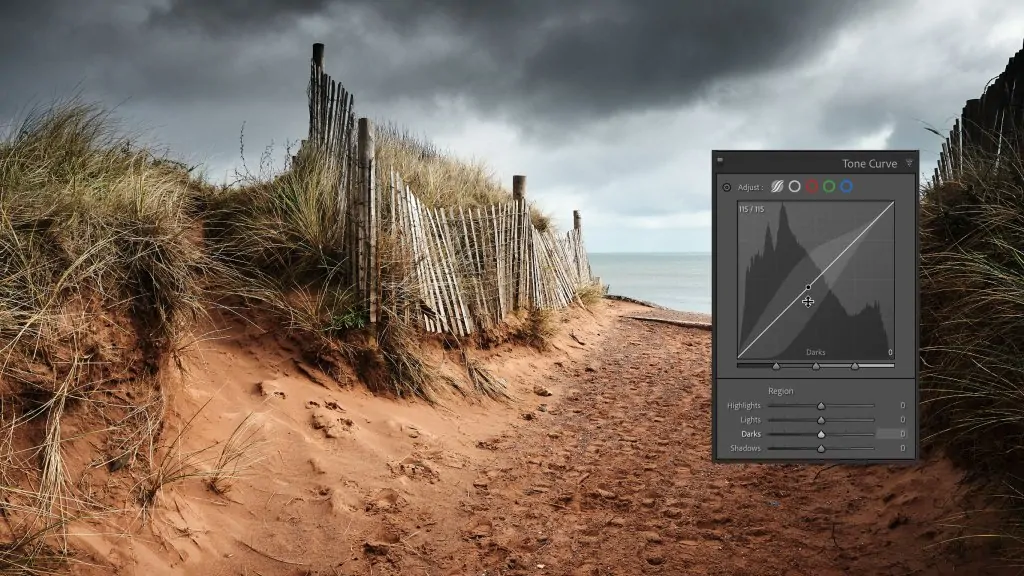
In case your program encompasses a Curves adjustment tool, you’ll be able to increase brightness more accurately. Raise the curve within the highlight regions while negligibly decreasing shadows to attain a soft wash-out impact.
If the picture seems too bright across-the-board, slightly alter the midtones to reestablish some contrast in key zones while keeping the washed-out impact.
Step 3: Using Contrast Enhancement Tools
Find the Brightness/Contrast adjustment panel, or utilize an equivalent tool in your software to get to contrast management.
Gradually increase the contrast slider to include profundity in your photograph. It helps darken shadows and enrich lighter regions, making the bold look commonplace for the bleach effect.
Keep a look at the brightness while increasing contrast. The bleach effect requires a harmony between high contrast and the washed-out appearance you accomplished in Step 2, so alter steadily.
A few apps offer specific Shadows and Highlights administration. Upgrade highlights slightly to brighten zones influenced by the bleaching effect while darkening shadows to include detail and maintain picture depth.
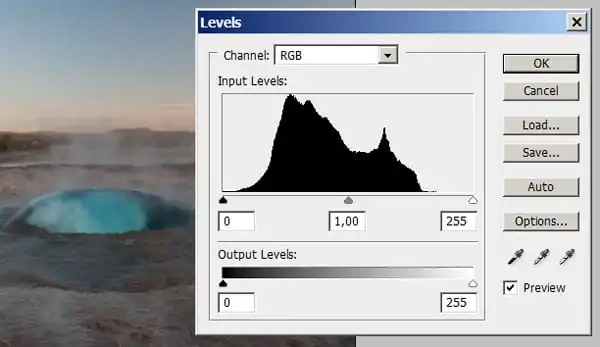
For a little more control, utilize the Curves or Levels tool to alter particular tones. Raise the highlights and develop the shadows for a more dynamic contrast impact.
Step 4: Lowering Saturation Level
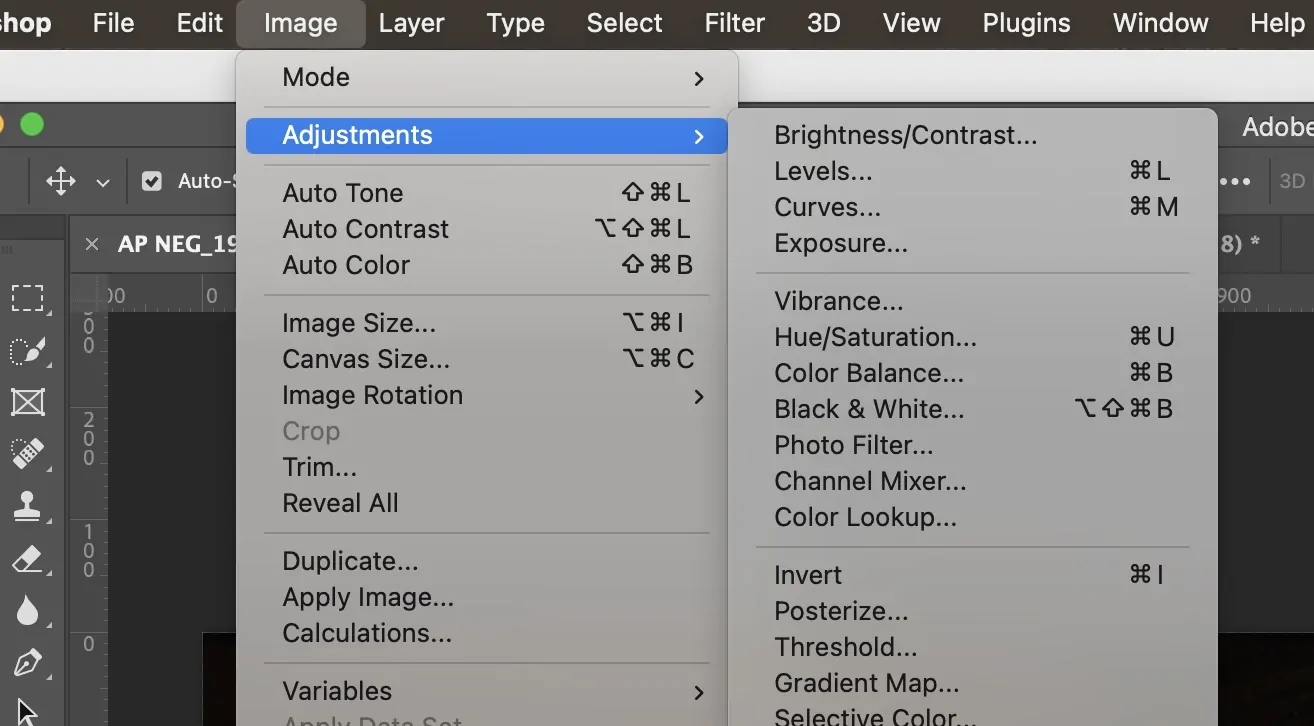
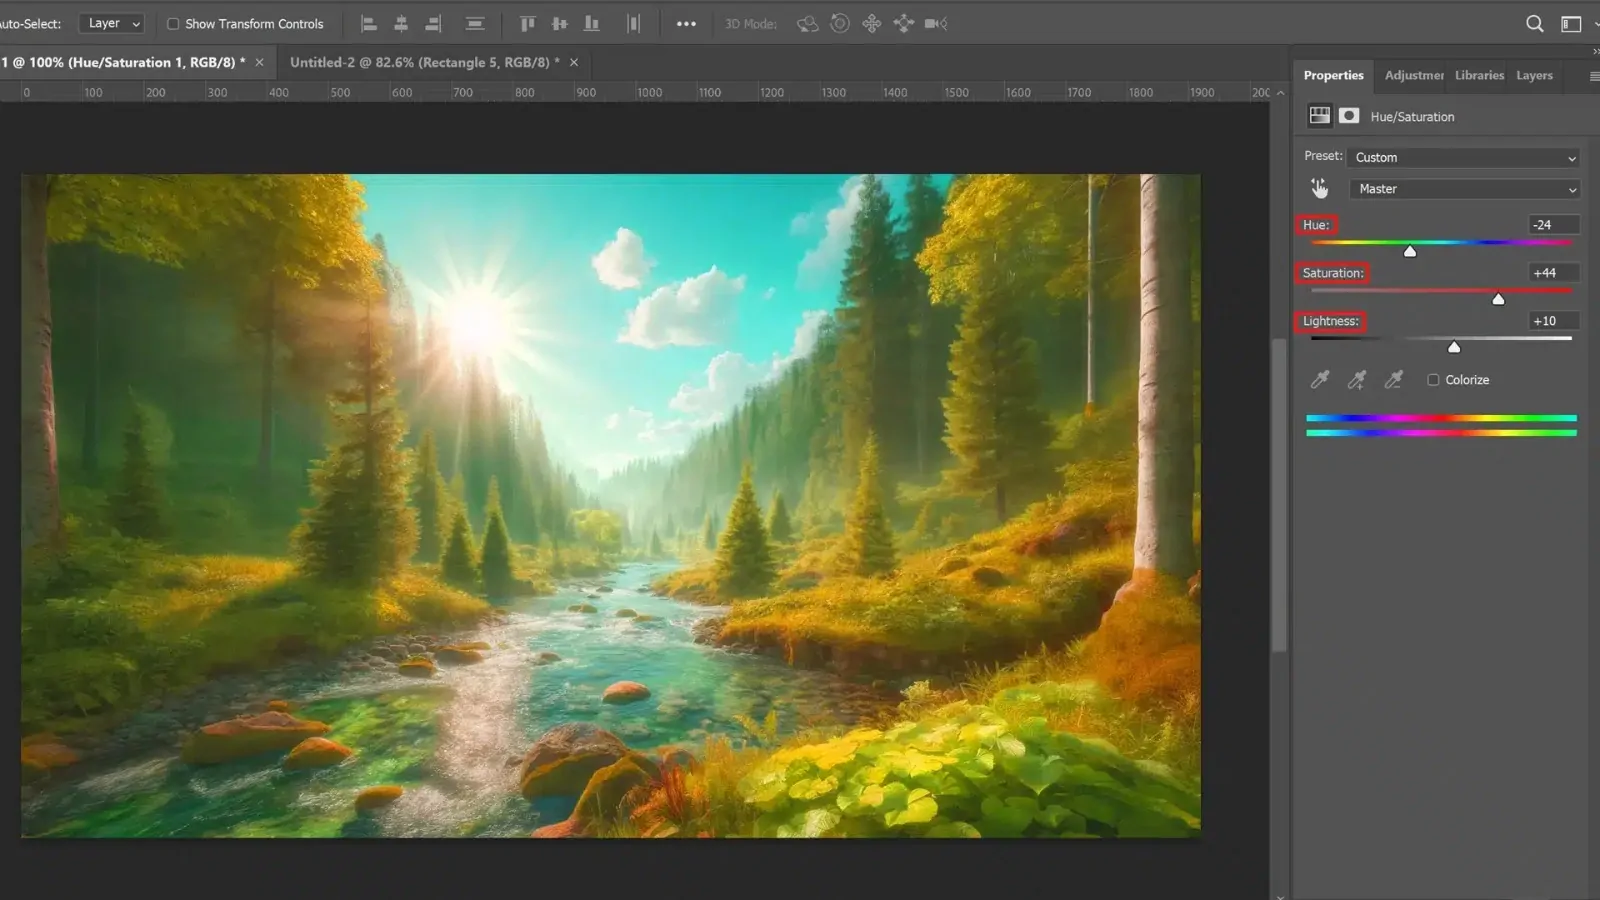
Unlock the Hue/Saturation adjustment panel or comparable option in your editing software. For instance in Photoshop, this can be usually located through Image > Adjustments > Hue/Saturation.
Gradually reduce saturation by driving the slider to the left. Opt for a subtle, hushed color palette, as over-the-top saturation would contradict the bleach effect’s delicate, blurred look.
Bringing down saturation too much can deplete the image of color entirely. Look for a faded tone where colors are muffled but still recognizable, hitting a consonance between vibrancy and desaturation.
Some editors permit you to decrease saturation in specific color ranges, which can aid you in targeting excessively vibrant zones, keeping the general palette more concordant.
Make sure that the colors show up stifled and coordinate well with the washed-out and high-contrast modification you made before. This step will provide the image of distinct, understated bleach formation.
Step 5: Using Cool Tones
Employing a selection tool just like the Lasso or Magic Wand, select the brightest ranges of the picture, which are typically the highlights that have been lightened within the past steps. On the off chance that your software supports it, you can utilize a Luminosity Mask to aim at only the lightest pixels.
After the highlights are chosen, add a cool color overlay. A prevalent option for the bleaching impact could be a soft blue or cyan hue. If using Photoshop, you’ll utilize the Color Balance or Selective Color Adjustment layer to move the hue of the highlights.
Maintain the intensity of the tint as subtle. You do not need the impact to overwhelm the photograph; rather, it ought to improve the overall washed-out impression. Put the opacity of the tint layer to around 10-20 percent for a delicate, cool gleam.
As required, adapt the blending mode of the color layer to Soft Light or Overlay to make the cool tones harmonize more naturally with the existing picture, giving it a more supernatural, subtle impact.
Be sure the cool tones blend agreeably with the faded, high-contrast components. On the off chance that the impact is too strong, decrease the opacity further or utilize a soft brush to eradicate excess tint from the regions where it looks too prominent.
Step 6: Tuning Shadows And Midtones
Navigate to the Curves or Levels adjustments in your editing program. These features permit you to polish particular tonal ranges, including shadows, midtones, and highlights—individually.
Start by modifying the shadow area of the curve or levels and dragging it a little down to deepen the dark zones. That can help retain profundity and contrast in your picture while keeping the faded aesthetic of the bleaching impact.
Delicately lift the midtones section of the curve to light the major tones of the picture. That will enhance the overall washout look without losing too much detail, making a more balanced look.
Gradually alter the curves for shadows and midtones to save the photograph from getting to be too dark or too light. Opt for nuance, which is the key to the bleach effect in maintaining a light yet energetic image.
In case some ranges require more adjustment than others, apply a layer mask to the adjustment layer and delicately paint with a soft brush to manage where the shadow and midtone changes should appear.
Assess the overall tone, as the bleach effect ought to have a soft, washed-out feel with sufficient depth within the shadows to not get a flat picture. Make any little adjustments as vital to guarantee a natural, adapted result.
Step 7: Exporting The Final Image
Before you export your final image, assess your picture for one last time to confirm that the bleach effect has been applied equitably. Check the general contrast, brightness, and color tone to affirm everything looks even.
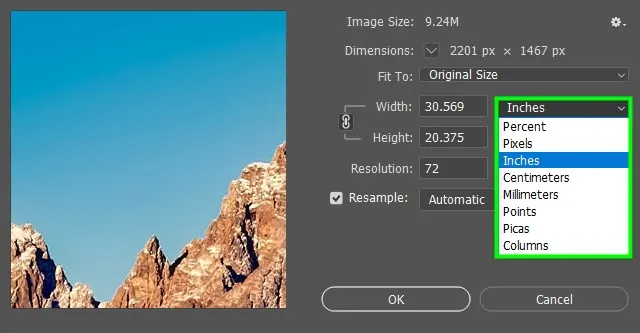
In case you intend to print or utilize the image online, be sure about the resolution suitability. For print, put it to 300 DPI, and for web usage, 72 DPI is acceptable.
In case you used layers and need to preserve the ability to create further alters, save the project as a Photoshop PSD file to return to the image for enhancements in the future.
After getting satisfied with the editing outcome, export your shot within the desired record format like JPEG or PNG.
Provide your file with a graphic title and select an area to save it, guaranteeing easy access for later utilization or sharing.
Conclusion
In summary, even if a lot of fads have come and gone, a bleach look is exceptional. as it produces a classic effect that has held up well over time; despite being a rather simple effect, it could be very practical and adaptable. This is because it provides a picture of a cinematic appearance that resembles a subdued and classic vibe. The different photo enhancement tools offered by editing applications like Photoshop, Lightroom or GIMP make it simple to duplicate this effect, which provides a subtle, muted, and washed-out final appearance.


