How Can You Use Photoshop to Create a Glass Effect
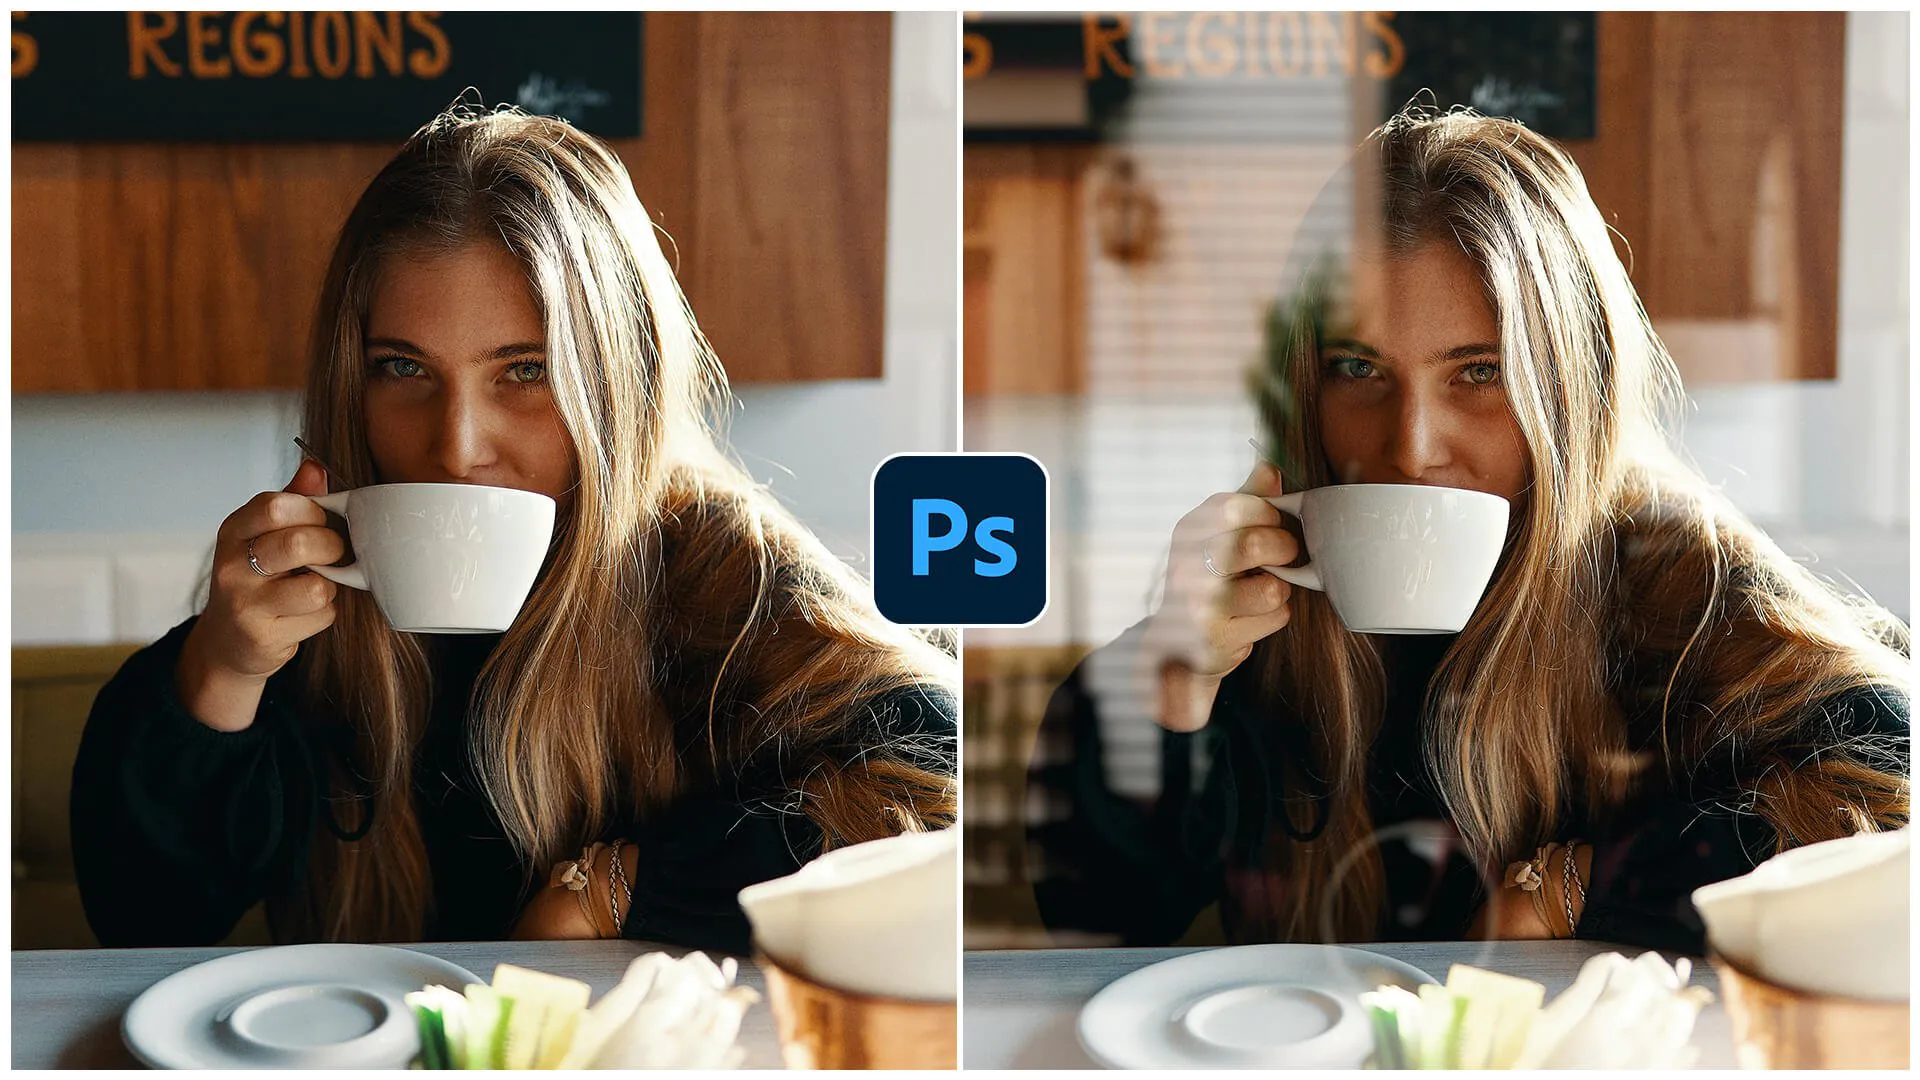
The glass effect adds a feel of artistic realism to images by emulating the transparency and reflections observed in genuine glass items. Applying this effect makes images appear multi-dimensional and intuitive, offering an element of class and grace. Due to improved texture, such photos give off a sleek aesthetic glossiness. Using Photoshop to create a glass effect, you can use numerous tools and adjustments to develop visually enticing artwork with a compelling glass-like look. You can also incorporate the glass effect with other Photoshop features and options that include layer styles, masking, and blending modes. Different filters, like Gaussian Blur and Levels and Curves, can control color, contrast, and blurriness to enhance the glass effect further. The following blog article contains the steps and helpful techniques to help you create a refined glass effect using Photoshop so that you can take your photographs to higher ranks.
Step 1: Open your image in Photoshop.
Launch the software and open the image you want to work with to begin creating a glass effect in Photoshop. To do this, go to the “File” menu at the top left of the application window and select “Open.” A file browser will display, allowing you to navigate to your image file’s location. Click on the file and click “Open” to import it into Photoshop.
Opening your image in Photoshop sets the foundation for applying various edits and effects to achieve the desired glass effect. Ensure you choose an image that will benefit from the glass effect, such as a product photo, artwork, or design element.
Step 2: Duplicate the image layer.
To preserve the original image and work non-destructively, it is crucial to create a duplicate layer. Duplicating the image layer allows you to adjust and apply effects without altering the original data.
To duplicate the layer, navigate to the Layers panel on the right side of the Photoshop interface. In the Layers panel, right-click on the image layer and select “Duplicate Layer” from the context menu that appears. Alternatively, you can drag the image layer onto the “New Layer” button at the Layers panel’s bottom.
Once duplicated, you will see a new layer identical to the original image layer in the Layers panel. It is recommended to work on this duplicated layer to maintain flexibility and have the option to refine the effect later if needed.
By duplicating the image layer, you create a non-destructive editing workflow, ensuring that your original image remains intact while allowing you to experiment and make adjustments without fear of permanently altering the image.
Step 3: Apply a Gaussian Blur.
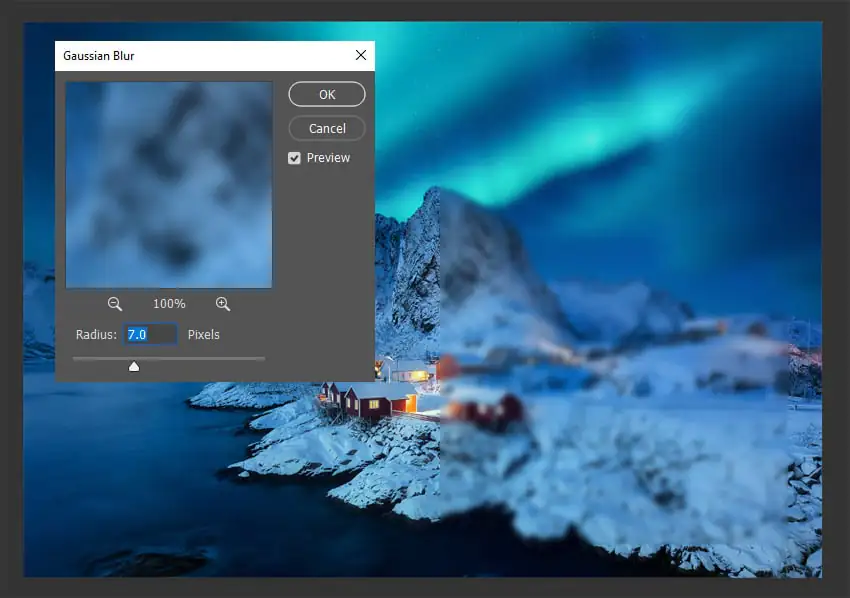
To achieve the glass effect, we must add a subtle blur to the duplicated layer. That will help create the illusion of a smooth and transparent surface, mimicking the appearance of glass. With the duplicated layer selected, go to the top menu and click “Filter.” From the dropdown menu, choose “Blur” and then select “Gaussian Blur.”
A dialog box will appear to adjust the radius of the blur. The radius determines the extent of the blur effect. Increase the radius to add a noticeable blur while retaining some detail in the image. The optimal radius value will depend on the specific image and the desired effect. You can preview the changes in real time and fine-tune the blur by adjusting the radius until you achieve the desired result.
Step 4: Reduce the opacity of the blurred layer.
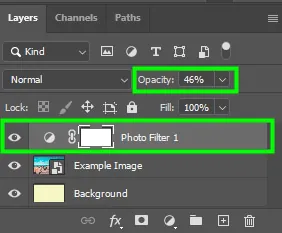
We must make the blurred layer semi-transparent to create a realistic glass effect. In the Layers panel, locate the opacity slider for the blurred layer. By default, the opacity is set to 100%, which means the layer is fully opaque. Lower the opacity gradually to make the layer more transparent and allow the underlying layers to show through. This adjustment is crucial for achieving the desired level of transparency associated with glass.
Experiment with different opacity levels to find the right balance that gives your image the desired glass-like appearance. Consider the overall effect and the specific image you are working with. Adjust the opacity to achieve the desired balance between transparency and visibility of the underlying layers.
Step 5: Modify the blend mode of the blurred layer.
To enhance the glass effect further, we can modify the blend mode of the blurred layer. The blend mode determines how the layer’s pixels interact with the layers beneath it. In the Layers panel, locate the blend mode dropdown menu, usually displayed as “Normal” by default.
Click on the blend mode dropdown menu and experiment with different blending options emphasizing highlights and shadows, such as “Screen” or “Overlay.” Each blend mode produces a unique effect, altering how the blurred layer interacts with the layers below it. Select the blend mode that complements your image and enhances the glass-like appearance. You can preview and compare different blend modes to see how they affect the look.
Adjusting the blend mode allows you to control the intensity and interaction of the glass effect with the underlying layers, highlights, and shadows. This step adds depth and realism to the glass effect, creating a more convincing and visually appealing result.
Step 6: Create a new layer for highlights and shadows.
To further enhance the glass effect, we’ll add highlights and shadows. Create a new layer above the blurred layer by clicking the “Create a New Layer” button in the Layers panel. This layer will paint highlights and shadows, adding depth and realism to the glass effect.
Step 7: Paint highlights using a soft brush.
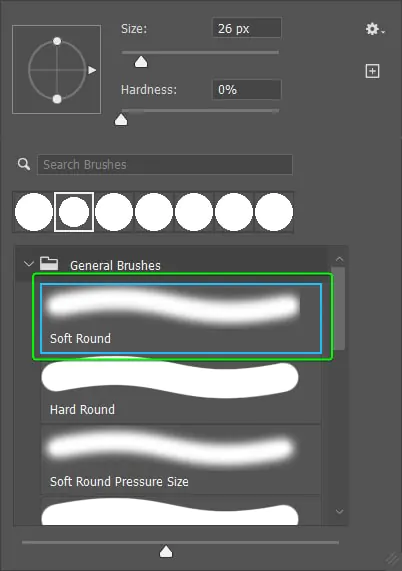
Use the Brush tool from the toolbar, choose a soft brush with a low opacity setting, and set the foreground color to white. That will allow you to paint highlights on the new layer. Adjust the brush size based on the area you want to highlight.
Carefully paint over areas where you want to emphasize the glass reflections, such as edges, curves, or surfaces that catch light. Use light and gentle strokes to build up the highlights gradually. Take note of the light source in your image and ensure the highlights align with its direction. This step adds a sense of realism to the glass effect by simulating light reflections.
Step 8: Optionally, paint shadows using a dark gray color.
You can also paint shadows to add depth and realism to the glass effect. Make a new layer above the highlight layer and set its blend mode to “Multiply” or “Linear Burn.” Choose a dark gray foreground color and adjust the brush size and opacity to your preference.
Paint shadows in areas that would naturally appear darker or where the light is obstructed. Focus on the edges or areas that would create a sense of depth and dimension. Use soft and subtle strokes to build up the shadows gradually. Shadows contribute to the overall realism of the glass effect by simulating the play of light and darkness.
Step 9: Adjust the opacity and blending options.
Fine-tune the appearance of the highlight and shadow layers to achieve the desired effect. In the Layers panel, adjust the opacity of each layer to control the intensity of the highlights and shadows. Reduce the opacity if they appear too intense or increase it if they are too subtle.
Additionally, you can experiment with blending options for the highlight and shadow layers. Try different blend modes such as “Soft Light,” “Overlay,” or “Color Dodge.” Each blend mode produces a different result, so explore the options and select the one that enhances the glass effect and works best with your image.
Adjusting the opacity and blending options can balance highlights and shadows, ensuring a more realistic and visually appealing glass effect.
Step 10: Refine the overall appearance.
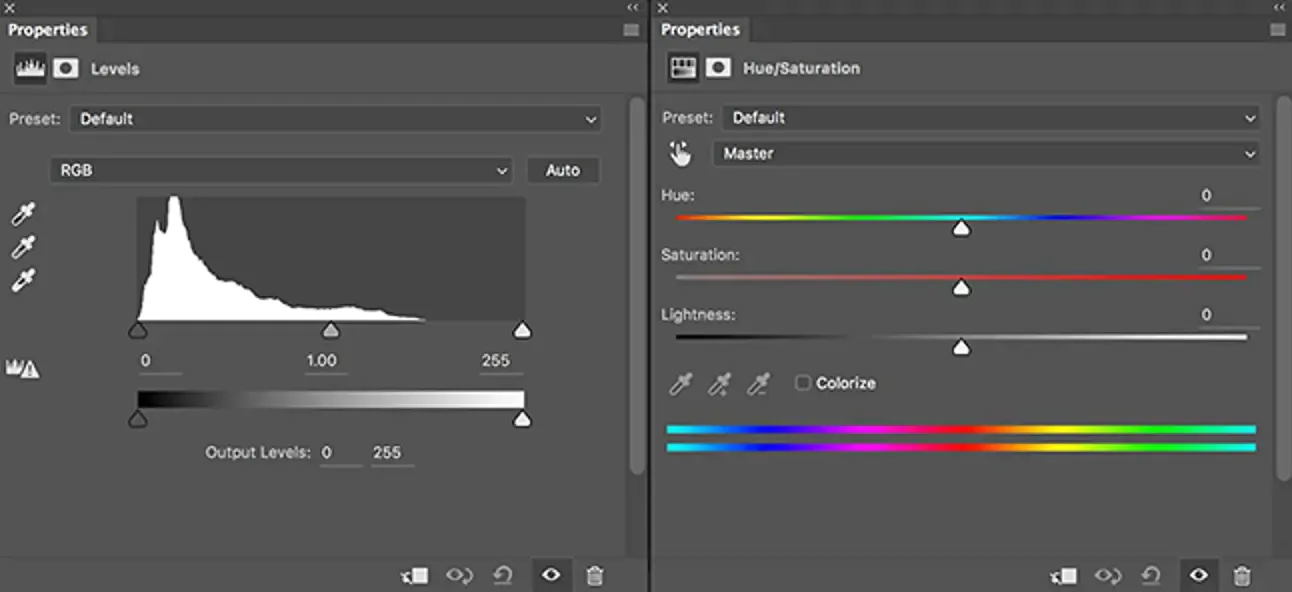
Take a step back and evaluate the overall glass effect. At this point, you can make further adjustments to enhance the final result. Utilize adjustment layers such as “Levels,” “Curves,” or “Hue/Saturation” to fine-tune the contrast, brightness, and color balance.
For example, you can use a “Levels” adjustment layer to adjust the input levels and make the highlights brighter or the shadows darker. Experiment with different adjustments until you achieve the desired look for your glass effect.
This step ensure that the colors and tones are balanced and cohesive, resulting in a more polished and professional outcome.
Step 11: Save your work.
Once you are satisfied with the glass effect, saving your work is essential. To preserve the layers for future editing, it is recommended to save the image as a Photoshop file (.PSD). This format retains all the layers and adjustments, allowing you to make changes or fine-tune the effect later.
If you intend to use the image for web or print purposes, you can export it in a suitable format such as JPEG, PNG, or TIFF. Choose the appropriate file format based on the intended usage and compression requirements.
Saving your work ensures that your glass effect is preserved and ready to be used in various projects or shared with others.
Conclusion
In conclusion, importing glass effects to your photographs induces engagement in the spectator’s sight and thoughts. Alongside gratifying your photos like portraits or landscapes, this effect can also be beneficial at the commercial level for product presentation. You can make your products display, optimizing the whole visual charm of your items, making them more appealing to potential buyers. Choosing Photoshop to generate a glass effect in images gives you flawless final images according to your desired adjustments and outcomes.
