How Can You Turn A Picture Into Silhouette
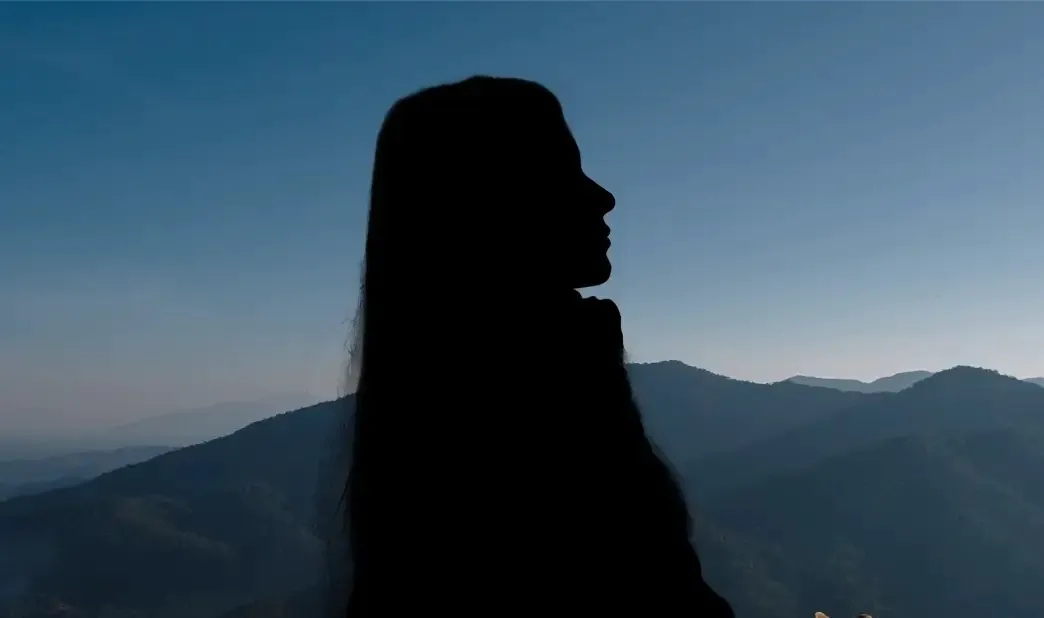
Turning a picture into a silhouette simplifies it by focusing on the outline and shape of the subject, removing distracting factors that are thought attractive in traditional images. By Neglecting internal details like colours, dimensions or textures, silhouette images let the eyes perceive the unalloyed and pure yet enigmatic version of the subject that is shrouded in elegant secrecy. Moreover, silhouettes are not linked to any chronological or contemporary trends, so they radiate a timeless appeal free of any era or cultural notions. Not only in creating magical images, but turning a picture into a silhouette also benefits in other purposes like graphic design, logo making, icon production, and brand symbol production. You can add creative shapes and angles to modify your silhouette design into a more striking and incredible outline for such artworks containing inanimate subjects. Though creating silhouette images appears to be as easy as drawing outlines around the objects, it requires a considerate approach and skillful use of specific techniques to turn pictures into alluring silhouettes perfectly.
Step 1: Open the Image
Open the image file in your preferred photo editing program, such as Adobe Photoshop or GIMP, to turn a picture into a silhouette. You can do this by launching the software and selecting “File” from the menu, then choosing “Open” or “Import.” Track the location of the image on your computer or device and select it. The image will then appear on the editing workspace.
Ensure your chosen image has a clear, distinct subject and recognizable outline. Silhouettes work best when the subject’s shape is easily distinguishable from the background. Once the image is open, you are ready to proceed to the next steps of creating the silhouette effect.
Step 2: Duplicate the Layer
After opening the image in your photo editing software, the next step is to duplicate the image layer. Duplicating the layer is crucial for preserving the original image while allowing you to work on the silhouette effect on a separate layer. This non-destructive editing approach ensures you can always return to the original image if needed.
In Photoshop, you can duplicate the layer by right-clicking on the image layer in the Layers panel and selecting “Duplicate Layer.” Alternatively, you can drag the layer to the “New Layer” icon at the bottom of the Layers panel, creating an identical copy of the image layer.
Once the layer is duplicated, you will notice two identical layers in the Layers panel. The original image remains on the bottom layer, while the duplicated layer is now available for applying the silhouette effect.
By duplicating the layer, you have set the stage for creating the silhouette while preserving the integrity of the original image. That allows you to experiment and make adjustments without affecting the original photo, ensuring a risk-free editing process.
Step 3: Create a Selection


With the duplicated layer selected, it’s time to create a selection around the subject you want to turn into a silhouette. The selection process is critical as it determines which part of the image will remain visible and which part will become the silhouette.
In Photoshop, you can use various selection tools to accomplish this task. The Quick Selection Tool, for example, allows you to draw a rough selection around the subject by clicking and dragging. The Pen Tool can create a path outlining the subject’s contours for more precise selections.
Take your time during this step to ensure that the selection accurately encompasses the entire subject without including any unwanted background elements. A well-defined selection is essential for achieving a clean and polished silhouette.
Suppose the subject has multiple areas to be included in the silhouette. In that case, you can add to the existing selection using the “Add to Selection” option or holding the Shift key while making additional selections.
Once the selection is complete, you can refine it further using selection refinement tools to smooth the edges or adjust the selection’s size and position. When you are satisfied with the selection, you are ready to proceed to the next step of turning the selection into a silhouette.
Step 4: Invert the Selection
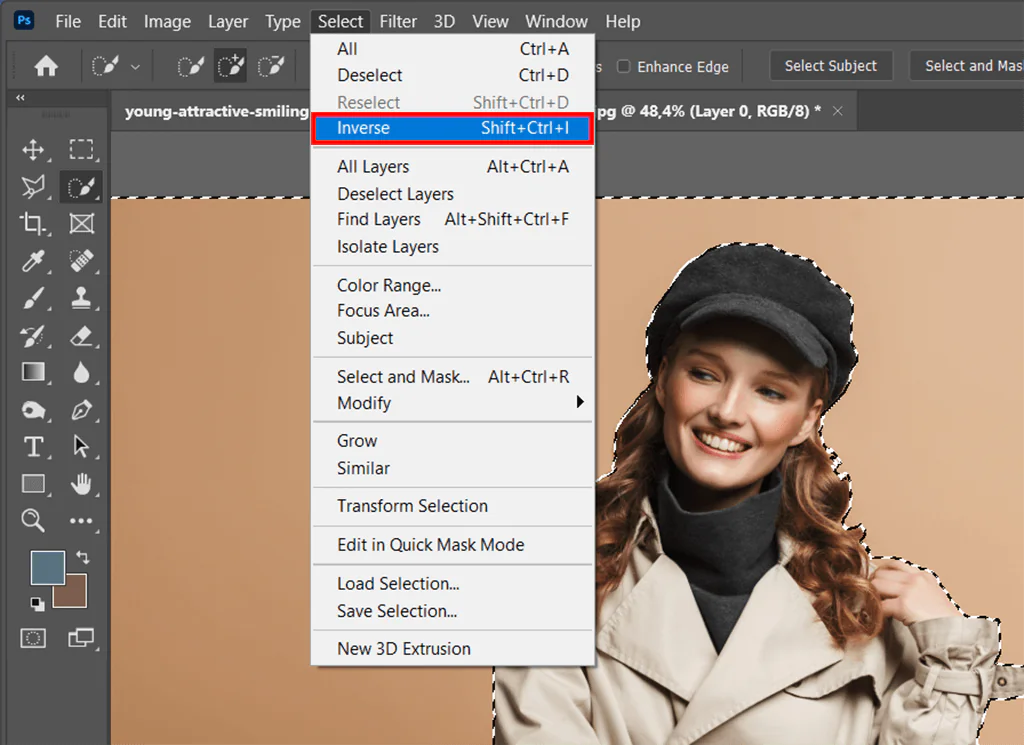
After creating a precise selection around the subject, the next step in turning a picture into a silhouette is to invert the selection. Inverting the selection will switch the selected area to the background, exposing the subject to the silhouette effect.
In Photoshop, you can invert the selection by going to the “Select” menu and clicking “Inverse.” Alternatively, you can apply the keyboard shortcut “Ctrl + Shift + I” (or “Cmd + Shift + I” on Mac) to invert the selection quickly.
Once the selection is inverted, the subject will be entirely selected, while the background will remain unselected. That sets the stage for the silhouette effect, as the subject will now be isolated from the background.
With the inverted selection, you can now proceed to the next steps, such as applying the silhouette effect by filling the background with black or desaturating it to remove colours. The inversion of the selection is crucial in achieving a clean and distinct silhouette, ensuring that the subject stands out prominently against the background.
Step 5: Fill with Black
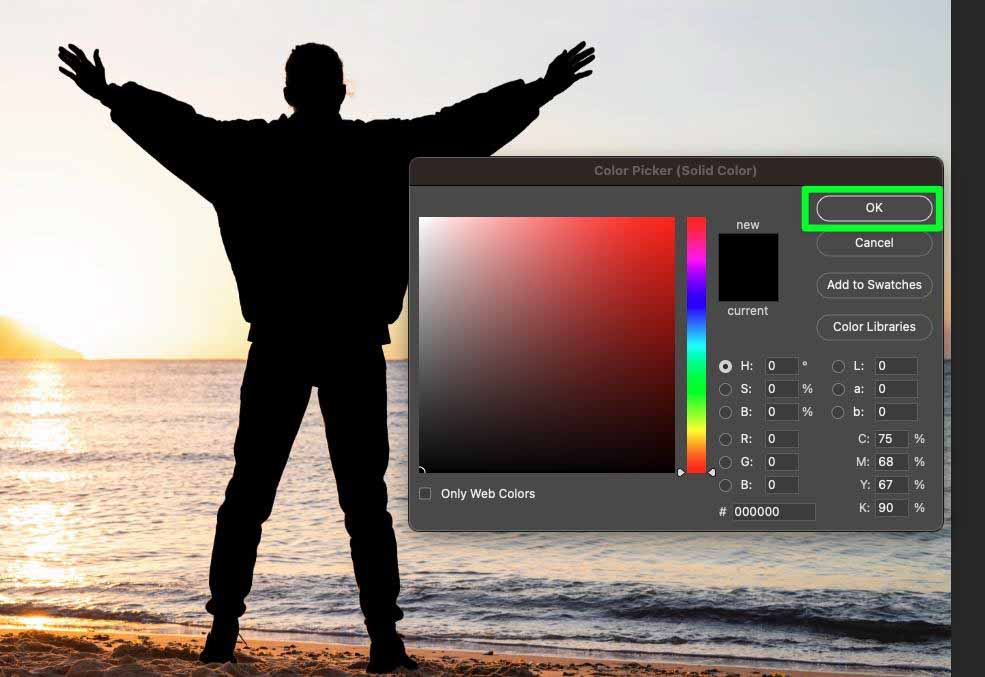
With the inverted selection in place, it’s time to apply the silhouette effect by filling the background with black. This step will turn the subject into a dark, solid shape while the background remains unaltered, creating a classic silhouette appearance.
In Photoshop, you can fill the background with black by setting the foreground colour to black. To do this, press your keyboard’s “D” key to reset the foreground and background colours to the default black and white. Then, use the “Alt + Backspace” keyboard shortcut (or “Option + Delete” on Mac) to fill the background with black.
Once you fill the background with black, you will notice the subject now appears as a solid dark shape against a lighter background. The black-filled background effectively creates the silhouette effect, highlighting the subject’s outline and shape.
If you prefer a different colour for the silhouette, you can choose any other colour by selecting it as the foreground colour before filling the background. However, black is commonly used for silhouettes due to its high contrast and dramatic effect.
With the background filled, you have successfully created a striking silhouette effect from your original picture. The subject now stands out prominently, drawing the viewer’s attention to its distinct outline and shape. This transformation adds a touch of elegance and enigma to the image, making it visually captivating and evocative.
Step 6: Adjust Contrast
Once you have filled the background with black and achieved the basic silhouette effect, you can further enhance the contrast for a more pronounced and impactful silhouette.
You can modify the contrast in Photoshop by heading to the “Image” menu and selecting “Adjustments” > “Brightness/Contrast.”A dialogue box will pop up so that you can fine-tune the contrast settings.
Increasing the contrast will make the subject appear darker and more defined against the background, emphasizing the silhouette effect. Conversely, decreasing the contrast will soften the edges and create a more subtle silhouette.
Experiment with different contrast levels to find the perfect balance that complements your subject and image style. Be cautious not to overdo it, as extreme adjustments may result in a loss of detail or unnatural-looking silhouettes.
You can use other adjustment tools like Curves or Levels if you prefer more creative control over the contrast. These allow you to target specific tonal ranges and refine the silhouette’s appearance.
Remember that adjusting contrast is an optional step, and the level of adjustment depends on your artistic vision and the specific requirements of the image. Once you are satisfied with the contrast adjustments, your picture has successfully transformed into a compelling and visually striking silhouette.
Step 7: Save the Silhouette
After achieving the desired silhouette effect, it’s time to save your transformed image. Saving the silhouette ensures you can use it for various purposes, such as graphic design, branding, or artistic projects.
Go to Photoshop’s “File” menu and click”Save As.” Choose a location on your device where to save the silhouette image. It’s recommended to save the image in a lossless format like PNG to preserve the image quality and transparency.
You can also save the silhouette as a JPEG if you don’t need transparency and want a smaller file size. However, remember that JPEG compression may result in some loss of quality, so it’s best suited for images intended for web use or online sharing.
Give the silhouette image a descriptive and relevant name to easily identify it later. Click “Save,” your silhouette is now saved and ready for use in your creative projects.
By saving the silhouette, you can revisit and utilize it whenever needed, incorporating it into designs, logos, or other visual media to add a touch of elegance and uniqueness.
Conclusion
In fine, turning your pictures into mystical silhouettes assures simplicity, timeless attractiveness, and adaptability in an array of creative and design applications. While the method may be simple, making intriguing and aesthetically appealing silhouette photographs demands consideration of details, proper techniques, and trial and error. Silhouettes can impart vague emotions and tell untold tales, proving themselves a vital tool for image manipulation. Likewise, they also possess a timeless quality that echoes in the vision of viewers across different ages and cultures.
