
How Can You Focus Stack Your Photographs Using Affinity Photo
Focus stacking aligns multiple images captured at different focus points of the same scene to create a flawless final image. The sharpest areas extracted from separate images of the same subject and backdrop vent off a prominent and sharp final image. The techniques used to focus stack photographs are supremely functional in photos requiring depth of field or where foreground and background components entail being focused. Focus stacking your photographs gives you the satisfaction of fulfillment about sharpness and other vital details in a single frame; that accomplishment is impossible even if you capture a series of pictures. To combine your multiple photographs into a composite frame, you can use digital software like Affinity Photo that can analyze and pick shaped areas of your images and focus stack them into a single conspicuous photograph that is delightful to the eyes who see it. Yet using Affinity Photo to focus stack your images is more than just a matter of wholly relying on the application; you must follow the proper procedures for a desirable outcome.
Step 1: Capture your image series
In step 1, capture your image series by taking a sequence of photographs of the same subject or scene. Vary the focus point slightly between each shot to cover the entire depth of the subject. A stable camera setup, such as a tripod, is essential to maintain consistent framing and alignment. Aim to capture multiple images with different focus points to ensure each shot emphasizes other subject areas or scenes. This process of capturing a series of images at different focus distances sets the foundation for focus stacking, where the final goal is to merge these images to create a single, well-focused composite photograph with an extended depth of field.
Step 2: Import images
In step 2, import the images you captured in step 1 into Affinity Photo. You can do this by connecting your camera or memory card to your computer and transferring the files or using the software’s import function. Organize the images in a folder or directory for easy access.
Open Affinity Photo to create a new document. Then, go to “File” > “New Stack” to load the images as separate layers in the document. Select the pictures you want to focus stack, and Affinity Photo will automatically add them to the stack.
Ensure that the images are in the correct order, with the focus shifting progressively from the front to the back of the subject. Proper alignment of the images is crucial for a successful focus-stacking process, so using a stable camera setup during capture and aligning the layers accurately in Affinity Photo will help achieve optimal results in the final focus-stacked image.
Step 3: Load images as layers
In step 3, after opening Affinity Photo and creating a new document, you can load the images as layers in the software. Here’s how to do it:
Go to “File” > “New Stack.” That will prompt a window where you can select and load the images you want to use for focus stacking.
Browse and select the images from their location on your computer. You can press down the Ctrl (or Command) key while clicking to select multiple photos.
Click on the “Open” or “Add” button (depending on your version of Affinity Photo) to load the selected images as layers in the new document.
Affinity Photo will place each image on its separate layer, arranged in the order you selected them. The first image will be at the bottom of the layer stack, and subsequent images will be stacked on top.
Once you have loaded the images as layers, you can proceed with the focus stacking process, which typically involves aligning the layers, blending the focused areas, and making any necessary adjustments to achieve the desired final result with an extended depth of field.
Step 4: Align the layers
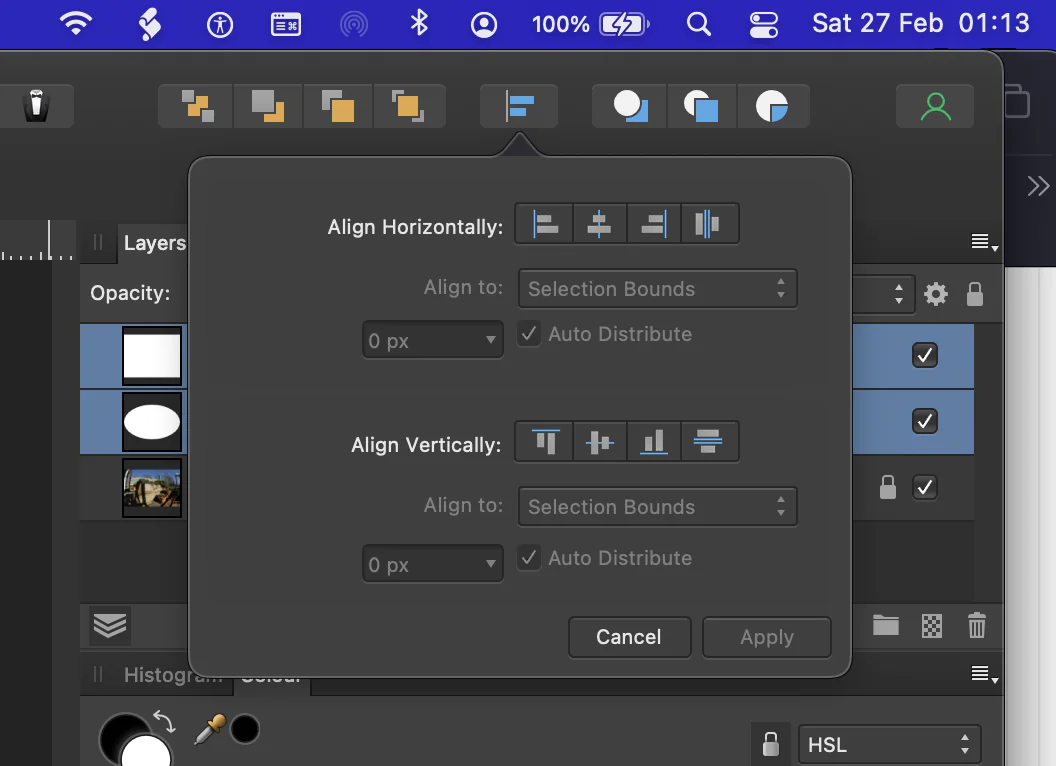
After loading the images as layers in Affinity Photo, the next crucial step in focus stacking is to align the layers to compensate for any slight variations in camera position or subject movement between shots. Proper alignment ensures that the in-focus regions align perfectly, resulting in a seamless and well-blended final image.
To align the layers in Affinity Photo:
Make sure all the layers are selected (you can pick them by holding down the Shift key and clicking on the layers).
Go to “Layer” > “Align Layers” in the menu.
Choose the alignment method that best suits your images. Affinity Photo offers options like “Auto,” “Auto (Layers),” and “Auto (Lens)” for automatic alignment.
Affinity Photo will analyze and align the layers based on the selected method.
Once the alignment process is complete, you are ready to proceed to the next step, which involves blending the focused areas to create the final focus-stacked image.
Step 5: Focus stacking

In Step 5, the focus stacking process occurs, where Affinity Photo analyzes the aligned layers and blends the focused areas to create the final focus-stacked image. Here’s how to perform focus stacking in Affinity Photo:
Ensure all the aligned layers are selected.
Go to “Layer” > “Focus Merge” or “Stack” > “Focus Merge” (the option may vary depending on your version of Affinity Photo).
Affinity Photo will process the selected layers, detecting the sharpest areas from each image.
The software will then blend the focused regions from each layer, combining them into a single, well-focused composite image.
After the focus-stacking process, Affinity Photo will present your document’s final focus-stacked image as a new layer.
You can further fine-tune the blending or masking to achieve the desired level of sharpness and depth of field.
Save the final focus-stacked image in your preferred format to preserve the edited result.
The focus-stacked image should now exhibit an extended depth of field, showcasing sharp details from the foreground to the background, making it visually appealing and allowing you to capture intricate details that may have been impossible with a single shot.
Step 6: Refine the result
In Step 6, you can refine the focus-stacked result to ensure the final image meets your expectations. Here are some key actions you can take to fine-tune the focus-stacked image in Affinity Photo:
Layer adjustments: You can apply adjustments to the entire focus-stacked image by adding adjustment layers. These adjustments may include brightness, contrast, color balance, or other enhancements to improve the overall appearance.
Layer masking: Use layer masks to hide or reveal specific areas of the focus-stacked image. That allows you to selectively apply the sharpness to certain parts or remove it from others. For example, if there are artifacts or imperfections in the focus stacking process, you can use masking to correct or remove them.
Brush tool: The brush tool can be handy for refining the layer masks or making localized adjustments to the image’s sharpness. You can paint over specific areas to control the focus and blending precisely.
Clone stamp or Healing brush: If there are any distracting elements or blemishes in the image, you can choose the clone stamp or healing brush to remove or correct them seamlessly.
Sharpening: Depending on your preferences and the image’s intended use, you may apply some additional sharpening to enhance details further.
Exporting: When satisfied with the results, save the final image in the desired format and resolution for sharing or printing.
Remember that refining the focus-stacked result is a creative process, and the adjustments you make will depend on your artistic vision and the specific characteristics of your image. Take your time to experiment and fine-tune the image until you achieve the desired outcome. The flexibility and capabilities of Affinity Photo allow you to have precise control over the final result, making it a powerful tool for focus stacking and image refinement.
Step 7: Save the final image
In Step 7, once you are satisfied with the focus-stacked and refined result in Affinity Photo, it’s time to save the final image. Here’s how you can do it:
Ensure that all adjustments and refinements have been made to the focus-stacked image and that you are happy with the final appearance.
Go to “File” > “Export” or “File” > “Export As” in the menu.
Select the desired file format for your final image. Common formats include JPEG, PNG, TIFF, or PSD (Photoshop Document). Choose the appropriate settings for resolution, color space, and compression, depending on the image’s intended use.
Choose the location on your computer where you want to save the final image.
Provide a name for the image file, and ensure it’s descriptive and memorable.
Once all settings are selected, click the “Export” or “Save” button to save the focus-stacked image with the specified settings.
Review and confirm any additional export settings or options before finalizing the export process.
After completing these steps, Affinity Photo will save the final focus-stacked image to the specified location on your computer. Congratulations! You have completed the focus stacking process and obtained a composite image with an extended depth of field and enhanced sharpness, suitable for various creative and practical purposes.
Conclusion
Focus stacking images is a remarkable editing option to create depth of field and advertise involute details with unmatched sharpness. The process of creating focus-stacked photographs with affinity photos shows your levels of control in different aspects, from precise adjustments to masking and other refinements that can bring forth the essence of your vision. It endorses you to interact with your subjects more utterly, divulging their most nuanced qualities and eternalizing them in drop-dead photos which present an emulsion of art and science.
