How Can I Create Realistic Textures In ZBrush
ZBrush is an advanced 3D sculpting and painting application that gaming, film, and animation professionals use. One of the key factors that make a 3D model look believable is the textures applied to it. Realistic textures can make a model stand out and add depth and detail to its appearance. However, creating realistic textures can be a daunting task for beginners and even for some experienced users. In this blog, we will prospect some tips and techniques to help you create realistic textures in ZBrush. We will cover the different types of textures, how to create them using ZBrush’s built-in tools, and how to apply them to your 3D models. Additionally, we will provide examples of how textures can enhance the appearance of 3D models in various scenarios, from creating believable skin textures to crafting intricate armor designs. Whether you are a seasoned ZBrush user or just starting, this manual will provide valuable insights into creating textures to make your 3D models look more realistic and engaging.
Tips and Techniques to Help You Create Realistic Textures in ZBrush:
Use reference images:
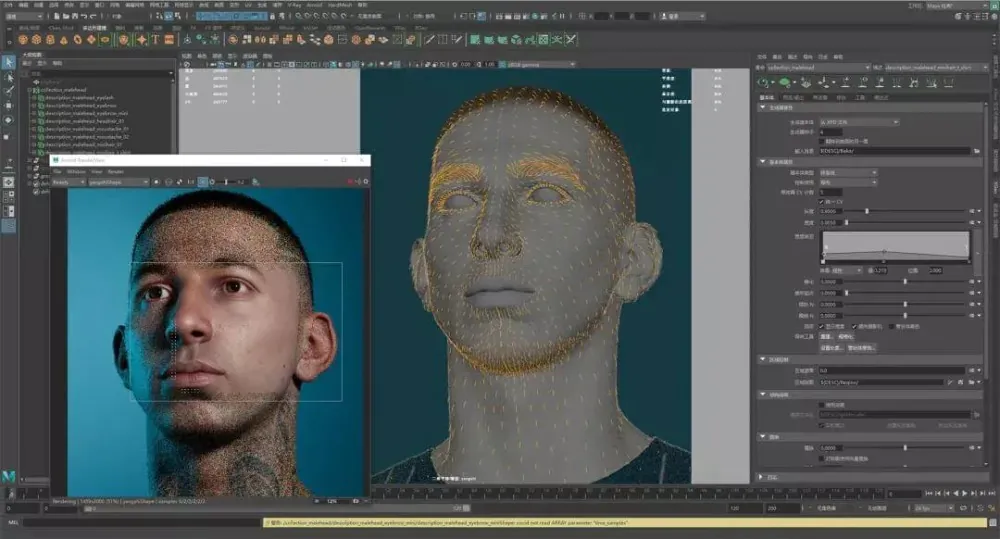
When creating textures, having reference images of the material you’re trying to replicate is always a good idea. Whether it’s skin, metal, or fabric, having reference images can help guide you in color, texture, and lighting. You can use Google or Pinterest to find reference images or take photos.
Use alphas and stencils:
Alphas and stencils are powerful ZBrush tools that can help create complex textures quickly. Alphas are grayscale images that can create surface details such as wrinkles, pores, and bumps. Stencils, on the other hand, are images that can be used to paint details onto the surface of a model. Using alphas and stencils, you can add depth and detail to your textures without sculpting every detail by hand.
Experiment with different brushes:
ZBrush has a vast array of brushes that can be used to create textures. Each brush has its unique texture and behavior, so it’s better to experiment with different brushes to find the ones that work best for the texture you’re trying to create. Some brushes are designed to create sharp edges, while others are better suited for soft, organic textures. Feel free to experiment, like mixing and matching different brushes to achieve the desired texture.
Use layers:
ZBrush allows you to work with layers, which can be useful when creating textures. Using layers, you can change your texture without affecting the underlying layers. It can be particularly helpful when experimenting with different textures or trying to achieve a specific look. Layers also allow you to work in a non-destructive way, which means you can always go back and make changes to your texture later.
Play with materials and lighting:
The material and lighting settings in ZBrush can significantly impact the appearance of your textures. You can create more realistic and believable textures by experimenting with different materials and lighting setups. For example, if you’re creating a metal texture, use a reflective material and a light source to create highlights and shadows that mimic real-life metal.
Use UV mapping:
UV mapping is a technique to map a 2D texture onto a 3D model. UV mapping allows you to create textures that wrap around a model seamlessly without distortion or stretching. ZBrush has built-in UV mapping tools that can help you create and adjust UV maps for your models.
Use poly painting:
Polypainting is a technique in ZBrush that allows you to paint directly onto the surface of a model. By using polypainting, you can create complex textures and color variations quickly. Polypainting is particularly useful when creating organic textures such as skin or fur.
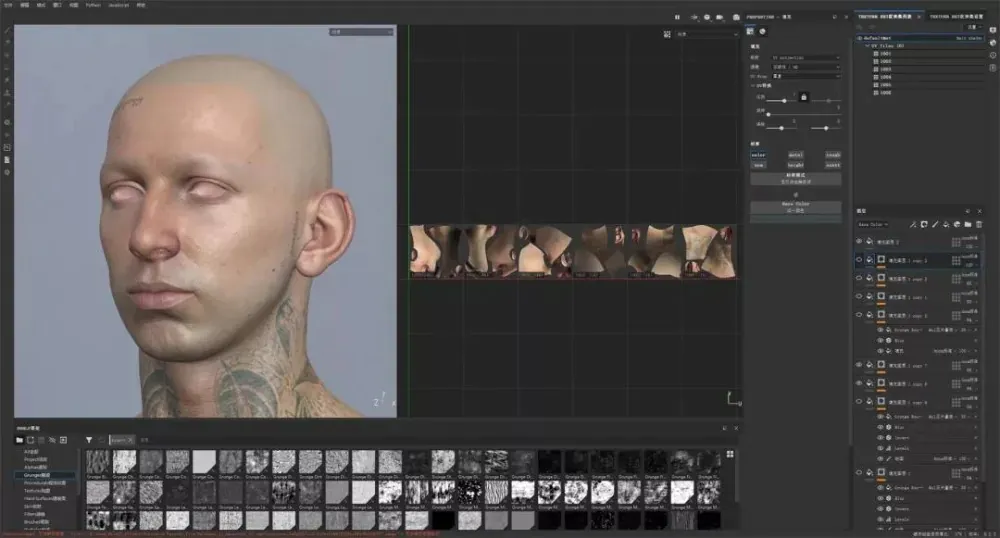
Don’t be afraid to use external software:
While ZBrush has a vast array of tools and features for creating textures, there may be times when you need to use external software. For example, if you’re creating a texture for a game engine, you may need to use a program such as Substance Painter to create the final texture. ZBrush can easily export models and textures to other software, so feel free to use whatever tools you need to achieve the desired result.
The different types of textures: How to create And Apply them to 3D Models
Many different types of textures can be created in ZBrush, each with unique challenges and techniques. Here is a brief overview of creating some of these textures using ZBrush’s built-in tools:
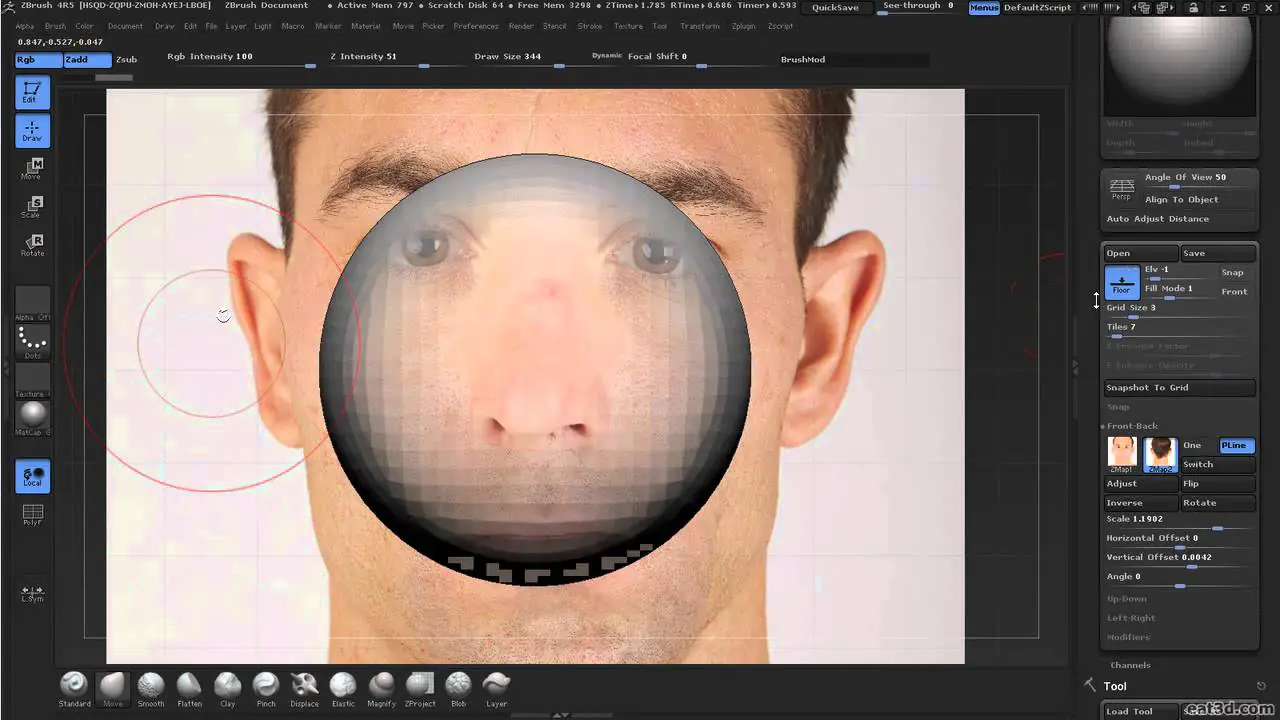
Skin texture:
When creating skin textures, paying attention to small details such as pores, wrinkles, and blemishes is essential. To create skin textures in ZBrush, you can use alphas and stencils to add surface details and then use polypainting to add color and variation. You can also use ZBrush’s built-in skin shader to add subsurface scattering, which helps to create a more realistic look.
Metal texture:
Creating a metal texture in ZBrush involves paying attention to the reflection and specular highlights of the material. Using ZBrush’s lighting system, you can use reflective material to create a metal texture and add highlights and shadows. You can also use alphas to create surface details such as scratches and dents.
Fabric texture:
When creating fabric textures, paying attention to the material’s weave and interaction with light is essential. To create fabric textures in ZBrush, you can use alphas to create surface details such as thread patterns, fabric wrinkles, and polypainting to add color and variation to the fabric.
Stone texture:
Creating a stone texture in ZBrush involves paying attention to the material’s surface details and color variations. You can use alphas to create surface details such as cracks and weathering to create a stone texture. You can also use polypainting to add color variations and create a more natural look.
Once you have created your texture, the next step is to apply it to your 3D model. ZBrush makes it easy to apply textures using its built-in projection tools. Here’s how to apply a texture to your 3D model in ZBrush:
Go to the Texture palette and import your texture.
Go to the SubTool palette and select the SubTool you want to apply the texture.
Go to the Tool palette and click on the Texture Map sub-palette.
Click on the “New From Polypaint” button to create a texture map from the polypainted texture.
Click on the “UV Map” sub-palette and adjust the UV map if necessary.
Return to the Texture Map sub-palette and click the “Clone Txtr” button to clone the texture map.
Go to the SubTool palette and select the SubTool you want to apply the texture.
Click the “Texture” button in the SubTool palette and select the cloned texture map.
Adjust the texture settings as necessary, such as the intensity and blending mode.
Following these steps, you can apply texture to your 3D model and create a more realistic and engaging appearance.
Using Textures to Enhance the Appearance of 3D Models in Various Scenarios
Believable Skin Textures:
Skin textures are one of the most challenging to create because of their complexity. However, using different techniques and tools available in ZBrush makes it possible to create realistic and believable skin textures. The texture can include details such as pores, wrinkles, and blemishes that help make the skin look natural and lifelike. Skin textures are often used in character creation for films, games, and animations, helping to create a more engaging and immersive experience for the audience.
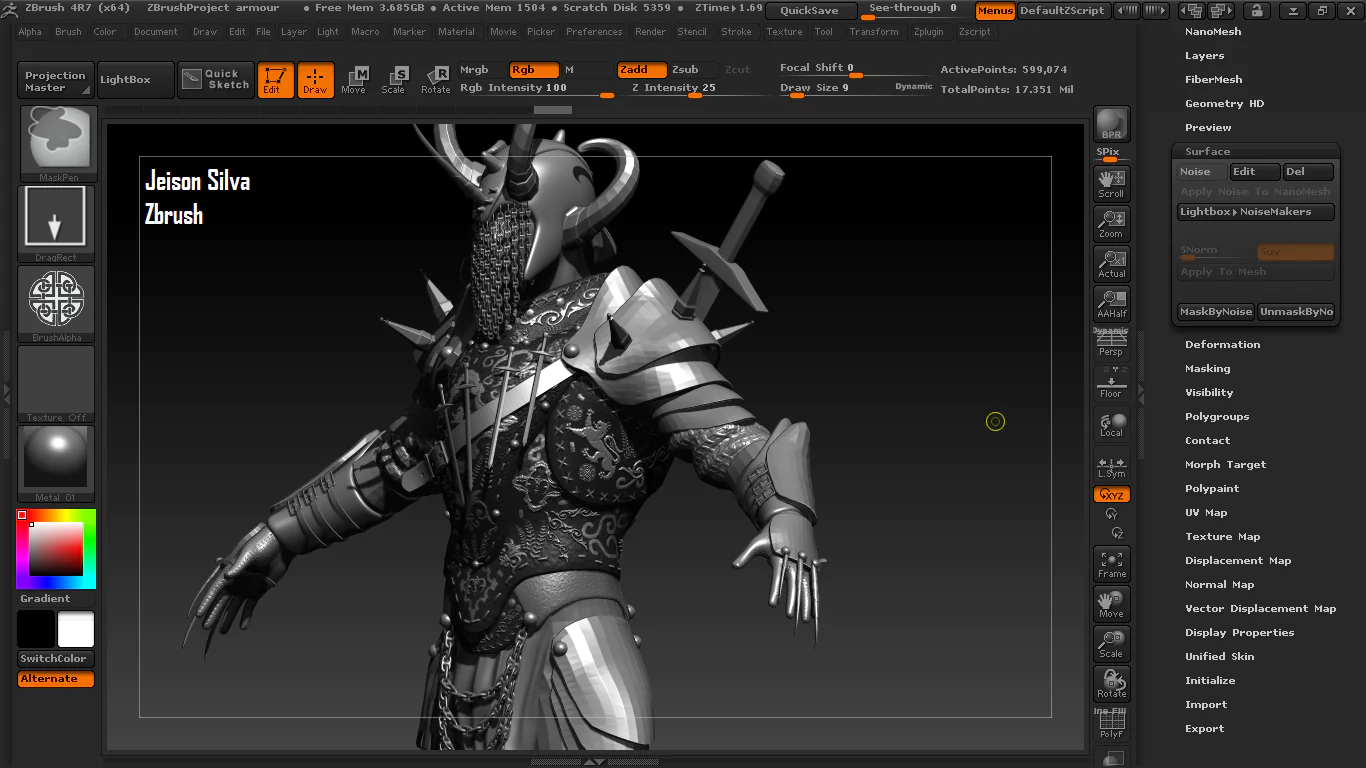
Intricate Armor Designs:
Armor is another area where textures can add much value to a 3D model. Armor textures can include intricate details such as engravings, scratches, and dents, making the armor look battle-worn and realistic. Textures can also add metallic and reflective properties to the armor, making it look more visually appealing. The armor textures can be used in various scenarios, from video games to historical reenactments, adding an atmosphere of realism and authenticity to the experience.
Detailed Environment Textures:
Textures can also create detailed environments that add depth and richness to the scene. Environment textures can include elements such as rocks, grass, and trees, each with its unique set of textures and details. Textures can create a more immersive environment, making the scene more realistic and engaging. Environment textures are often used in films, games, and animations to create a world where the audience can lose themselves.
Realistic Weapon Textures:
Weapon textures are another area where textures can add a lot of value to a 3D model. Weapon textures can include details such as scratches, rust, and dirt that make the weapon look battle-worn and realistic. Textures can also add metallic and reflective properties to the weapon, making it look more visually appealing. The weapon textures can be used in various scenarios, from video games to historical reenactments, adding intricate realism and authenticity to the experience.
Conclusion
In conclusion, textures are an essential aspect of 3D modeling, and they play a crucial role in enhancing the appearance of the models. Using different techniques and tools available in ZBrush makes it possible to create realistic and believable textures to add depth and richness to the overall scene. From creating believable skin textures to crafting intricate armor designs, textures can be used in various scenarios, adding a layer of realism and authenticity to the experience.
