How To Use Markers For Image Enhancement
Markers function as indispensable tools for different image enhancement goals, which allow the editors to write on or mark the selective zone of images to bring attention to them. You can also use a marker tool for annotation purposes, adding comments or remarks onto images and extending the explanatory aspect of the visual narratives. The use of a marker is advantageous, specifically in educational contexts, to explain the visual data or diagrams more efficiently. Additionally, markers also add a creative touch to photographs and digital illustrations, which gives digital artists a free hand to draw components up on images and magnify their elegance. When using the marker technique in image editing, you can adjust the marker parameters like the opacity, stroke width, intensity and colour according to the zones or objects you want to highlight or the remarks you want to add on. Different contemporary graphic and image editing tools like Adobe Photoshop, CorelDRAW, Affinity Photo, Krita, etc, contain adjustments and options related to using markers in images. In this blog, we will use Adobe Photoshop as our primary tool to operate the marker technique in images. The detailed step-by-step procedure is as follows:
Step 1: Image Uploading
Initiate your editing application and search for alternatives like Open or Import within the File menu. Clicking on it will give you access to a dialog box where you’ll be able to get to the location of your image file on your PC.
After the editing app is loaded, find the menu to Tap on File and uncover a dropdown list.
Within the dropdown list under “File,” select the Open or Import option. This activity will build up a new window permitting you to scan through your PC folders.
Utilize the file explorer window to reach to the folder where your photograph is saved. Press on the image file title once you’ve found it to choose it.
Ahead of selecting the photo file, tap on the “Open” or “Import” button that appears within the file explorer window, and your image will be imported into the software’s workspace.
Step 2: Locating Marker Tools
Seek for a toolbar typically found inside the editing interface. That toolbar incorporates different instruments for editing or creating the visual content inside the program.
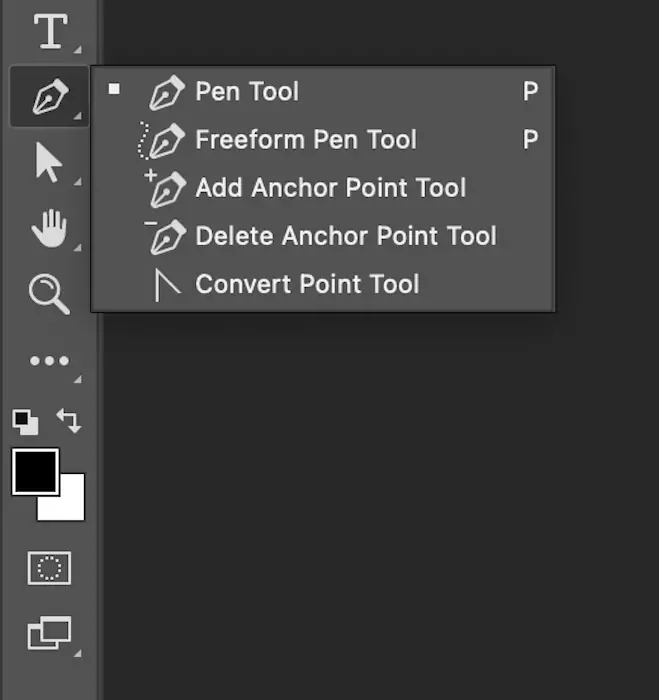
Browse through the icons or tool titles in the toolbar until you see the marker tool option. It may be tagged specifically as Marker, Brush, Write, or similar.
Once you’ve found the marker tool symbol, tap on it to start it for use. This activity usually switches the cursor to demonstrate that the marker tool is chosen and readied for application on the picture.
Before continuing, you’ll have the option to customize the marker tool specifications. You can modify the parameters such as colour, size or opacity.
Next to choosing and revising the marker tool setting, you’re ready to continue to the following steps of drawing, annotating, or emphasizing zones on your photograph utilizing the marker tool.
With the marker device chosen, your workspace is presently set up for you to begin making explanations or imaginative alters to your image.
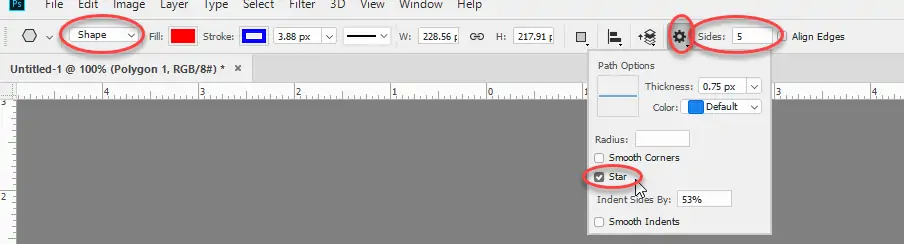
Step 3: Editing The Parameters
In this step, you have to tailor the setting of the chosen marker tool to your specific requirements.
Seek a toolbar, panel, or menu where tool parameters are typically found. It is often located close to the toolbar, where you choose the marker tool.
Decide the colour you need the marker tool to add to the photo. To do this, you have to tap on a colour swatch or pick from a colour palette.
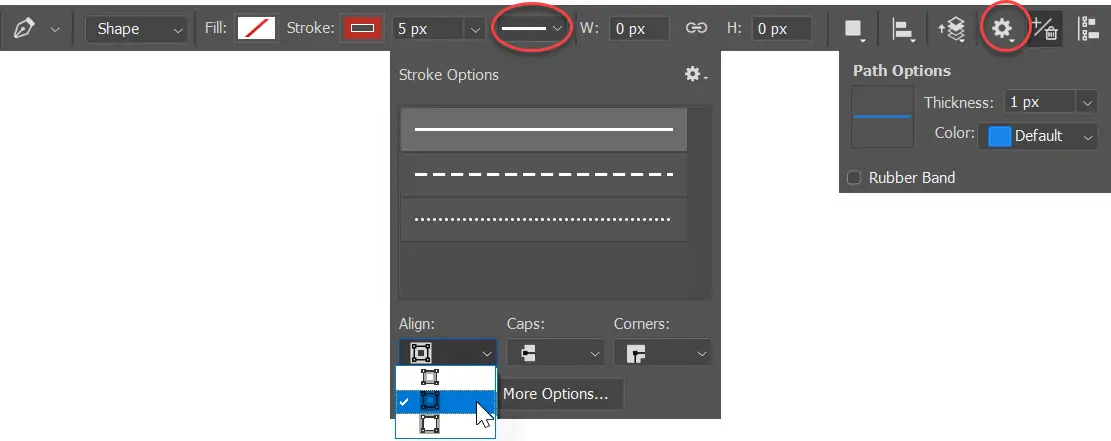
Decide the width of the marker stroke. Accommodate this setting according to what you wish, either a thin line for detail work or a wider stroke for highlighting bigger zones.
Control the transparency or opacity of the marker strokes. More heightened opacity makes the strokes more obvious and strong, whereas more down opacity makes a more transparent effect.
If your editing software includes extra settings to explore, you can work on factors like brush hardness, flow, or smoothing. These additional considerations can refine the stroke effect.
After customizing the marker tool to your liking, execute the settings and save them as essential. This brings stability to your editing practices.
Step 4: Image Duplication
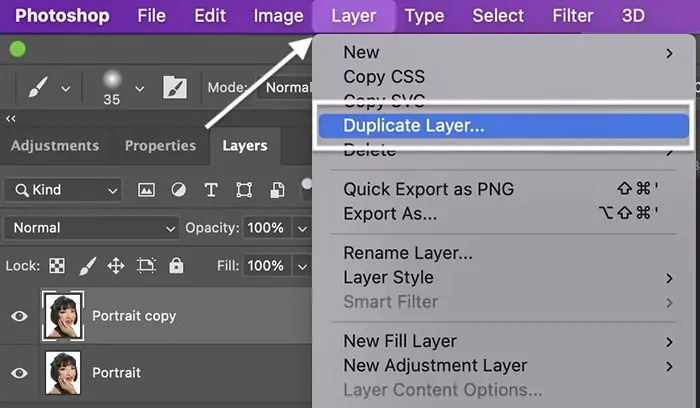
This step involves creating a new layer of the original image to apply marker changes in a non-destructive way.
Explore for a Layers menu, and you will see all current layers and will also see the new one as you create.
Within the Layers panel, get to the option to form a new layer and tap on it. Consequently, you will get to see the new layer added to the layer panel.
After the new layer is made, you will have the choice to title it. Detailing layers assist you in your workspace organization, particularly when working with numerous edits.
You may see options to revise layer effects like opacity, blending mode, or layer masking. These settings can upgrade the visual effect of your edits.
After including and altering the new layer as wanted, it ought to show up within the Layers panel over the initial picture layer.
Step 5: Using Marker Tool
With the duplicated layer initiated, you’ll presently begin making annotations, highlighting zones, or including creative touches to your picture using the marker tool you customized in the previous steps.
Set your cursor over the zone of the shot where you need to begin drawing with the marker tool. The cursor will resultantly change to signify the form and size of the marker stroke.
Tap on the picture and drag your cursor to make strokes with the marker device. This activity permits you to add lines, shapes, or annotations instantly onto the picture canvas.
If your program allows, include a stylus or pressure-sensitive device, you can change the pressure to restrain the thickness or magnitude of the marker strokes.
Utilize the marker tool to overlay colours, highlight critical details, or comment on particular zones of the image as required for your project.
As you’re working on a new layer, the changes you have made with the marker tool can be effectively adjusted or eliminated without influencing the initial picture.
Constantly review your alters as you work, refining your annotations or alterations with the marker tool to conduct the required impact.
Occasionally save your work to confirm that you do not lose any changes made with the marker tool.
Step 6: Working On Accuracy

This step addresses the refinement and accuracy of the marker tool drawings to acquire the specified result.
If you would like to rectify or evacuate any marker strokes, find and select the eraser tool from the toolbar. Press and drag over undesirable marks to eradicate them particularly.
Look into revising layer elements like opacity or blending mode to tune the coordination of your edits with the primary image.
Reanalyze our picture comprehensively. Make sure that the marker alters and harmonizes with the overall composition and accomplishes your intended visual effect.
As you survey, make any essential iterative modifications to your marker annotations or highlights. This might include refining details, altering colours, or improving contrasts.
Intermittently save your progress to protect your alters and dodge losing any refinements made with the marker tool.
Step 7: Export Format Settings
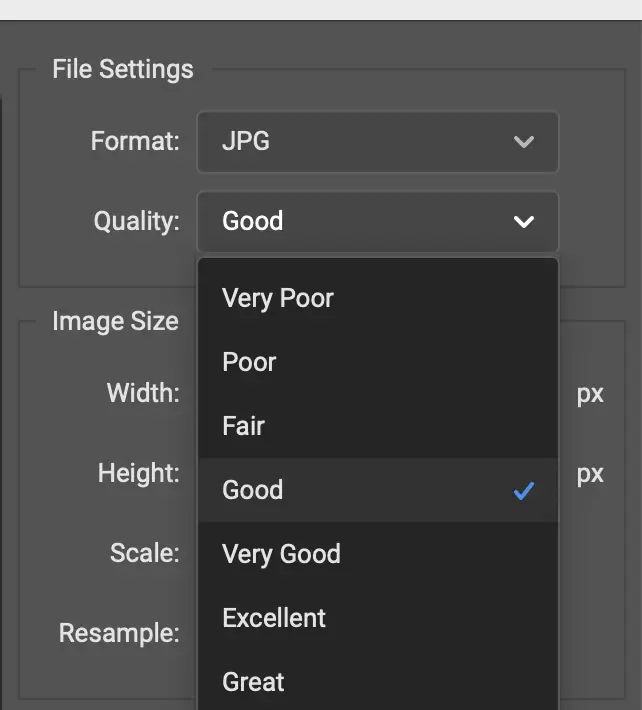
This conclusive step of adding a maker to your image is about saving your ultimate work to guard your changes and make it equipped for sharing.
Troll to the File menu and select the File option to encounter a dropdown list of choices.
Select Save As or Export from that menu, and you will get to a dialog box where you’ll indicate the file title, location, and format for saving.
Decide the suitable file format for your finalized image. Standard choices are JPEG, PNG, TIFF, or PSD, which can protect layers and editing credentials.
The alternatives to remake quality parameters are compression level or resolution, which may shift depending on the file type you decide.
After indicating the file title, area, and format, tap on Save or Export to preserve your edited photograph. Recheck that the save process ends effectively.
For once, get to the folder in your PC where you saved the image to confirm that it shows up accurately and incorporates all your marker tool alters.
Conclusion:
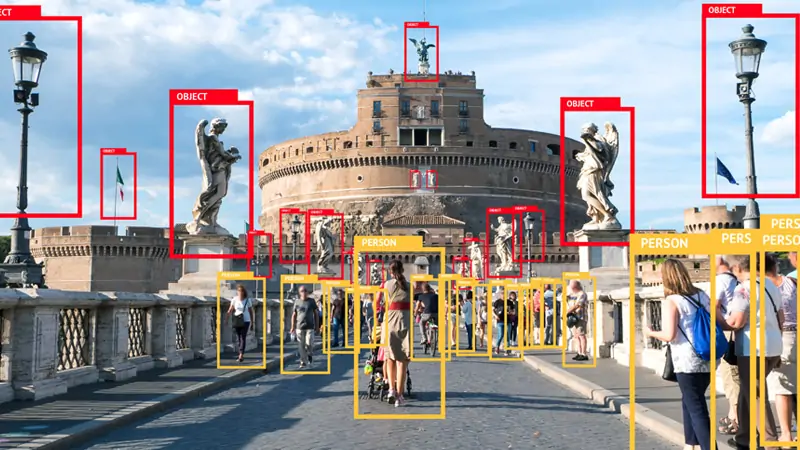
Lastly, you can use marker tools to mark and stress the critical features of your photographs. Correspondingly, you can make the viewer acknowledge the significance of those specific zones where you bring their attention using markers. While operating a marker tool to create boundaries around objects, you can also experiment with the stroke varieties, colours, and opacities, which heighten the aesthetic allure of images. Furthermore, annotation is also a worthy aspect of using markers in labelling or classifying image components for which you want to provide textual descriptions more than highlighting their outlines, thus growing the narrative trait of your shots.
