How To Create A Disintegration Effect
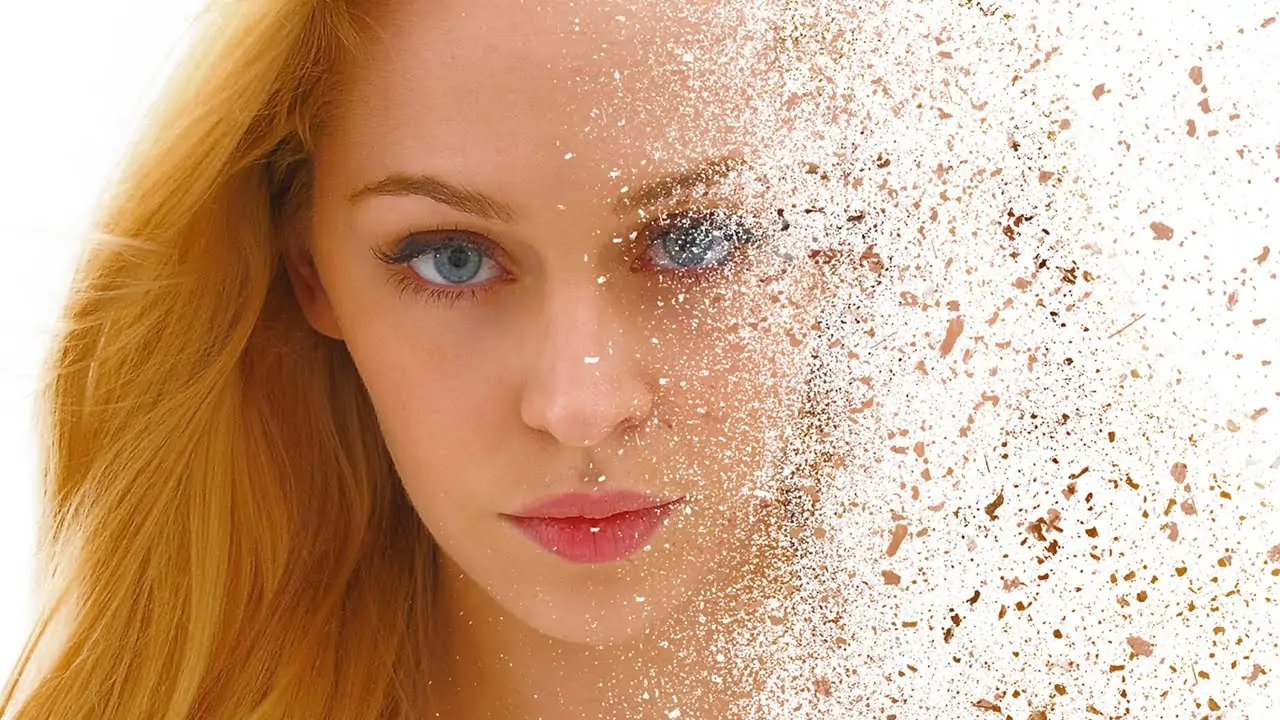
Using a disintegration technique in image editing, an image could acquire the appearance of shattered glass, with fragments of its surface disappearing. When employed in photographs, this effect gives the impression that the main subject is disintegrating or blowing away. The disintegration approach is extensively utilized in digital illustrations and designs to communicate ideas of rot and evolution and introduce digital glitches. Leaning on your creative expectation and yearned visual imprint, the effect can be accomplished through different strategies such as pixelation, fracturing, or blending. Additionally, You’ll need to work with numerous layers to arrange different components of the image. The programs commonly utilized for the development of disintegration in images include Adobe Photoshop, Adobe After Effects, and different specialized plugins or filters scheduled for digital paintings and visual plots. These applications provide you with a range of methods and features like layer masking, particle simulations, distortion tools and liquifying tools to attain exceptional styles of image disintegration. The following blog will address the step-by-step process of constructing a disintegration effect using Adobe Photoshop.
Step 1: Image Selection And Import
The first step is to open Adobe Photoshop and decide the photo file you would want to manipulate. This introductory step sets the basis for the whole editing process. The photograph you pick should be of adequate quality and resolution to hold clarity amid the disintegration effect of inclusion.
After that, head to the File menu and click Open to find your picture file in your PC directory. You can also extract and drop the image instantly into the Photoshop workspace for fast get-to.
After importing, acquaint yourself with the image’s dimensions and significance with the zoom option and examine subtle elements closely. This visual evaluation aids in arranging where and how the disintegration impact will be applied for the most outstanding outcome.
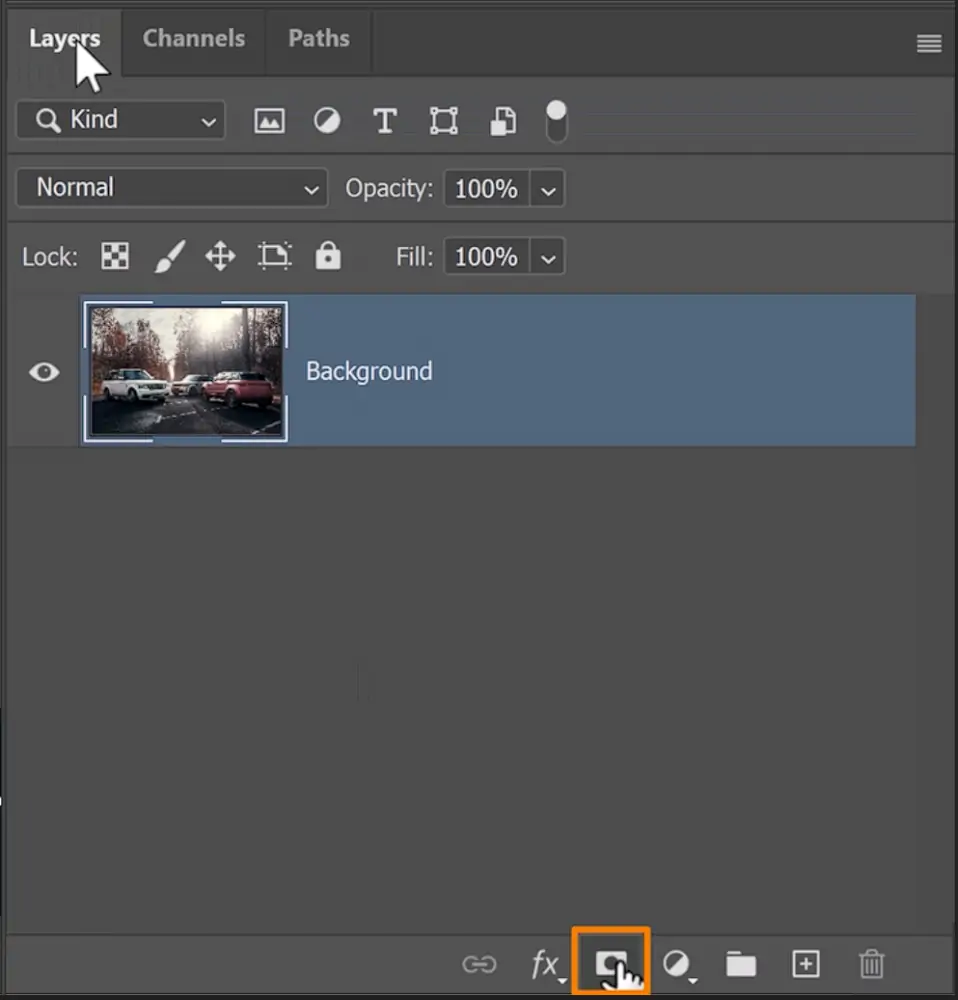
Before continuing, consider copying the initial picture layer to protect the unedited version. Tap on the image layer within the Layers panel and select the Duplicate Layer option. This prudent step guarantees you’ll be able to return to the initial in case it is required amid editing.
Step 2: Layer Mask Activation
In this step, you’ve got to apply a layer mask to your duplicated image layer. Layer masks will empower selective presentation by covering up or revealing zones of the layer without forever deleting pixels. This adaptability is fundamental for making the disintegration impact while keeping up control over the altering process.
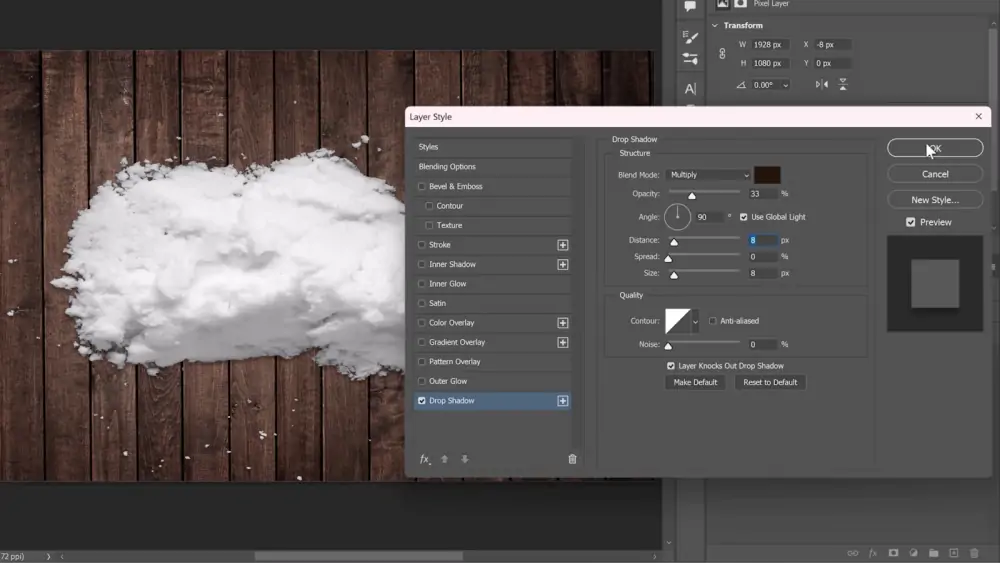
Click on the duplicated layer within the Layers panel. Make sure the layer is in action and pinpointed. Head to the layer mask option at the bottom of the Layers panel. It looks like a square or rectangle with a circle inside. Tap on this symbol to include a layer mask to the chosen layer.
Next, you will see a white thumbnail that will show up next to the layer thumbnail within the Layers panel. This thumbnail speaks to the layer mask. The mask is set to white by default and will uncover the entire layer.
To start making the disintegration effect, you’ll utilize brushes and painting strategies on this mask. Use black paint on the mask to cover up parts of the layer, uncovering the layers underneath or creating the effect of disintegration. Alter brush opacity and measures for exact management over the effect’s vehemence and evolution.
Step 3: Layer Mask Application
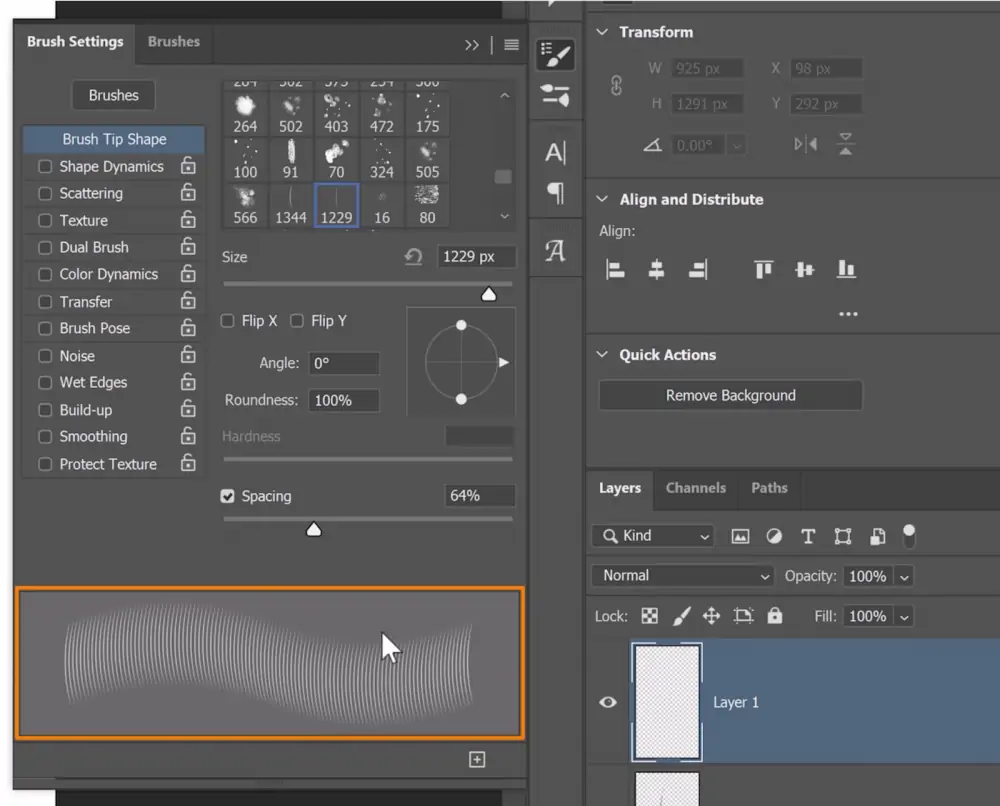
Next to applying the layer mask, you have to select and utilize the Brush instrument carefully. The versatility of the brush tool helps you paint on layer masks with different brush settings to attain varying grades of disintegration.
Begin by picking the Brush instrument from the toolbar on the left side of your workspace, or use the key shortcut ‘B’ as an easy course. After the Brush tool is chosen, alter its parameters, including size, hardness, flow, and opacity, for precise command over the disintegration.
Select a delicate circular brush for smoother transitions or a harder brush for more characterized edges, as per your wanted effect. Alter the brush size utilizing the [ and ] keys on your keyboard or tap on and adjust the size slider located at the top.
To start creating the disintegration impact, make sure your foreground colour is set to dark. Using black to paint on the layer mask will slowly suppress details of the duplicated layer, revealing the initial or basic layers underneath.
Try distinctive brush strokes and pressures to attain shifting levels of disintegration. Utilize tender strokes for unpretentious impacts or more energetic strokes for emotional fragmentation, depending on the artistic imagination for your project.
Step 4: Fixing Opacity And Flow
After you have chosen the Brush tool and balanced it, continue to settle the disintegration impact through fastidious masking methods. The layer mask made in Step 3 will be your canvas for selectively uncovering or concealing regions of the duplicated picture layer.
Start by working on areas of the photo where you need the disintegration to be most articulated. Confirm the layer mask thumbnail within the Layers panel is chosen; you will see a white outline around it.
Utilizing the Brush tool fixed to a low opacity and flow, begin painting with dark on the layer mask. This progressive approach privileges a controlled buildup of the disintegration effect, avoiding unexpected transitions and keeping up visual coherence.
Concentrate on the components and edges within the picture. Utilize smaller brush sizes and shifting pressures to combine the disintegration effect consistently with the surrounding ranges. If you opt to get more convoluted compositions, consider exchanging between different brush sizes and shapes to accomplish elaborate results.
Persistently refer back to the prevalent composition of your picture as you work, confirming the disintegration effect upgrades instead of overpowering the visual account. Audit your progress and make alterations as required to attain the determined artistic effect.
Step 5: Polishing The Disintegration

As you proceed to refine the disintegration effect, concentrate on improving details and shift to attaining a polished result that goes with your creative concept.
Begin by checking on the general composition of your photo. Evaluate how the disintegration effect relates to different components and revise the layer mask as essential to get a congruous and coherent impression.
Play with distinctive brush dimensions and opacities to tweak the edges of the disintegrated zones. Utilize gentler brushes and descending opacities for smoother moves, particularly around intricate elements or zones requiring unobtrusive disintegration effects.
Look into adding strategies like blur filters or smudging tools to encourage the blend and relaxation of edges, making a more natural and practical disintegration formation.
Experiment with various blending modes and adjustment layers to control the contrast, brightness, or colour tones inside the disintegrated regions. It blends the impact invariably into the general image while keeping up visual character.
Occasionally, zoom out of your image to assess the disintegration at diverse scales. This viewpoint guarantees that the impact improves the composition and is not eclipsing other elements.
Step 6: Executing Final Tweaks
Move on to the conclusive adjustments and upgrades to make your picture reach the specified effect and visual symmetry.
Get to the Layers panel and investigate additional layers or alterations that can chip in the disintegration effect. Play with blending mode options like Overlay or Soft Light to unobtrusively modify the formation and integration of the disintegrated zones with the rest of the photo.
Consider the overall colour balance and tone of your illustration. Utilize adjustment layers, including Levels and Hue/Saturation, to fix the colours inside the disintegrated zones and preserve consistency all over the composition.
Think of including texture overlays or subtle gradients to upgrade profundity and dimensionality inside the disintegrated areas. This step can include a material quality to your work of art, making it more fascinating to onlookers.
Reassess your final work at distinctive zoom levels and perspectives so that you are confirmed about the disintegration effect contribution to the visual narrative.
Once satisfied with your final tweaks, save your image in a format of satisfactory quality appropriate for its intended application or sharing platforms.
Conclusion:
To sum up, you can create fantastical images out of regular photos by using the disintegration effect. Your photos will take on a vigorous quality that devises a sensation of activity and bursts of motion, enchanting the imagination of the spectator. You can experiment with different image alteration tools and adjust the various parameters to direct the vigour of the disintegration effect. As per your hoped aesthetics, you can also lessen the effect’s dimensions and magnitude. Eventually, you can produce dazzling disintegrations that demonstrate your unique style by fusing technical procedures with your own artistic ambitions.
